On this page
Security cameras at entrances often work beside outdoor light fixtures, infrared illumination and motion sensors, yet those parts do not automatically work well together. A bright entrance can still produce poor video if the image sensor faces glare, backlighting or strong reflections. The practical question is where to place and aim each light so the camera records useful detail across the area that matters.
Start with the viewing task for security cameras
Define what the camera needs to show before deciding where to add lighting. A wide view of general activity has different needs from a close view intended to show a face, package, vehicle or transaction area. More brightness across the whole scene is not always the answer. The important area may be a narrow approach to a door, the space immediately outside a gate, a delivery point or the customer side of a counter.
Mark the critical area within the field of view. Then consider how people and vehicles normally move through it. Someone walking directly towards the camera presents a different lighting problem from someone crossing the scene. If the only light comes from behind the person, the camera may expose for the background and record less detail on the side facing the lens.
Review existing ambient and architectural lighting before adding a fixture. Include lights on neighbouring walls, illuminated signs, indoor light visible through glass, street-facing sources and natural light. Some sources are steady. Others change with occupancy, weather or time of day. The camera has to cope with the combined scene, not with each source in isolation.
- Identify whether faces, packages, vehicles or general movement are the priority.
- Define the exact part of the frame where useful detail is required.
- Note whether subjects approach, leave, pause or move across the view.
- List existing light sources and whether they are steady, switched or variable.
Where should the light go?
Place the main light on the subject side of the scene, broadly facing the same direction as the camera. This reduces backlighting and puts illumination on the surfaces the camera needs to record. Light positioned near the camera axis usually reveals more facial detail than overhead lighting alone, although placing the fixture directly beside the lens can make the scene look flat and can increase reflections.
A slight sideways offset is usually more useful. The light can shape faces and objects while remaining close enough to the viewing direction to limit deep shadows. Keep the fixture outside the frame and shield its bright emitting surface from the lens. The beam may enter the scene; the source itself should not dominate the image.
Match the light to the viewing area
Aim the fixture at the critical area rather than trying to flood every visible surface. A narrow bright patch surrounded by darkness can be harder for the camera to expose than a lower, more even level across the useful zone. Check the edges of the beam as carefully as its centre. A person should not move from a well-lit area into shadow just before reaching the door, gate or counter that matters.
Plan around shared entrances
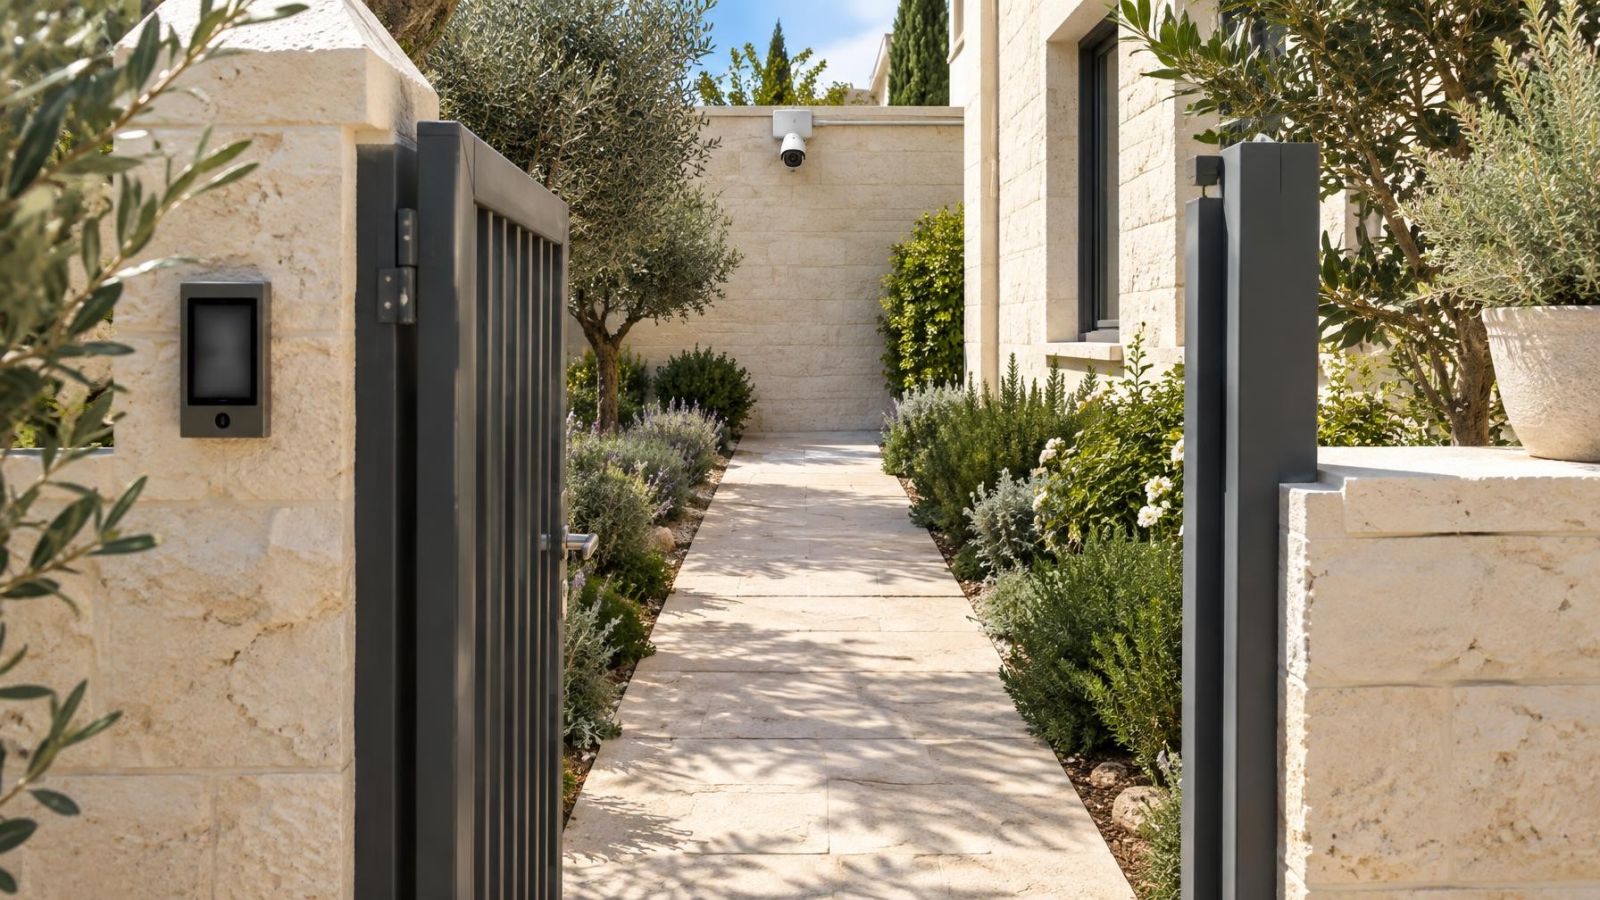
At an apartment entrance or another shared approach, the ideal mounting point may not be available. Doors, canopies, signs and existing cables can restrict placement. Start with positions that provide a clear angle to the subject and keep the source hidden from the lens. If one location cannot provide even coverage, two gentler sources from different positions are often easier to control than one intense fixture.
Control glare and reflections
A bright fixture visible to the lens can create glare and unstable exposure. The image sensor may reduce exposure for the bright source, leaving the entrance or foreground too dark. Re-aiming the camera or shielding the fixture can be more effective than adding further brightness.
Can an LED light cause camera glare?
LED lights can cause glare when the bright emitting surface is visible in the frame or reflected towards the lens. The problem is placement, intensity and optical control rather than the light source label alone. A hooded fixture aimed away from the camera is easier to manage than an exposed light facing it. Some lighting can also appear uneven on video even when it looks steady to the eye, so check both live and recorded footage.
Look for reflections from windows, polished doors, vehicle surfaces, glossy signs and display cabinets. Wet paving can behave like a broad mirror. Pale walls may also bounce enough light back towards the camera to wash out part of the picture. A fixture that works on a dry, dark surface may create a very different image after rain or when a bright object enters the scene.
Natural light changes direction and intensity across the day. An entrance that is evenly exposed in darkness may become strongly backlit when the sky or sunlit ground fills the background. WDR (wide dynamic range) can help a camera handle contrasting areas, but it does not make poor light placement irrelevant. If possible, adjust the camera angle so less bright sky, reflective ground or illuminated wall occupies the frame.
Does the light bulb type matter?
The fixture’s beam pattern, shielding and position matter more than the shape of the light bulb. A broad source can produce softer transitions, while a concentrated source can create a bright centre and dark edges. Colour and apparent brightness should be consistent enough for the camera to expose the important area without being pulled towards one dominant point.
Balance visible and infrared light
Visible light and infrared should be treated as separate illumination systems. Under visible light, a camera may record colour. When it changes to infrared night vision, the image is generally monochrome and surfaces can respond very differently. Dark fabric may appear lighter, plants may reflect strongly, and materials that look harmless under visible light may produce a bright infrared reflection.
| Illumination | Useful characteristic | Common placement problem |
|---|---|---|
| Visible light | Supports colour video and helps people see the area | Bright fixtures, backlighting and reflections can dominate exposure |
| Infrared illumination | Supports monochrome night vision without visible scene lighting | Nearby walls, glass, eaves and pale surfaces can bounce infrared into the lens |
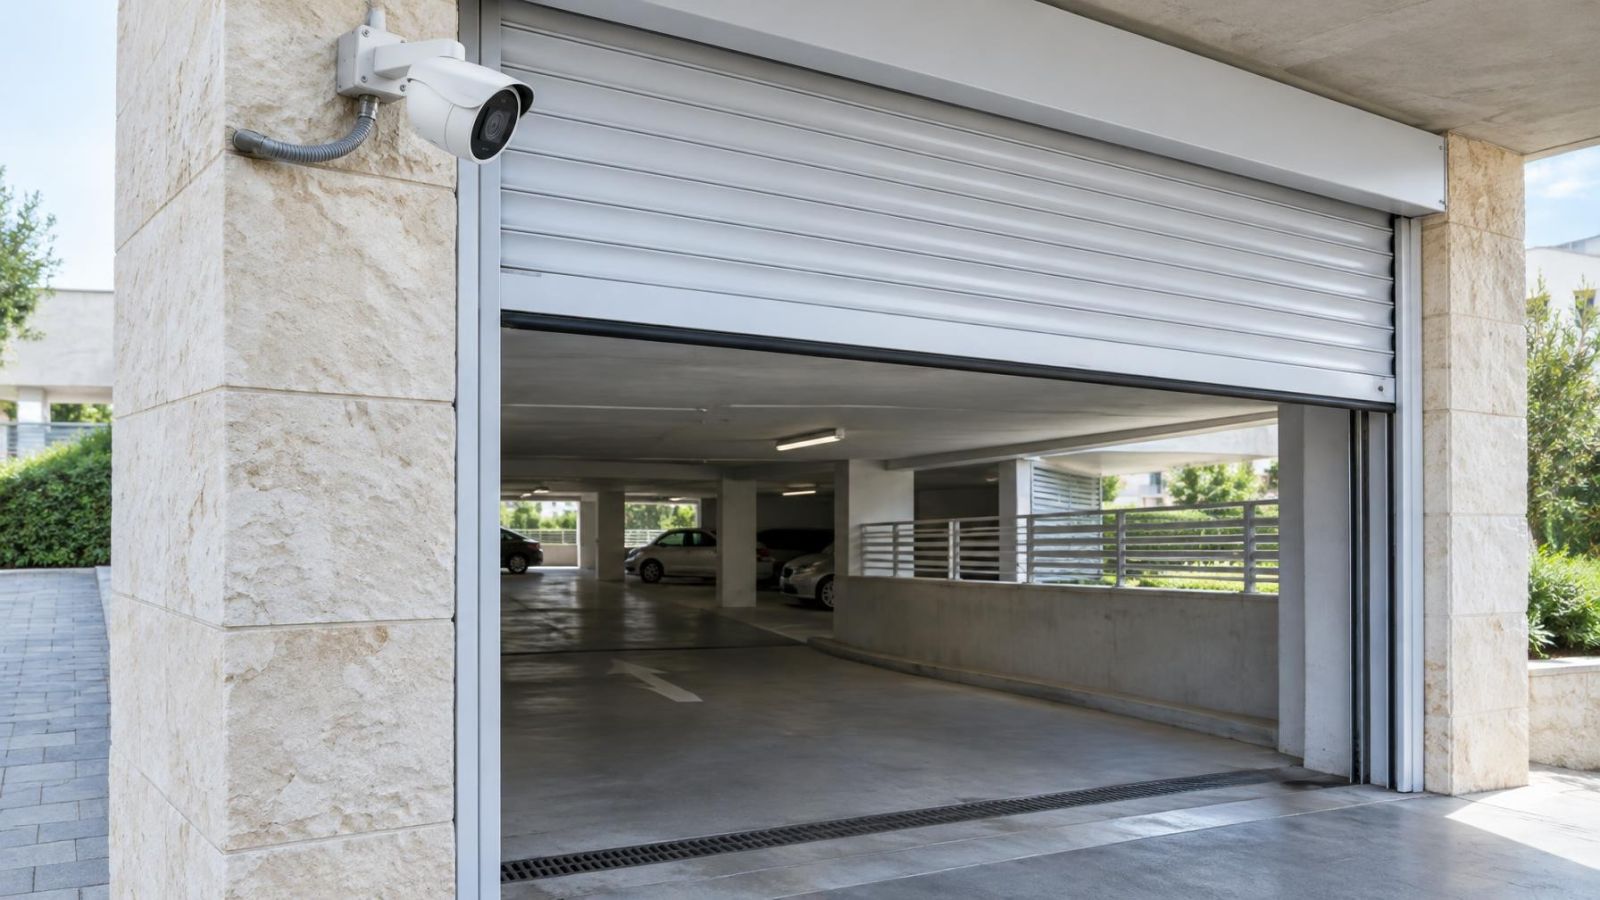
Built-in infrared can reflect from a nearby wall, roof edge, door frame or insect web. The closer the surface is to the camera, the more likely it is to become an overexposed foreground object while the distant subject remains dark. Repositioning the camera away from the surface or reducing the obstruction within its view is often better than increasing infrared output.
Do not expect a camera behind a window to use its own infrared illumination through the glass. The infrared can reflect from the window back into the lens, particularly when the room behind the camera is dark. Visible room lights, reflections from objects inside and dirt on the glass can add further interference.
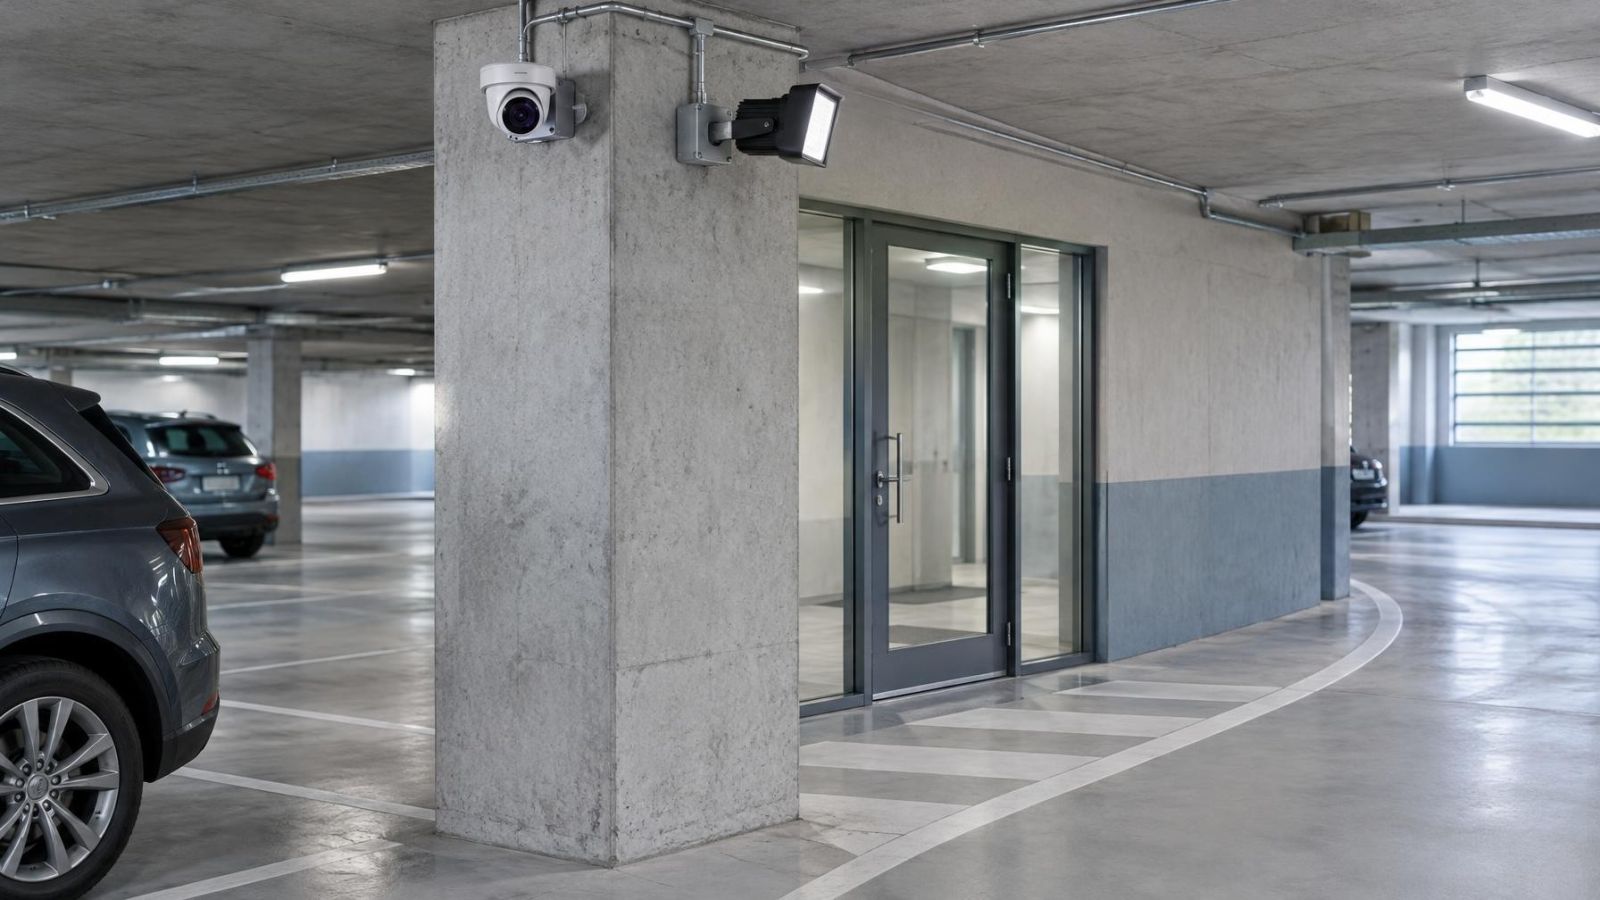
A separate infrared illuminator offers more placement freedom. Mounting it away from the camera can reduce direct bounce and illuminate the target from a better angle. It still needs to remain outside the field of view, and its beam should cover the same useful area as the camera rather than a wall or foreground object.
Is motion-activated lighting suitable?
Motion-activated lighting can be suitable when the light turns on before a person reaches the critical area and remains stable while the event is recorded. The camera needs a short period to adjust after a sudden change. During that adjustment, exposure and colour may shift, and the first useful moment may be less clear than the later footage.
Place and aim the motion sensor so its coverage intersects the normal approach path early. Detection that begins only when someone is directly below the fixture may illuminate the scene too late. Test movement towards the camera and across it, because sensor response can differ with the direction of travel and with obstructions such as posts, plants or parked vehicles.
Steady low-level lighting often gives the camera a more consistent exposure than an abrupt change from darkness to a powerful source. A practical arrangement can combine modest continuous illumination with an additional motion-activated level. The exact approach depends on whether the priority is colour video, discreet illumination, pedestrian visibility or a stable image.
Check where the sensor points beyond the intended area. Movement in a neighbouring path, shared corridor, road-facing space or moving vegetation can trigger unwanted changes. Frequent activation is not only a lighting issue; it creates repeated exposure transitions in the video and may draw attention to areas unrelated to the viewing task.
Avoid harsh shadows and uneven exposure
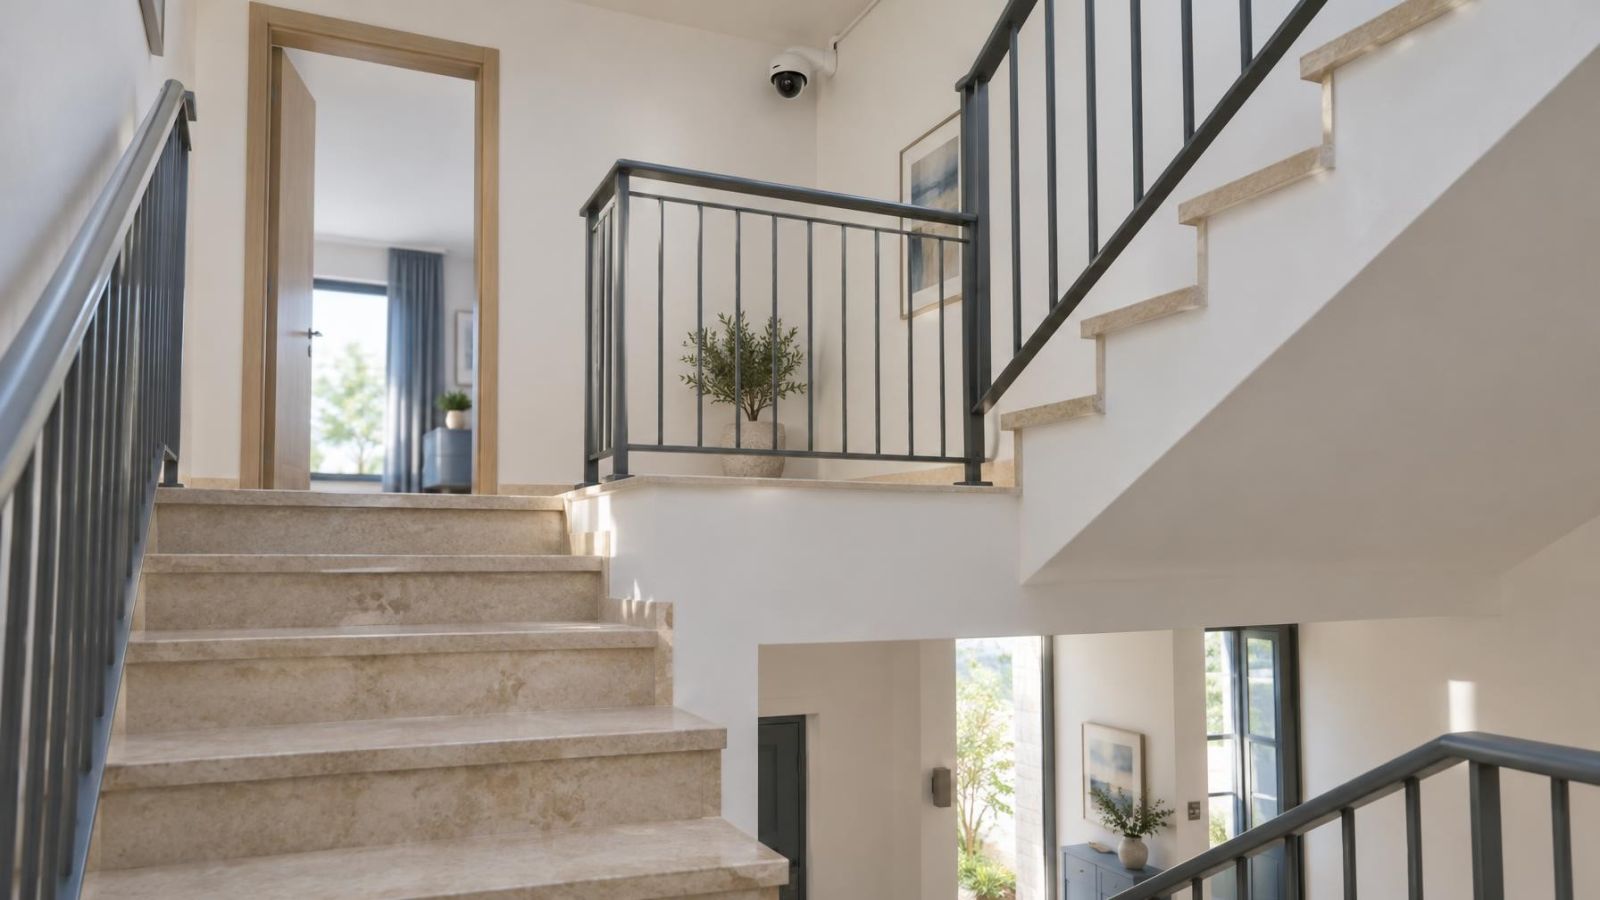
Ceiling lights often illuminate the top of the head and shoulders while leaving the eyes and front of the face in shadow. This is common under canopies, covered entrances, corridors and shop counters. A light nearer the camera’s viewing direction can fill those shadows without needing to overpower the overhead source.
One intense fixture can create a bright central area with dark edges. It can also cast hard shadows from posts, shelves, gates and people. If the critical area is wide, overlapping light from more than one controlled source can produce a smoother exposure. The beams should meet gradually rather than creating separate bright islands.
Background brightness also matters. A doorway opening onto a bright exterior, an illuminated wall behind a gate or a lit display behind a counter can cause the foreground to appear dark. Change the camera angle where possible, reduce unnecessary background light, or add controlled subject-side illumination. Adding light from the wrong direction can make the contrast worse.
At a gate, aim enough light towards the approaching side to show the person before and while the gate opens. At a door, avoid placing the only fixture directly above the threshold. At a counter, consider both sides: lighting that suits the person behind it may leave the visitor’s face shadowed. The useful direction is determined by the camera’s view, not simply by the architecture.
Even illumination is usually more valuable than maximum brightness because it keeps useful detail across a larger part of the view.
Test the finished scene
Judge the installation through the camera, not by standing in the space and deciding that it looks bright enough. Human vision adapts differently from camera exposure. A scene that appears balanced to the eye may contain a clipped fixture, a dark face or an infrared reflection that dominates the recorded image.
Use live video while aiming the fixtures, then inspect recordings. Live viewing makes adjustment efficient, while recorded footage shows how the system handled movement and lighting transitions. Test the actual viewing task rather than waving a hand near the camera.
- Check the scene in full daylight, darkness and the transitional period when natural and artificial light are similar in strength.
- Have a person follow the normal approach route, moving both towards the camera and across the frame.
- Pause in the critical area and turn naturally, because facial exposure changes with direction.
- Inspect reflective conditions, including wet paving, glass, pale walls and representative vehicles or objects.
- Review the recording for exposure changes, glare, shadows and loss of detail at the edges of the lit area.
- Adjust fixture aim first, then refine camera exposure settings if necessary, and repeat the movement test.
Clean the camera cover, window glass and nearby reflective surfaces before making final adjustments. Dirt, moisture and fine webs can scatter both visible and infrared light. Also inspect plants, signs and movable objects that may enter the beam later. Small foreground objects close to the lens can have a disproportionate effect at night.
The final arrangement should keep bright sources out of the frame, illuminate subjects from the camera side, control reflections and provide stable coverage across the area that matters. If the image is still uneven, change the light direction or camera angle before simply increasing brightness.
Key takeaways
- Lighting should illuminate the subject area without placing a bright fixture inside the camera’s field of view.
- Bright backgrounds and reflective surfaces can reduce useful foreground detail even when the scene looks well lit to the eye.
- Visible light and infrared illumination require separate placement checks because surfaces reflect them differently.
- Live and recorded camera images provide a more reliable lighting assessment than visual inspection alone.
- Lighting should be tested during daylight, darkness, changing natural light and representative movement through the scene.