On this page
A security camera can work normally all day, then lose its image, disconnect or stop recording after dark. The cause may sit in the infrared illumination, power supply, network connection, video recorder or exterior lighting rather than in the camera itself. When a security camera fails only at night, the practical question is which part changes at dusk and how to test that part without replacing equipment blindly.
When a Security Camera Fails Only at Night, What Exactly Fails?
Start with the symptom, not an assumed cause. Saying that a camera does not work at night can describe several different faults. It may disappear from the system entirely. It may remain online but show a black, white, foggy or heavily distorted picture. Live video may work while the recording is absent. A remote application may report the camera as unavailable even though local footage still exists.
What does “camera fails at night” actually mean?
- Offline: the camera disappears from the recorder, VMS (video management software) or local network.
- Black image: the camera remains connected, but little or no scene detail is visible.
- White or foggy image: infrared light is reaching the lens directly or reflecting from something nearby.
- Unstable image: the picture flickers, restarts or changes repeatedly between day and night modes.
- No recording: live view is available, but the expected footage is missing from playback.
- Remote-only failure: the application cannot retrieve video, while the recorder or local display still can.
Note the timing. A fault that begins at almost the same point in the evening usually relates to the day-night transition, infrared load, an automatic schedule or changing exterior light. A fault that develops later may be associated with cooling, condensation, a timed light switching off or a shared power source becoming unstable.
Also check whether one camera or several cameras fail together. One affected camera points towards its local power connection, cable, cover, surroundings or internal changeover mechanism. Several cameras changing state together point more strongly towards a shared switch, power supply, network path, recorder or schedule.
Check the Day-Night Changeover
A camera works in daytime using visible light. After the scene becomes dark enough, automatic day-night mode normally changes the image processing, moves the IR-cut filter and activates infrared illumination when the camera has it. A fault in any part of this sequence can leave the camera online but unable to form a useful night image.
Review the day-night mode setting first. It may be fixed to day mode, fixed to night mode or controlled automatically. Automatic operation is normally the useful diagnostic setting because it lets you observe whether the camera reacts to darkness. If the system provides manual day and night controls, switch between them temporarily while watching the live image.
Listen near the camera during changeover if it is safe and practical to do so. Some cameras produce a faint mechanical click as the IR-cut filter moves. The absence of a click does not prove failure, because designs differ, but repeated clicking or rapid switching can indicate that the camera cannot settle into one mode. Light from a doorway, illuminated sign or vehicle can also confuse an automatic threshold.
How do you recognise a night vision camera fault?
Watch the live image as the lens is placed into controlled darkness. The picture should change in a stable way rather than disappear, restart or alternate continuously. Infrared emitters may show a faint visible glow, although this is not universal and should not be used as the only test. A phone camera may reveal some infrared output, but phone filtering varies, so the result is only a clue.
Does Night Mode Expose a Power Fault?
Night mode can demand more from the power source because infrared illumination becomes active. A connection that is just adequate during daylight may become unstable under that additional load. The camera may restart, lose its network link, cycle between modes or remain connected with infrared illumination that is weak or intermittent.
Voltage drop is more likely to become visible along long cable runs, undersized conductors, weathered joints or connections with increased resistance. A loose plug can behave normally until the load rises. Outdoor cable entries deserve particular attention because dust, humidity and repeated heating and cooling can affect a marginal connection.
For a locally powered camera, inspect the adapter, distribution point and every accessible connector. For a network camera using PoE (power over Ethernet), review the supplying switch or injector as well as the cable. A shared PoE source can appear healthy in daylight and become unstable when several cameras activate infrared illumination together.
- Check whether the camera restarts at the moment infrared illumination activates.
- Look for a network link that drops and returns rather than assuming the camera software has frozen.
- Inspect plugs, junction boxes and cable entries for looseness, corrosion or moisture.
- Compare the affected camera with other cameras powered by the same source.
- Check the power source capacity and configuration without relying only on its daylight behaviour.
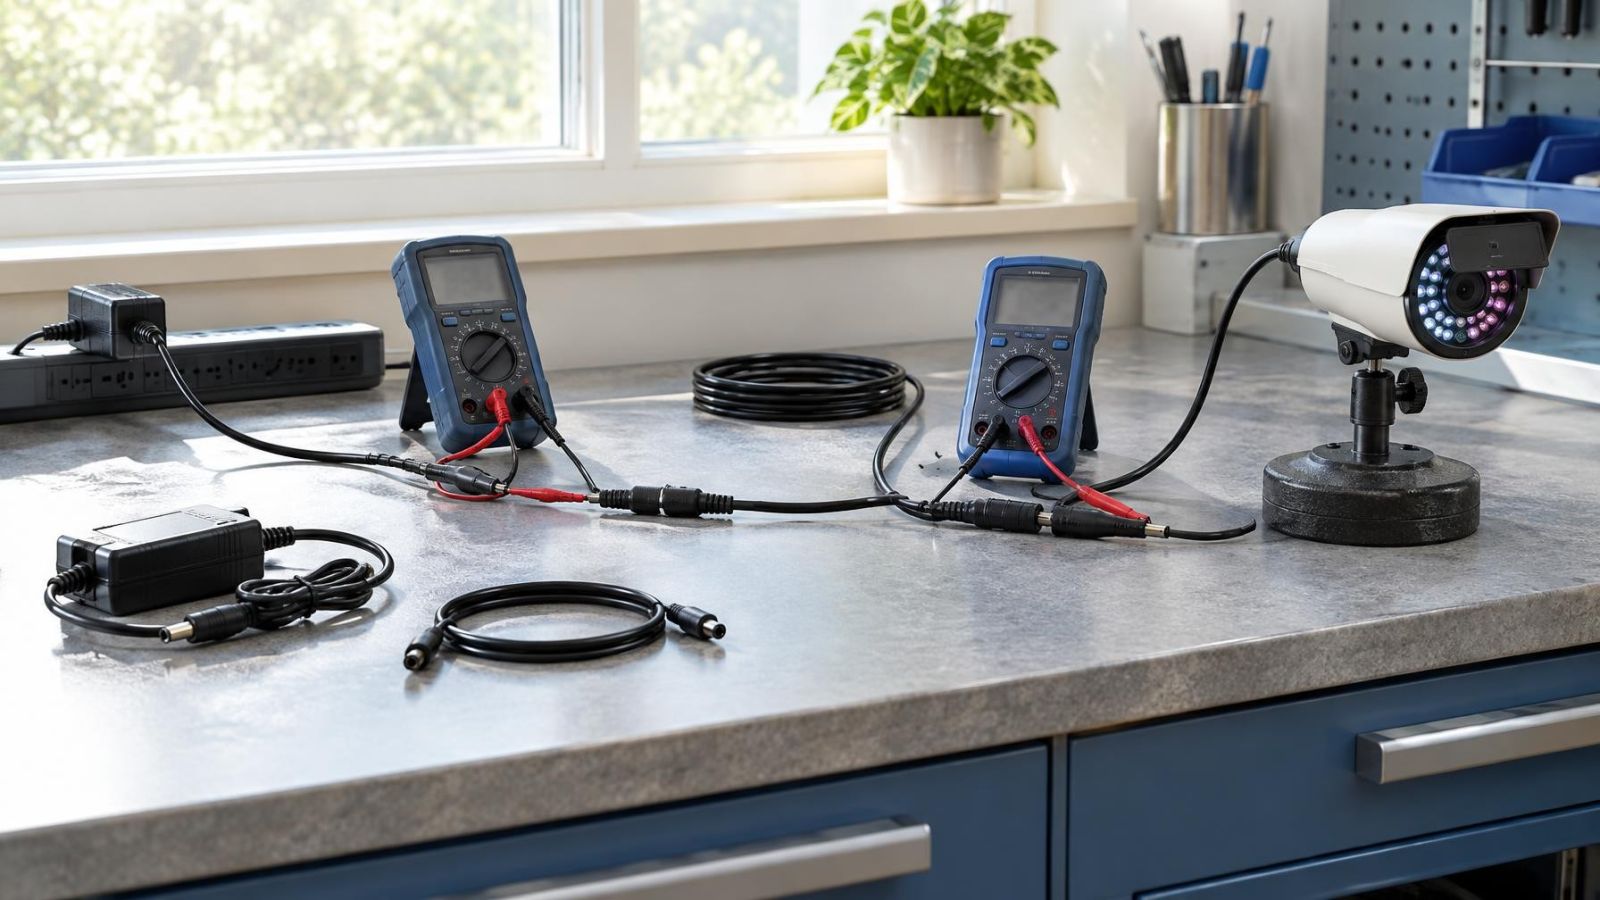
- Where suitable test equipment and safe access are available, measure power at the camera end while night mode is active.
A power source should be judged under the camera’s night load, not by the fact that it works in daylight.
Inspect Glare, Reflection and Obstruction
A bright white or foggy night image is often an optical problem rather than an electronic one. Infrared light can bounce from glass, a nearby wall, a soffit, a roof edge or the inside of a dirty camera cover. The reflected light reaches the lens at close range, and the camera reduces exposure for that brightness. The actual scene then becomes dark or invisible.
Cameras looking through windows are especially vulnerable. Visible light may pass through the glass acceptably during the day, while infrared illumination reflects straight back at night. Turning off the camera’s built-in infrared for a short comparison can clarify the cause, provided there is enough separate lighting to evaluate the scene.
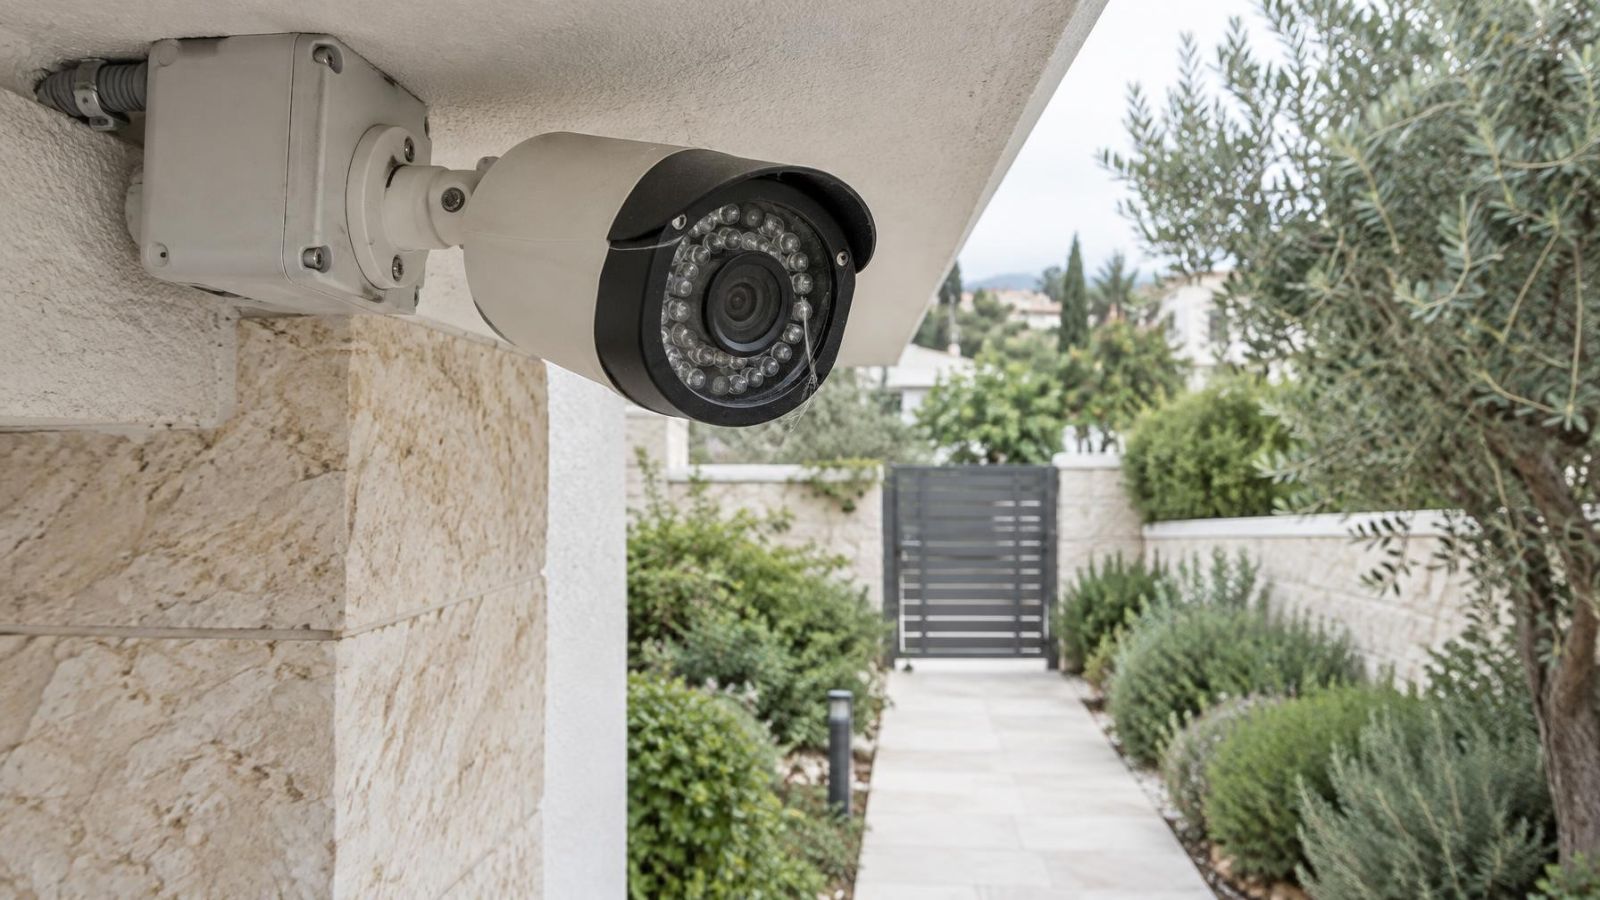
Inspect the lens area and cover under good light. Dust and cobwebs that seem minor during the day can become bright obstructions under infrared. A strand close to the lens can dominate the image. Scratches, greasy fingerprints and water marks can scatter both infrared and visible light.
- Check whether a wall, beam, gutter, soffit or gatepost occupies the edge of the frame.
- Clean the cover with material appropriate for an optical surface rather than using an abrasive cloth.
- Remove cobwebs around the camera body as well as directly in front of the lens.
- Look for leaves, signs and other close objects that move into the field of view.
- Check whether an exterior light points towards the lens or creates a strong bright area.
- Use WDR (wide dynamic range) only as an image-balancing tool; it cannot remove direct lens reflection.
Look for Moisture and Heat Effects
Condensation can soften or obscure the image while the camera, network and recorder continue to operate. The result may resemble poor focus, infrared glare or a dirty cover. Look for a veil across the whole image, halos around lights or droplets visible inside the transparent cover.
This deserves particular attention near the Israeli coast, where humid air can expose weak seals and poorly finished cable entries. A damaged gasket, loose cover or cable entering from an unsuitable direction can allow moisture into the enclosure. Simply wiping the outside will not correct condensation on the internal surface.
Strong sunlight can heat an exterior camera and the wall behind it for many hours. A marginal electronic or connection fault may appear as the assembly cools after sunset. Record whether the failure starts exactly when night mode activates or only after a longer cooling period. That distinction separates an immediate infrared-load problem from a temperature-related intermittent fault.
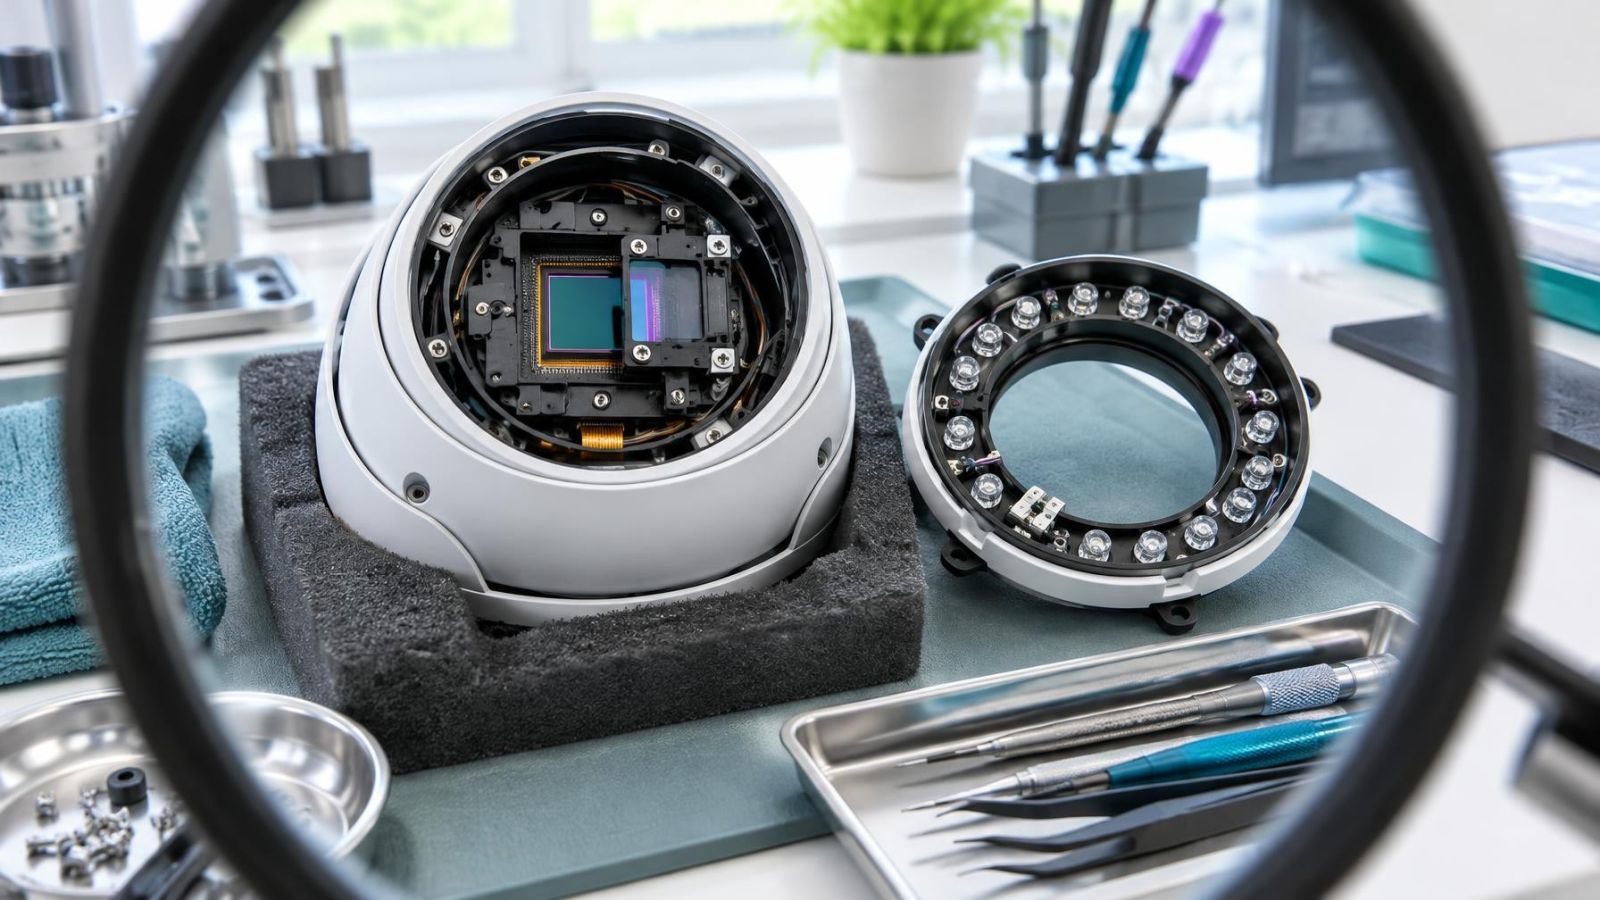
Do not open a sealed outdoor camera casually. Opening an enclosure can disturb gaskets, trap humid air or make the original fault harder to identify. Photograph visible moisture, damaged seals and cable entries before cleaning or adjustment, then have the enclosure checked under dry, controlled conditions.
Separate Camera and Recording Problems
A recording fault can look like a camera fault if the only check is playback the next morning. First compare live view with stored footage. If live video remains clear at night but playback is missing, the camera and illumination are probably operating. The next checks belong at the NVR (network video recorder), DVR or VMS.
Why is the camera not recording at night?
Review the recorder channel, recording schedule, storage status and event configuration. Motion detection can behave differently after dark because noise, insects, moving shadows and changing lights alter the image. A schedule may also be set differently from what the user expects. Test continuous recording briefly where the system permits it; this helps separate recording-path problems from event-detection problems.
Next, compare local and remote access. A remote application may show an offline status because the internet path, account session or remote connection is unavailable, while the NVR still receives and stores the camera stream. Check the recorder’s local monitor or local network interface before concluding that the camera itself went offline.
Why is a security camera offline at night?
If the camera is genuinely absent from the local recorder, examine its network link and power at the moment of failure. For one camera, check its cable, connector and PoE port. If several cameras disappear together, inspect the shared switch, uplink, power source and recorder. Shared symptoms should be investigated as shared infrastructure before several independent camera faults are assumed.
| Observed symptom | More likely area to check | Useful comparison |
|---|---|---|
| Live and recorded video both disappear | Camera power or network path | Local link status and other cameras on the same source |
| Live video works but playback is missing | Recorder channel, schedule or storage | Continuous recording and another recorder channel |
| Local video works but remote access fails | Remote connection or application path | Recorder display or local VMS |
| Several cameras fail together | Shared switch, power source, uplink or recorder | An unaffected camera on separate infrastructure |
Run a Controlled Night Test
A controlled test changes one condition at a time. It is more useful than repeatedly restarting the whole system because a full restart can hide the boundary between changeover, power, reflection and recording faults. Keep notes or short screen recordings so an installer can see the sequence rather than relying on a description made later.
- Establish a daylight baseline. Confirm the live image, local recording, remote view and network status before changing anything.
- Simulate darkness. Shade the camera’s light sensor or lens area carefully while watching the live view. Avoid creating infrared reflection with the covering material.
- Observe the changeover. Note whether the image changes mode, the infrared illumination responds, the camera restarts or the network link drops.
- Compare with nearby light. Add temporary visible light from a safe position. If the scene becomes usable while the camera remains in night mode, illumination or reflection deserves closer inspection.
- Remove likely reflections. Clean the cover and move temporary obstructions. If possible, adjust the angle slightly away from a nearby wall or soffit.
- Check power and connectivity under load. Inspect local connectors, PoE status, switch behaviour and shared symptoms while infrared illumination is active.
- Compare live and recorded video. Confirm whether the recorder stores the same picture that is visible live and whether the issue also exists through local access.
- Restore the original configuration. Return temporary lighting, manual modes and test schedules to their previous settings, then save the observations.
Useful evidence includes the exact symptom, the order in which it appears, whether infrared activates, whether the camera remains visible on the local network, whether other cameras are affected and whether footage reaches the recorder. Photographs of the camera’s surroundings in daylight can reveal glass, walls, soffits and cable entries that are impossible to judge from the night image alone.
Stop the test if access requires unsafe work at height, opening mains-powered equipment or disturbing a sealed outdoor enclosure. At that point, a clear symptom record is more valuable than further trial and error. It allows the installer to test the relevant power, optical, network or recording path without first reconstructing what happened.
Key takeaways
- A useful diagnosis starts by separating power loss, poor image quality, lost connectivity and missing recordings.
- The transition from day mode to night mode is the main diagnostic boundary for a night-only fault.
- Nearby surfaces, dirt and the camera cover should be inspected before image settings are changed.
- Power delivery must be tested while infrared illumination is active, not only during daylight.
- Comparing live video with recorded footage prevents a recorder problem from being mistaken for a camera fault.