On this page
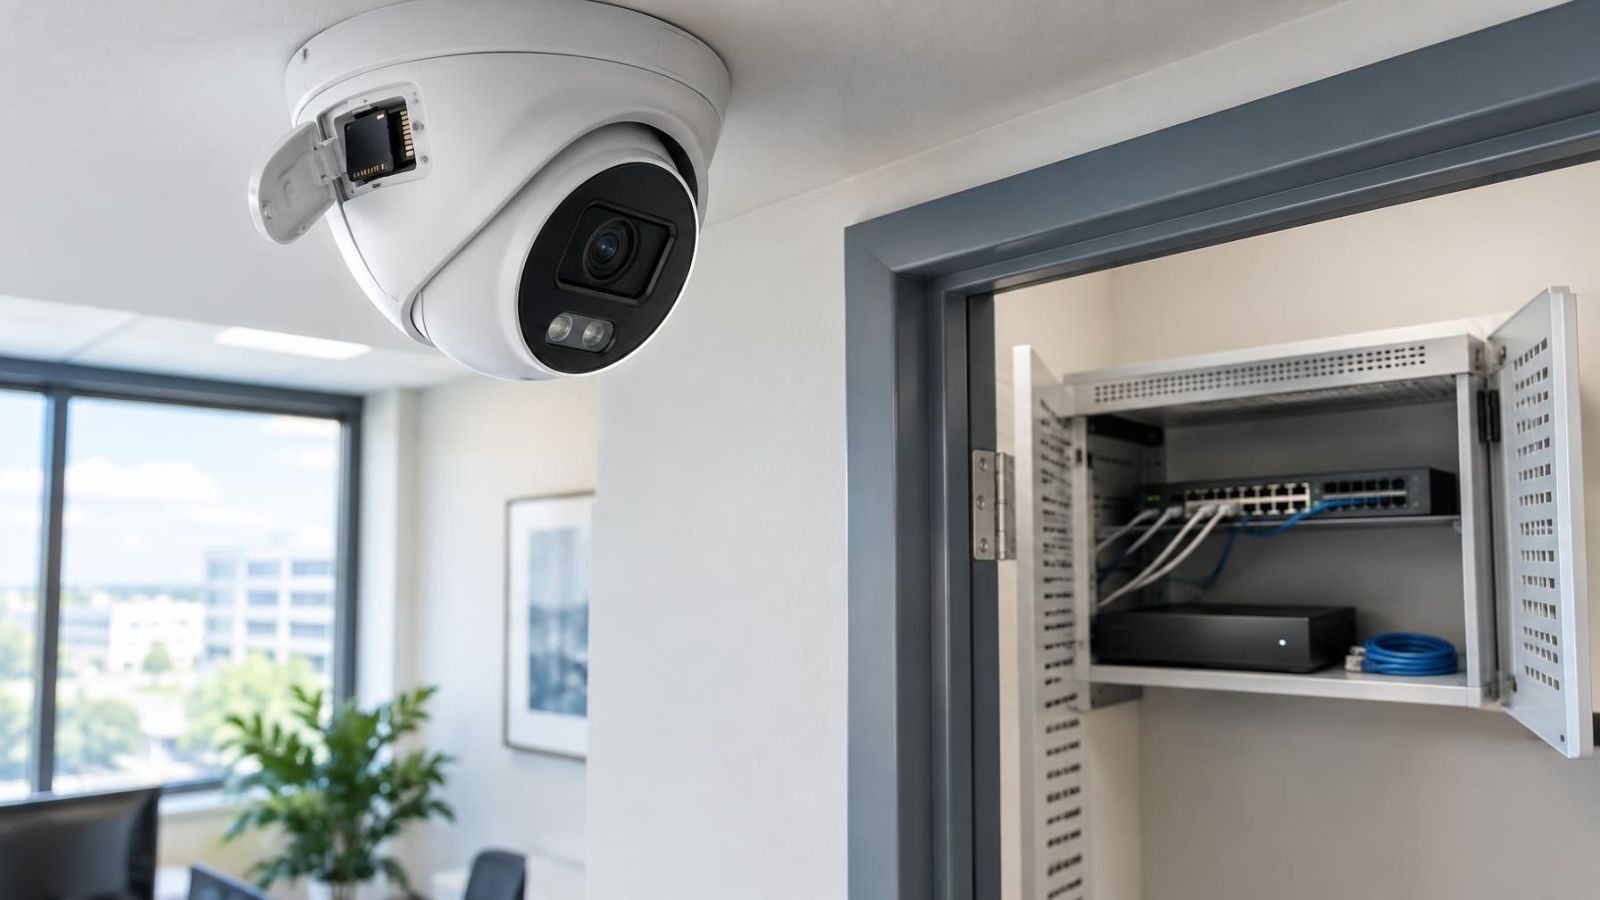
A security camera at a shared apartment entrance and one watching a street-front business may both use motion detection, yet they should not automatically create the same clip. The camera, network video recorder (NVR) and video buffer each have a part in what is saved. This guide settles how to choose recording buffer settings for the footage before and after a trigger, while balancing useful context against video storage.
How Recording Buffer Settings Build a Clip
Event recording starts with a trigger. That trigger may come from motion detection, an object filter, an alarm detector or another configured input. The trigger does not necessarily represent the beginning of the visible action. It represents the moment when the system decided that the event condition had been met.
Before that decision, video may already be moving through a temporary buffer. The buffer holds a rolling portion of the stream and continually replaces older footage. When an event is declared, the recorder can retain part of that buffered video as the pre-event section. It then continues saving through the active event and for the configured post-event period.
The resulting clip therefore has three possible parts: footage from before the trigger, footage while the event condition remains active, and footage saved after the condition ends. An NVR event buffer may handle some or all of this process, although some systems also depend on buffering inside the camera.
Event duration is not the same as clip duration. Motion detection might remain active only while a person crosses a detection zone. The saved clip can begin earlier and finish later because of the pre-record and post-record windows. Playback software may display the trigger marker separately from the actual beginning of the video.
| Recording mode | What is stored | Main operational effect |
|---|---|---|
| Event recording | Video around configured triggers | Storage demand depends heavily on event frequency and window length |
| Continuous recording | An uninterrupted scheduled stream | Storage demand is steadier, while event markers mainly support searching |
| Continuous plus event marking | A continuous stream with indexed events | Pre-event context is usually available even when detection occurs late |
With continuous recording, increasing an event window may not create additional underlying video if the stream is already being stored. It can still change clip boundaries, event indexing and exports. With event-only recording, longer windows normally mean that more video is written to storage.
What Is Pre-Event Recording?
Pre-event recording is video retained from immediately before the trigger. Its purpose is context. At a gate, it can show an approach before the person enters the detection zone. At a shop entrance, it can show whether someone arrived from the pavement, paused near the window or entered directly.
Where Is the Pre-Event Video Buffered?
The answer depends on the recording architecture. A camera may maintain its own short rolling buffer and send the relevant footage after a trigger. An NVR may continuously receive the stream, hold recent video temporarily and commit it when the event message arrives. Some systems divide the work between both devices.
That distinction matters during communication problems. A recorder cannot preserve footage it never received unless the camera has local buffering or local storage that the system can later reconcile. A pre-event value shown in software is therefore a requested behaviour, not proof that every part of the recording chain can supply it under every condition.
Why Do Event Clips Lose Their Beginning?
A clip can start late because detection itself occurred late, because the available buffer was too short, or because buffered video was not transferred correctly. A person may already be well inside the frame before crossing the active zone. Object classification can also require enough visual evidence before it confirms an event.
Extending the pre-event window can recover more lead-in footage only when that footage is available in the buffer. It does not repair a poorly placed detection zone, an obstructed view or a stream that was not reaching the recorder. Detection and buffering should be tested separately.
What Is Post-Event Recording?
Post-event recording keeps saving after the triggering condition ends. It allows the clip to include movement that remains visible after motion detection becomes inactive. This is useful where a person leaves a detection zone but continues towards a door, gate, vehicle or counter.
How Does Motion Recording Delay Behave?
The post-record period usually behaves like a stop timer. When the event condition ends, the timer starts. If qualifying movement resumes before the timer expires, some systems reset or extend the timer. Others create a separate event or apply a gap before starting another clip. The result depends on how the camera, recorder and playback software interpret renewed activity.
A post-event window that is too short can produce abrupt endings. It may also create a series of closely spaced clips when movement pauses briefly and resumes. A longer window can keep related action together, but it also stores uneventful footage after short events and can make event-only storage grow quickly in active scenes.
Do not judge the setting from the event list alone. Open the video and watch beyond the marker. Some interfaces show separate event entries even when the underlying recording is continuous, while others present one long clip formed from several renewed triggers.
Balance Context Against Storage
Longer pre-event and post-event windows use more storage than shorter windows under comparable conditions. The practical effect depends on how many cameras record events, how often those events occur and whether the schedule uses event-only, continuous or mixed recording.
Image settings also matter. Video bitrate is affected by compression, frame cadence, scene detail and resolution, meaning the number of pixels in each frame. A sunlit entrance with moving leaves, passing shadows and detailed paving may require more data than a quiet indoor corridor, even when both clips have the same duration.
- Camera count: A modest increase applied across many cameras can have a significant cumulative effect on stored video.
- Recording schedule: A business may need different event behaviour while open, closed or receiving deliveries.
- Scene activity: Shared entrances and street-facing views can trigger repeatedly, while a controlled internal room may remain quiet.
- Bitrate behaviour: Dust, rain, foliage, insects near infrared illumination and rapid changes in light can make the image harder to compress.
- Retention priorities: Useful context on a main entrance may justify a longer window than equivalent context on a low-activity secondary view.
Storage should not be managed by shortening every window equally. First decide what each camera needs to show. Then review the recording schedule and image settings. A very high bitrate, an unnecessarily active detection zone or repeated nuisance events may consume more storage than a sensible extension to one important entrance clip.
Tune Windows for Each Scene
The right window follows the geometry and pace of the scene. In Israel, the same property may include a shared building lobby, a private garden path, a bright gate and a shaded internal corridor. Each produces a different relationship between visible movement and the moment of detection.
| Scene | Typical recording challenge | Tuning priority |
|---|---|---|
| Shared apartment entrance | Frequent residents, visitors, lift traffic and brief pauses | Enough context to distinguish separate arrivals without joining unrelated activity |
| Private gate and garden path | Movement may begin outside the active zone and continue after the gate closes | A useful pre-event approach and a post-event view of the completed passage |
| Street-front business entrance | Pavement traffic, reflections, vehicle movement and changing shadows | Careful zones and filtering before extending event windows |
| Indoor corridor or storeroom | Short travel distance and fewer environmental triggers | Prompt detection with only the context the route requires |
At a shared apartment entrance, a long post-record period can merge one person’s arrival with another person leaving. A short pre-record period may begin only after the door has opened. Test movement from the lift, stairs and outside approach rather than walking only through the centre of the frame.
At a private gate, detection may start when someone is already close to the entrance, especially if the camera avoids the pavement or neighbouring movement. The pre-event window should preserve the part of the approach that is visible and relevant. The post-event window should continue through the movement the camera can actually see, rather than following an arbitrary universal value.
Street-front businesses often face a bright exterior and a darker interior in the same frame. WDR (wide dynamic range) can help manage this contrast, but changing sunlight, reflections and moving shadows may still affect detection timing. At night, infrared illumination can reflect from glass, pale walls, dust or insects near the camera. These image conditions must be corrected before assuming that a longer buffer is the answer.
Check the Complete Recording Chain
Recording windows cannot compensate for every missed event. The complete path includes image capture, motion analysis, trigger communication, buffering, recording, indexing and playback. A fault or unsuitable setting at any stage can look like a simple pre-record or post-record problem.
Separate Detection from Recording
- Sensitivity: A setting that is too low may trigger only after a person is well inside the scene; a setting that is too high may react repeatedly to shadows, foliage or glare.
- Detection zones: Zones should cover the useful route without including every moving branch, reflective surface or section of busy pavement.
- Object filtering: Filters can reduce irrelevant events, but they may change when an event is confirmed.
- Trigger rules: Confirm which event type starts recording and whether the camera or NVR owns that rule.
- Post-event logic: Check whether renewed activity resets the timer, extends the same clip or creates another event.
Next, check communication between the camera and recorder. A stable live view does not by itself prove that event messages, buffered footage and time information are arriving correctly. Review the recorder’s event status while movement occurs, then confirm that the stored video contains the expected lead-in and follow-through.
Check Time Alignment and Playback
Camera, NVR and VMS (video management software) clocks should agree. If they do not, an event marker can appear offset from the video even when the footage itself was recorded. This becomes particularly confusing on systems with several cameras, where a person appears to move between views in the wrong sequence.
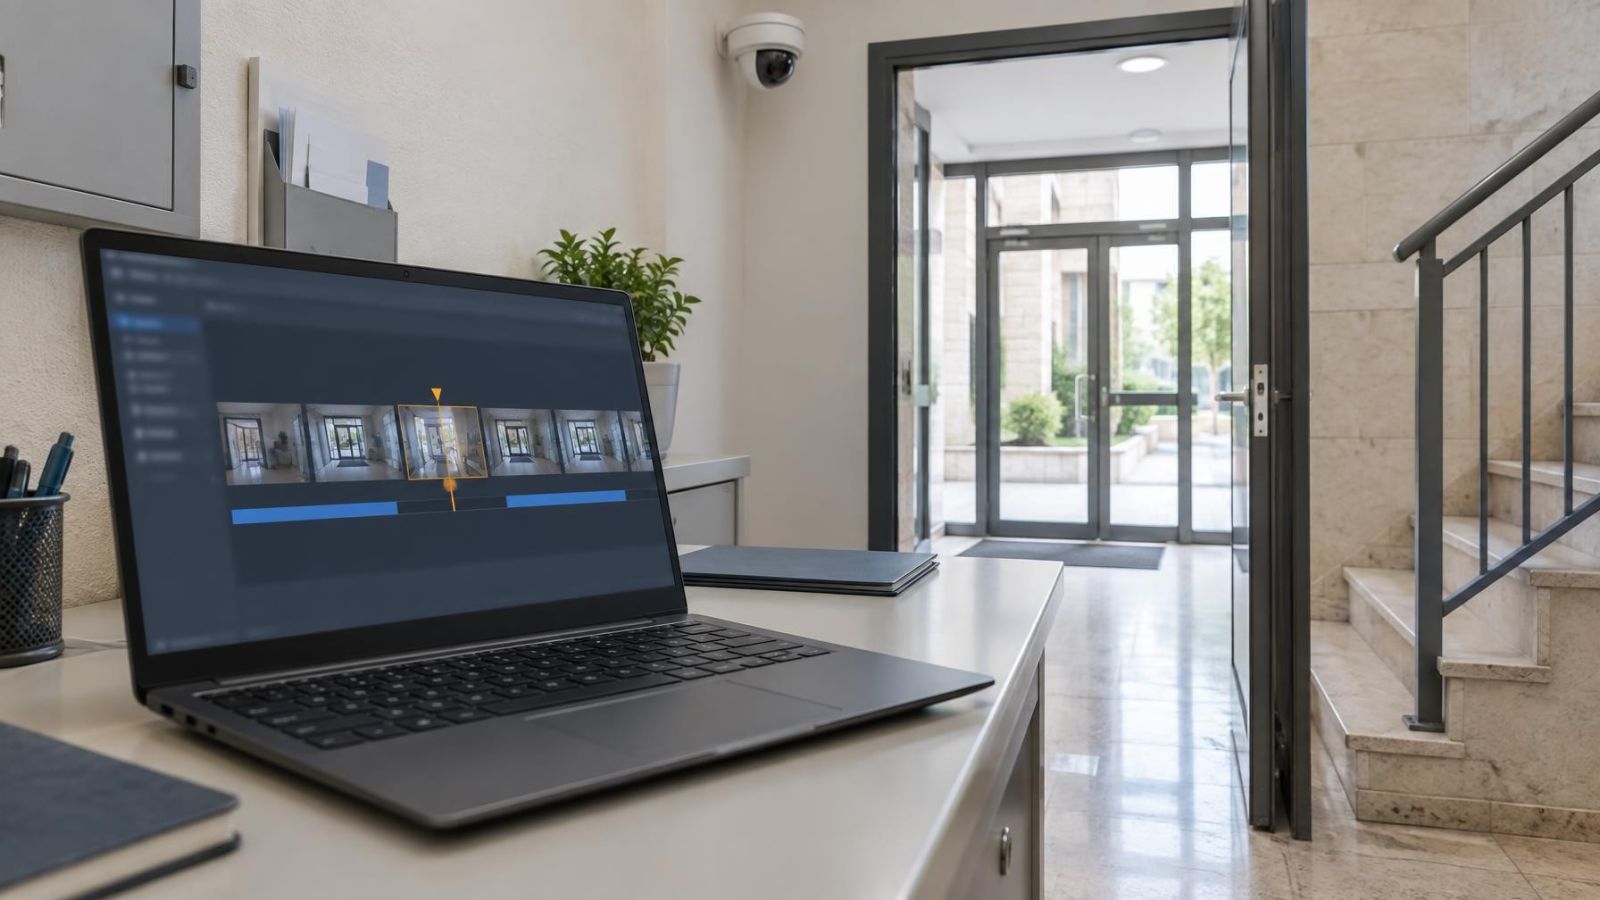
Playback behaviour also deserves a direct check. Search for an event, open it from the event list and play from before the marker to after it. Then export a sample. Some systems expose more context during timeline playback than they include in a quick event preview or exported event clip.
Test Before Choosing Final Settings
Each camera should be tested in its actual scene before its event windows are finalised. A bench test confirms basic operation. It does not reproduce the approach angle, sun, shadows, background traffic, garden movement or night illumination at the installed position.
A Practical Test Sequence
- Start outside the camera’s view and approach along the real route used by residents, staff, visitors or deliveries.
- Repeat the approach slowly and quickly. Pause near the edge of the detection zone, then continue through it.
- Leave the active zone, wait briefly and move again while the post-event timer may still be running.
- Review the saved clip rather than relying on a notification or event marker. Note the first useful frame, the trigger point and the final useful frame.
- Repeat the test in bright daylight and after dark. Check glare, shadows, headlights, infrared reflections and image noise.
- Adjust detection separately from pre-event and post-event timing, then repeat the same route.
- Record the final per-camera settings, including detection zones, schedule, event type and the observed clip behaviour.
For remote property owners, keep a short written test procedure with the system settings. It gives the person on site a repeatable route and makes later changes easier to verify. For a business, include normal entry, exit and delivery movements rather than testing only an empty doorway.
The final setting should be the shortest window that consistently preserves the context needed for that particular view. The goal is not the longest possible clip. It is a clip that begins before the meaningful action, ends after the visible action has finished and remains practical to store and review.
Key takeaways
- Pre-event buffering preserves video from before the detection trigger.
- A suitable post-event delay keeps saving while visible activity finishes.
- Longer event windows increase storage demand under otherwise comparable recording conditions.
- Scene-specific testing is more reliable than applying one universal setting to every camera.
- Motion detection quality and recording duration require separate tuning.