On this page
Define the Security System Acceptance Test Before Installation
Security cameras, alarm detectors, the recording system and backup power may all appear to work when the installer demonstrates them to the property owner. A security system acceptance test asks a more useful question: does every installed function behave as agreed, at this property, under the conditions that matter? The answer should come from observable tests rather than confidence, assumption or a polished demonstration.
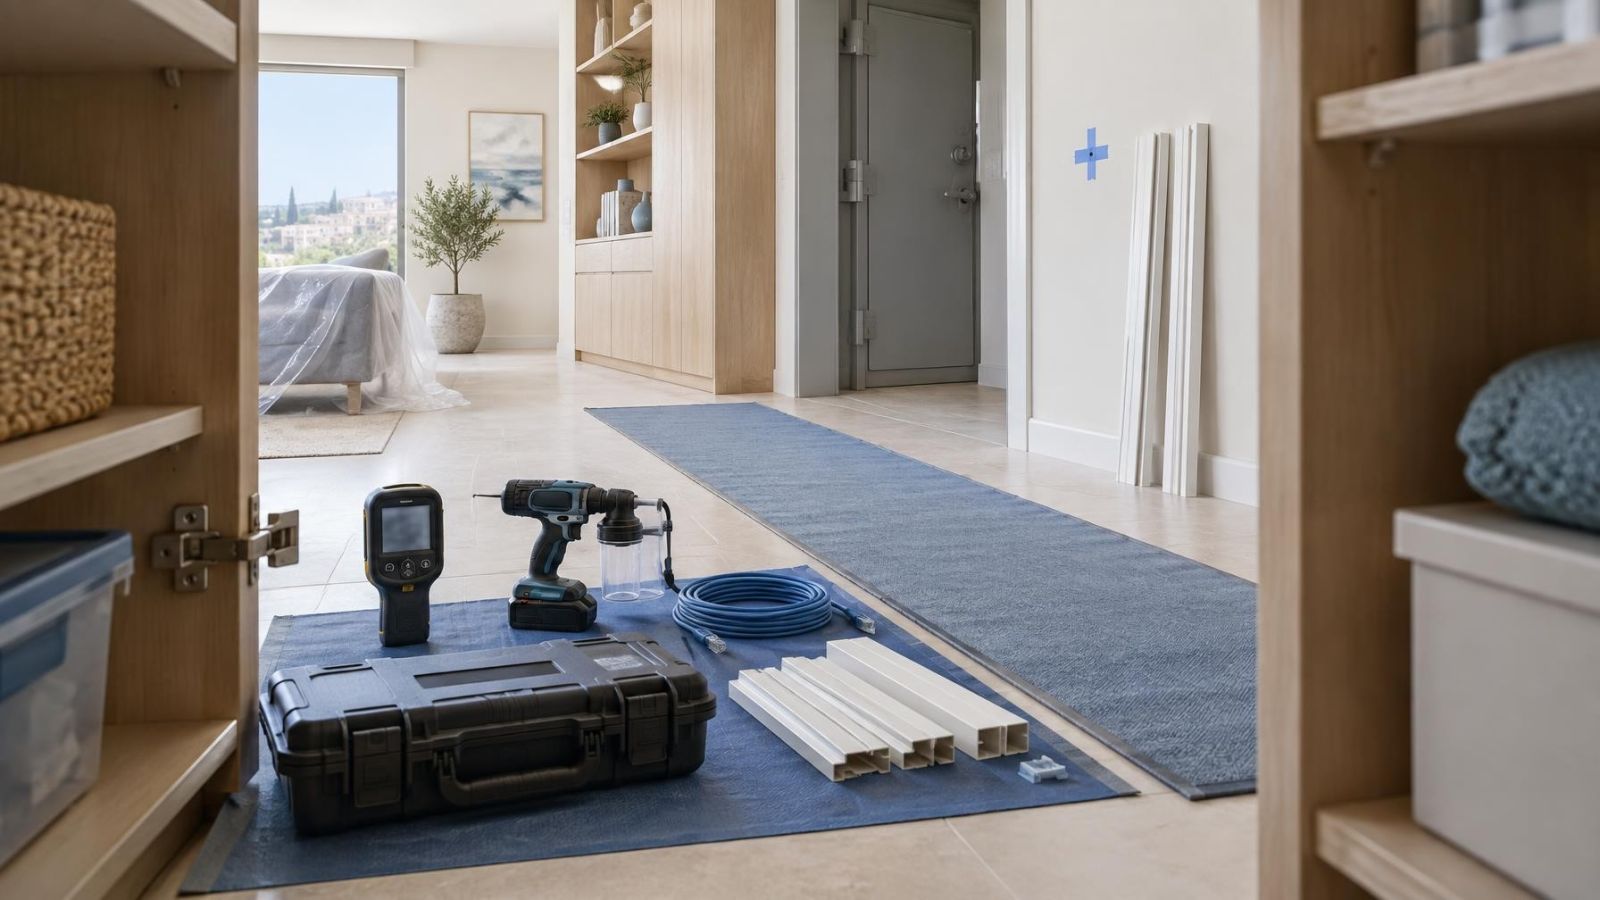
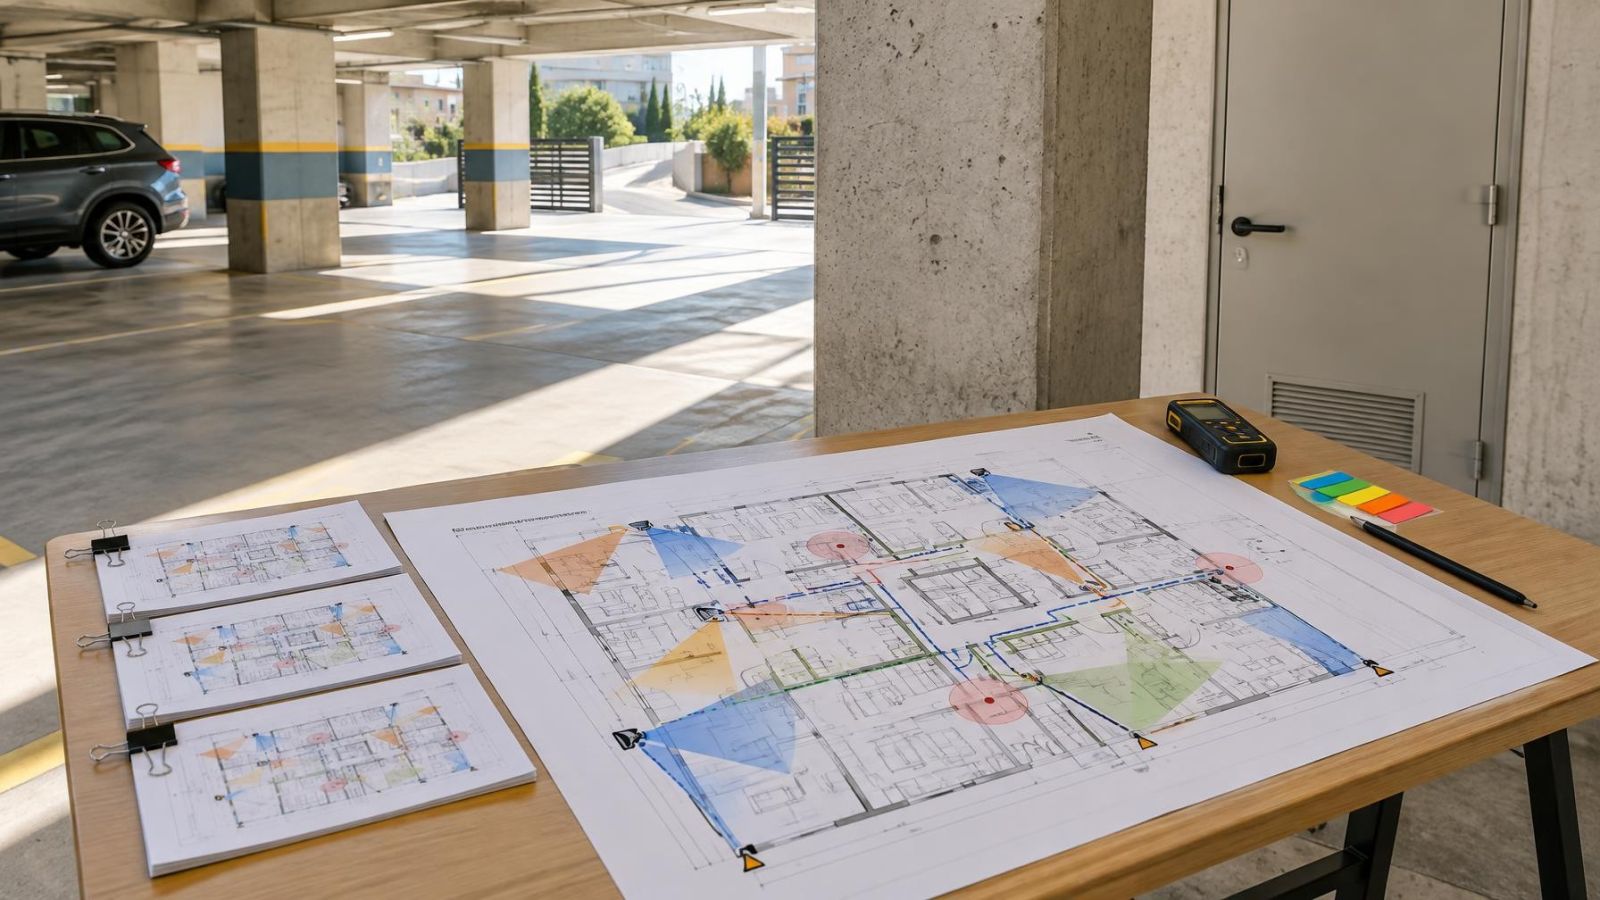
Acceptance begins before equipment is mounted. The owner and installer should agree what each camera must show, which doors, windows and internal areas each alarm zone protects, what the recording system retains, and which events should produce an alert. The test plan then turns those expectations into pass criteria.
A pass criterion must be specific enough for two people to reach the same conclusion. “Camera works” is too vague. “The entrance camera shows a recognisable person standing at the intercom in daylight and after dark, and the corresponding recording can be found and exported” can be tested. For an alarm contact, the criterion might require the correct zone to change state when the door opens, with the expected notification following when the system is armed.
- List the agreed view and purpose of every security camera.
- Name the area and intended trigger for every detector and contact.
- Define expected recording, notification, siren and monitoring behaviour.
- State the conditions for each test, including light level, armed state and network availability.
- Assign responsibility for correcting wiring, positioning, configuration or documentation failures.
This agreement is especially useful in Israeli apartment buildings. A camera near a private apartment entrance may have a straightforward purpose, while coverage of a shared lobby, car park or building gate can depend on decisions involving the va'ad bayit. The acceptance plan should test only the views and functions that were actually agreed. At a private home, the equivalent questions often concern garden gates, shaded entrances and perimeter routes.
What Are System Acceptance Tests?
System acceptance tests check the completed installation against agreed behaviour at the property. They are performed after mounting, cabling and configuration, using the installed cameras, detectors, recorder, network connections, user accounts and backup equipment. Each function receives a recorded pass, fail or pending result.
What should a security system acceptance test prove?
It should prove that the system performs its defined tasks in realistic operating conditions. For cameras, that includes usable coverage and access to recordings. For alarms, it includes detecting activity in the intended area and producing the configured actions. For connected features, it includes showing what happens when power or internet service is interrupted and restored.
A demonstration and an acceptance test are not the same. During a demonstration, an installer may open a live view, trigger one detector and show the mobile interface. That helps the owner learn the system, but it does not establish that every device and path works. Acceptance follows a prepared list, records the outcome of each item and identifies anything requiring correction.
A convincing live demonstration shows that something works now. Acceptance testing shows which agreed functions were checked, under what conditions, and with what result.
A practical security system commissioning checklist can support the process, but a generic checklist is not enough by itself. It must be adapted to the property. A street-front shop, a coastal apartment, a detached home with a gate and a remote property visited only occasionally each have different useful test conditions.
Test Cameras and Recording
Start with the purpose of each camera, not merely whether it produces a picture. Check the entrance, gate, driveway, lobby, stock area or street frontage from the positions where relevant activity will actually occur. A wide scene may provide orientation while failing to show useful identifying detail at the doorway. Conversely, a tightly framed view may miss the approach route that gives the event context.
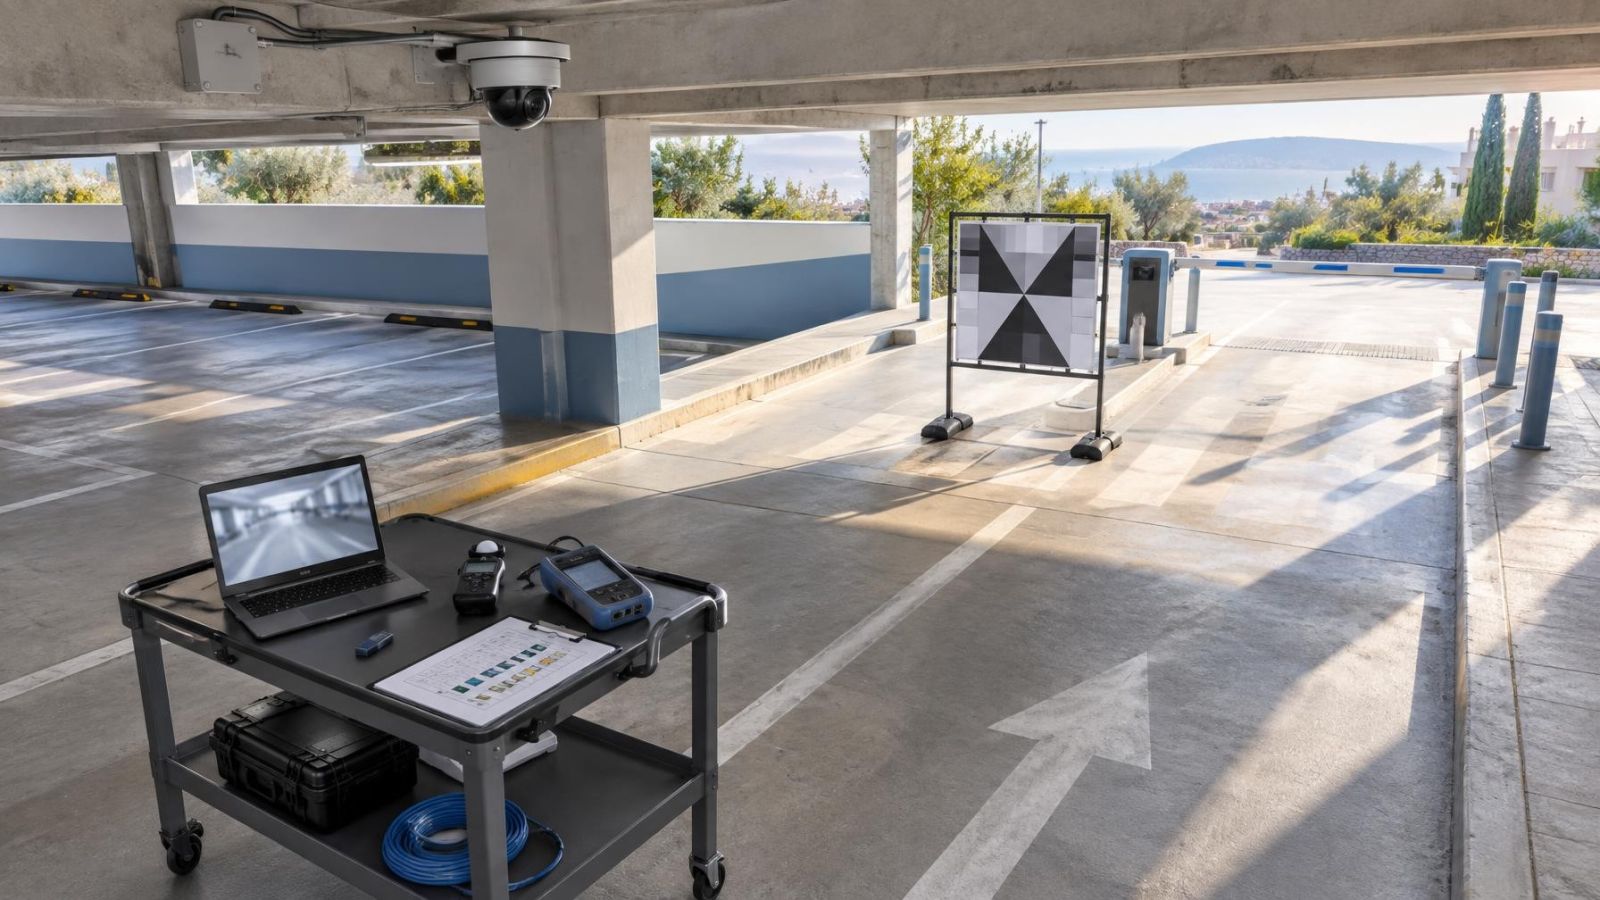
Place a person at the positions named in the plan and examine the live image and recording. Look for facial detail, clothing detail and the ability to distinguish an object relevant to the camera's purpose. Resolution alone does not settle this. Distance, angle, focus, compression, lighting and movement all affect the recorded result.
Check daylight, glare and the night image
Israeli sunlight creates difficult contrasts, particularly where a shaded entrance faces a bright street or garden. Test when the scene contains the glare or backlighting the camera will normally encounter. WDR (wide dynamic range) may help balance bright and dark areas, but its configured result still needs to be observed. Also check reflections from glass, pale walls and polished surfaces.
After dark, inspect the night image at the same useful positions. Infrared can illuminate a scene, but nearby walls, soffits, foliage, insects or dust may reflect IR into the lens and reduce detail. External lights can also produce uneven exposure. Confirm that focus remains useful and that moving subjects do not become an indistinct blur.
Verify playback and export, not only live view
A live image does not prove that the recording archive can be searched or exported. Create a known event, note its approximate time, and find it through the NVR (network video recorder), DVR or VMS (video management software), as applicable. Play the event from before the trigger through to its end. Then export a clip and open the exported file on a separate device using the intended playback method.
- Confirm that the displayed camera name matches its actual location.
- Check that the recording schedule and time shown in playback are understandable.
- Verify continuous or event recording according to the agreed configuration.
- Test motion detection with people moving through the real scene, not only by waving close to the lens.
- Review whether trees, shadows, road movement or changing shop displays cause unwanted motion events.
- Confirm that the owner can locate and export footage without an installer account.
Test Detectors and Alarm Actions
Every alarm detector must be triggered from the area it is intended to protect. A status screen showing devices as connected is not a substitute for a walk test. Move through the relevant part of a room, open each protected door and window, and operate any other input in the normal way. Confirm that the correct zone name appears each time.
Test arming and disarming through normal entry routes. For a home, that may mean entering through the family entrance rather than standing beside the control unit. For a street-front business, it may mean unlocking the shutter or main door, reaching the usual keypad position and following the sequence staff will use. The timing and instructions should make sense from those routes.
- Walk test each movement detector across the protected area and near its practical boundaries.
- Open and close every protected door or window and confirm that its contact changes state reliably.
- Trigger the system while armed and verify the configured siren, notification and monitoring paths.
- Check that zone descriptions are clear enough for an owner, family member or employee to identify the location.
- Repeat tests after configuration changes rather than assuming that an unrelated function remains unaffected.
Potential false triggers should be considered deliberately. Pets may move through a detector's field. Air-conditioning airflow can move curtains, hanging signs or lightweight stock. Sunlight may heat a particular area, while an open window can bring moving vegetation into view. Acceptance cannot prove that no unwanted alarm will ever occur, but it can confirm that obvious site conditions were considered and that detector placement and settings match the agreed use.
Does the System Survive Outages?
The answer depends on which service is interrupted and how the system is designed. A controlled mains power interruption shows whether backup power supports the intended equipment. A separate internet disconnection shows which local functions continue and which remote services stop. These tests should be planned with the installer so that equipment is shut down or isolated safely and other property systems are not disturbed.
Test backup power under a controlled interruption
Disconnect mains power using the agreed test method and observe the alarm panel, recorder, cameras, network equipment and any PoE (power over Ethernet) switches included in the backup design. Confirm that the expected devices remain operating, that power-loss indications appear, and that recording continues where specified. Restore power and check that equipment returns to normal without lost settings or unexplained faults.
A brief test confirms transfer behaviour, not the full endurance of a battery. The handover record should therefore distinguish between functions that were observed during the interruption and any operating duration stated in the system design. Batteries also require ongoing attention; backup power is not a permanent fit-and-forget component.
Test internet loss separately
Temporarily disconnect the external internet connection while leaving the local network powered. Remote viewing, external notifications or monitoring communication may become unavailable, while local detection, sirens and recording can continue if they do not depend on an external service. Confirm the actual behaviour rather than treating “offline” as a single system-wide condition.
After connectivity returns, check whether remote access reconnects, delayed alerts arrive as expected, and the system clears any communication fault. Also verify that recordings made during the outage remain available locally. For remote property owners, this recovery test is particularly important because an application reconnecting does not automatically prove that every alert and recording path has recovered.
Check Access and Handover Materials
Handover must place administrative control with the property owner. The owner should hold the primary administrator credentials, understand how account recovery works, and know which users can view cameras, change alarm settings or export recordings. Temporary installer access should be removed, disabled or retained only through an arrangement the owner understands.
Do not solve shared use by giving everyone the administrator login. Create separate access for family members, property managers or staff according to their tasks. A person who only needs to arm and disarm the alarm may not need configuration rights. Separate accounts also make staff changes and access removal more manageable.
What should a security installation handover include?
- An owner-controlled administrator account and a list of authorised user access.
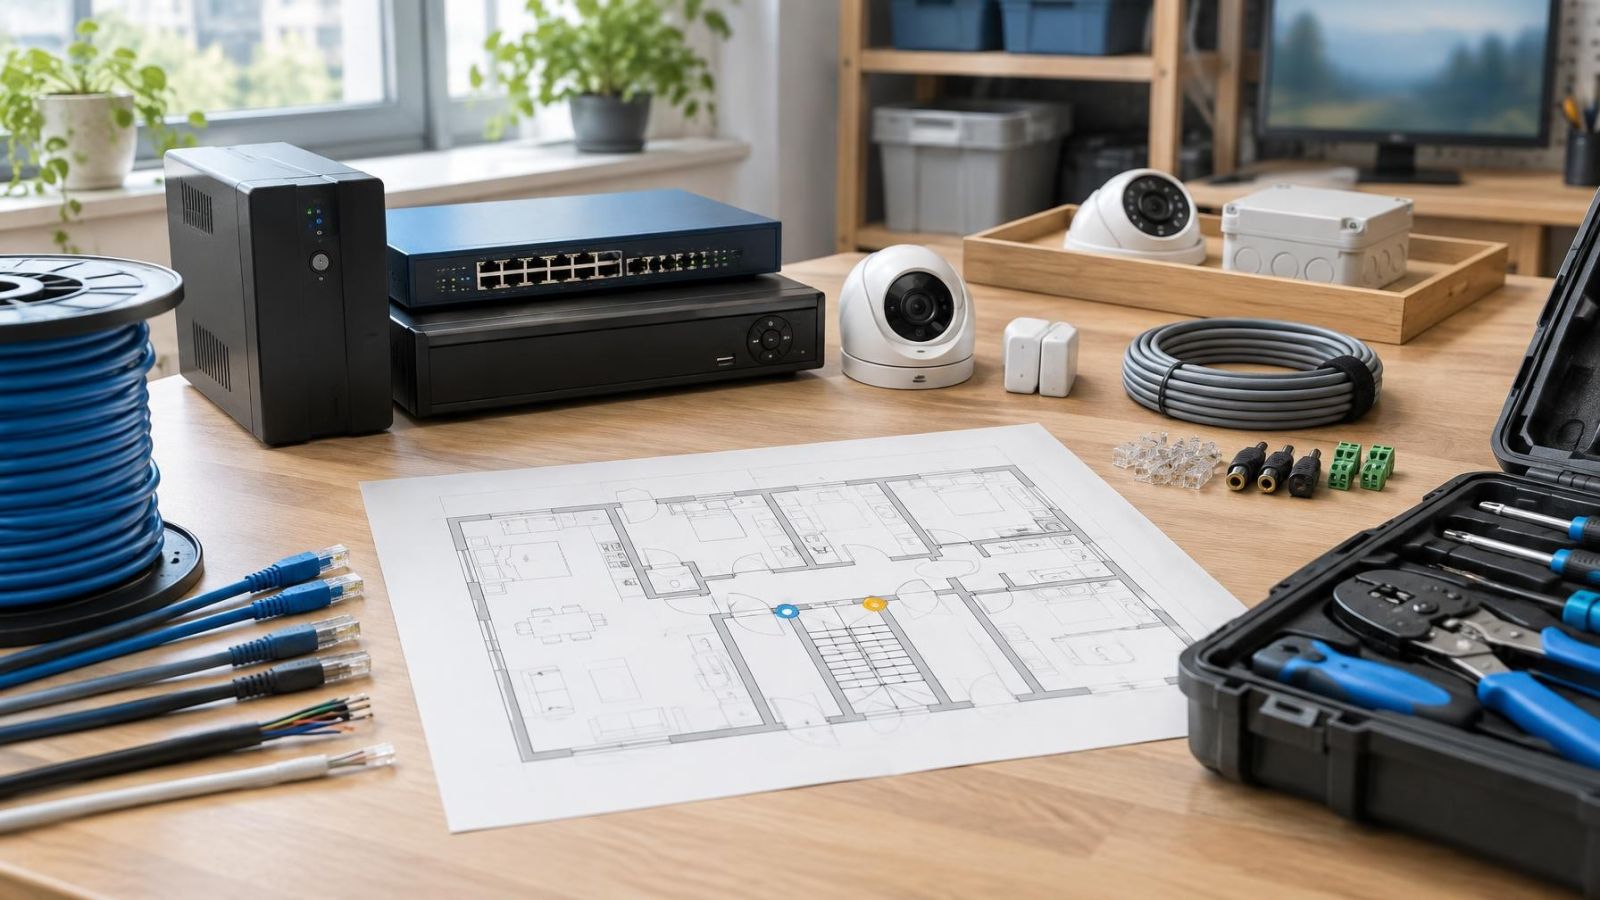
- A location plan identifying cameras, detectors, contacts, control equipment and relevant network hardware.
- Clear camera and zone names matching those shown in the interfaces.
- Instructions for arming, disarming, viewing, playback, export and handling common fault indications.
- A description of recording schedules, alert paths, backup behaviour and known limitations.
- Maintenance responsibilities, including cleaning exposed camera surfaces and checking backup components.
- The completed acceptance record, correction list and results of any retests.
User training should use the owner's actual tasks. Ask the owner or nominated manager to find a recording, export it, arm the property, bypass a permitted zone if that function is part of normal use, and add or remove an ordinary user. Performing these actions reveals misunderstandings that passive instruction often hides.
Record Defects and Approve Handover
The final record should give every item a clear status: pass, fail or pending. A failed item is a function that does not meet the agreed criterion. A pending item is one that could not yet be tested under its named condition, such as a night scene checked only in daylight. Neither should disappear into a general note saying that the system was demonstrated.
Support results with appropriate evidence. Camera tests may include still images or short exported clips showing the relevant position. Alarm tests can record the detector, zone name, armed state and observed action. Outage tests should state what was disconnected, which functions continued and what happened after restoration. Evidence should be useful, not excessive.
For each defect, record what requires correction and who is responsible for arranging it. After repositioning a camera, changing a detector setting, repairing wiring or updating configuration, repeat the affected acceptance test. Also retest connected functions where the change could have influenced recording, alerts, access or backup behaviour.
Approval does not require pretending that every system has unlimited capability. A view may have an agreed blind area. Remote alerts may depend on internet service. Backup power may support only selected equipment. Handover is appropriate when passed functions are evidenced, failed items have been corrected and retested, and any remaining limits are written clearly enough for the owner to make an informed decision.
Key takeaways
- Acceptance criteria should be agreed before installation so that handover is based on observable behaviour rather than impressions.
- Recorded images, exported clips and written results provide stronger acceptance evidence than a live demonstration alone.
- Security cameras should be tested under the daylight, glare and night conditions found at the property.
- Controlled power and internet interruptions reveal which local and remote functions continue during an outage.
- The property owner should control administrator credentials and receive complete handover records.