On this page
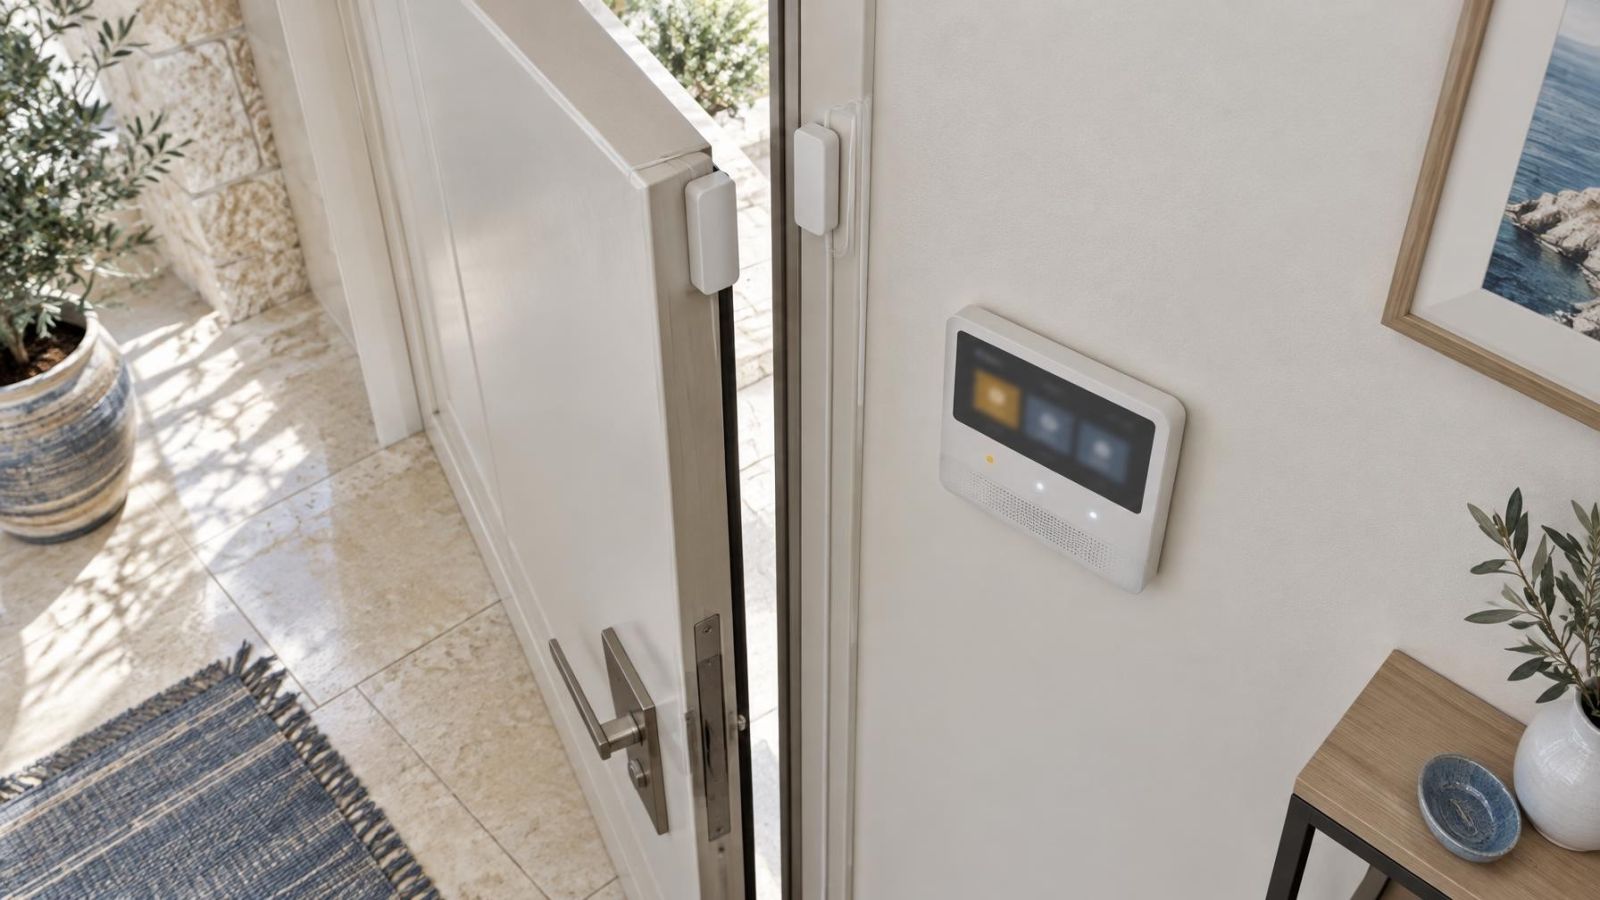
An alarm control panel may need to monitor a wired detector at every important opening and space: a motion sensor in the living area, a magnetic contact on the entrance door, an end-of-line resistor supervising the cable, and perhaps a zone expander when the main panel runs out of inputs. The design question is whether to use one alarm sensor per zone or connect several detectors to a shared zone. The answer depends on how precisely you need the panel to identify events and how easily the system must be serviced.
What an Alarm Zone Represents
A zone is a monitored electrical input on the alarm control panel. It is not necessarily the same thing as a physical detector. One input may serve one detector, several detectors, or a supervised circuit containing alarm and tamper conditions, depending on the panel configuration and field wiring.
The panel interprets the electrical state of the zone and associates it with a label. A label such as Front Door can point to one magnetic contact. A label such as Ground-Floor Windows may represent several contacts connected together. During an alert, fault or event-history review, the label is what the user sees.
This distinction matters because the panel reports the input, not an invisible identity carried by each conventional wired detector. If several simple contacts share one input, the panel normally knows that the group changed state. It does not know which member of the group caused the change.
The discussion here concerns conventional wired systems. Addressable devices and bus-based systems can identify devices differently, so their planning rules are not identical.
One Alarm Sensor per Zone?
A dedicated zone is usually the clearest arrangement. If the entrance-door contact has its own zone, an event on that input identifies the connected contact through its zone label. The same clarity applies to a motion detector, shutter contact or gate contact.
This makes routine servicing more direct. A persistent fault on Kitchen Window sends the technician to one detector, its cable and its termination. Event history is also easier to interpret because separate devices are not combined under a broad group name. That detail is particularly useful for a remote property owner who depends on panel messages rather than being present to inspect the building.
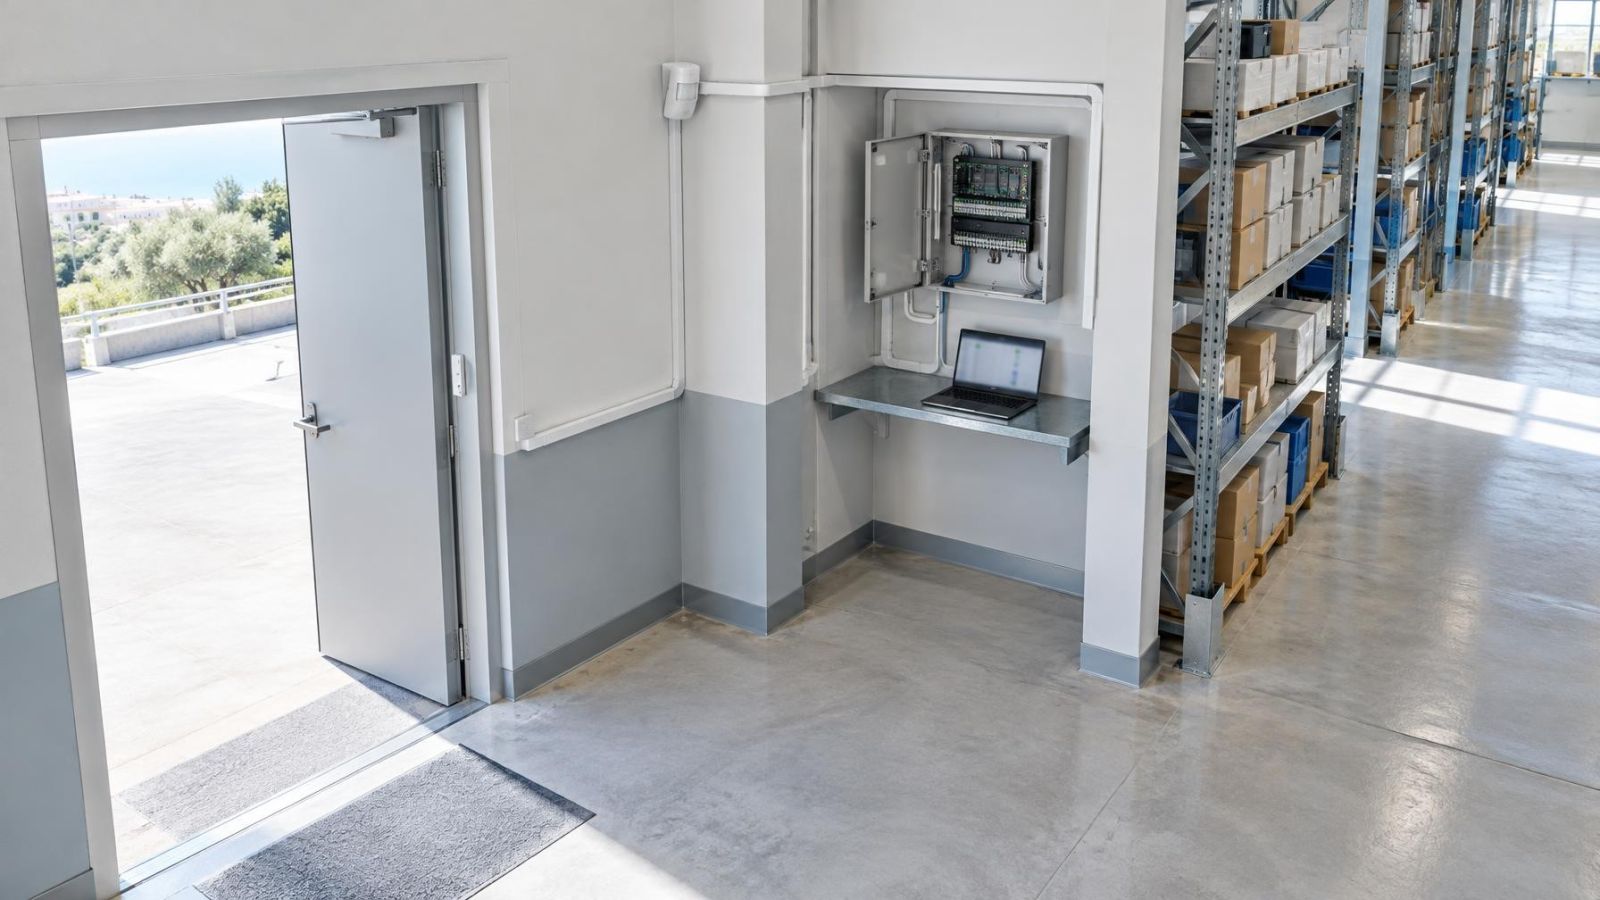
The limitation is input capacity. A panel needs an available input for every dedicated zone. Larger properties, multiple perimeter openings and separately monitored rooms can consume the built-in inputs quickly. Zone expansion can preserve individual identification without forcing unrelated detectors into groups, provided the panel supports a suitable expansion arrangement.
- Best suited to: entrance doors, difficult-to-access detectors, important perimeter openings and devices whose individual history matters.
- Main benefit: the reported zone points to one detector and one field circuit.
- Planning requirement: enough inputs must be available now, with sensible capacity left for later changes.
Shared Alarm Zone?
Can Multiple Sensors Use One Zone?
Several conventional detectors can share one zone when their contact behaviour and the panel configuration allow it. The panel then reports the group. A message such as Office Windows may mean that any one of several contacts changed state, but it does not normally identify which contact was responsible.
Grouping reduces demand for panel inputs. It can be a sensible choice where the required response is the same regardless of the individual detector. Several adjacent window contacts in one room are a better group than openings scattered across different floors, because the zone label still directs the user or technician to a useful physical area.
The trade-off appears during fault diagnosis. If a shared window zone remains open, each contact, joint and relevant cable section may need physical testing. An intermittent condition can take longer to isolate because the event history records the group rather than the device.
| Planning point | Dedicated zone | Shared zone |
|---|---|---|
| Event identification | Points to the connected detector | Points to the detector group |
| Panel input use | One input for each detector | One input for several compatible detectors |
| Fault isolation | Starts with one detector and its circuit | May require testing every detector in the group |
| Zone label | Can name a specific opening or device | Should name a clear space or function |
| Future changes | Easy to alter without affecting a group | Changes may require reviewing the entire shared circuit |
How Shared-Zone Wiring Behaves
Correct alarm zone wiring depends on two things: how the detector contacts behave and how the panel expects the input to be supervised. The wiring should not be chosen simply because series or parallel connections are easier at a junction point.
Closed-loop alarm contacts are commonly arranged in series. When every contact is in its normal state, the circuit remains complete. If one contact changes state, the loop changes and the panel interprets the result according to its configuration. Open-loop contacts are commonly arranged in parallel so that any contact can complete the alarm path. These are general circuit principles, not universal instructions for every panel.
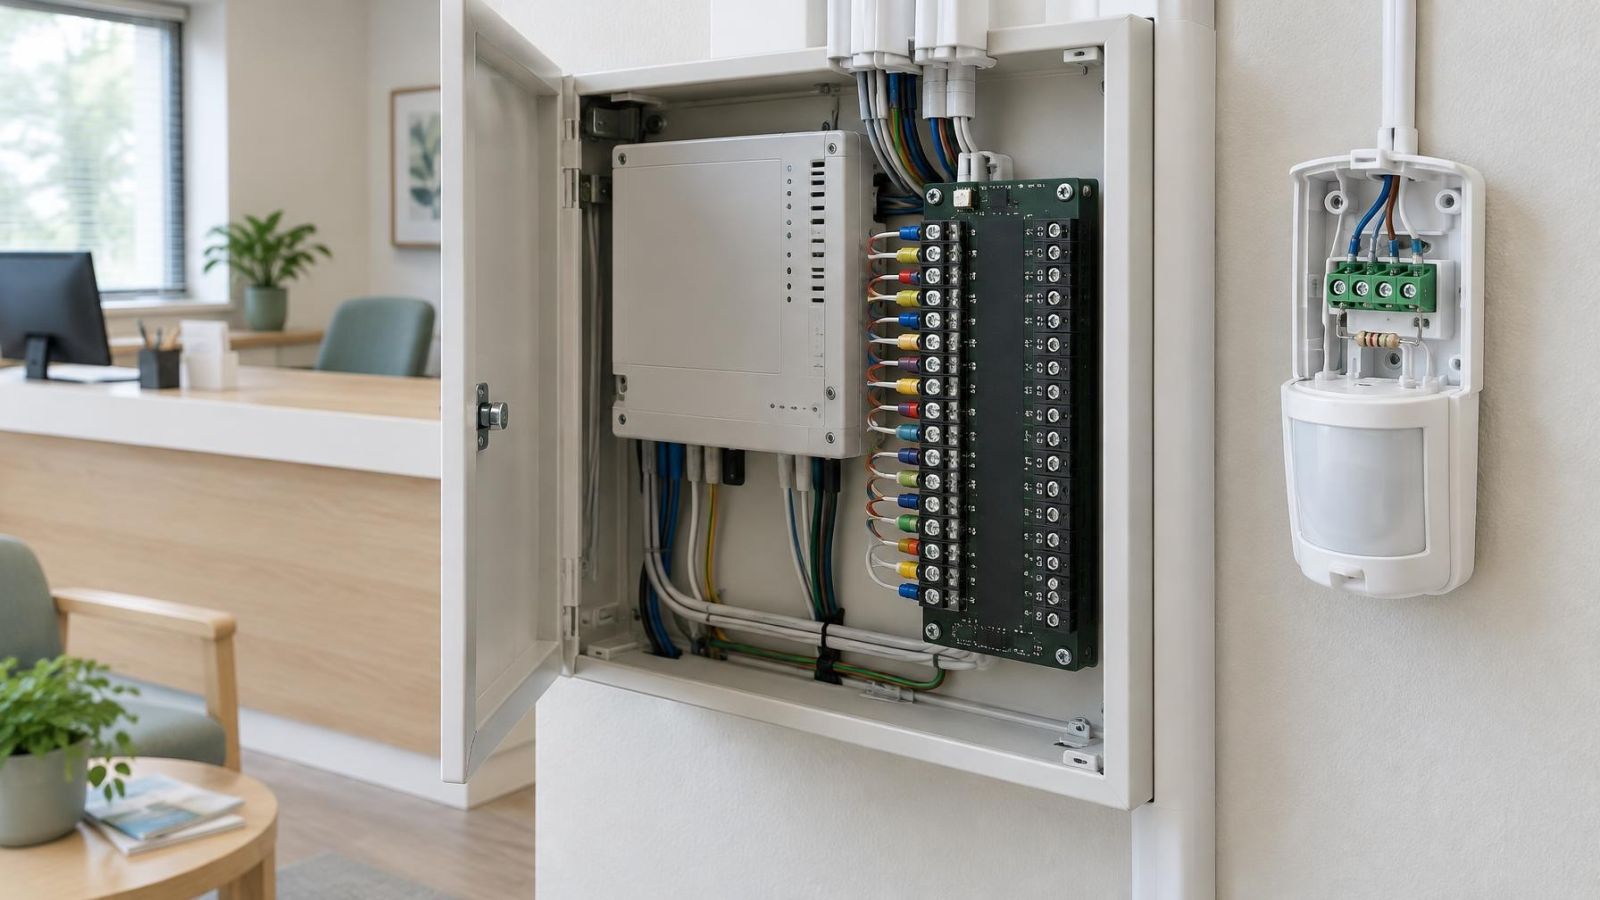
An end-of-line resistor adds supervision by giving the panel an expected circuit resistance. Its value and wiring arrangement must match the panel configuration. Placement matters as much as the resistor itself. If the resistor is installed inside the panel enclosure, the panel may supervise the short internal section while much of the field cable lies beyond the supervised point.
Tamper monitoring requires its own decision. Detector covers, junction boxes and alarm contacts may use separate tamper loops, combined supervised arrangements or dedicated inputs. Combining alarm and tamper conditions can reduce the detail shown by the panel. Keeping them separate can provide clearer reporting but uses more conductors or inputs.
Before several devices are connected together, the installer must confirm the normal contact state, required resistor arrangement, expected resistance conditions and the panel's interpretation of alarm, fault and tamper states. Guessing from wire colour or from another system is not reliable.
A shared circuit should be designed as one supervised system, not assembled as a collection of spare wires and convenient junctions.
Where Grouping Makes Practical Sense
A useful group has a clear operational meaning. Adjacent openings serving the same room are often reasonable candidates. Repeated contacts on a set of shutters or windows may also fit together when the response is identical and individual event history has little practical value.
- Several window contacts around one room, labelled with the room name.
- Repeated contacts serving the same secondary storage area.
- Openings that are physically close, accessible for testing and used for the same purpose.
- Common-area contacts where everyone responsible for the system understands what the group label covers.
Arbitrary grouping produces weak messages. A zone labelled Miscellaneous might combine a gate, a rear window and an internal motion detector simply because their cables meet nearby. The panel message then gives little help during an alert or fault.
Mixing detector types also deserves caution. Motion detectors and magnetic contacts can have different powering, alarm and tamper arrangements. They may also call for different responses. Sharing is not automatically wrong, but there should be a clear reason and full electrical compatibility. Wiring convenience alone is not enough.
Israel-Specific Planning Considerations
The right zone plan follows the property boundary and the way the building is used. In an Israeli apartment, the apartment entrance door belongs to the private alarm plan. The building's shared entrance, lobby or parking access is a common area and may be managed separately. It should not be casually added to an apartment panel merely because a cable route is available.
Private homes often add garden gates, side passages and perimeter openings. A gate exposed to sun, dust and rain is a different service environment from an indoor window contact. Giving it a dedicated zone can be worthwhile because its label is clear and its outdoor wiring can be diagnosed without involving indoor detectors. If several perimeter contacts are grouped, keep the grouping geographically understandable.
Street-front businesses may have a glazed entrance, a service door and one or more shutters. These openings can look like one frontage but behave differently. A shutter contact may be difficult to reach after the premises are fitted out, while the entrance-door contact is readily accessible. Separate zones can reduce disruption when one circuit needs attention.
A mamad, the protected room found in many Israeli floor plans, should be treated as a real room within the zone plan rather than an exception. Consider its door, window arrangement, detector position and cable route in relation to how the room is used. Thick walls and later decorative work can make an undocumented cable route inconvenient to trace.
Service access matters throughout the property. Junctions buried above fixed ceilings, resistors concealed without labels and cables trapped behind fitted cabinetry make even a well-designed electrical circuit harder to maintain. Choose accessible termination points and record where the field wiring runs.
Choose the Zone Plan Before Installation
Zone planning should happen before cables are terminated and before panel labels are entered. Starting with a complete device list prevents the final few detectors from being grouped together merely because the available inputs have been used.
- List every device. Include motion detectors, magnetic contacts, gates, shutters, panic devices and tamper circuits, along with the opening or space each one serves.
- Define the required reporting detail. Decide whether a message must identify one detector, one room, one frontage or only a broader area.
- Separate important and difficult devices. Give priority to entrances, outdoor circuits, inaccessible contacts and devices whose individual history will be useful.
- Build logical groups. Combine only electrically compatible detectors that share a space, purpose and expected response.
- Check input capacity. Compare the proposed zones with the available panel inputs and consider zone expansion rather than sacrificing useful identification.
- Leave room for change. Reserve practical capacity for another detector, a changed room layout or an additional protected opening.
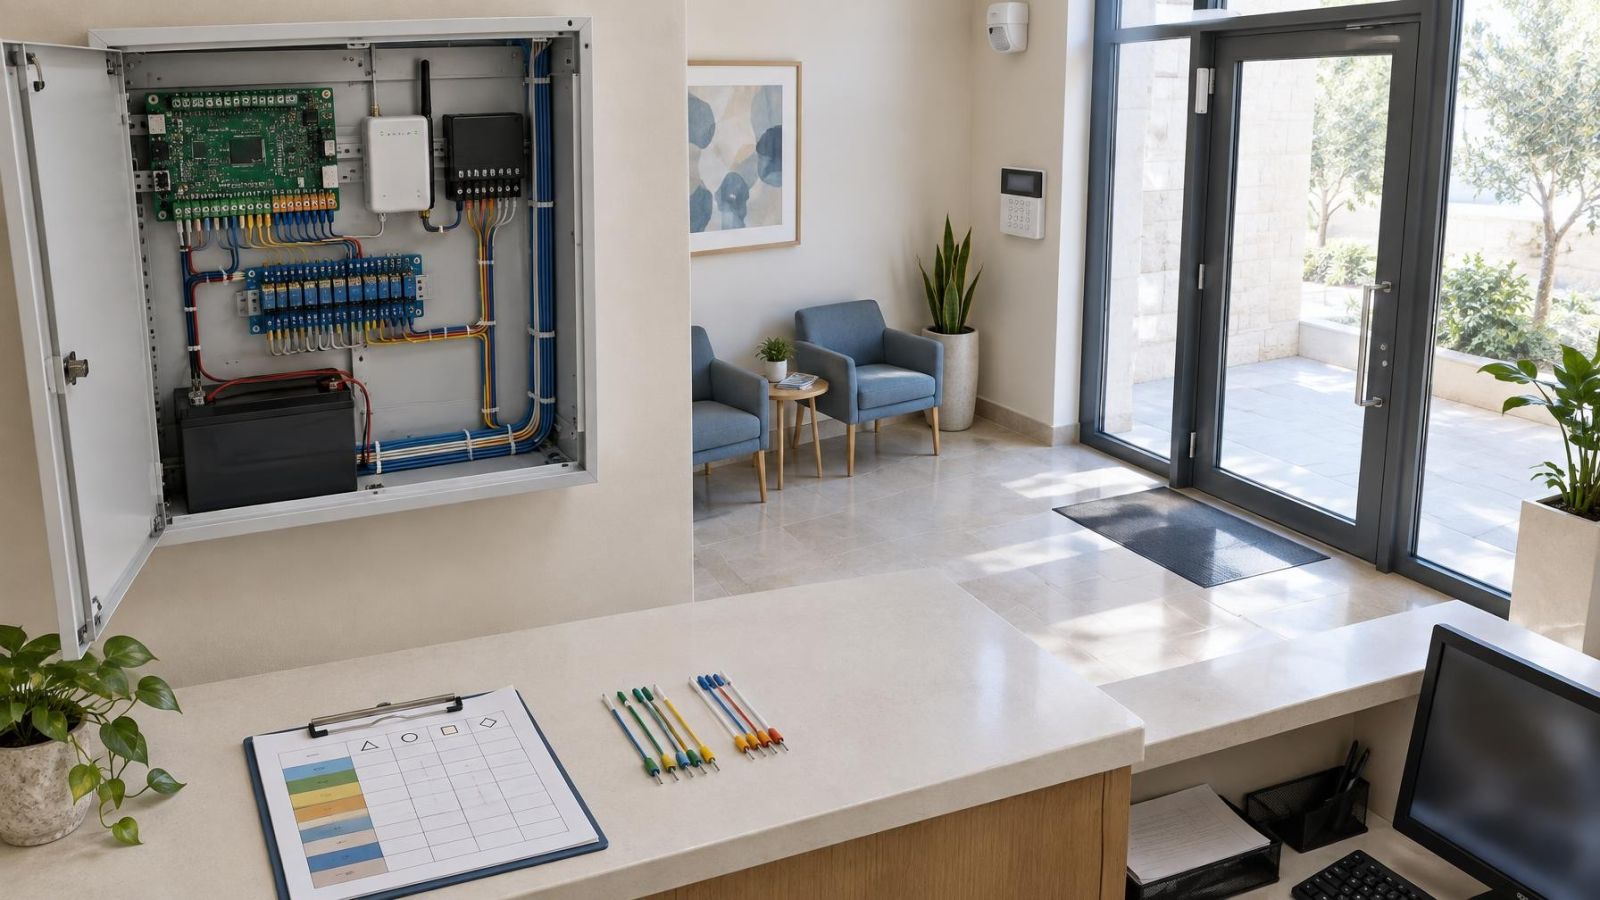
- Document the installation. Record zone labels, detector membership, cable routes, terminal use, contact behaviour and end-of-line resistor locations.
Good documentation should make sense to someone who was not present during installation. A label such as Rear Bedrooms needs an accompanying list of the detectors included. For a remotely managed property or a business with changing staff, clear English labels can also prevent confusion when users receive panel notifications.
The strongest design is not automatically the one with the greatest number of zones. It is the one that gives the required reporting detail, supervises the field wiring properly and remains understandable when a detector needs testing several years later.
Key takeaways
- Dedicated zones provide clearer detector identification and usually make faults easier to locate.
- Shared zones conserve alarm control panel inputs but report a group rather than the specific detector that changed state.
- Detectors grouped on one zone should serve the same space or function rather than merely sharing a convenient cable route.
- An end-of-line resistor provides the most useful supervision when it is installed at the supervised end of the field wiring.
- A practical zone plan leaves capacity for future detectors and records labels, cable routes and resistor locations.