On this page
Adding wired cameras, wireless alarm sensors, a video recorder and a network cabinet to an occupied Israeli home does not automatically require general renovation. The real question is how to complete a low disruption security installation when surface cable trunking may be visible, rooms are furnished and a mamad affects possible routes. The answer begins with surveying the building before selecting equipment or drilling holes.
Survey the Finished Home First for a Low Disruption Security Installation
A finished home should be treated as an existing system, not as an empty shell. It already has communication points, electrical routes, air-conditioning services, cabinetry, ceiling details and furniture. Some of these provide useful paths. Others create obstacles that are not apparent on a floor plan.
The survey should follow the whole route from each proposed device to its destination. For a wired camera, that means tracing a continuous cable path back to the network cabinet, recorder or relevant connection point. Finding an attractive mounting position is not enough if the cable can reach it only by crossing a prominent wall.
What Changes When a Security System Goes into an Existing Home?
Finished surfaces change the order of decisions. Stone cladding, decorative plaster, fitted wardrobes, tiled walls and custom joinery may be more important to preserve than the shortest possible cable route. Curtains, shelving and doors can also block access or make a technically simple route impractical while the home is occupied.
- Inspect the communication cabinet, electrical service areas, ceiling access points and existing low-voltage outlets.
- Check whether apparent conduits are accessible, continuous and spacious enough for another cable.
- Mark finishes that should not be drilled, lifted or covered by trunking.
- Record furniture or equipment that cannot easily be moved during installation.
- Identify rooms that need to remain usable and arrange the work sequence around them.
In an apartment building, part of the route may pass through a shared entrance, corridor, parking area, roof space or service shaft. Access and appearance should be coordinated with the va'ad bayit, the building committee that handles shared matters. The discussion should cover where work takes place, which surfaces are touched and whether any visible route remains in a common area.
Where Can Cables Run Discreetly?
The best route is usually the one that balances access, appearance and future serviceability. A completely hidden cable is not automatically better if reaching it later requires opening cabinetry or removing a finished ceiling. Equally, the shortest surface route may be too visually prominent for a main living space.
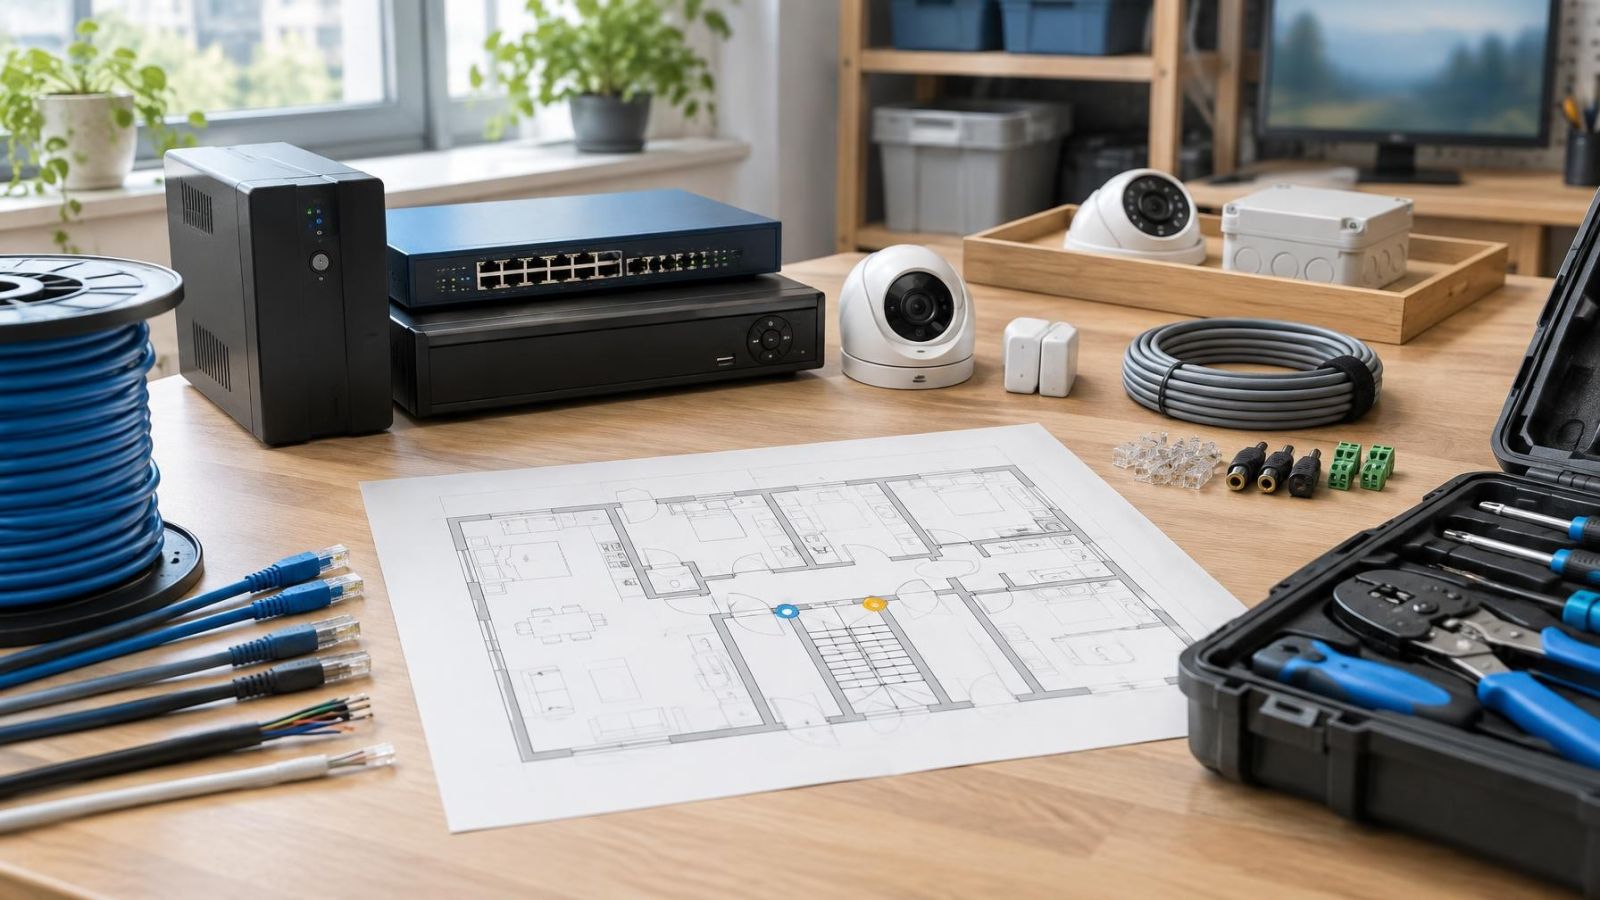
Start with the equipment location. An NVR (network video recorder) needs network access, power, ventilation and enough physical space for its connections. It should not be placed where normal fan noise is intrusive, where stored items block airflow or where routine playback requires disturbing an occupied bedroom. If a network cabinet already exists, confirm that it has usable space rather than assuming all equipment will fit.
How Can Security System Cables Be Concealed?
Possible concealed routes include accessible ceiling voids, vertical service shafts, existing conduits and the hidden spaces above or behind suitable cabinetry. Each path still needs an entry and exit point. Those transitions should be planned as carefully as the concealed section because they determine where holes, cable loops and connectors remain visible.
- Use existing low-voltage conduits when their route and capacity have been physically confirmed.
- Keep cable entries behind the final camera base or device housing where the construction allows it.
- Follow cabinet tops, shadow gaps and ceiling edges when a partly concealed route is more practical.
- Retain accessible junction points instead of burying connections behind permanently closed finishes.
- Leave enough service length for termination and adjustment without creating a visible coil.
Where concealed wiring is impractical, surface cable trunking is often less invasive than opening a finished wall. Its visual effect depends heavily on placement. A route aligned with a door frame, ceiling line or joinery edge is usually quieter than one crossing the centre of a wall. Colour, width, corner pieces and the position of joints should be agreed before installation.
A mamad, the reinforced safe room found in many Israeli homes, can be difficult for both cable routing and wireless communication. It should not be treated as an ordinary internal partition. Existing service entries and accessible routes need to be inspected, and alternative paths may be preferable. If a device is inside or beyond the room, test communication in its final position with the door in the conditions in which the system will normally operate.
Outdoor routes have another set of constraints. Cable and trunking should be chosen and positioned for exposure to strong sunlight, dust and, near the coast, humid air. Routes should avoid places where water collects or where routine cleaning, gardening or gate movement can disturb them. An outdoor cable entering the home also needs a deliberate transition rather than an exposed gap around the cable.
Wired or Wireless for Less Disruption?
The least disruptive design is often mixed rather than entirely wired or entirely wireless. Device type should follow the conditions at each position. The aim is to avoid unnecessary building work without creating difficult power, signal or maintenance arrangements.
| Option | Installation impact | Ongoing needs | Typical use in a finished home |
|---|---|---|---|
| Wired camera | Requires a continuous data and power route | Cable and connection checks | Fixed positions where stable recording and discreet routing are available |
| Wireless camera | Avoids a network cable but still needs power or battery access | Signal, power and battery attention as applicable | Positions where data cabling is intrusive and communication is dependable |
| Wired alarm detector | Requires a route back to the alarm panel | Connection checks | Accessible routes, existing alarm cabling or planned renovation points |
| Wireless alarm sensor | Usually avoids a control cable | Battery access and signal checks | Doors, windows and rooms where new cabling would damage finishes |
Wired cameras are generally the stronger choice when a suitable route exists. A PoE (power over Ethernet) connection can carry data and power on the same cable, but it does not remove the need for an unbroken cable path. The route must still reach every camera from the relevant network equipment.
Wireless alarm sensors can substantially reduce cabling around doors, windows and finished rooms. They are not installation-free. Battery-powered devices need future access, while mains-powered wireless devices still need a suitable power source. A sensor positioned above tall cabinetry may look discreet but become inconvenient whenever its battery or mounting needs attention.
Signal quality should be tested at the proposed location, not inferred from a test beside the router or alarm panel. Reinforced walls, stone, metal cabinets, floor slabs and a mamad can alter communication. Test with furniture in place and doors closed. For a remote property owner, this step is particularly important because a maintenance visit may otherwise be needed for a problem that began with poor placement.
Wireless communication removes some cable routes; it does not remove power, signal or maintenance planning.
Plan Every Hole Before Drilling
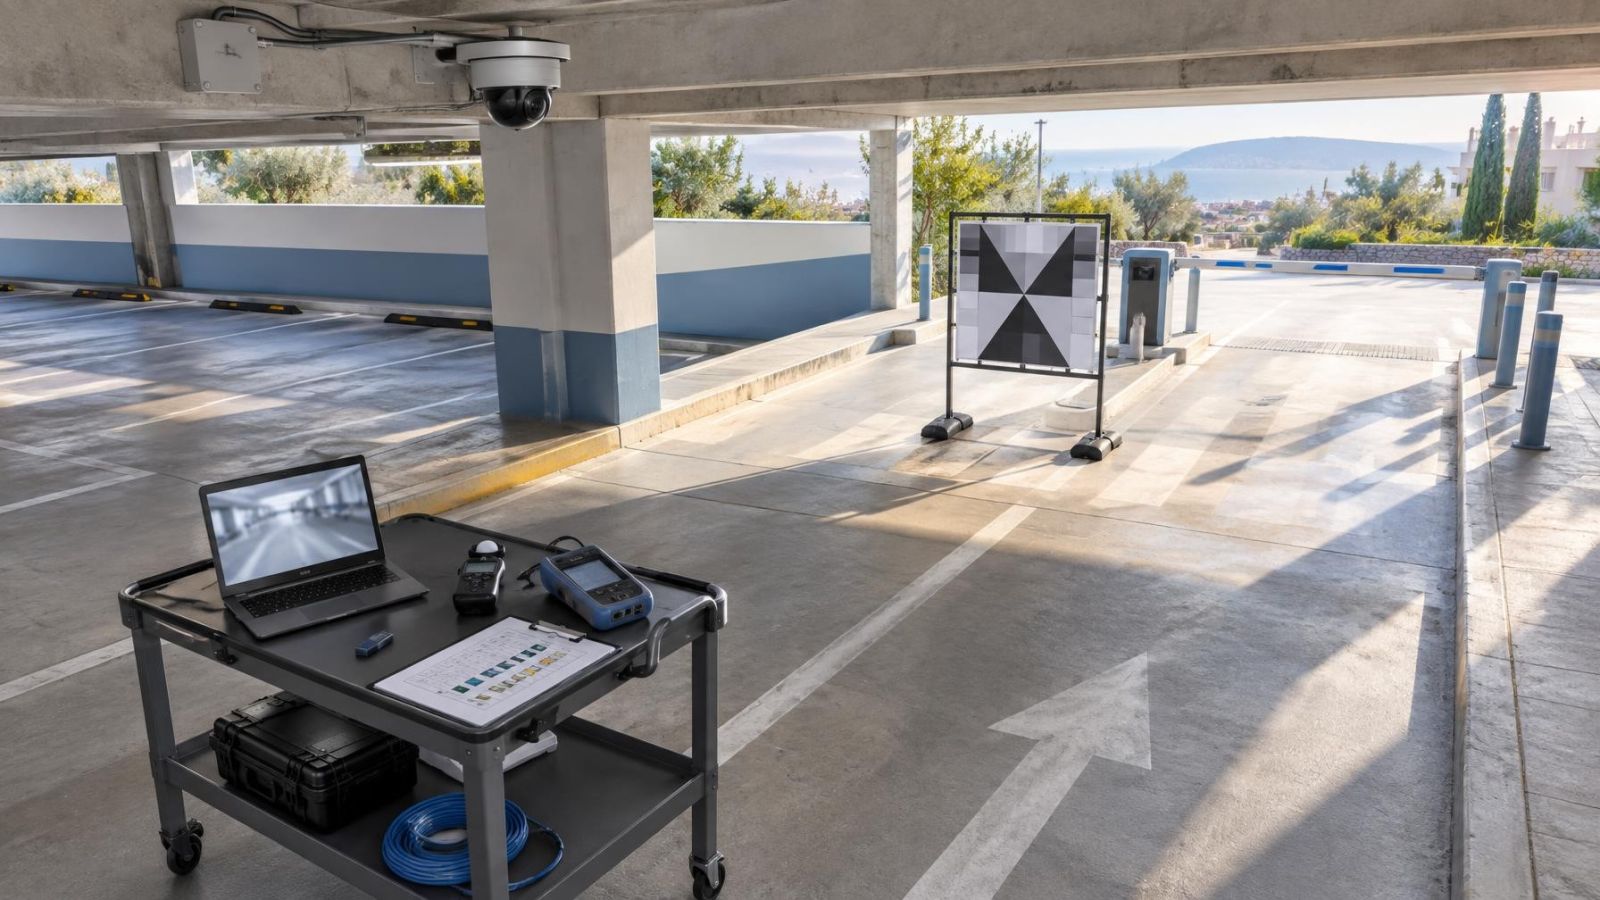
Drilling should come after the view, route and final mount have all been confirmed. A camera can look correctly positioned from the floor while producing a poor scene from the lens. Before fixing it, use a temporary live view at the intended height and angle.
In Israeli conditions, direct sunlight and deep shade may appear in the same entrance or garden view. Check the scene at relevant lighting conditions. WDR (wide dynamic range) can help a camera handle bright and dark areas together, but it is not a substitute for sensible placement. Moving the camera away from direct glare or changing its angle may give a cleaner view than relying on image processing.
Night vision also needs a physical check. The infrared illuminator can reflect from a nearby wall, soffit, glass surface or pale object and wash out part of the image. Garden lighting, entrance lights and illuminated signs can create uneven scenes. The planned position should therefore be reviewed for both daytime light and nearby lighting after dark.
- Confirm the live camera view from the exact mounting point.
- Check door movement, shutters, awnings, plants and parked vehicles that may block the scene.
- Align the cable entry with the camera base so the cable is not exposed beside the mount.
- Locate the proposed hole from both sides of the surface before drilling.
- Record any fixing that touches tile, stone, joinery or another sensitive finish.
Limited-drilling options can help in selected positions. A lightweight alarm sensor may suit an appropriate adhesive fixing. Some indoor devices can use an existing junction point, shelf or purpose-made support. These methods depend on device weight, surface condition and the need for reliable alignment. A security camera exposed to weather or accidental contact generally needs a stable mechanical mounting rather than an improvised adhesive attachment.
The owner or authorised local representative should approve irreversible work before it begins. For a remote owner, annotated photographs are often clearer than a verbal description: one photograph can show the proposed device, hole, cable entry and visible trunking route in context.
Control Dust and Protect Finishes
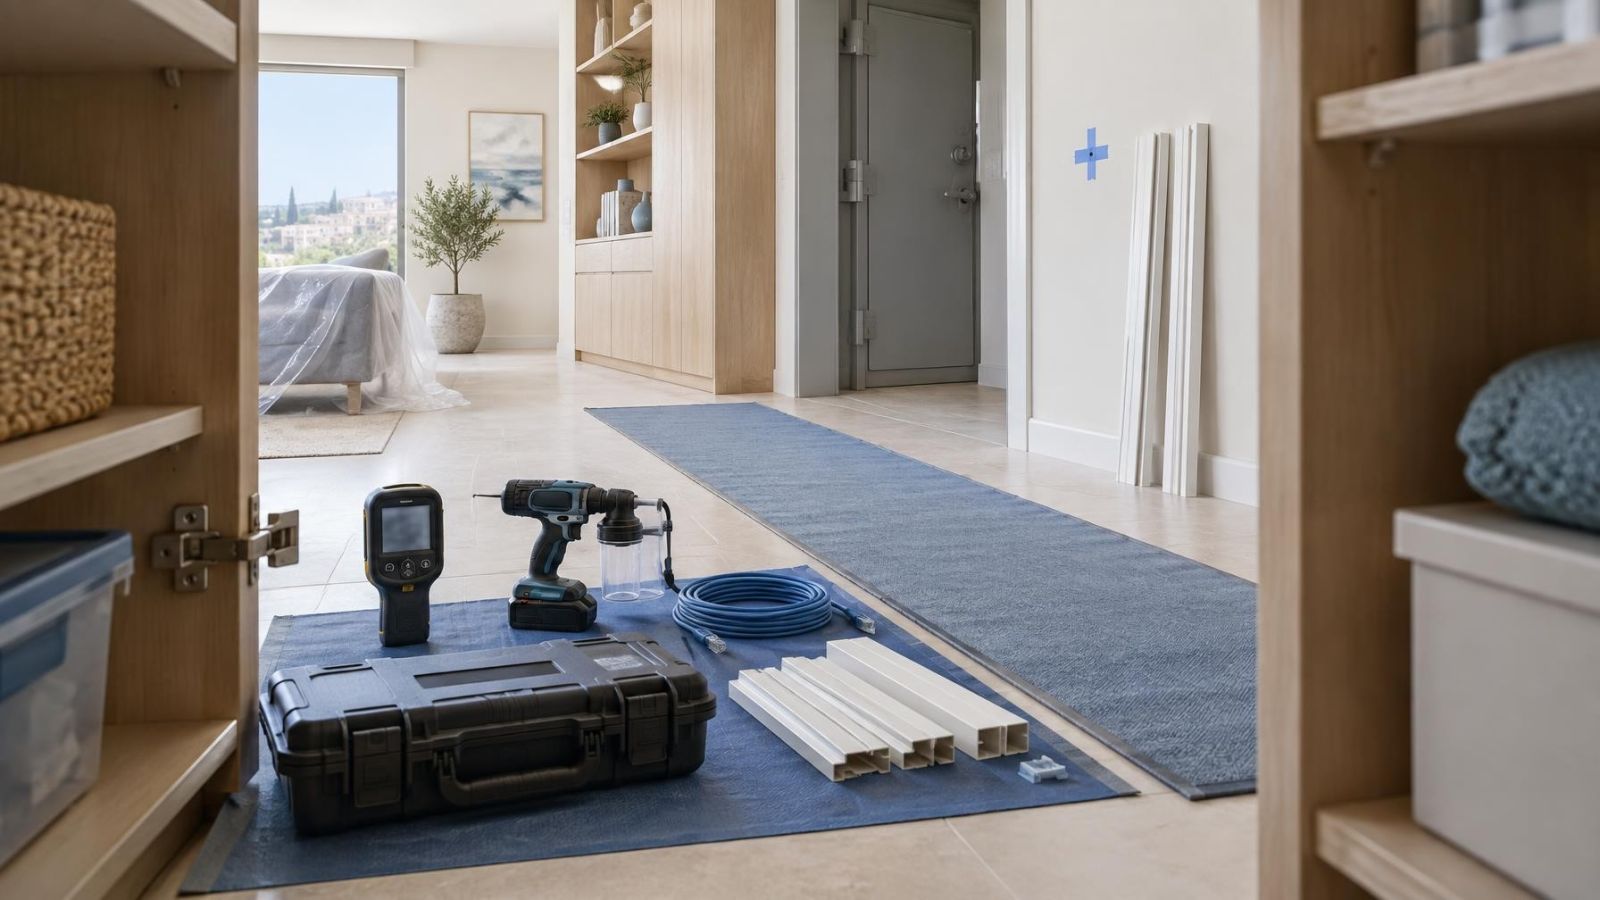
Dust control belongs in the installation plan. Adding covers after drilling has started is too late for nearby electronics, open shelving or textured fabrics. The work area should be prepared before tools and cable drums are brought into the room.
- Cover furniture, screens and equipment near each drilling point.
- Move small and fragile objects out of the immediate work zone.
- Protect floors along access routes, not only beneath the drill.
- Use suitable local dust capture while drilling masonry or finished surfaces.
- Keep tools and fixings off unprotected countertops, cabinetry and stone ledges.
- Close or isolate adjacent areas where practical before dusty work begins.
A room-by-room sequence limits how much of the home is disturbed at one time. The installer can prepare the route, drill, mount, terminate, test and clean one area before opening the next. This is especially useful in occupied apartments, home offices and small businesses that need to keep part of the premises usable.
Protection also applies to movement through the property. Cable boxes, ladders and equipment cases can mark walls or fitted furniture even when no drilling occurs nearby. Access routes should be cleared, floor coverings secured and doors protected where repeated movement is expected.
Clean handover means more than removing visible rubble. Dust should be cleared from ledges, cabinet interiors and equipment areas affected by the work. Packaging, cable offcuts and temporary covers should be removed. Furniture and ordinary room access should be restored before the area is considered complete.
Approve the Installation Plan
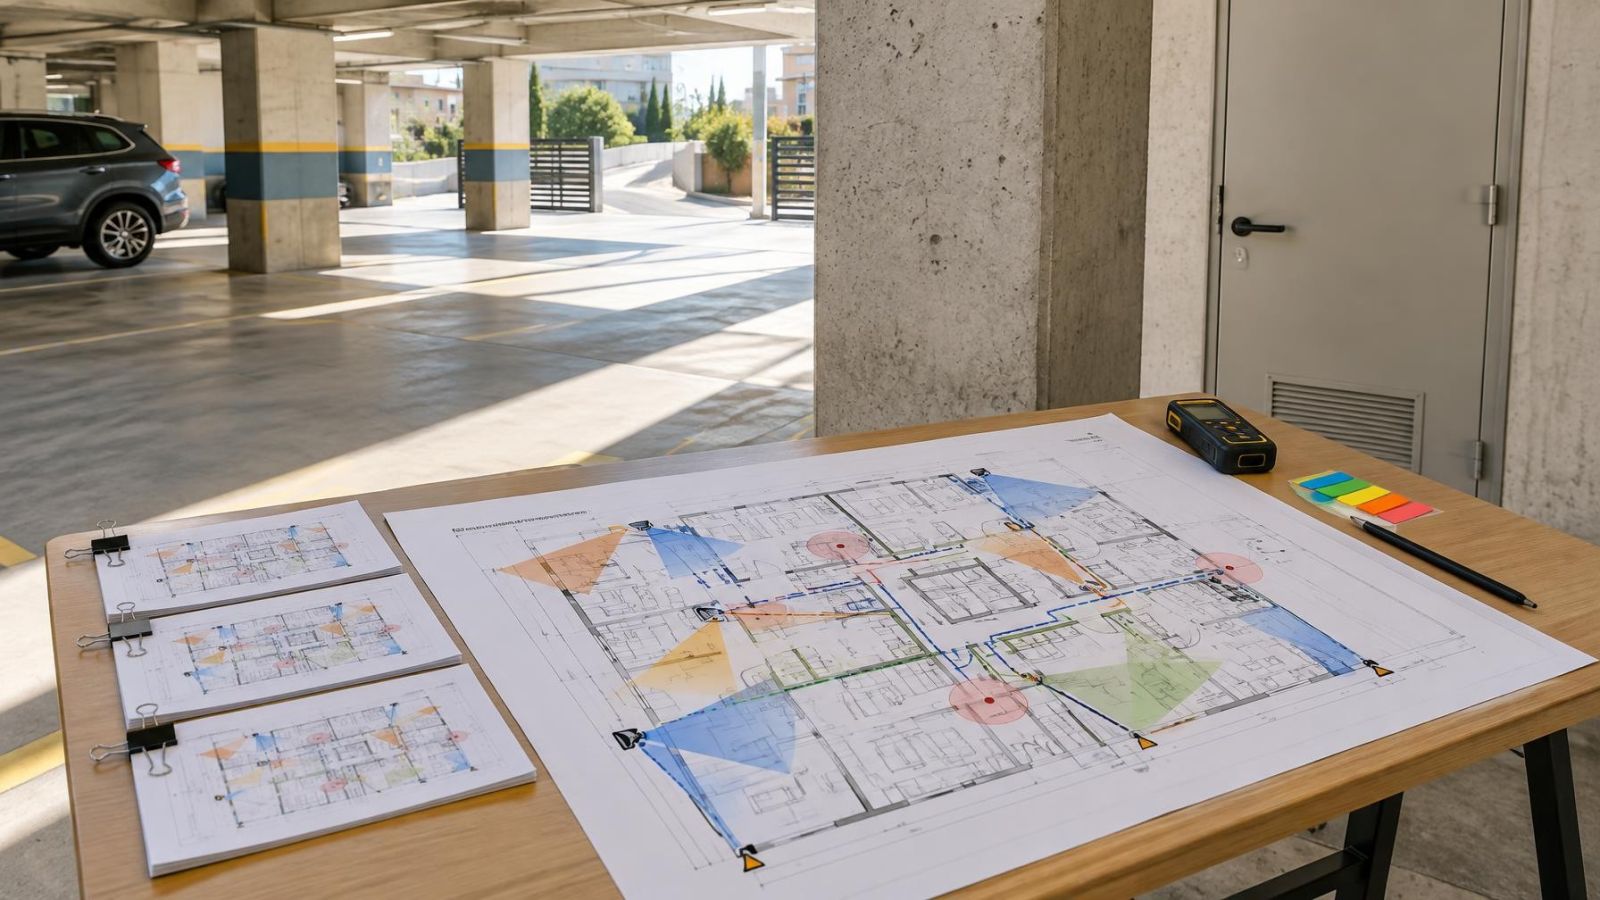
A useful installation plan is specific enough for another person to understand without relying on memory. It can combine a marked floor plan with photographs and a short schedule of devices. The format matters less than making the decisions visible before work starts.
- Mark every camera, detector, alarm panel, video recorder and network cabinet location.
- Show which cable sections are concealed and which use surface cable trunking.
- Record drilling points, service openings and areas requiring furniture movement.
- Specify the agreed trunking colour, width and route at visible locations.
- Identify shared-area access and any coordination needed with the va'ad bayit.
- Name the person who can approve a change if the planned route is blocked.
Changes should have a simple process. If an existing conduit cannot be used or an obstruction appears, the installer should pause at the affected point and present the alternatives. A small route change can alter the number of holes, the visible finish or the future access to a connection. It should not be treated as an informal on-site detail.
What Should the Testing and Handover Checklist Include?
Testing should reflect how the system will actually be used. Camera checks should cover live view, recording, playback, motion detection, night vision and the intended viewing accounts. Alarm checks should cover each detector, warning device and user control. Wireless devices should be checked from their final positions, while recorder and network connections should be labelled clearly enough for later service.
The handover record should note final device positions, cable routes, accessible junctions and any departure from the approved plan. Remote owners should receive the same location information as the person present during installation. A clean set of records makes future maintenance less dependent on opening finishes simply to discover how the original work was routed.
The lowest-disruption result comes from deciding more before installation day: where cables can travel, which devices genuinely benefit from wireless communication, which holes are acceptable, how visible materials should look and how each occupied space will be protected and returned to use.
Key takeaways
- Cable routes should be surveyed before cameras, sensors and recording equipment are selected.
- Wired cameras and wireless alarm sensors can be combined according to routing, signal and maintenance conditions.
- Every drilling point and visible finish should be approved before irreversible work begins.
- Dust control and furniture protection should be planned as part of the installation rather than added during the work.
- A documented installation plan gives residents, remote owners and installers the same reference for routes, finishes, testing and handover.