On this page
When reinforced concrete walls and a safe room sit between wireless alarm sensors, while security cameras need camera cabling across a stone-clad facade, the building itself becomes part of the design. A security system building materials review settles where radio links are dependable, where cables can run, and what each device can safely attach to.
Start With Security System Building Materials
The first survey should record the fabric of the property, not just room names and desired camera views. In an Israeli apartment, that may mean reinforced concrete structural walls, concrete block internal walls, lightweight partitions and a safe room within a relatively compact floor plan. A private home may add garden walls, boundary gates, stone cladding and detached service areas. A street-front business may also have metal shutters, display glass and suspended ceilings.
These materials do different jobs. Reinforced concrete is dense and contains steel. Concrete block is usually easier to route through, but its internal voids affect anchor choice. A drywall partition may carry a small sensor but need reinforcement for a heavier camera or cabinet. None of these surfaces should be treated as interchangeable simply because they are covered by the same paint or plaster.
The safe room deserves its own entry on the plan. Its dense walls and metal components can interrupt communication between equipment on opposite sides. It can also complicate cable routing because a convenient straight path on a drawing may be unsuitable in the actual structure. The correct response is not to assume that every signal will fail. It is to test the intended positions and plan an alternative route where necessary.
- Mark each wall and ceiling as reinforced concrete, concrete block, lightweight partition or unknown construction.
- Record stone, tile, plaster and other finishes separately from the material behind them.
- Identify the safe room boundary, heavy metal doors, shutters, cabinets and service risers.
- Inspect both sides of a proposed mounting point whenever access allows.
- Treat an unknown substrate as an item to verify, not as a minor installation detail.
Visible finishes are often misleading. Stone may be thin cladding over a void, thick masonry, or a decorative layer over concrete. Plaster can conceal block, concrete or a lightweight board. The material seen from the room is therefore not necessarily the material that must carry the fixing.
Can Wireless Signals Cross Thick Walls?
Wireless signals can cross many walls, but dense material reduces their strength. Reinforcement, metal framing, foil-backed insulation and large metal objects can make the result less predictable. The issue is not only nominal wireless range. It is whether each sensor can communicate consistently from its final position, through the building as it is normally used.
Are Security Systems Reliable Through Concrete Walls?
Security system concrete walls require position-specific planning rather than a general yes-or-no answer. One concrete block partition may have little practical effect, while several reinforced walls can create a difficult path. Open doorways and corridors sometimes provide a better radio route than the visually shortest line between a sensor and the alarm control panel.
Panel placement should therefore be reasonably central, accessible for service and away from enclosing metal cabinets. Hiding it in the most structurally enclosed corner can produce poor communication with distant sensors. Moving the panel, adding a suitable receiver location or cabling the difficult zone may be cleaner than trying to force a wireless layout.
Is Wireless Security Reliable Through Thick Walls?
Wireless security through thick walls can be reliable when the complete path is tested. A signal reading taken in the middle of a room is not enough if the sensor will ultimately sit in a concrete corner, behind a metal shutter housing or beside electrical equipment. Final height and orientation also matter. Testing should happen at the actual mounting point.
How Should You Test a Safe Room Wireless Signal?
Test a safe room wireless signal with the sensor and panel in their proposed positions. Close the safe room door and place other doors, shutters and movable metal elements in their normal states. Repeat the communication check rather than relying on a single successful transmission. If the path remains uncertain, use an alternative panel or receiver position, or provide a wired connection for that zone.
Plan Cable Routes Before Equipment
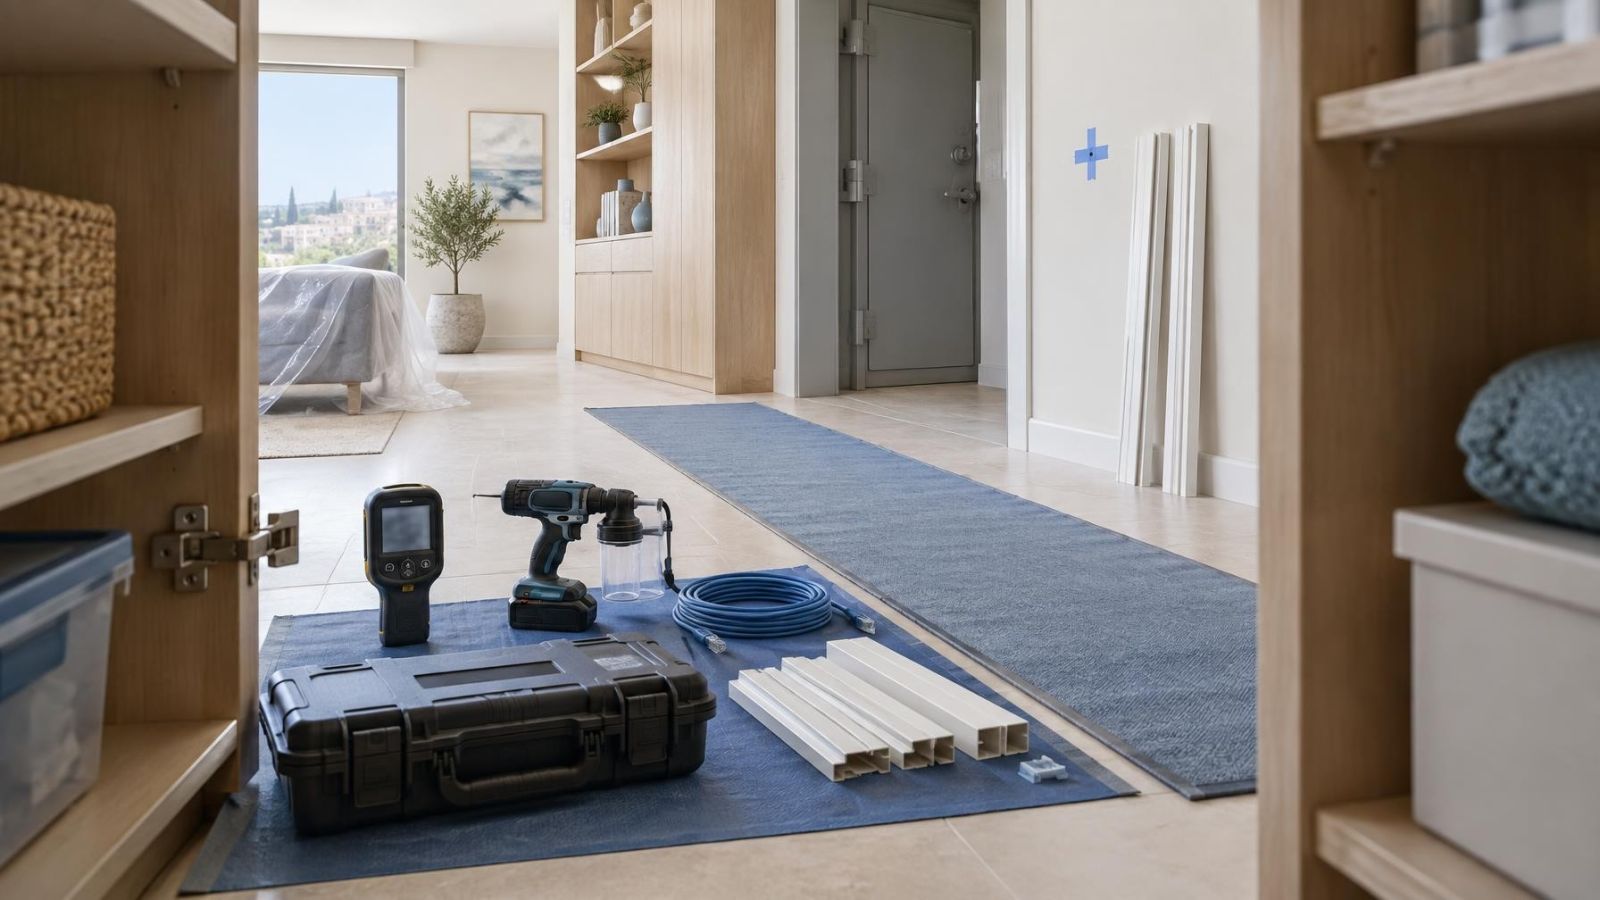
Cable planning should begin before camera bodies, alarm devices or recording equipment are selected. The useful question is not merely whether a cable can reach a location. It is whether the route can be installed without damaging finishes unnecessarily, protected at vulnerable transitions and accessed later if a connector or cable section needs attention.
Existing conduit, ceiling voids, service shafts and accessible cabinet spaces often provide the cleanest paths. Their presence should still be confirmed physically. Drawings may omit later alterations, and an apparent conduit may be blocked, occupied or disconnected. A pull cord proves more than an assumption.
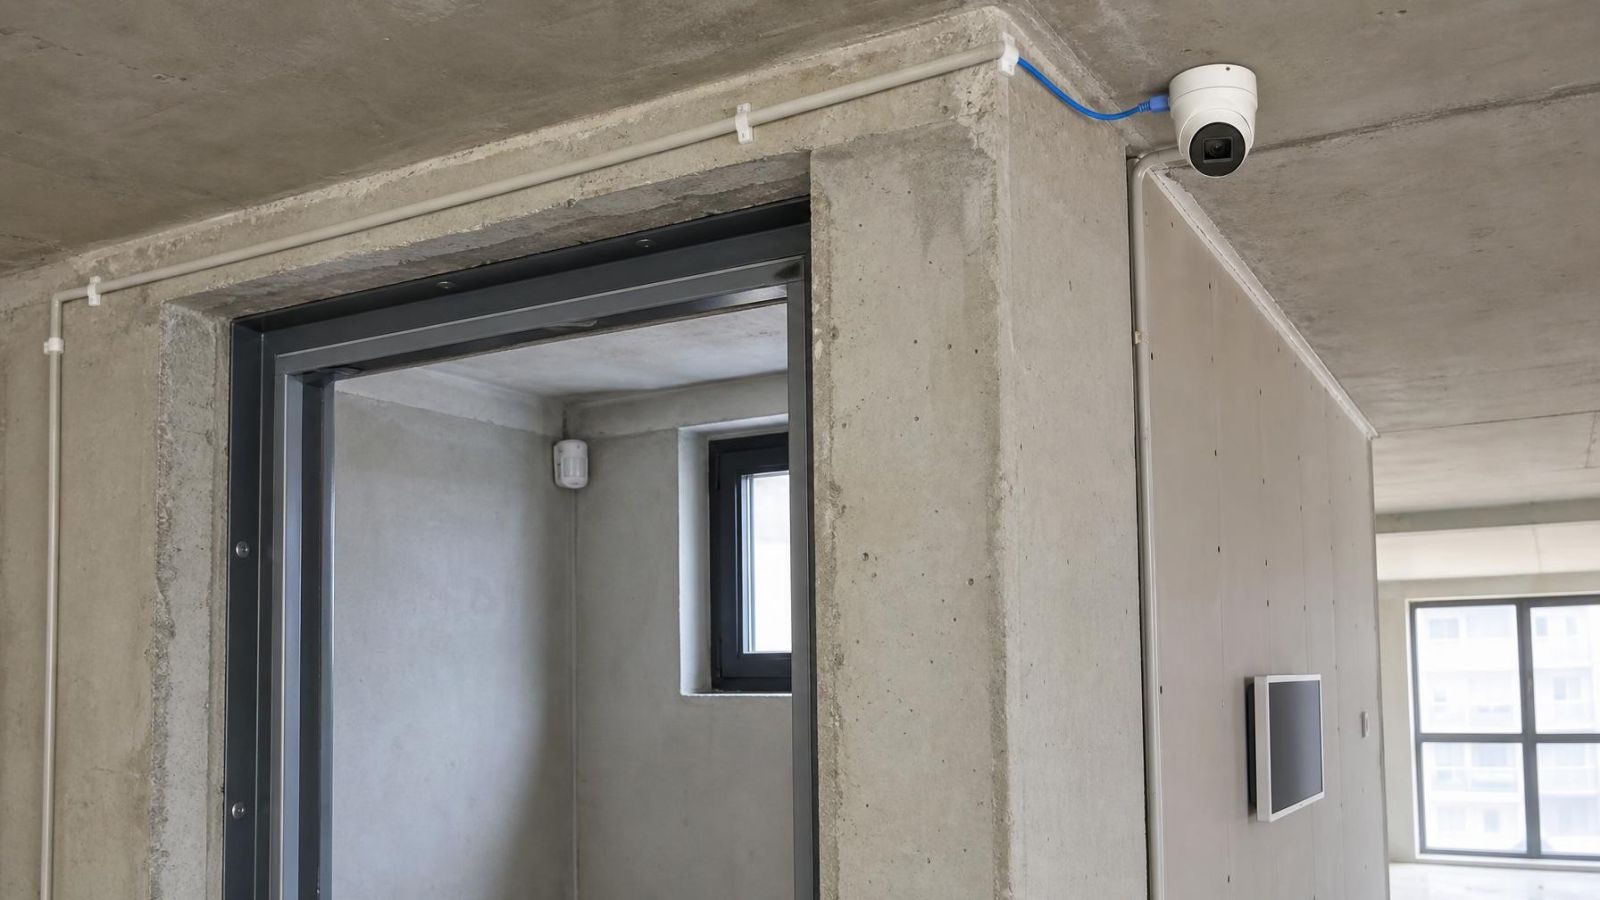
Camera, alarm and general network runs should be labelled and organised as distinct services, even where they share part of a route. PoE (power over Ethernet) camera cable carries network data and power to the camera. Keeping routes orderly makes testing and replacement easier at the NVR (network video recorder), network cabinet and alarm panel. It also reduces the chance of an unrelated cable being disturbed during maintenance.
Safe room boundaries can break an otherwise simple route. Rather than assuming a new opening can be made at the most direct point, look first for existing entries, adjacent service paths or a route around the boundary. The extra cable length may be less important than preserving an accessible, understandable installation.
- Keep junctions, couplers and changes of cable type in accessible locations.
- Avoid burying a serviceable connection behind fixed stone, sealed joinery or a closed ceiling.
- Protect cable where it passes from an indoor route to an exterior wall, gate or garden area.
- Provide a gentle route into housings rather than a tight bend immediately behind the device.
- Leave clear labels at both ends and at accessible intermediate points.
Outdoor transitions deserve particular attention. A cable passing through a facade needs mechanical protection and a weather-sealed penetration. The entry should not guide water towards the interior or connector. Exposed cable should not carry the weight of the camera or be left where routine cleaning, gardening or shutter movement can pull it.
Match Fixings to Each Surface
A device is only as secure as the substrate holding it. Paint, plaster and decorative cladding may provide a neat finish, but they are not automatically suitable load-bearing materials. The fixing should engage the concrete, block, framing or reinforcement behind the visible surface.
Concrete and concrete block require different anchor decisions. A fixing intended for solid concrete may not behave the same way in a hollow block. Hole position, anchor type and embedment must suit the actual substrate and the load created by the device and its bracket. Exterior cameras also experience movement from wind and from people adjusting or cleaning them, so the bracket should not depend on a thin finish layer.
Lightweight partitions need similar care. A small alarm sensor may be mounted directly to an appropriate board fixing, while a projecting camera bracket or equipment cabinet may need framing, backing or another reinforced point. Finding that support before choosing the exact device position avoids a weak fixing disguised by a tidy surface.
Stone-clad walls add depth and uncertainty. The installer needs to establish whether the stone itself is structural, whether there is a void behind it and how far away the supporting wall sits. Tightening a bracket against unsupported cladding can crack the finish or leave the device unstable. Spacers and anchors must transfer the load to a suitable substrate without crushing the visible stone.
Every exterior penetration should be finished as part of the installation, not treated as a hole hidden behind a camera. Cable entries need sealing suited to the surface and exposure. Metal fixings and connectors should also be chosen and positioned with moisture in mind, particularly near the coast.
How Do Metal Structures Affect Coverage?
Metal can absorb, reflect and redirect radio energy. That creates signal shadows in some positions and reflected paths in others. The resulting coverage may change sharply over a short distance, which is why a general range specification cannot replace testing inside the property.
Common examples include safe room doors, electrical cabinets, storage shelving, facade panels, metal window frames and roller shutters. A sensor may communicate well while a shutter is open and poorly when it is closed. A device mounted inside or directly behind a metal cabinet can face the same problem. Tests should reproduce the normal closed or occupied state, not only the easiest condition during installation.
Reflective materials also affect camera images. Glass, polished metal and pale surfaces can send IR illumination back towards the lens, reducing useful night vision detail. A camera placed behind glass may also record room reflections, especially when the interior is brighter than the exterior. Changing the camera angle, moving the illuminator or mounting the camera outside the reflective barrier usually gives a more usable view than compensating in software.
When metal obstructs a wireless path, several responses are possible. The panel or receiver can move to a more open position. A sensor can sometimes move by a small distance while still covering the intended opening. A wired alarm circuit can serve the affected zone. Camera cabling can also bypass a radio shadow entirely. The best option is the one that remains accessible and understandable for future maintenance.
Account for Israeli Exposure Conditions
Material planning does not stop at the internal walls. Israeli properties commonly combine strong sunlight, deep shade, dust and exposed exterior transitions. Coastal locations add persistent humidity around connectors and fixings. These conditions affect the placement and detailing of cameras even when the underlying network and alarm design are sound.
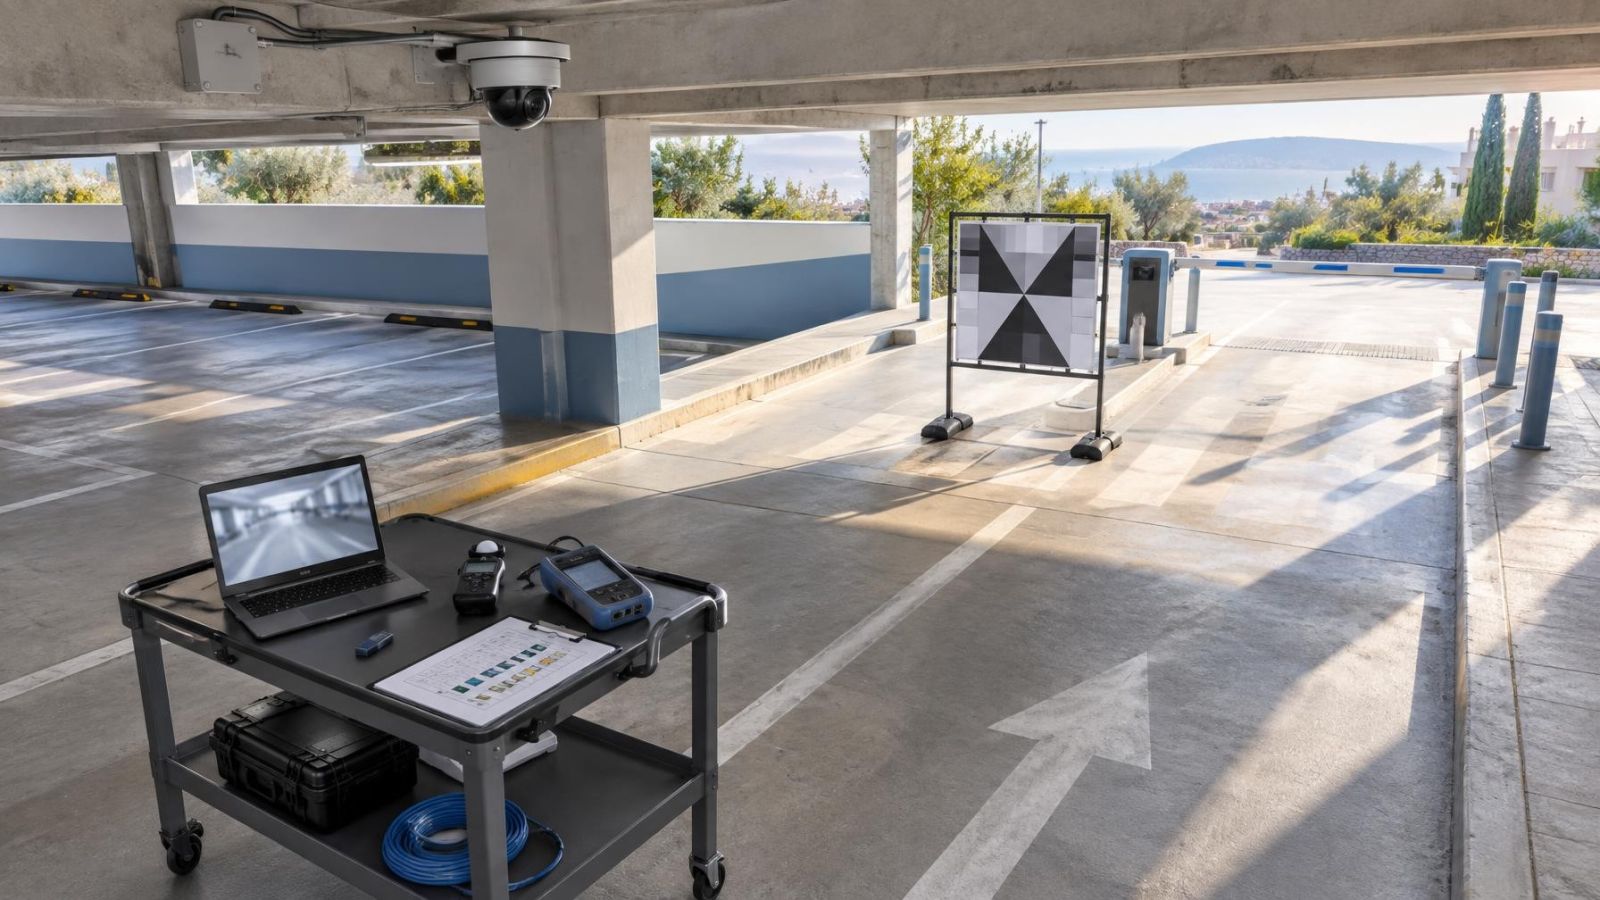
A camera facing a bright entrance from a shaded interior may need WDR (wide dynamic range) to retain useful detail in both areas. Placement still comes first. Moving the camera away from direct sun, reflected glare or a bright sky can improve the scene more effectively than relying on image processing alone. Sun position changes, so the survey should consider the likely direction of light rather than only the conditions at the moment of inspection.
Dust tends to collect at housing seams, cable glands and sheltered ledges. It can also settle on domes and front glass, where it becomes more visible under IR at night. The mounting position should allow safe cleaning without dismantling surrounding finishes. A housing under an eave may be easier to maintain than one set into a decorative recess that traps dust.
For a stone house security system, the facade affects both the fixing depth and the cable route. Garden walls and entrance gates may be physically separate from the main building, so they need a confirmed path for power, data or alarm wiring. A nominally wireless gate sensor still has to communicate through exterior walls, metalwork and landscaping from its final position.
In apartment buildings, the entrance, stairwell and shared service spaces are common infrastructure rather than extensions of one flat. Camera views, cable paths and equipment locations may therefore depend on coordination with the va'ad bayit and other people responsible for the building. From an engineering perspective, the important point is to identify ownership and access early. A recorder inside one unit should not rely on a hidden joint in a shared ceiling that cannot be reached for service.
- Check for direct sun, bright sky and reflective paving within each proposed camera view.
- Keep connectors out of water paths and avoid upward-facing cable entries.
- Allow practical access for cleaning dusty lenses and housings.
- Confirm how cables or wireless links will reach detached gates, stores and garden areas.
- Record which routes and mounting surfaces are inside the property and which are shared.
Decide After a Material Survey
Final equipment selection should follow a room-by-room material survey. The survey does not need to become a complicated construction report. It needs enough detail to explain why each device is in its proposed position and how it will communicate, receive power and remain mounted.
- Mark the construction of each relevant wall, ceiling, facade and detached structure, separating visible finishes from supporting substrates.
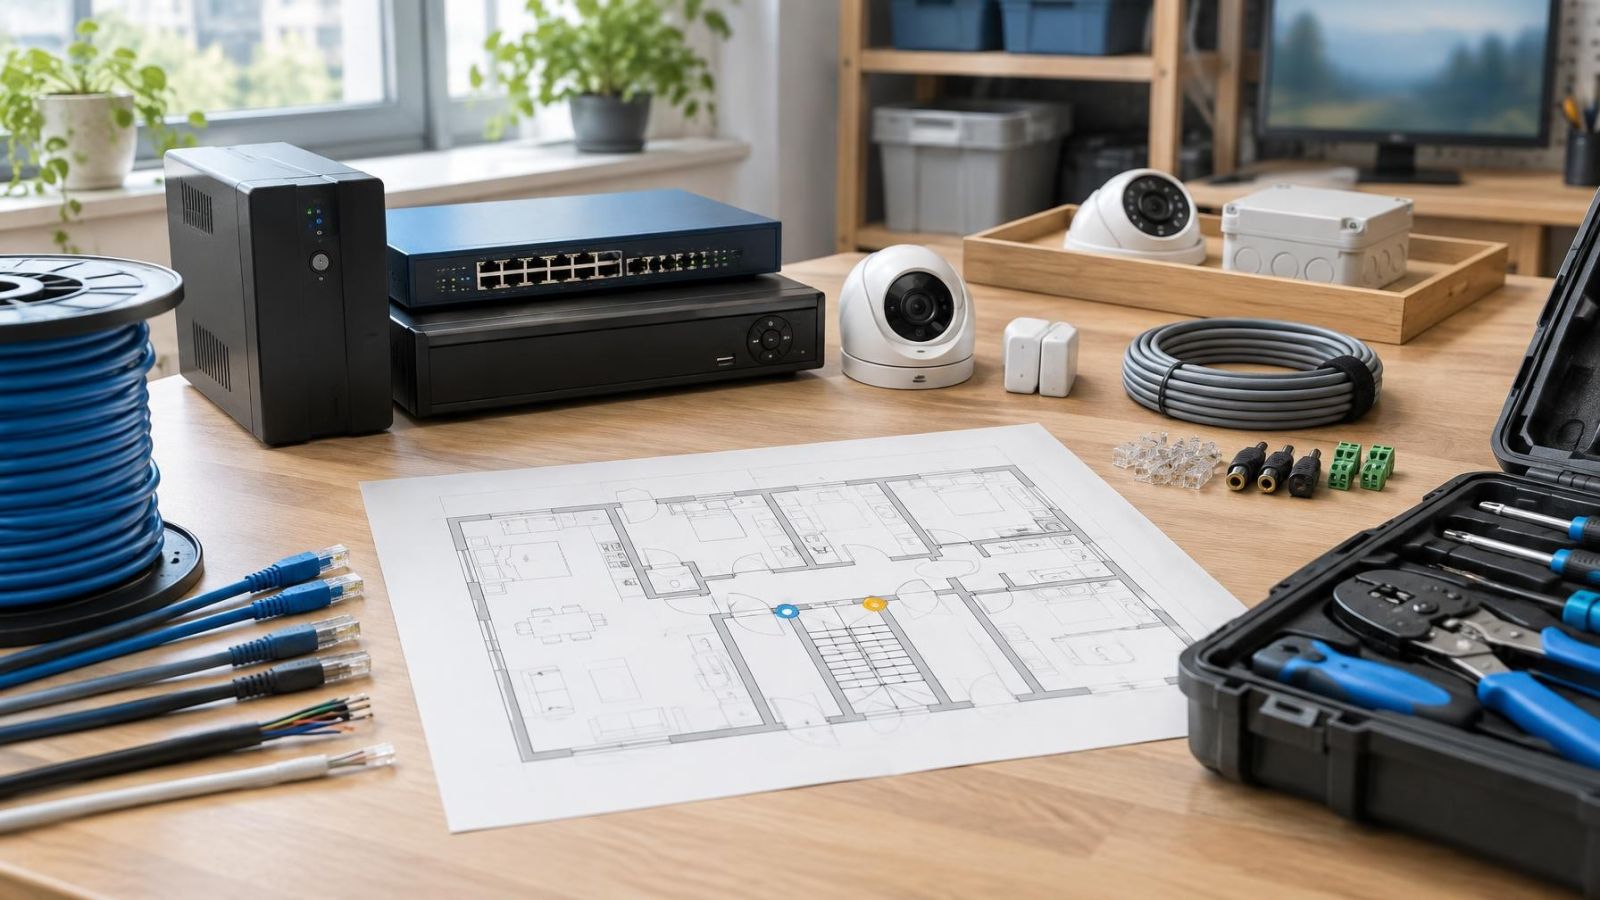
- Place proposed cameras, alarm sensors, the control panel, recording equipment and network components on the floor plan.
- Test wireless communication at the final height and orientation, with safe room doors, shutters and other metal elements in their normal states.
- Confirm conduit, ceiling void and exterior cable routes physically, including accessible transition and junction points.
- Verify the mounting substrate and suitable fixing method at every device position.
- Choose wired, wireless or hybrid connections only after the difficult signal paths and cable routes are known.
A fully wired design can be appropriate where accessible cable paths already exist. A wireless design may suit areas with dependable communication and finished surfaces that should not be opened. A hybrid system often reflects the building more honestly: wireless sensors in straightforward rooms, cable through difficult concrete zones, and PoE for cameras that need stable power and data.
The material survey also helps remote property owners review a proposal. Photographs of surfaces, notes on safe room boundaries, wireless test positions and a marked cable plan provide more useful information than an equipment list alone. They show how the design responds to the actual property rather than asking the building to accommodate a generic package.
Choose the architecture of the system after understanding the architecture of the building.
Key takeaways
- Building materials shape wireless signal paths, cable routes and mounting methods throughout a property.
- Safe rooms and reinforced concrete require wireless testing at the intended device positions.
- The structural substrate matters more to reliable mounting than the visible wall finish.
- Wired and wireless equipment can be combined when different parts of a building create different communication conditions.
- A room-by-room material survey should come before final equipment selection.