On this page
Before choosing security cameras or alarm sensors, stand at every entry point and follow the routes people actually use. Note where recording equipment could sit, what belongs to a shared entrance, and where the safe room fits within the floor plan. A useful home security survey settles one practical question: what should be covered, from where, and with which supporting infrastructure?
Start the Home Security Survey With Daily Use
Begin with people rather than equipment. A private house with a garden gate has different movement patterns from an apartment reached through a shared lobby. A street-front business changes again between trading hours, deliveries and closing. Mixed-use properties may have family, staff and visitors using the same door for different purposes.
Write down the ordinary routine. Who arrives first? Which door is used for groceries or stock? Does a cleaner, technician or delivery person need occasional access? Are children moving between the house and garden? Do pets cross areas where interior or outdoor detection may be considered? These details influence both placement and operating modes.
Separate private areas from common areas. In an Israeli apartment building, the entrance lobby, lift area, stairwell, parking level and outer gate may be shared. The apartment door and interior are private. Discuss common mounting locations with the va'ad bayit rather than assuming that a wall, ceiling or network point is available for an individual installation.
For a small business, distinguish customer space, staff-only space, storage, service access and the area immediately outside the shopfront. Opening hours matter, but so do tasks performed before opening or after closing. A security risk assessment based only on the locked property can make routine activity inconvenient and create unnecessary alerts.
What Should the Survey Include?
The survey should cover the physical openings, likely movement routes, existing equipment and the infrastructure needed to support new devices. It should also identify conditions that may change: shutters close, gates swing into view, vehicles park near walls, and vegetation grows across detection areas.
What should a property security checklist include?
- Every external door, accessible window, balcony, roof access point, garden gate and service entrance.
- Street frontage, side passages, parking access and any route from a shared entrance to the private property.
- Existing security cameras, alarm detectors, keypads, sirens, control equipment, cabling and recording equipment, including items that no longer work reliably.
- Outdoor lighting, strong backlighting, reflective surfaces and places that remain very dark at night.
- Likely obstructions such as shutters, awnings, walls, plants, bins, signs and parked vehicles.
- Possible locations for the recorder, alarm control equipment, network hardware and power supplies.
- Practical cable routes, wireless coverage where relevant, equipment access and exposure to dust, rain or coastal humidity.
Do not treat existing equipment as automatically useful. Record its position, cable type, power source, condition and current role. An old cable route may still be valuable even if the attached device is not. Conversely, a camera that powers on may provide the wrong view, and an existing detector may be positioned around a routine that no longer exists.
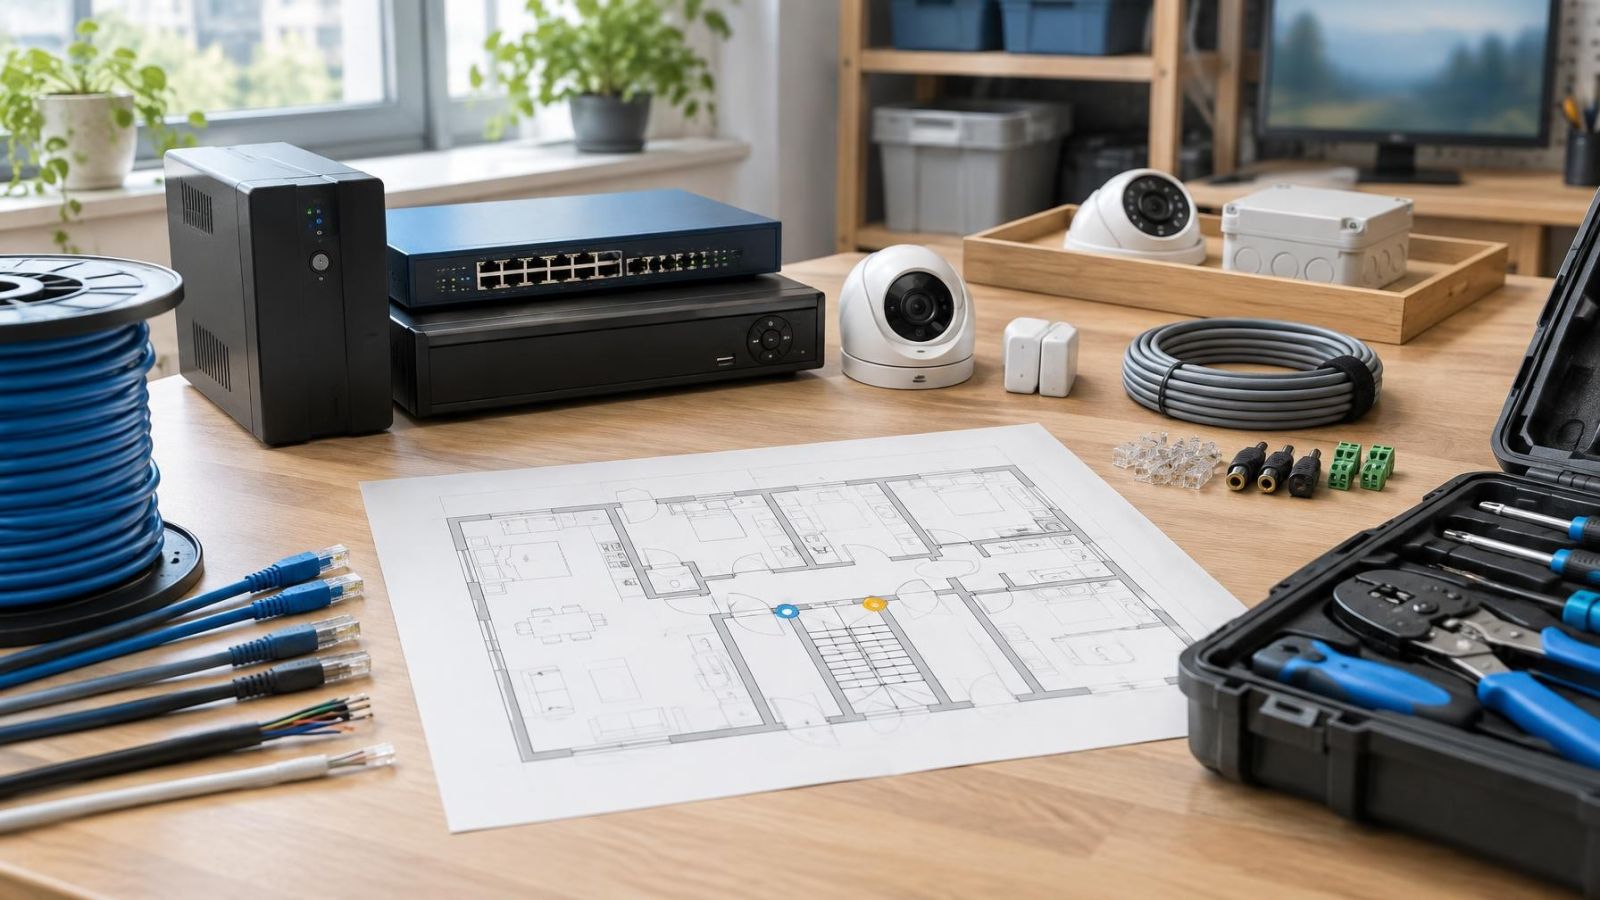
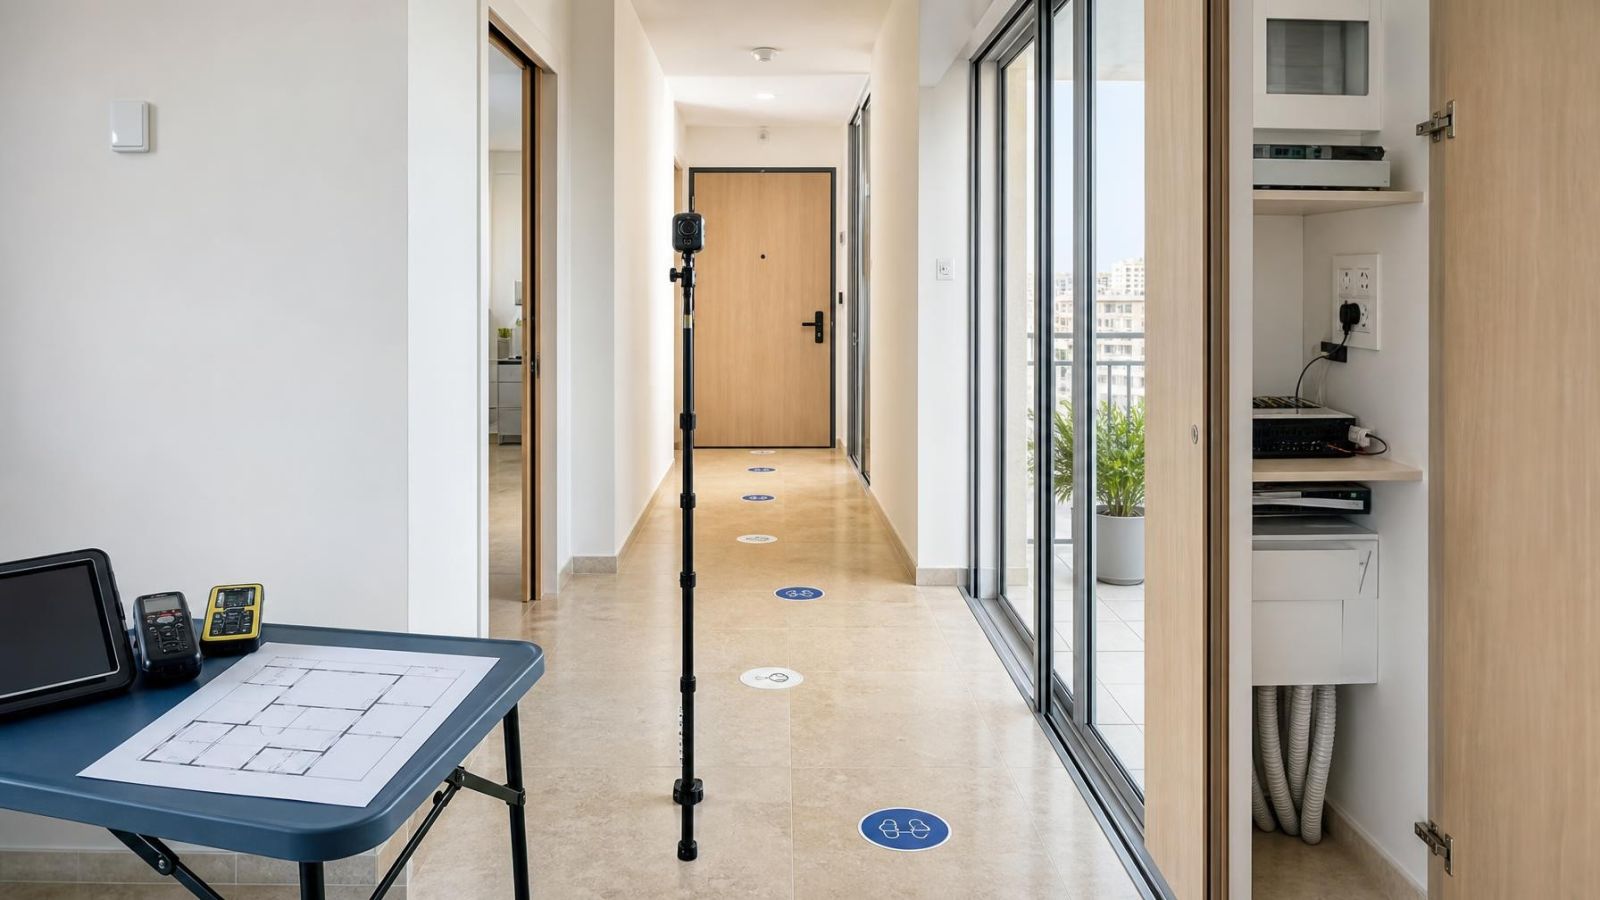
Photographs and a simple floor plan are more useful when they are annotated. Mark the direction in which doors open, the height and depth of overhangs, the location of outdoor lights, and any cabinet where network or recording hardware might fit. Notes should distinguish confirmed routes from assumptions that require checking.
Map Entry Points and Movement
Mark normal entrances first, then occasional ones. The front door may be the main route, while a side gate, balcony door, storeroom entrance or parking-level access is used less often. An occasional route still matters because it may need a different camera view, door contact or operating schedule.
For each opening, look beyond the door or gate itself. Trace the approach path. A camera directly above a doorway may record the top of a head, while a position farther along the approach may record a face and the action at the entrance. At a garden gate, check both the street-side approach and movement from the gate towards the house.
Then map internal movement towards areas that matter operationally: a stockroom, office, communications cabinet, stairway or bedroom corridor. This does not mean placing a device in every room. It means understanding where routes converge and deciding whether perimeter detection, interior detection or visual recording has a clear purpose there.
Include the mamad, or safe room, as a normal part of the floor plan. Its reinforced construction can affect wireless communication and may restrict easy cable routing. Check rather than assume that a wireless device outside the room communicates reliably with equipment inside it, or vice versa. Also note whether the room is used as a bedroom, office or storage area, because daily use changes suitable device positions.
Check Camera Views in Real Conditions
Camera placement begins with the required detail, not the widest possible scene. Define the task for each view. At one location, the camera may need to record who is at a door. Elsewhere, it may need to show whether a gate is open, follow movement across a yard or provide an overview of a shop floor. A single very wide view can show activity without recording useful detail at the point that matters.
Inspect the proposed view at eye level and at the likely mounting height. Look for blind spots directly below walls, around corners and behind pillars. Check whether a shutter, awning or gate moves through the frame. In apartment buildings, shared structures such as beams, service cupboards and lift enclosures can interrupt a view that looked clear from the entrance.
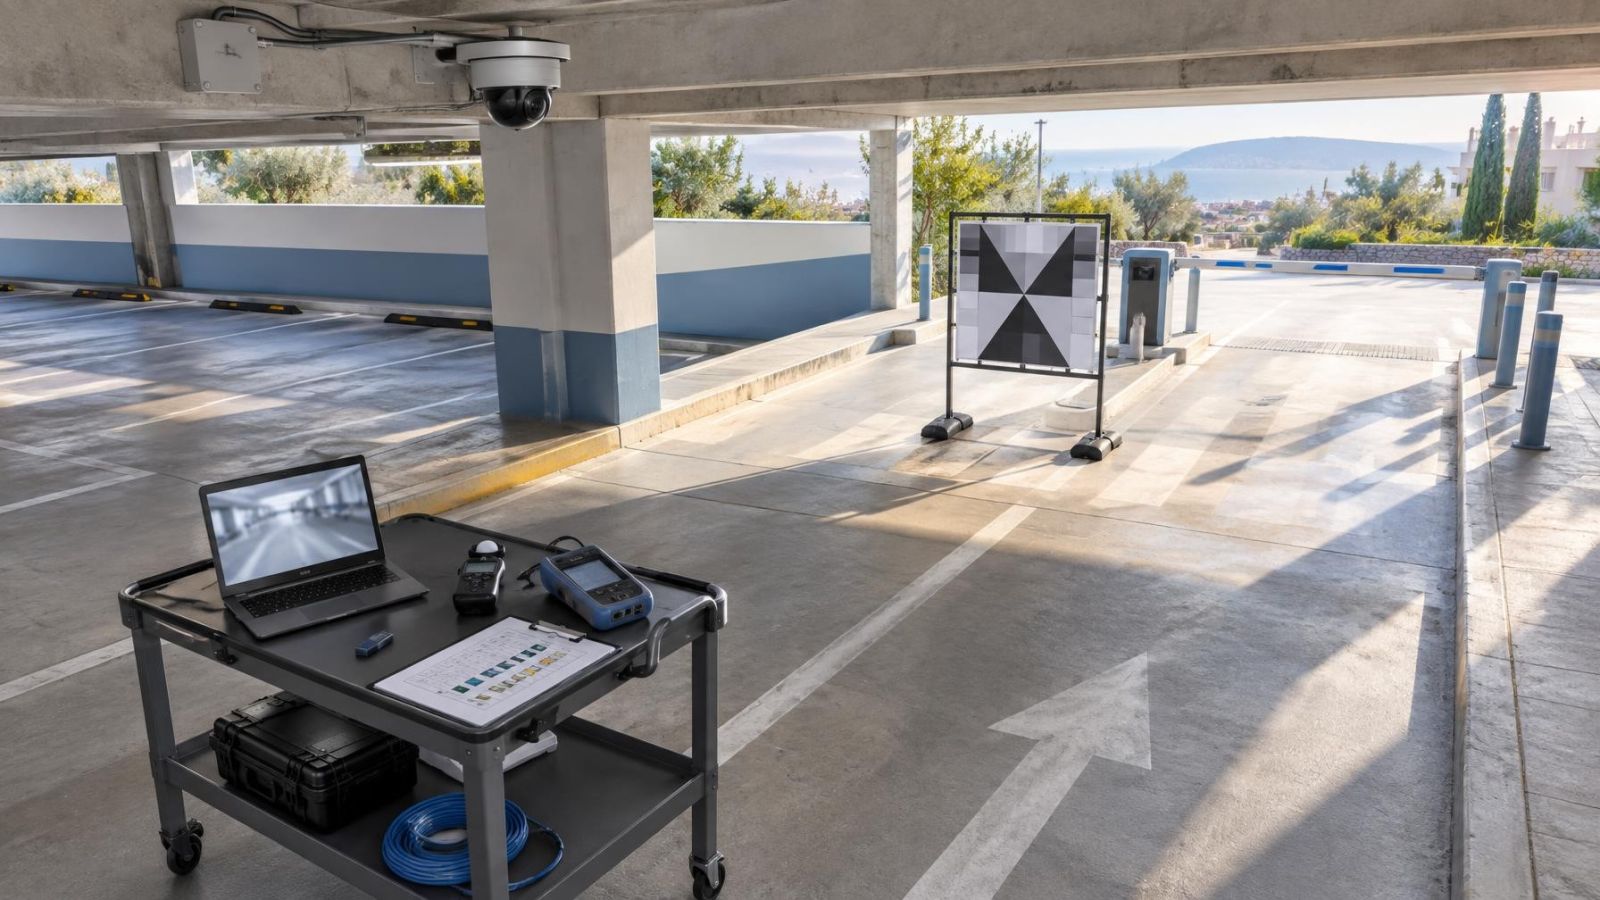
Israeli sunlight deserves deliberate testing. An outdoor camera facing a bright street may lose useful detail in a shaded doorway or covered parking area. Changing the angle is often more effective than expecting image processing to solve every contrast problem. WDR (wide dynamic range) can help manage bright and dark areas in one scene, but it does not compensate for poor geometry or a subject that is too small in the frame.
Check the night scene separately. Existing lamps may create bright pools with dark areas between them. Infrared illumination can reflect from a nearby wall, pale soffit, glass panel, metal surface or foliage and reduce useful night vision. A small angle change or a position farther from the reflective object may produce a cleaner view.
Consider what changes during ordinary use. A delivery vehicle may block the shopfront. A parked car may hide a garden gate. Plants can move in wind, grow into the frame and activate motion detection. A summer shade, holiday structure or temporary sign can alter both the image and the path of outdoor sensors.
A good camera position records the required detail at the required point; it is not simply the position that sees the most space.
Where Should Alarm Sensors Go?
Alarm sensor positions should follow the detection strategy. Perimeter detection identifies activity at doors, windows or outdoor boundaries. Interior detection covers movement after someone has entered a defined internal area. Many properties use both, but each detector should have a specific role and a clear relationship to daily routines.
| Device role | What it detects or records | Survey considerations |
|---|---|---|
| Door or window detector | Opening of a fitted door or window | Opening direction, frame condition, shutters and the way the opening is normally used |
| Interior motion detector | Movement within an internal detection area | Pets, curtains, fans, heat sources, furniture and normal occupied routes |
| Outdoor sensor | Movement or boundary activity in an exposed area | Vegetation, animals, gates, parked vehicles, weather exposure and approach direction |
| Security camera | Video of a defined scene | Required detail, light, angle, obstructions, recording and network connection |
Cameras and alarm sensors are not substitutes. A detector changes state or responds to movement within its designed area. A camera records a scene and may provide motion detection or other video events, but image-based events depend heavily on light, view and scene activity. Planning the layers together allows an alarm event to relate to a useful recorded view without asking one device to perform every role.
Account for pets, children, staff and expected visitors before selecting positions. A pet crossing a protected interior area, a curtain moving near an open window or employees entering a stockroom during operating hours can create nuisance triggers if the detection plan ignores routine activity. The answer may be a different position, a different detector type, a separate operating area or a revised arming routine.
Place keypads where authorised users can reach them naturally without crossing an active interior area. Siren and control-equipment locations need suitable power, communication and service access. They should not be casually exposed, but they should remain reachable for maintenance. Hiding equipment so thoroughly that it cannot be inspected is not good planning.
Trace Power, Cables and Network Coverage
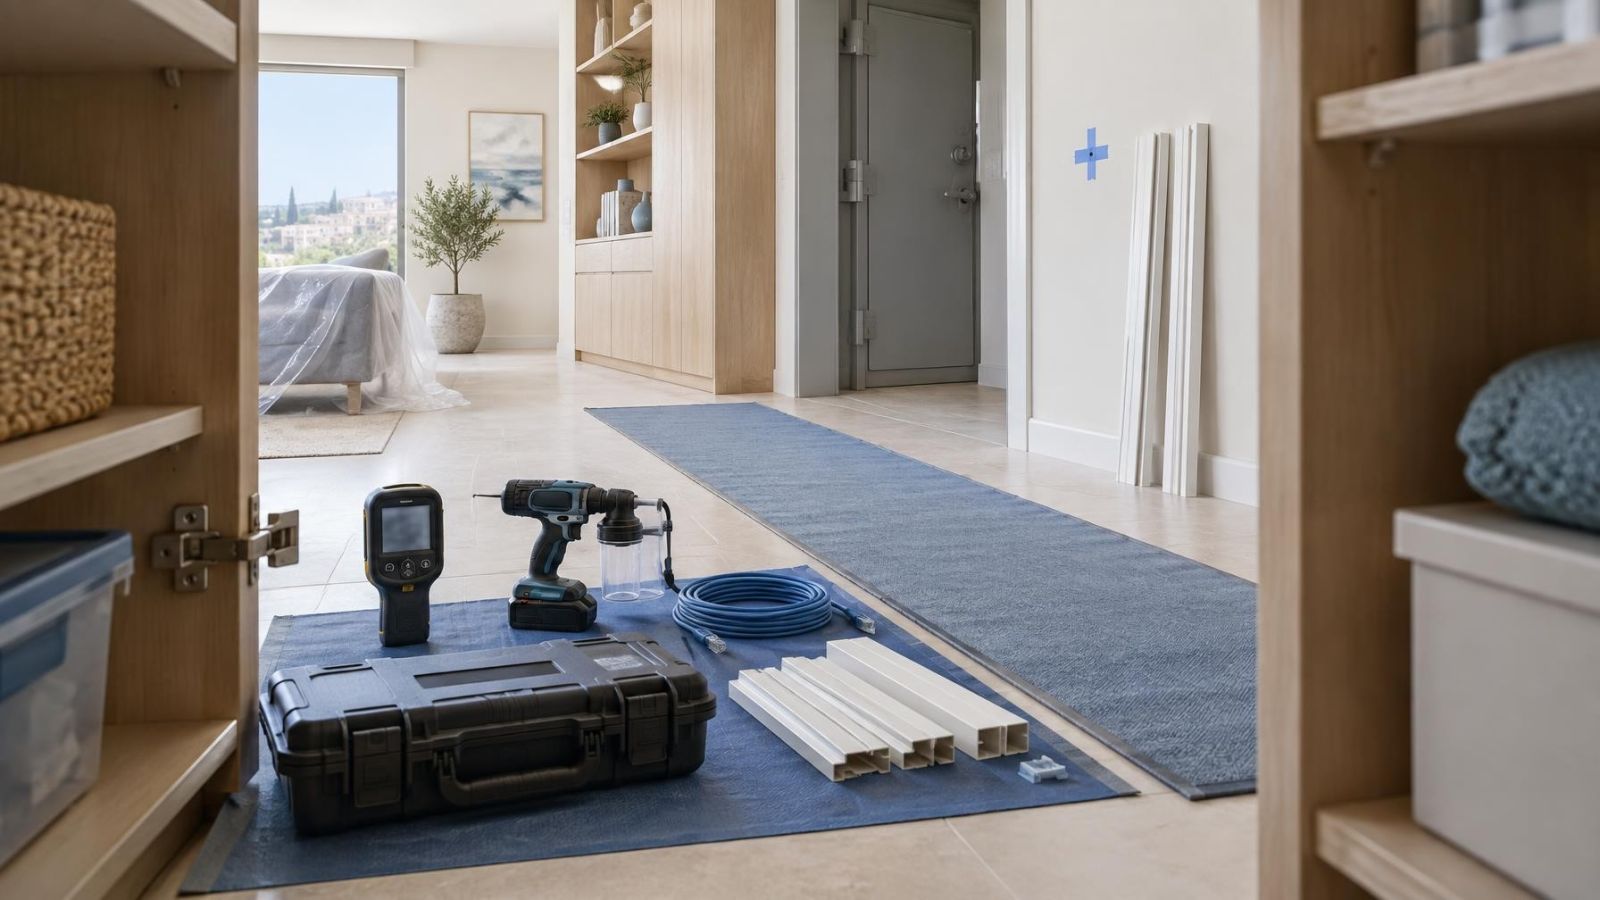
A promising device position is only practical if power, communication and maintenance can reach it. Trace cable routes before finalising equipment locations. Check ceiling voids, service shafts, cabinets, exterior conduits and transitions between floors. In finished homes, the neatest route may be longer than the direct route, but it should remain inspectable at sensible points.
For networked cameras, decide where Ethernet cables can return and whether PoE (power over Ethernet) is available at the intended network equipment. Confirm network coverage at the exact positions of wireless devices rather than relying on a phone test in the centre of the room. Reinforced walls, stone, metal shutters, utility cupboards and the mamad can change radio performance over a short distance.
Choose a location for the NVR (network video recorder), DVR or VMS (video management software) host where applicable. The position needs power, network access, ventilation and enough physical space for service. It should be protected from casual interference without being sealed into a hot, dusty cabinet. The same principle applies to alarm control equipment and backup power components.
Outdoor routes need attention to exposure. Dust reaches boxes and connectors through small gaps. Coastal humidity is hard on poorly protected terminations. Sunlight heats dark enclosures and makes some plastic routes brittle over time. Sheltered placement, suitable outdoor materials and well-managed cable entries matter more than an enclosure label alone.
Leave a service path. A camera mounted above an inaccessible void, a detector blocked by built-in furniture or a recorder behind fixed shelving makes later adjustment unnecessarily disruptive. Also consider where additional cables could run if another entrance, camera or sensor is added later.
Turn Findings Into an Installation Plan
The final document should convert observations into decisions. Begin by ranking areas according to operational importance. An apartment entrance may need clear identification detail, while a balcony needs only opening detection. A shop may prioritise the customer entrance, till area, stock access and rear service door differently. Priorities keep security system planning tied to actual needs.
How do you plan a security system?
- Mark the property boundary, shared areas, private areas, openings and routine approach routes on a floor plan.
- Assign a purpose to each proposed camera and alarm detector, stating what it should record or detect.
- Draw the intended field of view or detection area and note likely obstructions, lighting problems and routine movement.
- Mark power sources, network points, recording equipment, control equipment and proposed cable routes.
- Record dependencies, such as shared-building access, furniture movement, network changes or lighting work.
- List known limitations and accepted gaps rather than allowing them to disappear from the plan.
- Separate essential work from optional or later expansion, while preserving sensible cable and equipment capacity.
Device labels should describe roles, not just rooms. “Front door approach” is clearer than “camera one”. “Side window opening” is clearer than “zone three”. Role-based labels make drawings, recorder names and alarm programming easier to understand, especially for remote property owners or businesses that use English for operations.
Known limitations belong in the plan. A shared entrance may not offer an available mounting point. A parked vehicle may sometimes block a view. A finished wall may rule out the ideal cable path. Recording these constraints allows an informed decision between changing the design, accepting the gap or preparing for later work.
The survey is complete when another person can read the plan and understand what each device is for, where its cable or communication path runs, what conditions affect it, and which parts remain undecided. Equipment selection then becomes the final matching step, not the beginning of the design.
Key takeaways
- Daily routines and actual movement through a property provide the right basis for a useful security survey.
- Entry routes and the detail required at each location should be defined before cameras or alarm sensors are selected.
- Security cameras and alarm sensors provide complementary coverage and should be planned together.
- Power, cabling, network coverage and equipment access can make an otherwise attractive device position impractical.
- A complete installation plan marks priorities, device roles, cable routes, known limitations and options for later expansion.