On this page
A detached garage or workshop places security cameras, door contacts, motion detectors and the alarm control panel away from the main building. Distance, construction and daily use all affect the design. A sensible detached garage security plan therefore answers one practical question: how should access, detection, recording, power and communication work together without making the building difficult to use?
Start with the building, not the equipment catalogue. A small structure with one solid door and a clear path from the house needs a different layout from a vehicle garage with several doors, windows, machinery and an approach hidden by planting. The following process turns those differences into a usable system design.
Map the building for detached garage security
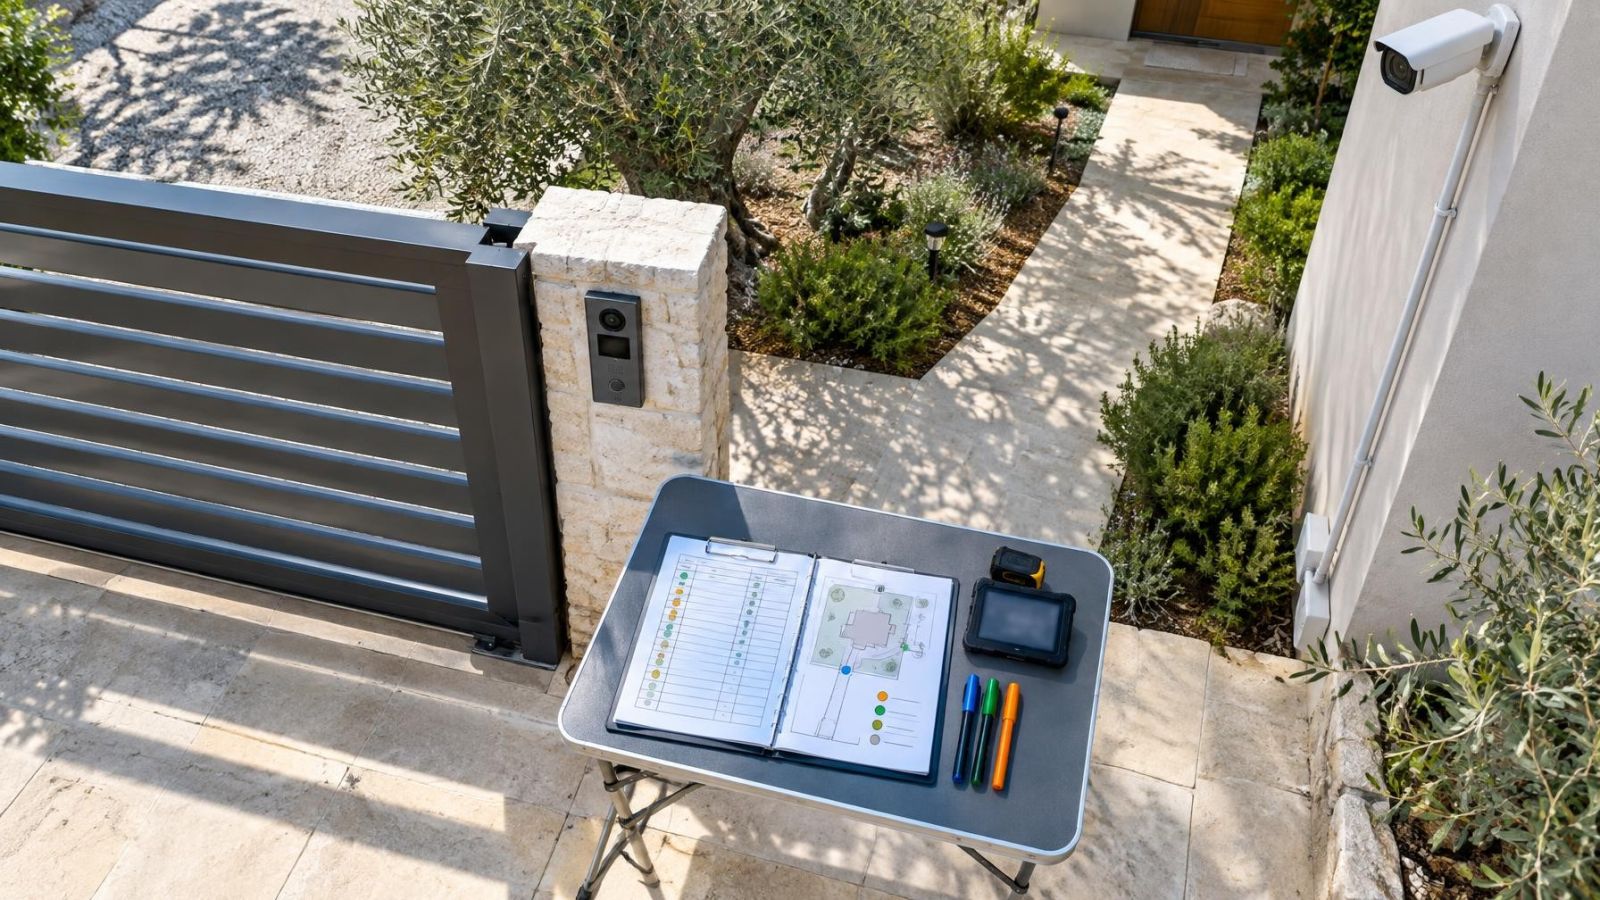
Draw a simple plan of the outbuilding and its surroundings. Mark every personnel door, vehicle door, window, roof opening and service entry. Add the paths people normally use, the direction doors open and any point where a person can reach an internal handle, release mechanism or control through nearby glazing.
Next, mark what the building contains and where it is used. Vehicles, portable tools, fixed machinery, fuel, stored materials and charging equipment may need different coverage. A camera that gives a useful overview of a vehicle bay may not show activity at a tool bench. A motion detector placed for the open floor may be obstructed when a tall vehicle is parked.
- Record normal working hours and the movement expected before opening, during use and after closing.
- Mark sightlines from the main building, including views blocked by walls, fences, vehicles, trees or stored items.
- Note shared paths, common driveways, neighbouring spaces and any area where routine movement should not create alerts.
- Identify lighting that is normally switched on, lighting controlled by movement and areas that remain dark.
- List every person who needs regular, occasional or temporary access.
This site map becomes the foundation of the outbuilding security plan. It also exposes conflicts early. A delivery route may cross a proposed detection area. An outward-opening door may leave hinges accessible. A camera position may look useful on paper but face directly into low sun or vehicle headlights.
Where are the weak points?
Weak points are not limited to locks. Look for concealed approaches, blind corners and surfaces that allow someone to reach a door or window without crossing a useful camera view. Check both the route to an opening and the construction around it.
Large garage doors need particular attention. Flexible panels, movement in the tracks and gaps caused by wear can affect both physical security and sensor alignment. On side doors, inspect the frame, latch area, hinges and any removable panels. Exposed hinges do not automatically make a door unsuitable, but they should be considered as part of the complete door assembly rather than ignored because the lock looks substantial.
- Check whether a window is close enough to an internal handle, key, remote control or garage-door release to make those items reachable.
- Review roof access, low adjoining structures, side doors and entries for power, water or ventilation services.
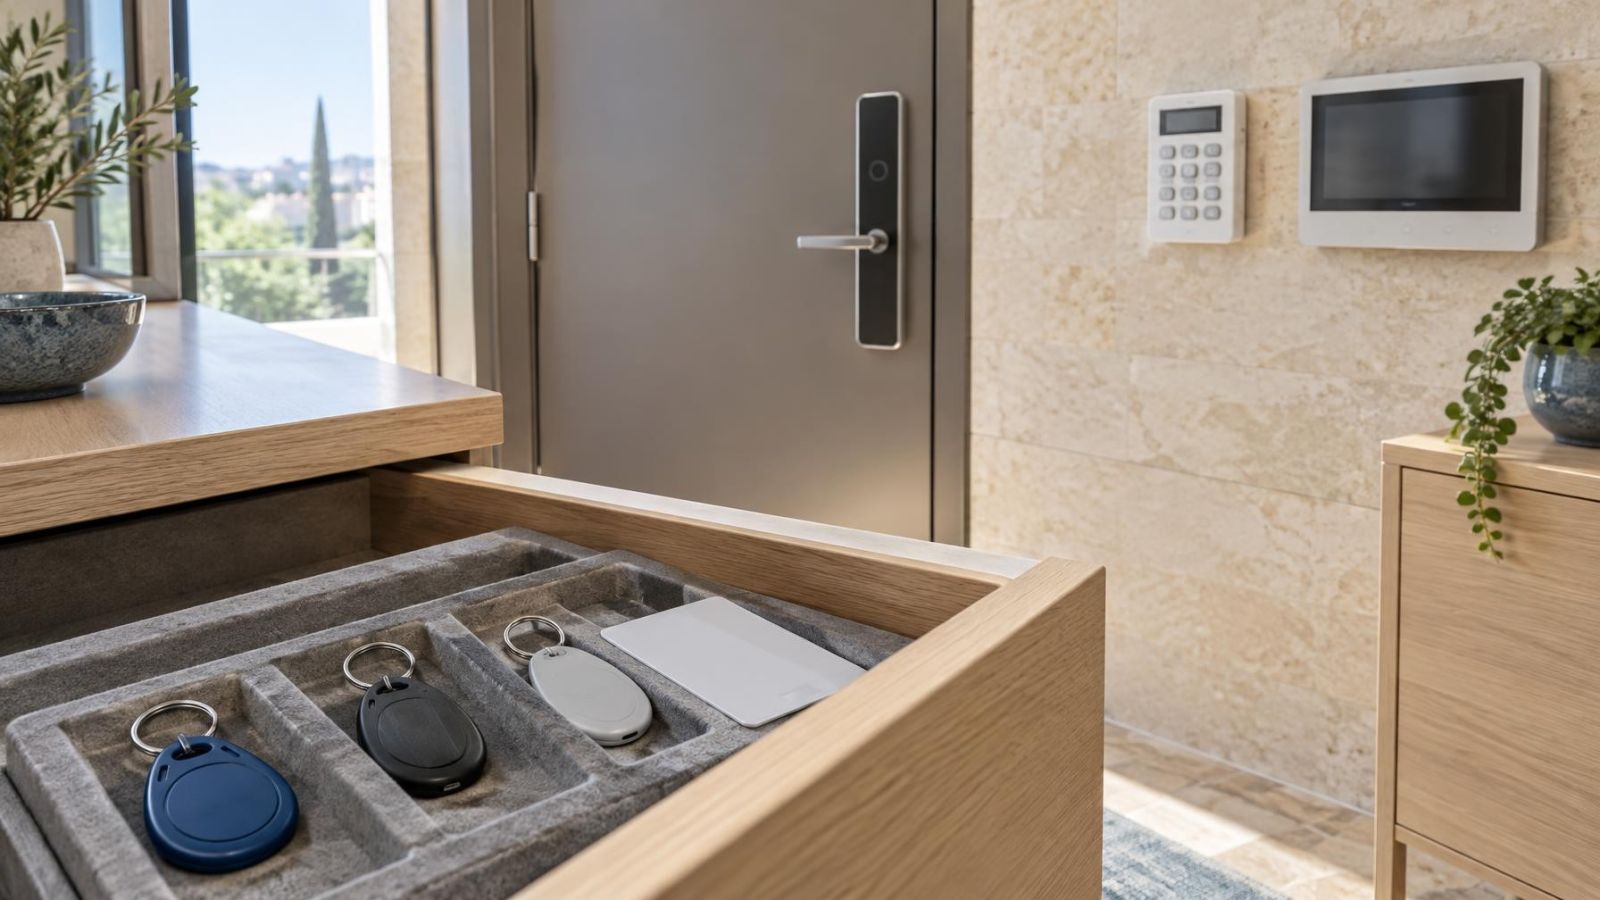
- Keep keys and remotes in a controlled location rather than leaving them in vehicles or beside a window.
- Remove access credentials when a family member, employee or contractor no longer needs them.
- Consider whether stored ladders, bins or materials create an easier route to a window or roof opening.
The same review applies to garden workshop security. A smaller building may have lighter doors, exposed window frames and cables that are easier to reach. Strengthening one opening while leaving another unobserved rarely creates a balanced layout. The aim is to make entry points consistent enough that detection and camera coverage can be planned around them.
Build detection in layers
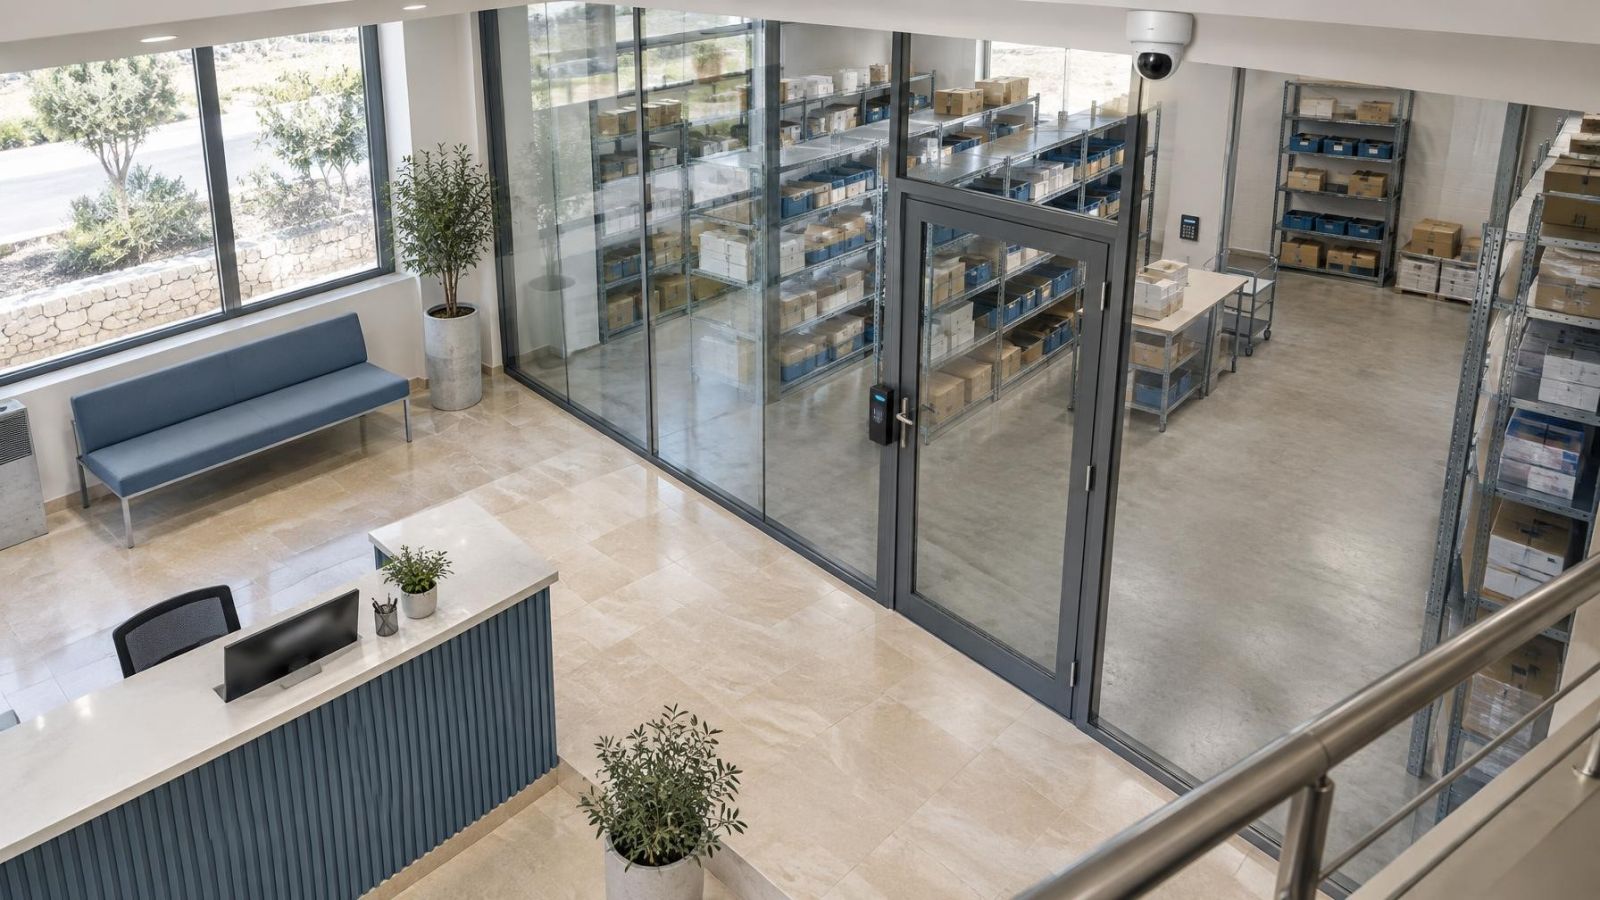
A workshop security system works best when different devices report different events. A door contact reports that a door has opened. A motion detector reports movement within its detection area. Neither device replaces the other: the contact identifies activity at the opening, while indoor detection can report movement after entry or movement through another route.
Fit contacts to personnel doors and suitable windows. A garage door sensor must tolerate the door's normal travel and remain aligned when the door is fully closed. The mounting arrangement matters as much as the sensor itself, especially on doors that flex, vibrate or move along tracks.
Glass-break detection can add another layer where glazed openings are significant. Its position and settings must suit the room. Workshops contain impact noises, machinery and hard surfaces, so it should be tested during normal work rather than judged only in an empty, silent building.
- Use indoor motion detection to cover likely movement through the building, while accounting for vehicles, shelving, heat sources and moving equipment.
- Use perimeter detection only where weather, animals, vegetation and routine movement can be managed well enough to keep alerts useful.
- Create separate zones for the vehicle door, side door, windows, interior and any external detection areas that need different schedules.
- Place the siren where it can be heard by the people expected to respond, while keeping its cable and enclosure reasonably protected.
- Give every zone a clear name that describes a real location, such as Workshop Side Door rather than a device number.
Separate zones provide flexibility. The perimeter can remain armed while someone works in an allowed area, or the outbuilding can be secured while the main property remains occupied. The exact grouping should follow real routines, not simply the order in which cables reach the alarm control panel.
What should the cameras cover?
Begin with approach routes and entry points. A wide overview records general activity, but useful identification usually comes from a tighter view at a predictable point: a gate, side door, vehicle entrance or narrow path. Camera placement determines whether the recording shows a face and relevant action or only a distant figure moving across the scene.
Mounting a camera very high can protect it from casual interference, but the steep angle may show the top of a person's head instead of the face. A practical identification angle is often achieved by placing one camera for the wider approach and another, where justified, for the actual entry point.
| View | Main purpose | Planning concern |
|---|---|---|
| Approach route | Records movement towards and away from the building | Avoid excessive distance and blind corners |
| Vehicle door | Shows door operation, vehicles and activity at the threshold | Account for headlights, raised doors and changing daylight |
| Side door | Captures people using the main pedestrian entry | Keep faces large enough in the frame to be useful |
| Workshop interior | Provides an overview of movement and selected work areas | Avoid blockage by vehicles, shelves and open doors |
Strong backlight can hide detail on a person entering a darker garage or workshop. Test the scene with the door open and closed, and at different daylight conditions. WDR (wide dynamic range) can help with bright and dark areas in one scene, but it does not correct a poor angle. Infrared can support night vision, although nearby walls, roof edges, dust and reflective surfaces may throw IR back into the lens.
Moving vegetation, insects close to the lens and rapid lighting changes can create unwanted motion detection events. Adjust the view before increasing filtering. Trimming a branch or moving the camera away from a bright wall is often more dependable than asking software to ignore a badly composed scene.
Keep the frame focused on the area needed for security. If the edge of a view includes neighbouring windows, shared gardens or unrelated public activity, change the angle, narrow the scene or use privacy masking where the system supports it. The recording becomes easier to review when it contains less irrelevant movement.
Plan power and communication
Power and communication are separate dependencies. A camera can have power but no network connection. It can also have a working network path while its local power supply is off. Draw both routes on the plan and decide what should happen when either one is unavailable.
A wired network connection is usually the first option to examine where a protected cable route is practical. PoE (power over Ethernet) can carry network traffic and device power on the same cable, but the switch and any intermediate network equipment must also remain powered. Protect external cable routes from weather, impact and easy access, and avoid placing connectors where damp or dust can collect.
Wireless equipment must be tested at the outbuilding, not only inside the main building. Test with doors closed, vehicles parked normally and other equipment operating. Metal doors, reinforced walls, machinery and distance can change signal performance. A signal indicator shown during installation is useful, but a sustained operating test is more informative.
A remote garage alarm may use the main property's network, a dedicated wireless bridge or an independent mobile-data path. An independent path can remain available when the main local network is down, but it still depends on power, signal coverage and an active communication service. Choose the path according to the response required rather than treating remote access as automatic.
- Provide backup power for selected cameras, the alarm control panel, network equipment and the recorder where continued operation is required.
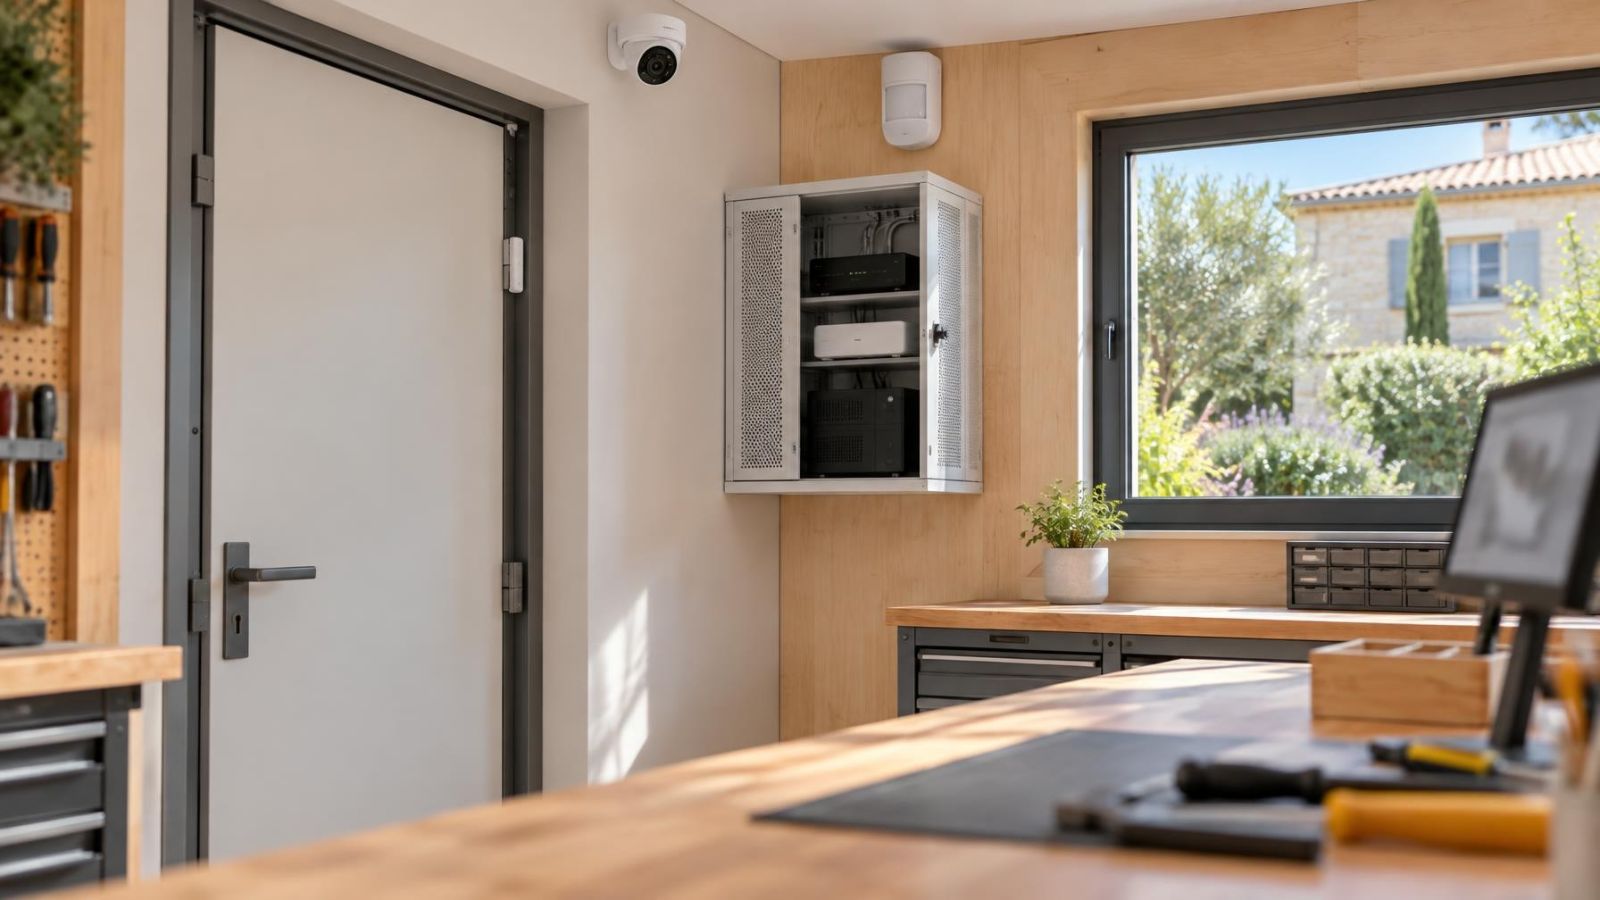
- Keep power supplies, network switches and recorders in protected, ventilated locations rather than exposed beside an external door.
- Use local recording when continued capture during a remote connection loss is important.
- Check that backup power supports the complete required chain, not only the camera or detector at the far end.
- Document cable routes and label both ends so later testing does not require guesswork.
Local recording can continue during an internet or remote connection loss if the cameras, recorder and local network path still have power. An NVR (network video recorder) may be located in the outbuilding or elsewhere on the property. The choice should consider cable routes, environmental conditions, physical access and whether a single power interruption would affect both cameras and recording.
Make daily operation simple
A technically capable system still fails operationally if ordinary users cannot tell what to arm, when to disarm or why an alert occurred. Give the outbuilding a separate arming area or clearly separated zones when its routine differs from the main property. This makes it possible to secure the garage or workshop while people continue using other spaces.
Define a short entry and exit routine. Decide which door is normally used, where disarming happens and how much time is genuinely needed. Avoid long delays intended to compensate for an inconvenient control location. Moving the control point, adding an authorised device or changing the normal route may produce a cleaner result.
- Use alert names that identify the location and event, such as Garage Vehicle Door Open or Workshop Interior Motion.
- Give family members, staff and regular users only the access they need for their normal role.
- Use temporary or removable credentials for contractors and occasional users where the system allows it.
- Link outdoor lighting to normal access where useful, but do not aim bright fittings directly into camera lenses.
- Keep manual lighting control available for work that requires steady illumination.
- Review sensor operation, camera views, recording, communication and backup power at regular intervals.
Remote monitoring should provide information that supports a decision. A zone name, relevant camera view and clear indication of whether the building is armed are more useful than a large stream of unlabelled notifications. Tune alerts around normal behaviour rather than disabling them whenever they become inconvenient.
Choose the final system layout
The final layout should bring the site map, weak-point review and operating routine into one document. It does not need to be elaborate. It needs to show what is installed, what each device covers, how it is powered and how the system will be tested.
- List every entry point and assign the appropriate contact, glass-break detection or supporting interior detection.
- Mark each camera position, viewing direction and purpose. Identify where recording is stored and which network path carries the video.
- Define alarm zones, arming areas, user roles and the normal entry and exit route.
- Draw the power, backup power and communication paths, including switches, bridges, recorders and protected cable routes.
- Set the installation order so that cabling, power and communication are tested before final device adjustment.
- Run a complete test with doors, vehicles, lighting and machinery in their normal states, then record the result for future checks.
Leave sensible provision for expansion. Spare cable capacity, available recorder channels, suitable power capacity and documented routes can make later additions simpler. Expansion should still follow the same planning discipline; adding a camera or detector because a connection is available does not guarantee a useful view or detection area.
A good layout is not the one with the most devices. It is the one in which every opening, alert, camera view and power path has a clear purpose.
Before accepting the design, walk through ordinary use. Arrive, open the normal door, move a vehicle, start work, admit another authorised person and close the building. Then repeat the exercise with the main network unavailable and with normal power disconnected. The results will show whether the plan works as one system rather than as a collection of separate products.
Key takeaways
- Layered protection combines physical access measures, entry detection, indoor detection, recording and a clear response path.
- Camera views should be designed to capture useful detail at likely entry points rather than the widest possible area.
- Power and communication are separate dependencies, and each needs its own failure plan.
- Separate alarm zones and clear access routines make an outbuilding easier to secure during normal daily use.
- The final layout should be based on a site map, realistic signal testing and a documented test plan.