On this page
When retiring security cameras, it is not enough to remove a camera from the wall. Recordings may still exist on a video recorder, hard drive, memory card or remote service. A remote-access account may remain active. In a shared apartment-building system, some equipment may not belong to the individual apartment at all. The task is to preserve what is needed, close every route of access and deal with each storage location deliberately.
Map the System Before Retiring Security Cameras
Start with an inventory while the system still works. Once cables have been pulled and accounts reset, identifying a camera or recovering a recording becomes harder. The inventory does not need to be elaborate. It needs to show which devices exist, where they record and who can reach them.
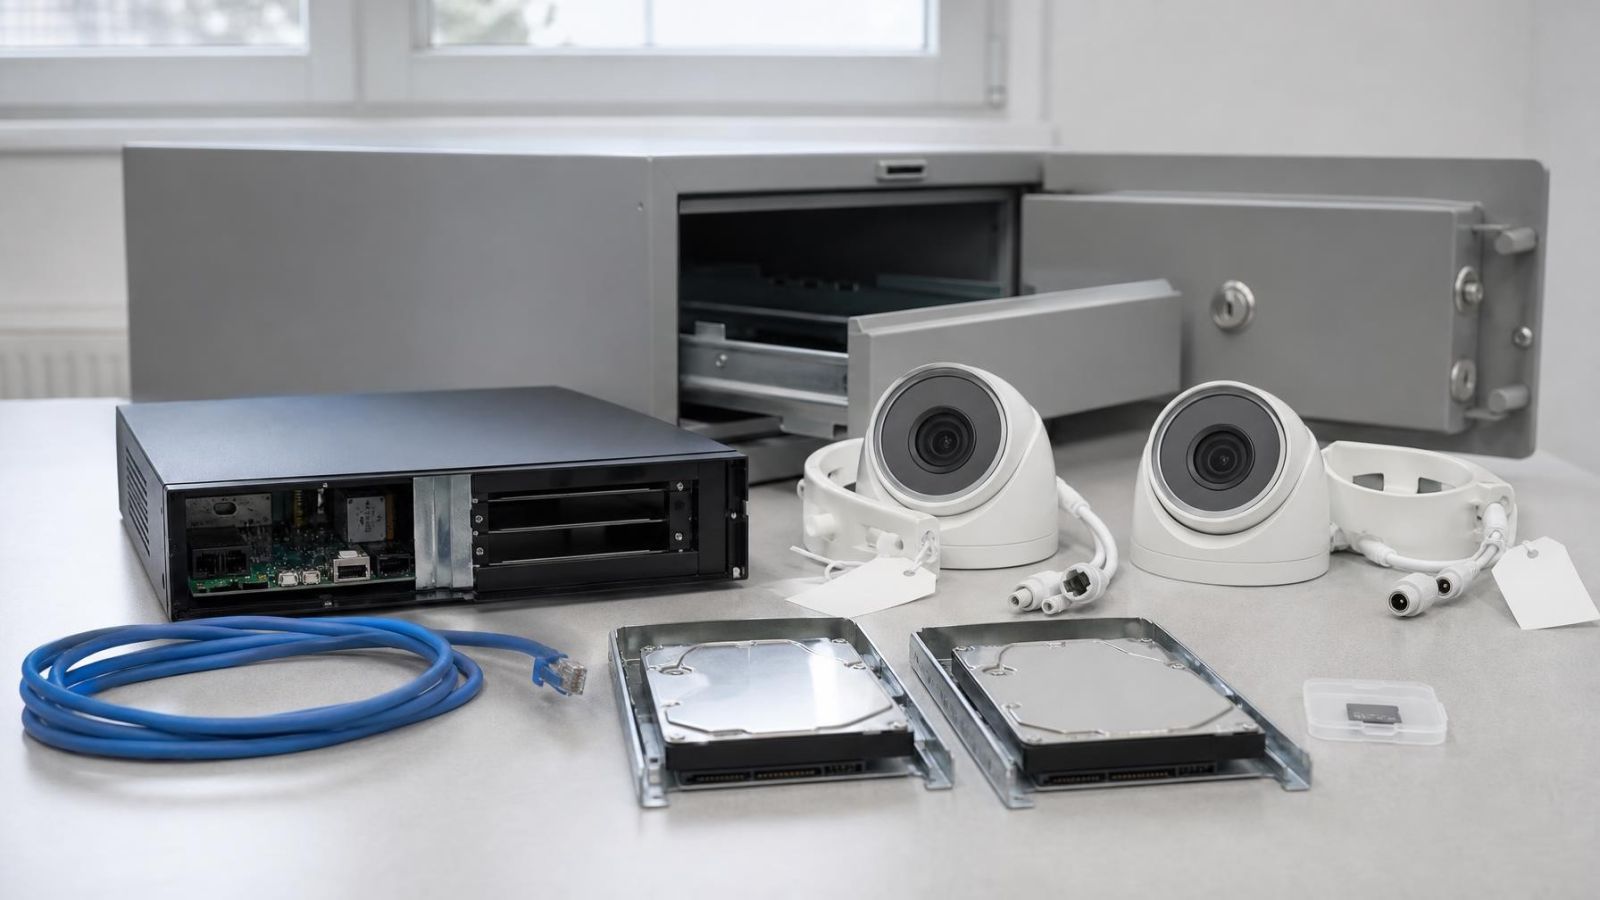
List the cameras and the recorder, whether it is an NVR (network video recorder), a DVR or another recording computer. Note any removable memory cards and every installed hard drive. A camera that normally records to an NVR may also hold event clips on its own card, so do not assume there is only one copy.
- Record each camera location and match it to its name or channel in the viewing interface.
- Identify all recorder drives, camera memory cards, external backup drives and computers used for exporting footage.
- List local users, remote users, installer access and any credentials retained by a former owner, tenant or employee.
- Note how each device receives power and network access, including PoE (power over Ethernet), wireless connections and separate power supplies.
- Check for integrations with an alarm system, intercom, VMS (video management software), display screen or remote monitoring workstation.
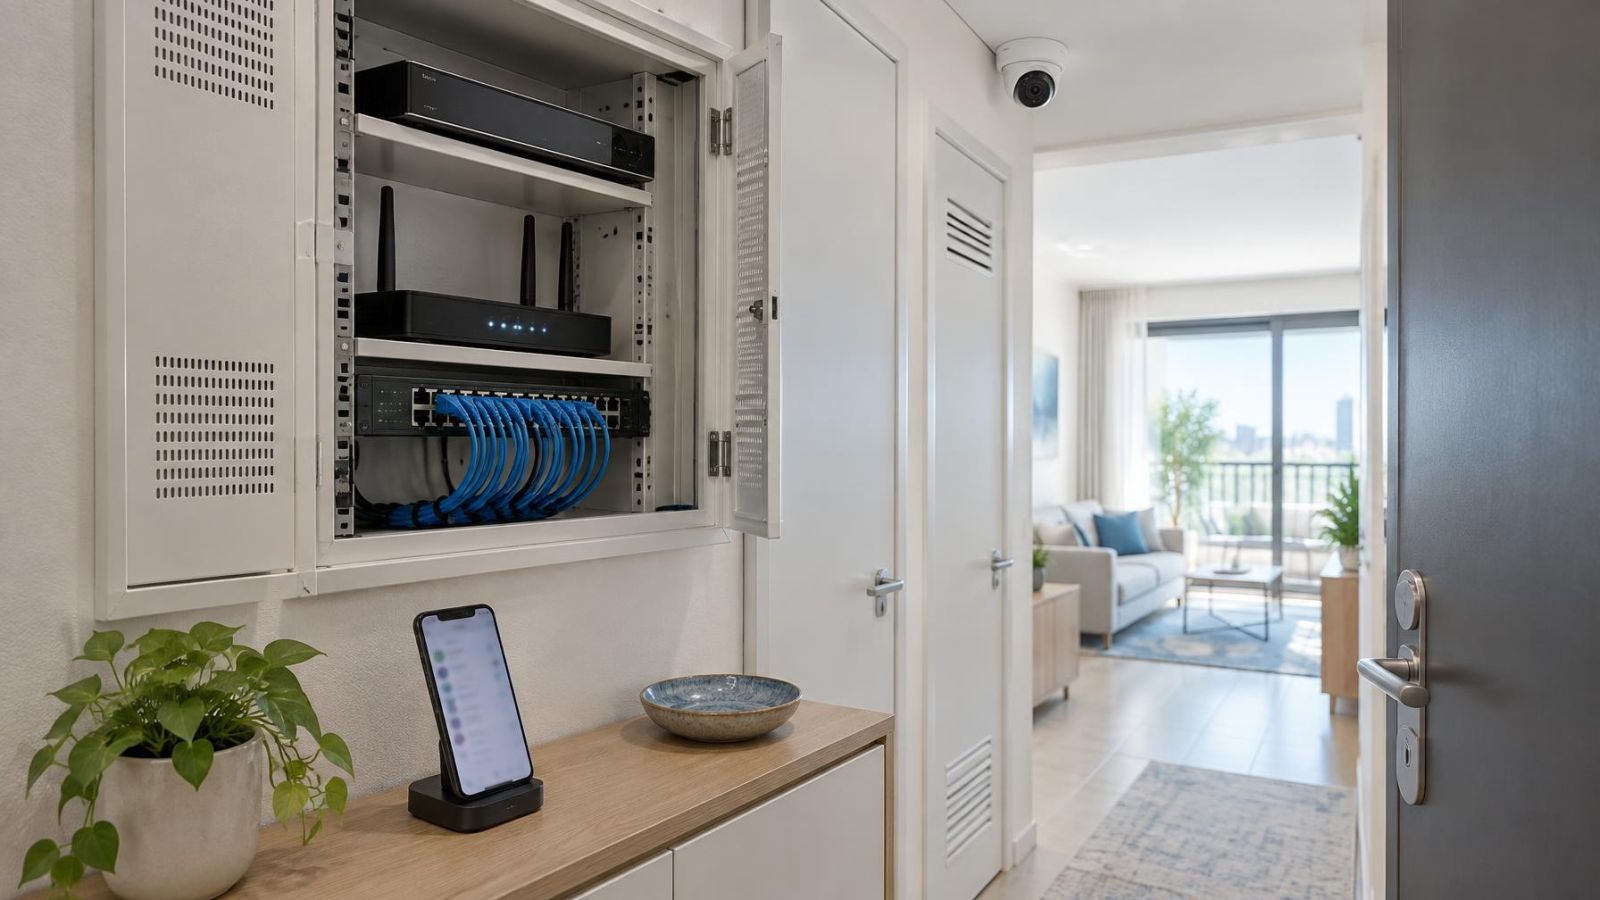
Apartment buildings need an extra boundary check. A camera near an apartment door may connect to a recorder serving the shared entrance, lift lobby, parking area or other common space. Likewise, a recorder inside a communications cabinet may serve several residents. Shared equipment should be retired through the va'ad bayit or whoever is responsible for that system, rather than being disconnected as though it served only one property.
Preserve Only What You Need
Review recordings before changing accounts, resetting devices or erasing storage. Decide which clips must remain available and who needs to receive them. Keeping the entire contents of an old recorder without a clear reason creates another store of sensitive material that must be protected and eventually reviewed.
Export selected recordings using the recorder or VMS where possible. An exported clip may depend on a proprietary player or include more than one file, so copying a filename is not the same as confirming a usable backup. Open the copy on the computer that will be used later. Check that the picture plays, the required period is present and the file has been copied to its intended destination.
| Recording location | Before retirement | Important check |
|---|---|---|
| Recorder hard drive | Review and export required clips | Confirm exported files open without the recorder |
| Camera memory card | Check for local event recordings | Remove or erase the card separately |
| Cloud recording | Download required clips and request deletion | Verify the correct account, site and camera were selected |
| Phone or tablet | Review downloaded or shared clips | Delete unwanted local copies and downloaded files |
| Computer or external drive | Organise the retained backup deliberately | Confirm access and playback before erasing the source |
Remote property owners should agree where the retained copy will live before an installer or property manager begins removal. A clip sent through a messaging application can create additional copies on phones or computers. Those copies are part of the retirement task, even though they are no longer inside the camera system.
Cloud recording needs its own review. Removing a camera from an application does not necessarily delete recordings already associated with the account. Check the recording library, downloaded clips and any separate storage area offered by the service. After requesting deletion, return to the account and confirm that the material is no longer presented as available.
Disconnect Network and Remote Access
Powering off a camera stops the device from operating, but it does not remove recordings held on a recorder, cloud service, phone or computer. Removing the hardware also leaves account permissions untouched. Network retirement and data retirement are related tasks, not the same task.
Begin by disconnecting the recorder from internet access while keeping local access available if footage still needs to be reviewed. Then isolate the cameras. A wired camera may receive both data and power through PoE, while another camera may stay connected through the property's wireless network. In a managed business network, remove the retired devices from the relevant VLAN and switch configuration rather than leaving unused connections active.
End active remote viewing sessions and sign out devices that should no longer connect. Remove local users, remote users and installer profiles that are no longer required. If the aim is to remove camera account access for a former employee, tenant or property representative, check both the camera application and the recorder itself; they may maintain separate user lists.
- Remove device-specific port-forwarding or other router rules created for remote viewing.
- Disable connections to a VMS, alarm interface, intercom, display station or automation platform.
- Remove retired devices from application dashboards and site lists.
- Delete saved passwords from shared browsers, phones, tablets and viewing computers where they are no longer needed.
- Check that a secondary recorder or remote workstation is not still receiving a video stream.
Do not assume that deleting an application from one phone closes the account. The same credentials may remain saved on another phone, a browser or a management computer. Account removal must happen in the service or device interface, followed by a check from outside the property network.
How Do You Erase Security Camera Storage?
Erase security camera storage only after required recordings have been exported and tested. Work through every location identified in the inventory: recorder drives, memory cards, built-in camera storage, cloud libraries and downloaded copies. Erasing one location has no effect on the others.
Recorder Drives and Camera Memory Cards
A recorder's ordinary delete command may remove clips from its index without performing secure data erasure across the drive. A quick format can have a similar limitation. Where the storage will be reused, use an appropriate erasure function for that storage type and verify that the old recordings are no longer readable through the recorder or a separate computer.
Memory cards and other flash storage need separate attention. Remove the card from the camera if it will not remain with the device. Use a suitable erase function before reuse. Reformatting inside the camera can prepare the card for new recording, but it should not automatically be treated as secure erasure of previously stored material.
If a drive or memory card is unreadable, locked or inaccessible, the absence of visible files does not demonstrate that the recordings are gone. Retain the media securely until it can be erased or physically destroyed. Do not place inaccessible storage into general electronic recycling while it still contains material that has not been dealt with.
Cloud Recordings and Exported Copies
Delete cloud recordings through the account that owns the camera or site. Then remove any exported clips from phones, computers, shared folders and external drives unless they are part of the deliberate retained backup. Emptying an application's visible recording list does not remove files that were downloaded elsewhere.
A complete erasure plan follows the recording, not the camera housing.
Reset and Release Device Ownership
A factory reset usually returns configuration settings towards their default state. It may remove network details, camera names, access codes and user profiles. It may not securely erase a separate hard drive, memory card or cloud library. Storage must therefore be handled as its own part of the job.
How Do You Reset a CCTV Recorder?
First export required footage and remove remote users. Next, unlink the recorder from any remote-access account or management application. Use the recorder's own reset process while you still have authorised administrative access, then inspect its network settings, local user list and installed storage. The exact controls differ between systems, but the order matters: unlinking before reset avoids leaving an inaccessible device attached to an old account.
For wireless cameras, clear saved network credentials and confirm that the device no longer reconnects to the property network. Reset access codes and remove named user profiles. If the camera or recorder is being handed to a new owner, do not simply provide the old administrator password. Release it from the previous account and let the new owner create their own credentials.
Account unlinking and factory reset are separate checks. A reset device can remain listed in an online account, while an unlinked device can still contain local configuration or recordings. Complete both where the equipment will be reused.
How Should You Dispose of a CCTV Hard Drive?
Remove the hard drive from the recorder before deciding how to dispose of either item. Treat the recorder chassis as electronic equipment and the drive as storage containing recordings. Leaving the drive inside an unwanted recorder makes it easy to overlook the data.
A working drive may be reused after suitable erasure and a readability check. Reuse is reasonable only when the erasure method matches the media and the old recordings are no longer accessible. Simply deleting recording folders or formatting the recorder for a new camera layout is not the same decision.
When secure erasure cannot be completed or verified, physical drive destruction is the clearer route. The data-bearing components must be rendered unusable, not merely the outer case scratched or the connector bent. A competent data-destruction or electronic-recycling route can then handle the remaining material.
Cameras can contain memory cards or built-in flash storage even when their main recordings went to an NVR. Remove accessible cards before recycling the camera. For built-in storage, use the device's supported erasure process where available. If the storage cannot be erased and the recordings remain sensitive, treat the complete device as data-bearing equipment rather than ordinary electronic waste.
Verify the Retirement Is Complete
Finish with a check made from both inside and outside the property network. The absence of a camera from the wall proves only that the camera has been removed. It does not confirm account closure, cloud deletion, recorder erasure or removal of downloaded clips.
- Confirm that retired cameras and recorders are absent from account dashboards, site lists and authorised-device lists.
- Attempt remote viewing from an authorised external connection and confirm that the retired system is no longer available.
- Check that every hard drive, memory card and built-in storage location has been erased, retained deliberately or assigned for destruction.
- Open retained backups from their final storage location and remove unnecessary working copies from phones and computers.
- Record who received shared-building equipment, credentials, retained footage and responsibility for any remaining devices.
For an apartment-building system, the handover should identify the shared cameras, recorder, storage and active account holder in plain language. For a small business, include departing users, viewing computers and integrations in the same check. A short written record prevents an old login, unidentified drive or disconnected camera from becoming somebody else's unresolved problem.
Key takeaways
- Every recording location should be identified before cameras or recorders are disconnected.
- Required footage must be copied and checked before any reset, deletion or storage erasure begins.
- Network connections, remote sessions and user accounts should all be removed during retirement.
- Hard drives, memory cards and built-in storage require separate handling from camera and recorder housings.
- A final verification should confirm that access has ended, storage has been handled and shared-system responsibilities have been transferred.