On this page
A small-business manager at a street-front business may need to move quickly between a video recorder, a playback timeline, the correct camera channel and a USB drive. Exporting video clips is straightforward when the preparation is sound, but small mistakes can produce the wrong time, the wrong view or a file that nobody else can open. This workflow explains how to find the relevant recording, confirm it, copy it and verify the result.
The controls vary between an NVR (network video recorder), a DVR and a VMS (video management software), but the underlying method is consistent. Search carefully. Confirm what you are watching. Set useful clip boundaries. Choose an appropriate format. Then test the exported file away from the recording system.
Prepare Before Exporting Video Clips
Do not begin by opening random camera views. First write down what is known about the incident. The most useful starting information is a location and a time window: the front counter between two approximate times, the delivery gate around opening, or the storeroom shortly before a missing item was noticed.
Translate that location into camera channels. A recorder may label channels with numbers, descriptive names or both. Names such as Entrance and Office help only if they still match the physical installation. Cameras are sometimes moved while their recorder labels remain unchanged.
- Incident window: note the earliest and latest plausible times rather than relying on a single remembered minute.
- Relevant channels: identify the views covering the event location and the likely route into or out of it.
- Recorder access: confirm that an authorised person has working playback and export credentials.
- USB drive: use a compatible drive with enough free space and no files that could be confused with the export.
- Recording retention: check whether footage from the required period is still available on the recorder or in an archive.
A recording can only be found while it remains available. Many systems reuse storage automatically, so retention is not an abstract setting. It determines whether the search can succeed. Retention may also differ between channels because recording schedules, activity levels and image settings are not always identical.
How Do I Find CCTV Footage?
Open the recorder's playback screen and select the date, approximate time and camera channel. Those three choices determine which recording appears. If the timeline remains empty, check each choice separately before assuming that no recording exists.
Begin with one relevant channel. Move the playback cursor to the earliest plausible time and play forward at normal speed. Faster playback can help with periods where little changes, but it can also hide a brief interaction. Use visible movement, vehicle arrivals, staff changes or lighting changes to orient yourself.
Many timelines use colours, bars or symbols to distinguish continuous recording from event-triggered recording. Event markers can narrow the search, but they are aids rather than proof. Motion detection may react to shadows, reflections, plants, traffic or changes in sunlight. It may also fail to mark subtle movement. Review the surrounding timeline instead of opening only marked moments.
- Select the required date and confirm how the interface displays day and month.
- Choose the camera channel associated with the physical location.
- Open a time window wider than the reported incident time.
- Use the playback timeline to move toward the likely event.
- Check neighbouring channels if the subject passes between areas.
Widen the search when the reported time is uncertain. A person's recollection, a receipt time and the recorder's timestamp may not align exactly. Searching only a narrow interval is a common reason staff conclude too early that footage is missing.
For remote property owners, the same process may be available through a VMS or secure remote interface. Remote playback can be slower than local playback, particularly when several channels are selected. Search with one channel first, then add other views once the time has been established.
Confirm the Correct Recording
Finding movement at approximately the right time is not enough. Confirm the camera by looking for stable landmarks: a particular doorway, shelf, gate, till position or section of pavement. In an apartment building, two shared corridors can appear almost identical. In a private home, repeated walls and garden paths can cause the same confusion.
Next, assess the timestamp. Compare it with something independently visible in the scene, such as a known opening routine, a delivery record or another camera showing the same person. The aim is not to alter the recording. It is to understand whether the recorder clock is early, late or consistent across channels.
Watch enough material before and after the main moment to establish context. The useful sequence may begin when a person enters the area, not when an exchange occurs. It may end only when the person leaves or the object involved is moved elsewhere.
- Confirm that landmarks match the intended camera location.
- Check whether the displayed timestamp appears credible and consistent.
- Review the approach to the event and what follows it.
- Return to normal playback speed when image detail matters.
- Listen for audio only if the selected channel was configured to record it.
Playback speed affects interpretation. High-speed playback is useful for navigation, but normal speed is better for hand movements, short exchanges and the order of actions. Pausing may reveal detail, although a paused frame cannot add information that the camera did not record.
Set Useful Clip Boundaries
A useful clip is not merely the shortest file containing the central moment. It includes enough time before and after the event for another person to understand what happened without operating the recorder. Start before the relevant person or vehicle appears, and continue until the sequence has reached a clear end.
Avoid making one very long export simply because the exact moment is uncertain. Large files take longer to copy, open and share, and the recipient still has to locate the important section. Refine the time window through playback first. If a longer background period is genuinely useful, export it separately from the focused clip.
Export separate clips for separate camera channels unless the recorder produces a multi-channel package that the recipient is prepared to use. Individual files are easier to name and review. They also avoid ambiguity when cameras have slightly different clocks or recording gaps.
The clip should be long enough to explain the sequence, but focused enough that another person can review it without searching again.
Keep the original timestamp visible when the export method supports it. Some systems place the timestamp directly in the picture. Others display it only through compatible playback software. If the exported image does not show it, record the selected camera channel and time range in the filename and accompanying notes.
How Do You Export NVR Video?
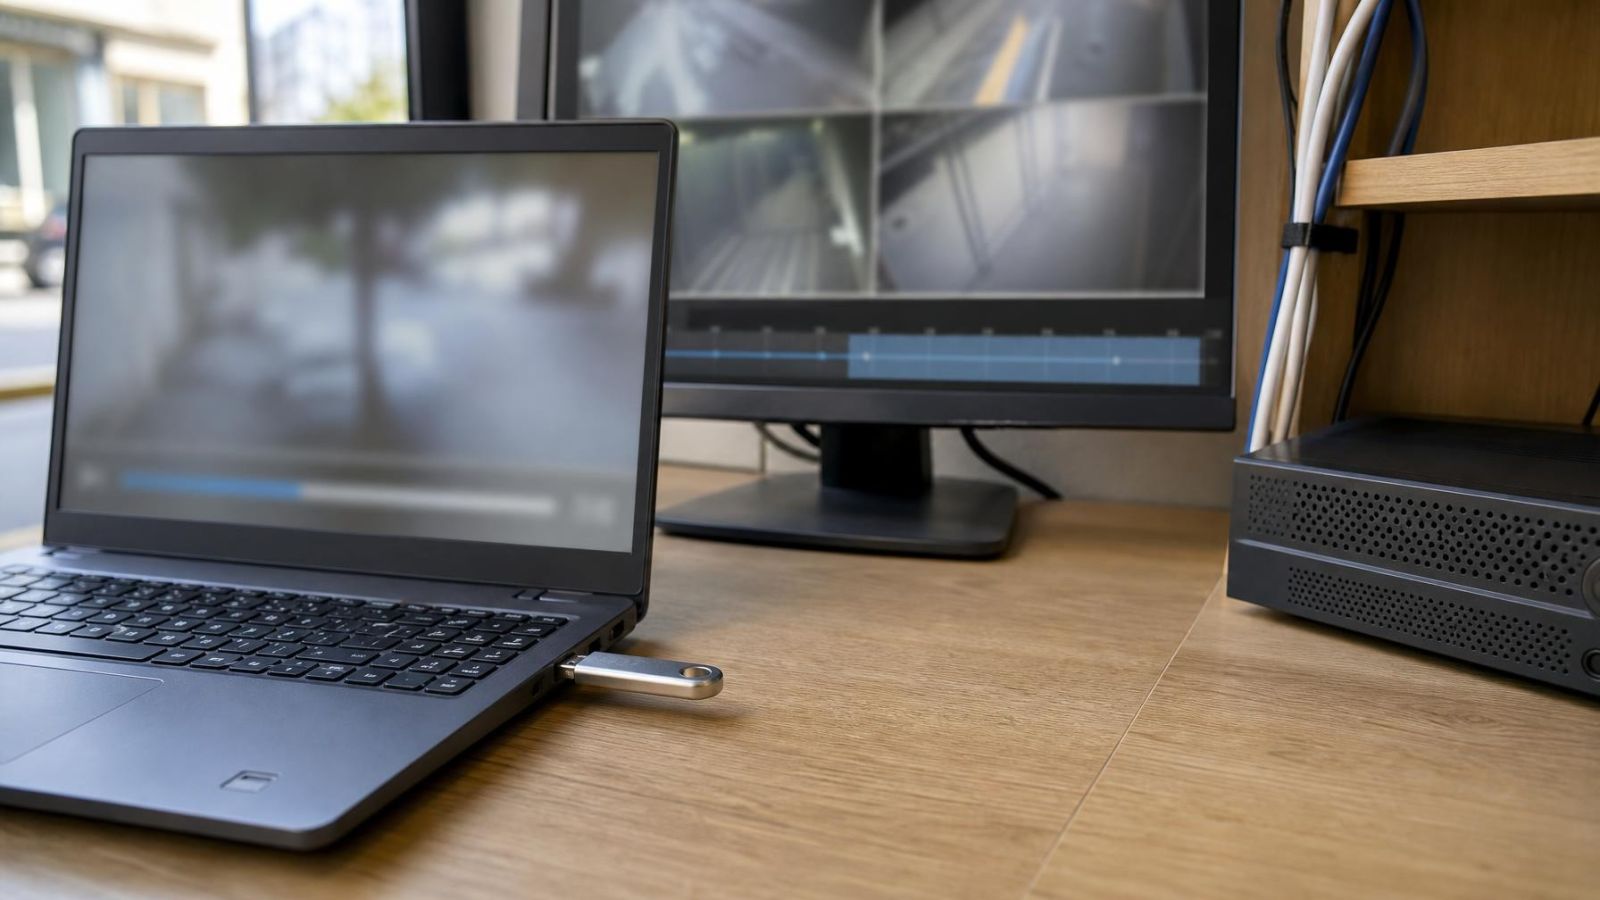
Insert the USB drive and wait for the NVR to recognise it. Open the export, backup or clip function, then recheck the selected channel and time range. Do not assume the export screen has inherited the choices from playback; some interfaces return to a default channel or broader period.
The main choice is between a native export and a common video format. A native file may preserve timestamps, multiple streams or system-specific information, but it may require the recorder's compatible video player. A common format is usually easier to open, although the available metadata and playback controls may differ.
| Export option | Main advantage | Main limitation | Best fit |
|---|---|---|---|
| Native recorder format | May retain recorder-specific timing and playback information | May require compatible playback software | Keeping a close copy of the recorder output |
| Common video format | Usually easier to open on another computer | May not carry every recorder-specific feature | Routine review and straightforward sharing |
| Native file plus player | Provides the original export with the required viewing tool | Creates several files that must remain together | Recipients who need native playback but lack the software |
When choosing a format, start with the recipient's practical needs. If another manager only needs to watch one clip, a common format may be sufficient. If the native player is needed to display the timestamp or switch streams, export that player as well when the recorder provides it.
Select a clear destination folder on the USB drive. If the interface allows folder names, use a short name that identifies the site or event without relying on the recorder's automatic numbering. Confirm the destination before starting. A successful progress message does not necessarily mean the file went to the folder you expected.
Wait for the recorder to finish writing before removing the drive. If the interface offers an eject or unmount control, use it. Removing storage while a file is still being written can leave an incomplete export. The same care applies whether staff describe the task as exporting or trying to download camera footage.
Verify and Organise the Export
An export is not complete when the recorder says it has finished. Move the USB drive to another computer and open the copied file there. This test confirms that the file exists outside the recorder, that the format is usable and that any required video player is present.
Watch the beginning and end, then inspect the central event. Confirm that the correct camera is shown, the image plays without stopping, the timestamp is present where expected and the visible detail matches the original playback. If audio was expected, test it with the computer's sound settings and output device checked.
- Open: make sure the file launches on a device that is not the recorder.
- Play: review the beginning, main event and end rather than checking only the first frame.
- Compare: confirm the camera identity, timestamp and visible image detail.
- Name: identify the location, channel, time window and event in a consistent order.
- Protect: keep an untouched original and use a separate working copy for routine viewing or conversion.
A practical filename might include the site abbreviation, camera location, recorder channel and event description. Use the same order every time. Avoid names such as clip-final or export-new; they become meaningless when several files are placed in the same camera footage archive.
Copy the verified export to its intended protected storage location. Preserve one untouched copy of the exported file. If staff need a shorter version, a converted format or a copy with added notes, create it from a working duplicate. This keeps the original export available for comparison.
Build a Repeatable Business Procedure
A written procedure turns an occasional technical task into normal business administration. Assign named roles authorised to use playback and export functions. Avoid depending on one employee's memory, especially in a small business where that person may be off site when a recording is needed.
The procedure should state where the recorder is accessed, how camera channels are named, where a suitable USB drive is kept and where verified files are stored. It should also explain who receives the working copy and who retains the untouched original.
Include recorder clock checks in routine maintenance. An inaccurate clock makes time-based searching harder and complicates comparisons between cameras, access systems, receipts and staff accounts. In Israel, an international manager may also encounter different date display conventions on imported equipment, so the written procedure should show staff how the recorder presents dates and times.
Test exports occasionally rather than waiting for an important retrieval. The test should cover the complete chain: find a harmless sample recording, set boundaries, export it, move it to another computer and play it. This checks credentials, storage compatibility, file format and staff familiarity in one exercise.
- Name the staff roles permitted to search, export and store recordings.
- Document the recorder's date format, time display and channel labels.
- Keep concise playback and export instructions near the authorised workstation.
- Include file verification in the procedure rather than treating it as optional.
- Let responsible staff practise the workflow before retrieval is time-sensitive.
For a business in a shared Israeli building, clarify which cameras belong to the business system and which cover shared entrances under separate management. A shop's own recorder may show the doorway but not the building lobby. Knowing that boundary before a search prevents staff from spending time looking for a channel that does not exist on their system.
Regular practice matters because recorder interfaces are used infrequently. A short, familiar checklist reduces skipped steps when staff are busy: identify, search, confirm, trim, export, test and store. The equipment performs the recording. The procedure makes the recording usable.
Key takeaways
- A reliable search starts with the location, camera channel and a realistic time window.
- The recording and its surrounding context should be verified before any clip is exported.
- The best export format is one that the intended recipient can open without access to the recorder.
- Every exported clip should be opened and played on a separate device before it is treated as complete.
- Written instructions and occasional staff practice make video retrieval more dependable.