On this page
An infrared security camera may look excellent by day, then show a white veil after dark. Light from beside the camera lens can return from a dome cover, window glass or balcony wall; even an external illuminator can cause trouble if it is badly placed. This guide explains what security camera IR glare looks like, why it happens and which installation changes produce a more useful night view.
What Security Camera IR Glare Looks Like
Infrared glare occurs when illumination intended for the scene is reflected or scattered back towards the lens. The camera then exposes for that strong return rather than for the entrance, path or face farther away. The result is not always a sharply defined reflection. It often appears as white haze, a bright halo, a pale arc or a washed-out patch with very little detail behind it.
A strong infrared camera reflection can also darken the rest of the frame. A nearby wall or railing becomes brilliant, so the camera lowers the exposure. The bright surface remains visible while the area you actually wanted to record becomes too dark. Increasing brightness usually lifts the whole image without recovering detail that was never captured properly.
Why is my security camera blurry at night?
Night blur can come from focus, movement or reflected infrared, and the distinction matters. Poor focus normally softens edges across a consistent depth range. Movement creates smearing on a person, vehicle or moving branch. Infrared glare places haze or a halo around a bright nearby object and reduces contrast beyond it. A spider web can create both a bright streak and apparent softness because it sits extremely close to the lens.
Why Does the Image Turn White?
Why is my security camera image white at night?
A night camera white image is usually caused by infrared light returning directly towards the lens. Many cameras place their illuminators around or beside the lens. This compact arrangement works well when the light travels into an open scene, but it is sensitive to anything bright or reflective in the immediate foreground.
Exposure is a major part of the effect. A pale wall, low ceiling, shutter edge or other close surface receives much more illumination than an object farther away. The camera protects the brightest area from becoming even brighter, leaving the rest of the frame dark or lacking detail. Manual exposure changes may alter the appearance, but they do not remove the reflection causing it.
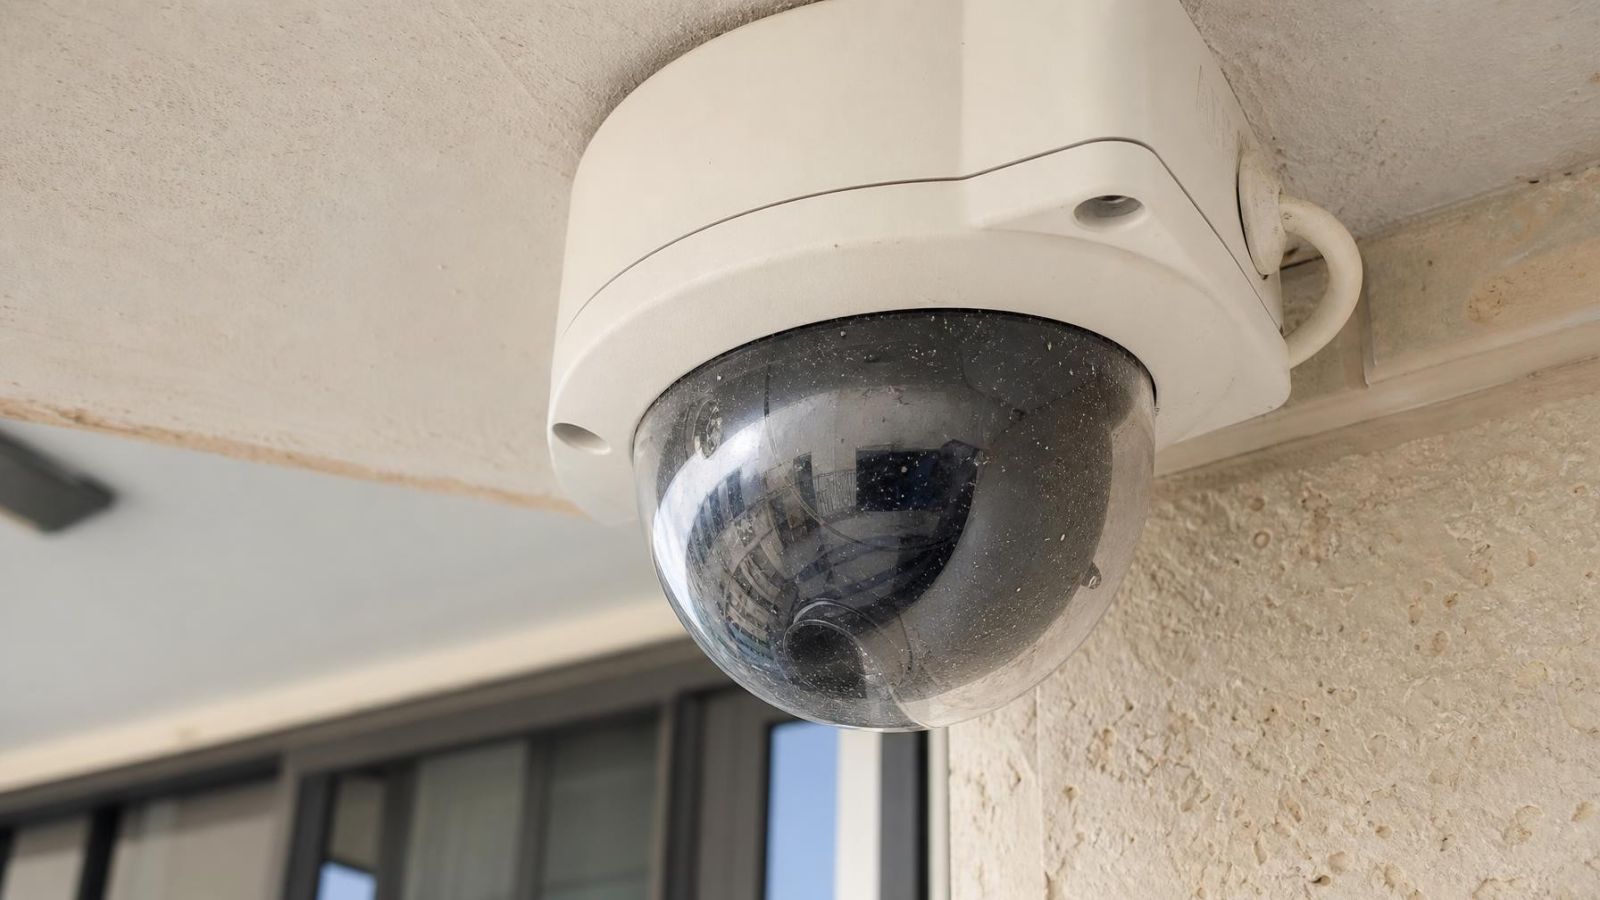
Fine contamination behaves differently from a solid surface. Dust, salt residue, dried droplets and moisture scatter light across the image. Because these particles are on or close to the optical cover, the scattered light reaches the lens strongly and forms a broad white haze. A small mark that is barely noticeable by day can dominate the view at night.
Dome cameras have an additional path for internal reflection. Infrared light can pass into a scratched, dirty or badly seated dome cover and return through the same cover towards the lens. A foam or rubber light barrier around the lens may also fail to seal properly if the dome is misaligned. The image can then show a ring, crescent or general milky glow.
Can Night Cameras Record Through Glass?
Can a night-vision camera record through a window?
A camera can record through a window in daylight, but built-in infrared usually makes the night view unreliable. The glass acts as a reflective surface close to the lens. Much of the infrared illumination returns into the camera instead of reaching the outdoor scene, creating a camera night vision reflection that can obscure almost everything beyond the pane.
Dirty glazing makes the problem broader. Fingerprints, dust and cleaning residue scatter the reflected light, while double glazing can create several overlapping reflections. Indoor lamps, illuminated displays and reflections from the room compete with the outdoor view as well. Pressing the camera close to the glass may reduce some room reflections, but it does not turn ordinary glazing into an optically clear path for built-in infrared.
The practical alternative is to switch off the camera's infrared illumination and provide suitable visible light outside. The camera then records the light passing back through the glass without sending its own infrared towards the pane. The outdoor lighting must illuminate the actual subject area, not point directly into the window or create a bright patch beside it.
Surfaces That Cause Night Glare
The most troublesome surface is often not in the centre of the image. It may sit along one edge, just outside the daytime frame, while still receiving infrared light. Installers therefore inspect the space around the lens as well as the recorded scene.
Common causes in Israeli homes and small businesses include:
- Pale walls beside the camera: rendered or painted walls can return a strong patch of infrared, particularly when the camera is mounted tightly into a corner.
- Low balcony ceilings and soffits: a ceiling above the lens may catch the upper part of the infrared beam and produce a bright band across the image.
- Garden plants: leaves and branches close to the camera reflect strongly, move in the wind and can trigger motion detection while hiding the area beyond.
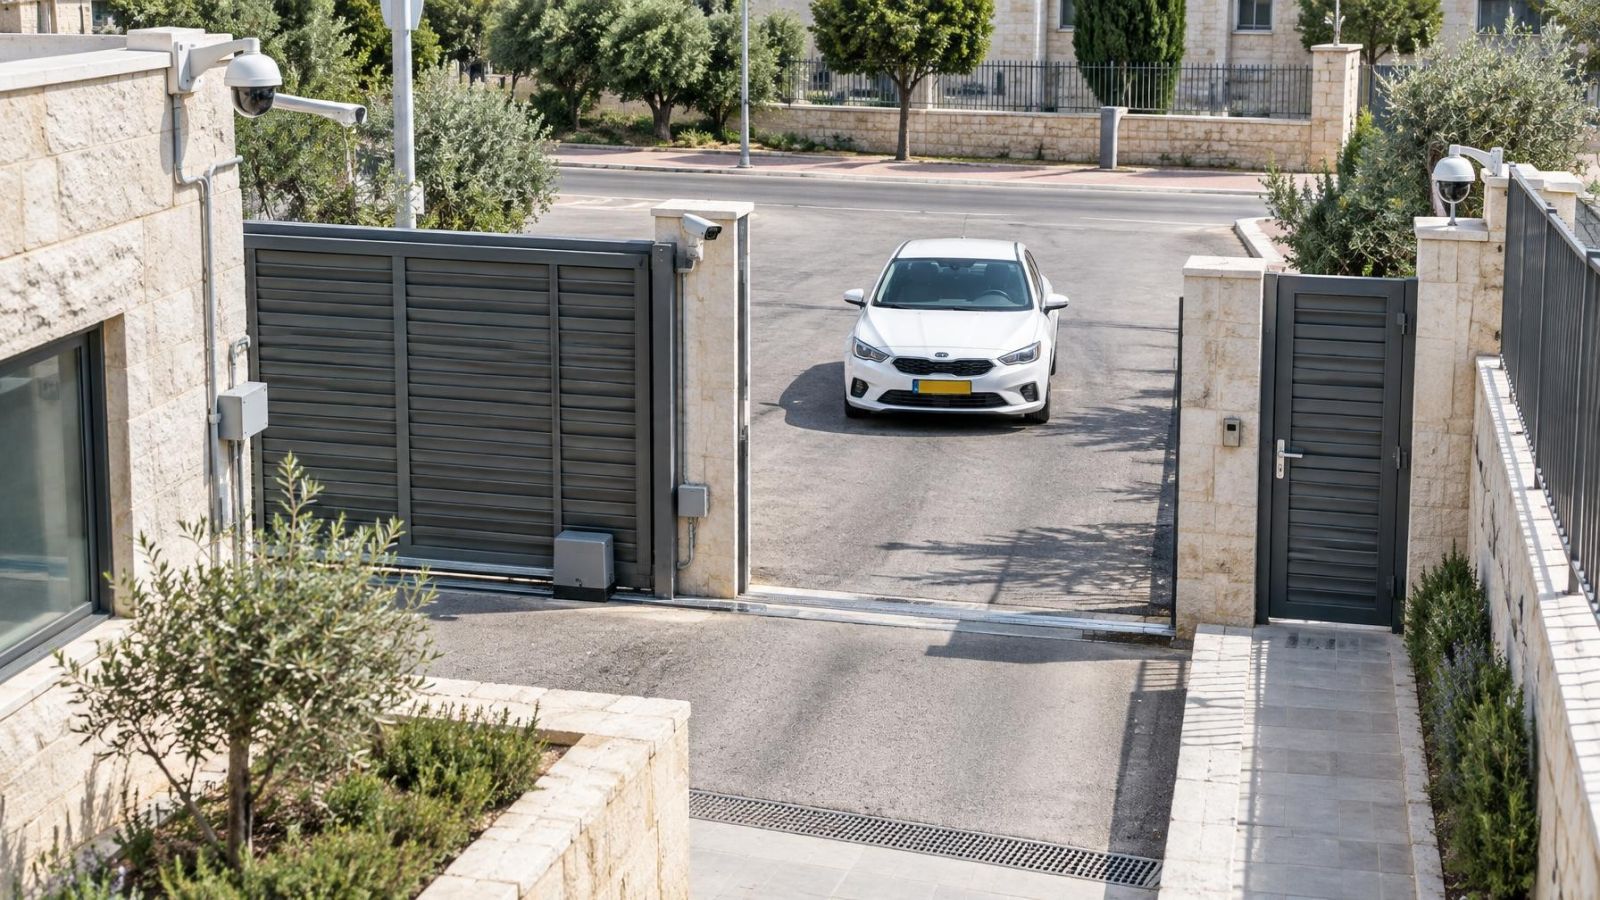
- Gates, shutters and reflective trim: metal edges, glossy paint and light-coloured slats can create concentrated highlights when they are close to the camera.
- Street-front shop windows: glazing can reflect the camera's illuminator, interior lighting and bright objects across the street at the same time.
How should a night camera be positioned near a wall?
Position the camera far enough from the wall that the wall does not dominate the near edge of the frame or intercept a large part of the infrared beam. Aim along the open area rather than steeply across the wall. On a narrow balcony, moving the mounting point a modest distance outward can matter more than changing image settings.
Do not judge the position only by whether the wall is visible. A surface just outside the frame can still reflect infrared into the lens. The final test must therefore be made after dark, with the camera in its intended night mode.
Check Contamination and Camera Covers
Cleaning is the simplest useful check when a previously clear night view develops haze. Start by looking for loose dust, dried water droplets and a thin film on the lens window or dome cover. Coastal humidity can leave moisture or residue on exposed equipment, while dust collects quickly on surfaces protected from direct rain.
Spider webs deserve particular attention. A strand beside an infrared emitter can become an intensely bright line, although it is almost invisible in daylight. The web may sit across the cover, between the camera and a nearby wall, or just under a mounting lip. Removing the visible strand without clearing its attachment points often allows it to return.
Clean only with materials suitable for optical surfaces. First remove loose grit without rubbing it into the cover. Then use a clean, soft cloth and an appropriate cleaner, applying minimal pressure. Abrasive cloths, paper with rough fibres and strong household products can leave fine scratches or damage a coating. A scratched cover may continue scattering infrared even when it looks clean.
After cleaning a dome camera, confirm that the cover is seated evenly and that any internal light barrier sits firmly around the lens assembly. Check for trapped dust, marks on the inside surface and seals that have folded out of position. A replacement cover may be the practical answer when scratching or clouding cannot be cleaned away.
Correct the Installation, Not Exposure
How do you stop infrared reflection on a security camera?
Stop the reflection by changing the light path. Move the camera away from glass and close walls, aim past bright foreground surfaces, and keep plants outside the immediate field of illumination. Exposure controls can make a flawed view look less white, but they cannot reveal detail hidden behind a strong optical reflection.
Where the mounting position cannot avoid nearby objects, separating the illuminator from the lens is often effective. An external infrared illuminator can be mounted at a different angle so that light reflected by dust, insects or a nearby surface is less likely to return directly into the camera. It should illuminate the subject area without shining straight towards the lens or through intervening glass.
Visible external lighting is another practical option, especially at gates, garden paths and business entrances where useful general lighting is already wanted. Even illumination across the subject area is preferable to one intense lamp in the frame. Avoid aiming a light directly at the camera, and check whether a nearby white wall becomes the brightest object after the light is switched on.
| Observed cause | Installation correction | Weak workaround |
|---|---|---|
| Window immediately in front of lens | Mount outside or disable built-in infrared and use outdoor visible lighting | Increasing image brightness |
| Pale wall or ceiling near camera | Move outward or aim into open space | Cropping the bright edge |
| Plants in the near field | Trim or reposition camera away from foliage | Reducing motion sensitivity |
| Contamination or damaged dome | Clean, reseat or replace the optical cover | Changing exposure settings |
| Unavoidable close foreground | Separate the illuminator from the lens | Using stronger built-in infrared |
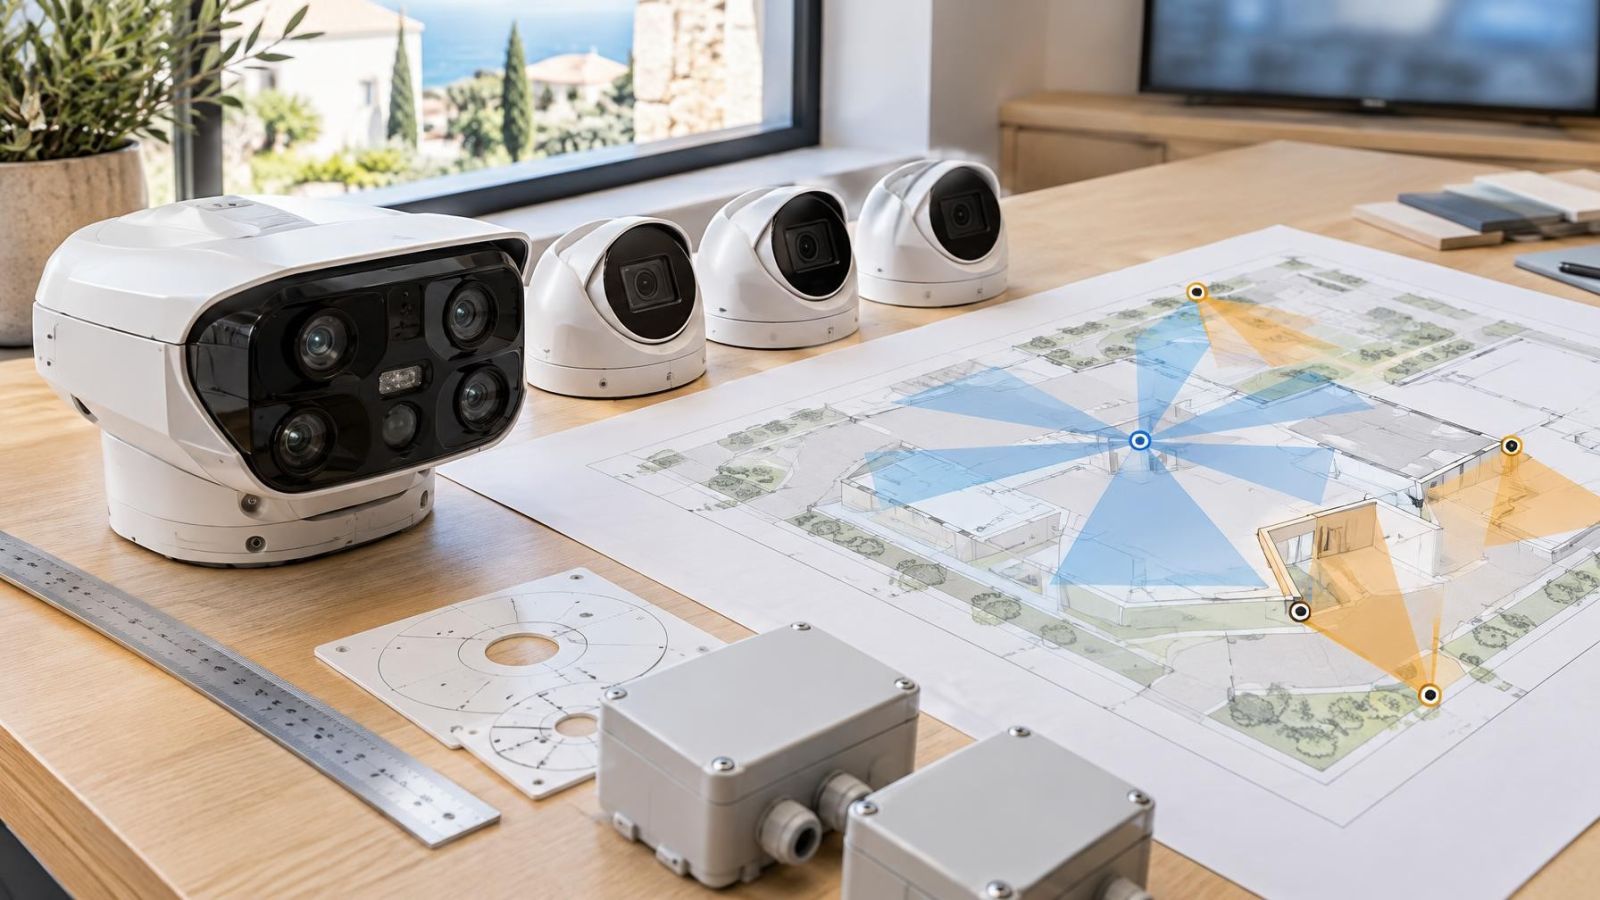
Choose the camera view before committing the final cable route. A convenient cable entry can pull the camera too close to a corner, soffit or glazing line. It is usually better to establish the optical position first, then plan a protected cable path to that point.
Test the Final Night View
A final night test should be performed in full darkness, not at dusk. Residual daylight can keep the infrared illuminator inactive or reduce its output, hiding the problem. Test with the property in its normal state: shutters positioned as they will usually be, entrance lights operating normally, and shop displays left as expected after closing.
Review useful detail rather than overall brightness. Check the doorway, gate, payment area or path the camera was installed to record. Have a person stand and move through those areas so you can assess facial detail, motion blur and exposure. A bright picture is not necessarily an informative picture, and a darker background may be acceptable if the relevant subject remains clear.
Confirm that built-in infrared, any external illuminator and visible lighting activate as intended. Look at all four edges for walls, leaves, ceiling bands or reflective trim. Also examine the live view for insects and webs close to the emitters. They may appear as floating bright shapes or fast streaks rather than recognisable objects.
After cleaning, aiming or moving the camera, repeat the same test. Compare the intended subject area, not merely the disappearance of the white patch. Repositioning can remove one reflection while introducing another, particularly on a balcony with a low ceiling or near a gate that changes position.
For remote property owners, request saved night images or recorded clips from the final camera position rather than relying only on a daytime handover view. The evidence should show the actual entrance or boundary under normal lighting conditions. Once that view is confirmed, the mount and cabling can be fixed in their final positions.
The reliable sequence is simple: choose the scene, inspect nearby reflective surfaces, clean the optics, test after dark, correct the physical arrangement and test again. Night image quality is established at the camera position. Software adjustments come afterwards, for refinement rather than rescue.
Key takeaways
- Infrared glare is usually reflected illumination rather than a defective image sensor.
- Glass, pale walls and low balcony ceilings can overwhelm useful detail in a night image.
- Dust, water droplets and spider webs become strong sources of haze under infrared illumination.
- Night testing is essential before the camera position and cable route are finalised.
- External illumination can reduce glare by separating the light source from the camera lens.