On this page
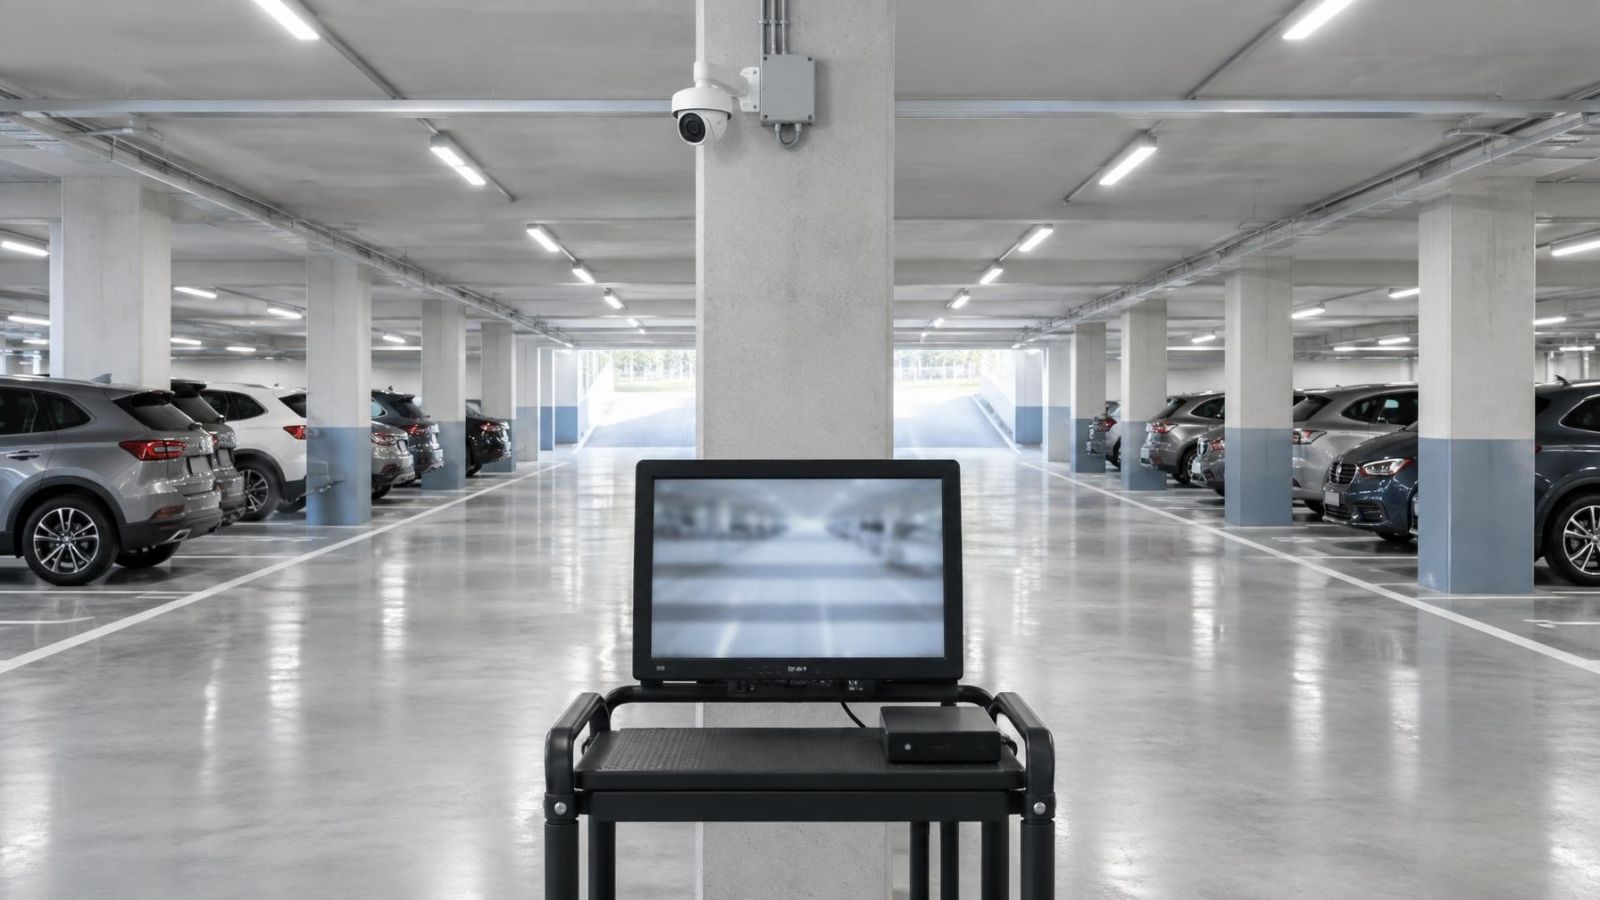
Outdoor security cameras, a video recorder, an alarm control panel, motion detectors and a backup battery all need attention in an Israeli home or small business. A live picture and a normal status light are not enough. Effective security camera maintenance must confirm that images are clear, recordings can be played back, alarm devices respond and backup power works during an interruption. This article sets out what an owner can check safely and when technical service is the better choice.
The routine should fit the property. A coastal shop may collect salt residue and humidity around outdoor equipment. A private home with a garden may have insects and vegetation near cameras and detectors. Apartments can have cameras at shared entrances, equipment in enclosed cabinets and decisions that need coordination with the va’ad bayit. Strong sunlight, glare and airborne dust affect almost every type of site.
What Security Camera Maintenance Protects
Preventive security maintenance protects the chain between an event and a usable record of it. For video, that chain includes the lens, camera alignment, cable or wireless connection, power supply, recorder, storage and playback interface. For an alarm, it includes detectors, door and window contacts, the control panel, keypad, siren, notifications and backup operation.
A fault in one part can make the rest appear healthy. A camera can provide a live view while the recorder stores nothing. A motion detector can report as connected while furniture blocks its field. An alarm panel can show a charged battery even though the battery cannot support the system when mains power is interrupted.
Exposure determines how closely the equipment needs watching. Dust and residue reduce image clarity and can worsen glare. Coastal humidity can affect housings, fixings and exposed connections. Direct sunlight can age cable jackets and seals. Plants can move into a camera’s view or create repeated motion detection. Maintenance should become more frequent where these conditions are pronounced.
| Owner-safe checks | Technical service |
|---|---|
| View cameras, play recordings and review visible status messages | Diagnose recurring recording, network or storage faults |
| Clean accessible lens covers without moving the camera | Open housings, renew seals or correct moisture ingress |
| Look for visible cable damage, obstructions and loose mounts | Repair cabling, power supplies, terminations and unstable mounts |
| Operate alarm devices using the documented test procedure | Measure backup performance and investigate recurring alarm faults |
Access matters as much as skill. Do not improvise with ladders, open powered equipment or disturb sealed outdoor connections. If a task requires height work, electrical access, specialist test tools or configuration changes, leave it to an installer.
Cleaning Outdoor Cameras
How often should outdoor cameras be cleaned?
Outdoor cameras should be cleaned according to exposure and image condition rather than an arbitrary universal interval. Check them more often after heavy dust, nearby building work, strong winds, salt-laden coastal air or increased insect activity. Visible film on the cover, a soft-looking image, halos around lights or worsening night vision are signs that cleaning is due.
First inspect the live image and note the camera’s current framing. Switch off the camera’s IR illuminator if the interface allows it, or avoid looking directly at it at close range. Remove loose dust with a clean air blower or a very soft brush. Then wipe the lens cover gently with a clean, lens-safe microfibre cloth. If necessary, use a small amount of lens-safe cleaning fluid on the cloth, not directly on the camera.
Do not use abrasive cloths, household scouring products or a strong water jet. They can mark a clear dome, push moisture towards a seal or leave a residue that becomes obvious under IR. Greasy deposits and insect debris should be softened and lifted rather than scrubbed.
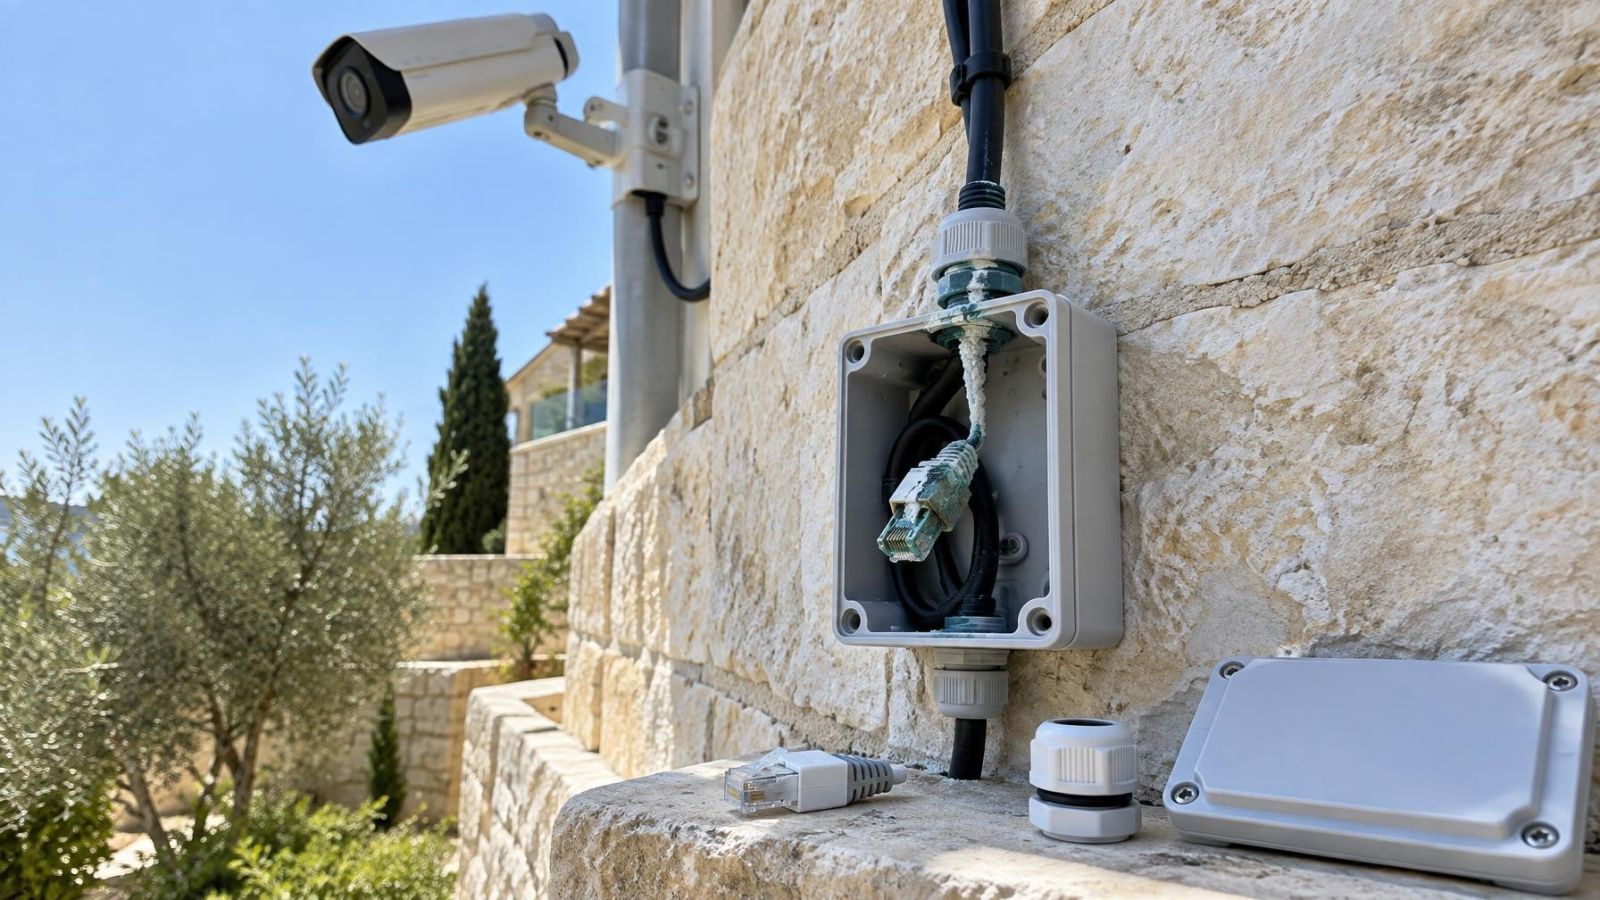
Cleaning is also an inspection. Look at the outdoor camera housing, mounting base and cable entry. Check for cracked seals, moisture, corrosion, loose glands, damaged cable jackets and gaps around conduit. Insects sometimes build webs or nests close to the illuminator. Their material can reflect IR into the lens and trigger motion detection.
Checking the Recording Archive
How do you check that security cameras are recording?
Check recording by playing stored video from every camera, not by relying on live view. An NVR (network video recorder), DVR or VMS (video management software) may display a live stream while recording is stopped, incomplete or assigned to the wrong schedule. Playback is the only straightforward owner check that confirms an archive can be opened.
Use the same sequence for each camera:
- Open the live view and confirm that the picture belongs to the named camera. Similar entrances and corridors are easily mislabelled.
- Create a simple visible action in the scene, such as walking through the normal field of view, without moving the camera.
- Wait long enough for the event to enter the archive, then search for the corresponding period and play it back.
- Confirm that the image is usable, the timestamp is credible and playback continues as expected around the event.
- Repeat the check for every camera rather than assuming one successful channel represents the recorder.
Review both daylight and night-view images. Daylight can reveal focus problems, glare and overexposure near bright Israeli entrances. Night viewing can reveal IR reflection from a wall, soffit, dome cover, plant or spider web. A picture that looks acceptable during the day may become washed out or hazy when the illuminator switches on.
Check the recorder interface for storage faults, missing cameras, unusual gaps, repeated restarts or a clock that drifts. Confirm that camera names still match their locations. If the system records only on motion detection, test ordinary movement in the important part of each scene. A recording schedule or detection zone can change without affecting the live picture.
Inspect Cameras, Cabling and Power
A physical inspection often explains an intermittent fault before any configuration menu does. Start at the camera and follow every accessible part of the route towards the recorder or network cabinet. Look without pulling, twisting or opening sealed components.
- Check camera mounts for movement, cracked surfaces and loose fixings. Compare the aim with the intended view of the gate, entrance, stock area or garden path.
- Inspect exposed cable jackets for splitting, crushing, sharp bends and damage where cable passes against metal or masonry.
- Look for loose cable connections, unsupported couplers and exposed joins. Outdoor connections should not be left where water can collect around them.
- Inspect housing seams and cable entries for condensation, staining, corrosion or seal damage. Moisture inside a clear cover requires technical attention.
- Confirm that plants, signs, awnings, stored goods or new partitions have not blocked the view or changed the useful scene.
- Keep vents around the recorder, network equipment and power supplies clear of dust and stored objects. Heat should be able to leave the cabinet.
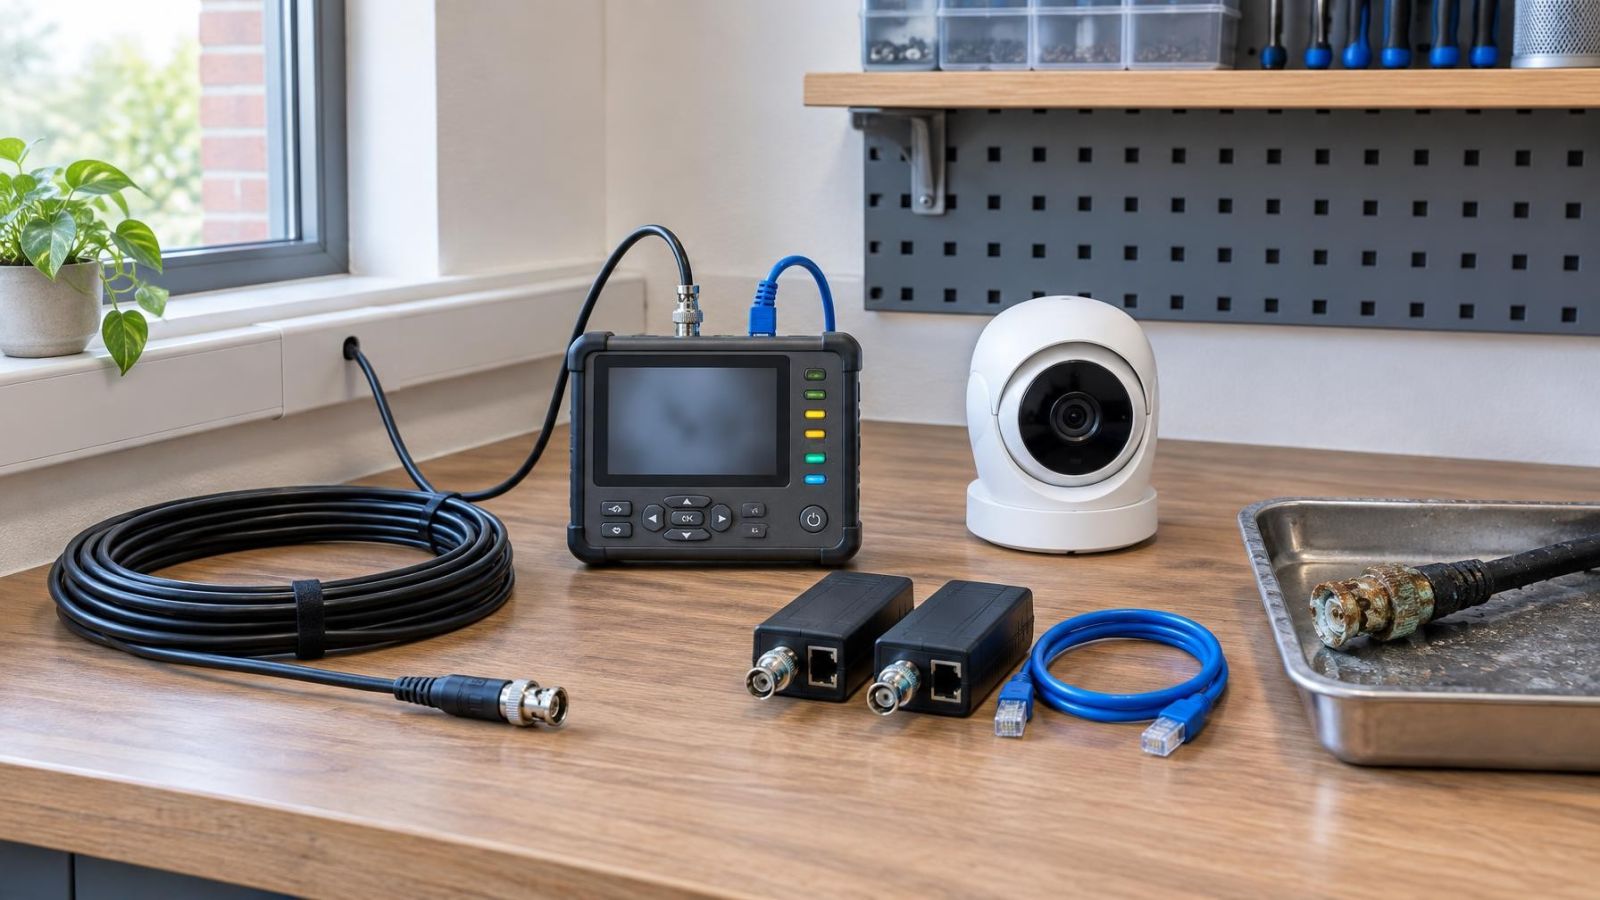
Power faults do not always cause a complete failure. A weak supply, loose connector or damaged network cable can produce restarts, frozen images and short connection losses. Cameras using PoE (power over Ethernet) depend on both the cable path and the PoE source. Repeated disconnections should therefore be investigated as a power and cabling problem before the camera itself is replaced.
Pay particular attention to equipment inside a mamad, the reinforced safe room found in many Israeli homes. Dense walls and a closed metal door can affect wireless links. If equipment was moved into or around the room, confirm connection quality and playback instead of assuming the previous arrangement still works.
Test the Alarm System
What should you inspect on an alarm system?
Alarm system maintenance should test each part according to its behaviour, not just confirm that the control panel appears normal. Put the system into its documented test mode before operating detectors, contacts or signalling functions. If the test procedure is unclear, ask an installer to perform it rather than creating avoidable siren activations or notifications.
Inspect motion detectors for dust, insect debris, paint, stickers and nearby objects that interrupt their field. A detector can become unreliable when it is dirty, misaligned or affected by changed surroundings. New shelving, curtains, air movement, plants and rearranged furniture can all alter what the detector sees.
Open and close each protected door or window while checking that the correct zone changes state. Look for contacts that have shifted apart, loose surface-mounted parts and doors that no longer close in the same position. Test the keypad controls and display, then confirm that the siren and configured notifications behave as intended during the system’s test procedure.
How do you test alarm backup power?
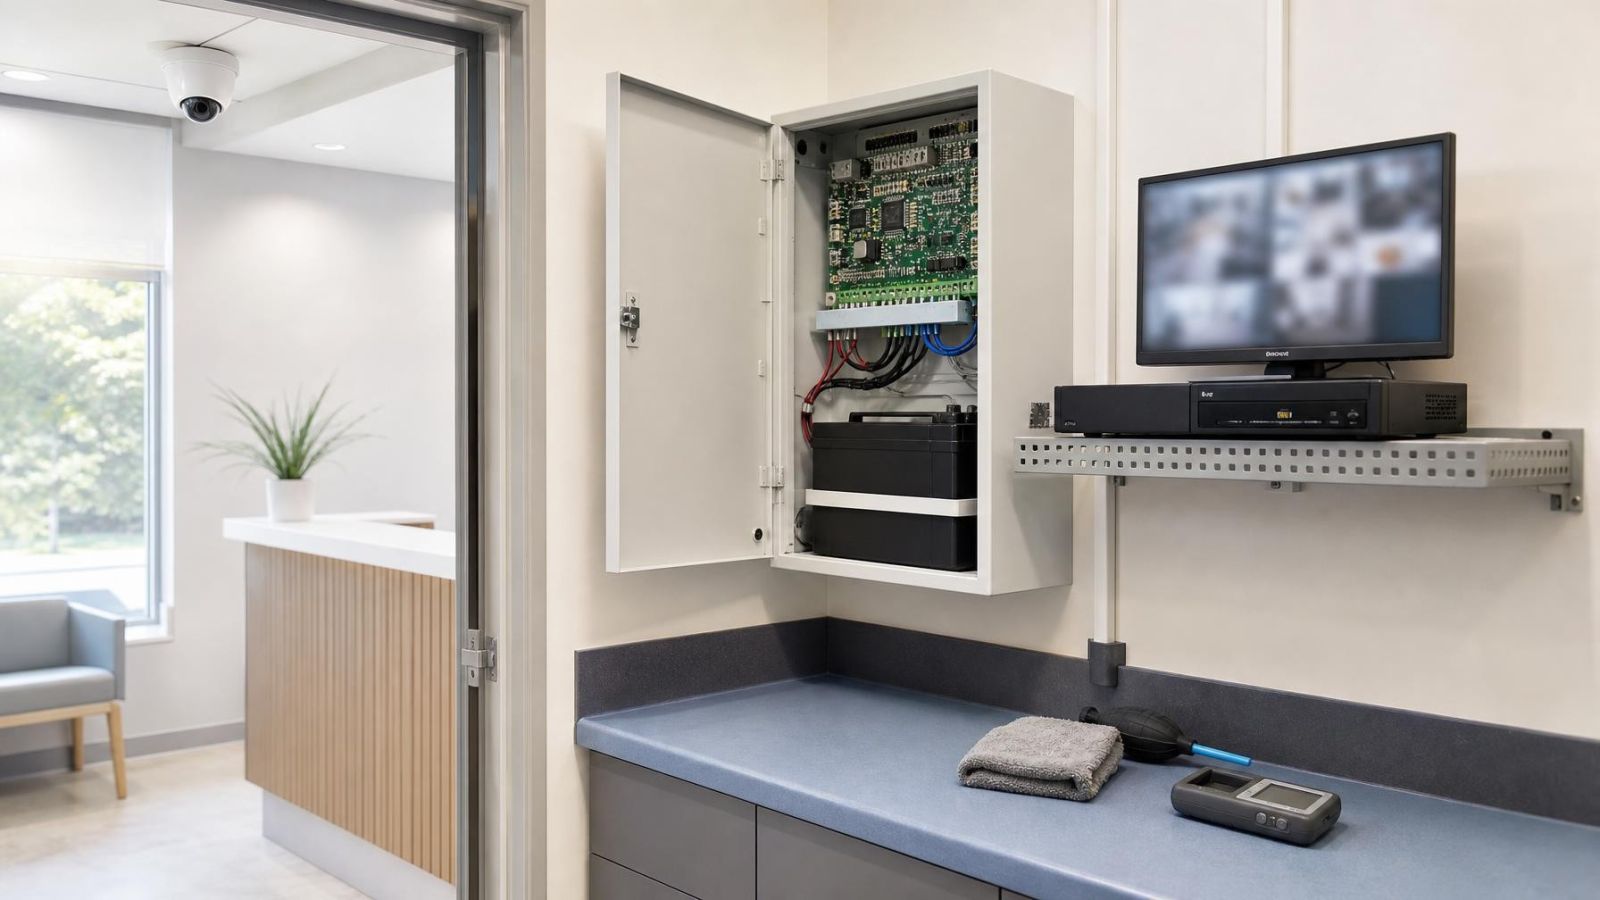
Backup power must be tested under a controlled mains-power interruption. A status icon only shows what the panel believes about the battery; it does not demonstrate how the system behaves when mains power disappears. During an approved test, confirm that the panel, detectors, communication path and other intended alarm functions remain operating, then verify normal recovery when mains power returns.
Use only the interruption method documented for the installation. Do not open electrical enclosures or disconnect unfamiliar wiring. An installer should handle the test where access is unsafe, the battery is swollen or leaking, the panel reports a recurring power fault, or communication fails during the interruption.
Finish by reviewing the panel’s fault history and recent false alerts. A recurring zone, low-power warning or communication fault is useful diagnostic evidence. Record it before clearing anything. Repeated alerts after the same environmental or layout change usually call for detector adjustment or diagnosis, not repeated arming and disarming.
Recognise Problems Before Replacing Equipment
Why has a security camera image become blurry?
A blurry image is often caused by dirt, residue, condensation or a changed focus rather than a failed camera. Compare daylight and night-view images. Haze that becomes much worse with IR commonly points to contamination on a dome, moisture, a nearby reflective surface or an illuminator reflecting from part of the housing.
Connection loss also needs a structured diagnosis. Check whether the fault affects one camera or several, whether it follows a power interruption, and whether the recorder reports a network, storage or power error. Loose terminations, damaged cable jackets, unstable power supplies and overloaded or poorly ventilated equipment can all create intermittent symptoms.
False motion alerts may start after a site change. A tree can grow into the frame. A sign can move in the wind. Stock, shelving or furniture can enter a detector’s field. A new light can cause rapid exposure changes. Restore a clear field and review detection zones before assuming the sensor or camera has failed.
| Symptom | Check before replacement |
|---|---|
| Soft or hazy image | Lens-cover residue, condensation, focus and protective film |
| Bright night-view glare | Nearby wall, soffit, web, plant or dirty dome reflecting IR |
| Intermittent camera loss | Power supply, PoE source, cable route and terminations |
| Missing archive periods | Recording schedule, storage status, recorder clock and restarts |
| Recurring alarm alerts | Detector cleanliness, alignment, zone history and site changes |
Replacement becomes reasonable after the supporting conditions have been checked and the fault has been isolated. Recurring faults deserve installer diagnosis. Repeated resets may temporarily hide useful evidence and make an intermittent problem harder to trace.
Build Your Maintenance Routine
A useful camera inspection checklist is short enough to follow and specific enough to reveal change. Divide it into routine observation, exposure-driven inspection and technical service. Remote property owners should also decide who can perform physical checks locally; remote access cannot show a cracked cable entry or condensation inside a housing.
Use this working sequence:
- Review the live view from every camera and compare each scene with its intended coverage.
- Play archived video from every camera and confirm identity, timestamp, image quality and continuity.
- Check daylight and night-view performance, including glare, IR reflection and new obstructions.
- Clean accessible lens covers and inspect housings, mounts, cable entries and exposed cabling.
- Test alarm detectors, door and window contacts, keypad behaviour, siren and configured notifications using the documented procedure.
- Carry out a controlled backup-power test where the method and access are clear; otherwise arrange technical service.
- Write down faults, cleaning performed, site changes and the next action required.
Add an extra inspection after conditions that create unusual exposure. In Israel, that may mean a period of heavy airborne dust, nearby construction, strong coastal residue, vigorous plant growth or work around the building façade. The point is not to follow a rigid calendar. It is to respond when the environment has probably changed the equipment.
Keep a plain maintenance log. Record the camera or alarm zone, the symptom, whether it appears in live view or playback, the cleaning or test performed, and whether the fault returned. For remote properties and small businesses, the log prevents different people from repeatedly trying the same reset without learning anything from it.
The next maintenance decision should always be explicit: no action, monitor, clean, adjust an accessible obstruction, or request technical diagnosis. Owner-safe work ends where height, sealed housings, electrical access, cable repair, battery replacement or system configuration begins.
A well-kept system is not one that never reports a fault. It is one whose faults can be noticed, reproduced and assigned to the right next step.
Key takeaways
- Archive playback provides evidence of recording health that a live camera view cannot provide.
- Lens cleaning should include an inspection of the housing, mounting point, cable entry and exposed connections.
- Alarm testing should cover detectors, contacts, keypad behaviour, signalling functions and backup operation.
- Dust, strong sunlight, coastal humidity and vegetation should determine how closely outdoor equipment is inspected.
- Recurring faults require diagnosis because repeated resets can hide evidence without correcting the cause.