On this page
You may already know that the property needs security cameras and an alarm system. The harder part is turning a site plan, entry points, a mamad and several practical concerns into instructions a security installer can quote against. A security installation brief settles that problem: it states what the system must cover and how it should behave before anyone starts choosing equipment.
The brief does not need to contain technical product knowledge. It needs to describe the property accurately, separate essential requirements from preferences, and make uncertainties visible. The installer can then design around real needs rather than assumptions.
Define the Property and Purpose in the Security Installation Brief
Begin with a plain description of the site. State whether it is an apartment, a private home, an office, a shop or another small-business property. For an apartment, note the floor, private entrance and any connection to shared corridors or parking. For a private home, include gates, garden boundaries and detached structures. For a street-front business, describe public access, staff-only areas, deliveries and closing procedures.
Next, explain why each part of the system is wanted. “Camera at front” is too vague. “See who is waiting at the pedestrian gate and retain a usable record of entry” gives the installer an objective. Alarm requirements should be equally direct: identify which openings or internal areas need detection, when detection is active, and who should receive an alert.
- List the areas where observation, recording or alarm detection is required.
- State the main operational concerns, such as monitoring a gate, reviewing deliveries or managing access outside business hours.
- Record all existing cameras, detectors, control equipment, network cabinets, cable routes and backup power.
- Mark equipment that should remain, equipment that may be replaced, and anything whose condition is unknown.
Existing infrastructure matters even when it will not form part of the final design. An old cable may provide a usable route without being suitable for reuse. Existing analogue cameras may lead to a DVR-based discussion, while network cameras normally point towards an NVR (network video recorder) or VMS (video management software). The brief should report what is present, not decide the architecture prematurely.
What Are the Security System Requirements?
Security system requirements describe outcomes and behaviour. Start at the boundary and work inward. Mark doors, windows, gates, balconies, accessible roofs and service entrances. Then decide what the system needs to do at each location. Some areas need an overview. Others need enough visual detail to distinguish a person, vehicle or delivered item.
Camera coverage and alarm detection are related, but they are not interchangeable. A camera records its view and may provide motion detection. An alarm detector responds according to its configured purpose. The brief should say which behaviour is expected rather than treating every device as a general-purpose sensor.
- For each entry point, state whether the requirement is live viewing, recorded review, alarm detection or a combination.
- Separate indoor cameras, outdoor cameras and cameras facing shared areas.
- Describe alarm zones according to how the property is used, such as perimeter openings, internal rooms, garden areas or stock rooms.
- List who needs local control, remote access, playback, alarm notifications or administrative permission.
- Explain different operating patterns for family members, employees, cleaners, tenants or property managers.
In an apartment building, a private doorway and the shared entrance are different parts of the project. Cameras or detectors involving a lobby, lift area, stairwell, parking level or common gate need coordination with the building representatives involved. Put this boundary in writing so an installer does not quietly assume that shared work is included.
Map Cameras and Alarm Zones
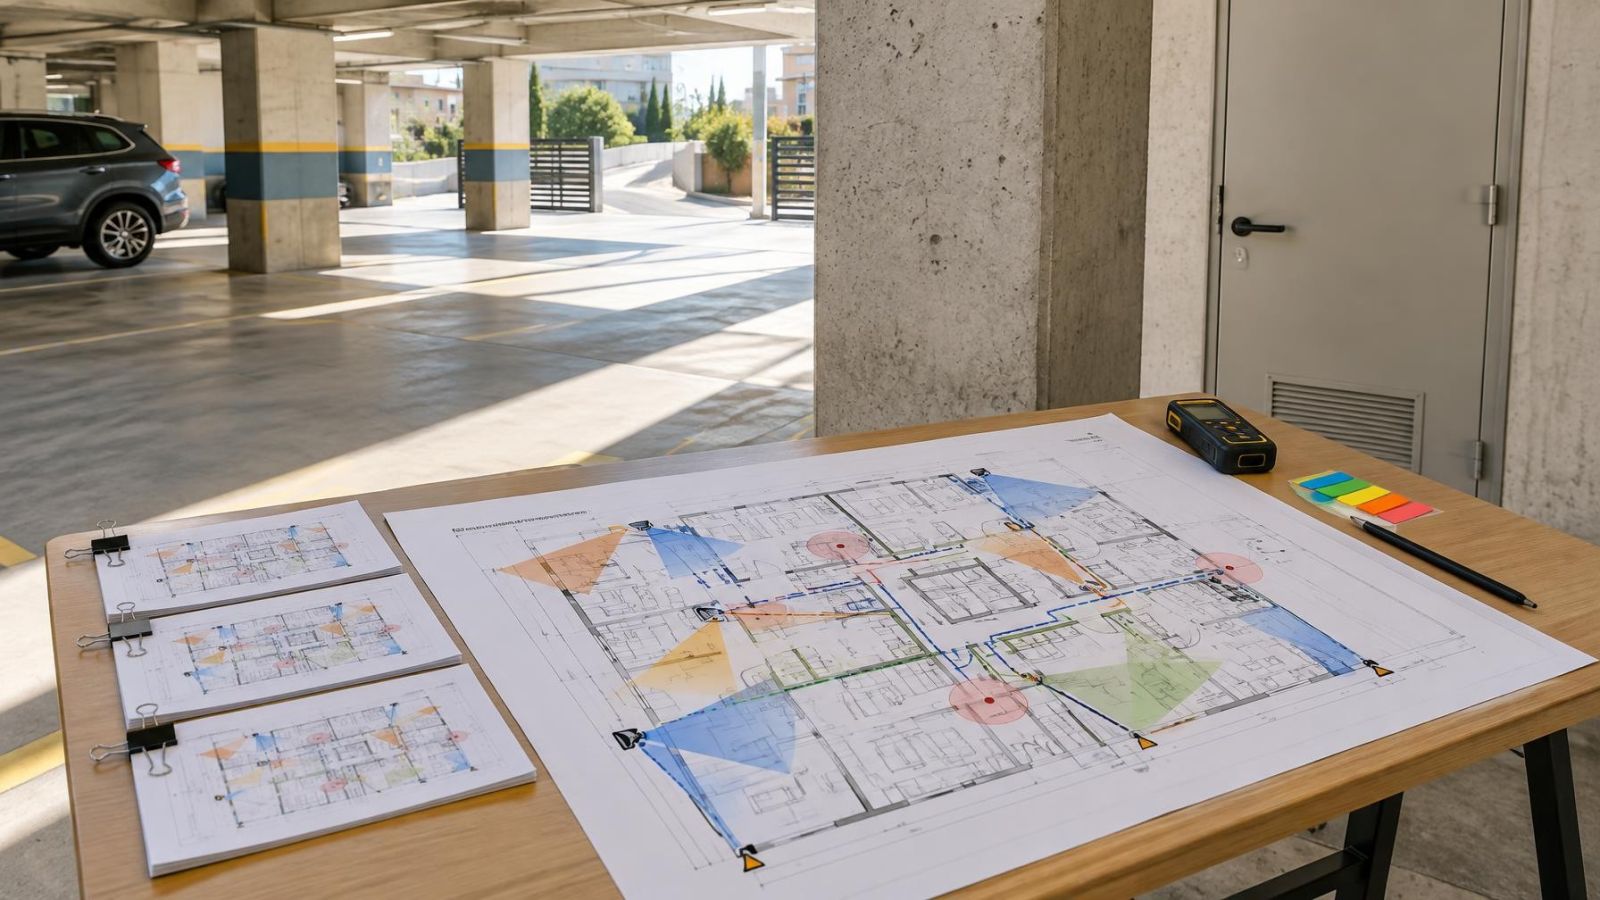
Use a marked floor plan if one is available. A simple site sketch is also useful if it shows walls, doors, windows, gates, garden paths, façades, stairs and approximate equipment positions. It does not need to be an architectural drawing. It does need labels that can be discussed without ambiguity.
What Belongs in a Camera Alarm Specification?
For every proposed camera location, add a short description of the required view. Camera placement depends on that view, not only on the convenient mounting point. “Cover the driveway” could mean observing general activity, reading whether a parking space is occupied, or obtaining a close view at the vehicle gate. Those objectives require different framing.
Mark alarm zones separately from camera views. A zone should correspond to a useful response or operating pattern. For example, a garden perimeter may need to be armed while people remain inside, whereas internal movement detection may only be active when the property is empty. The brief should describe the desired behaviour without prescribing detector models.
- Give each camera position and alarm zone a unique label.
- Draw the intended direction of view rather than marking only a dot on the wall.
- Note gates, gardens, façades, entrances and narrow side passages that affect positioning.
- Mark the limit between the private property and shared-building areas.
- Identify places where privacy, appearance or normal use makes a particular view or mounting position undesirable.
Document the Site Conditions
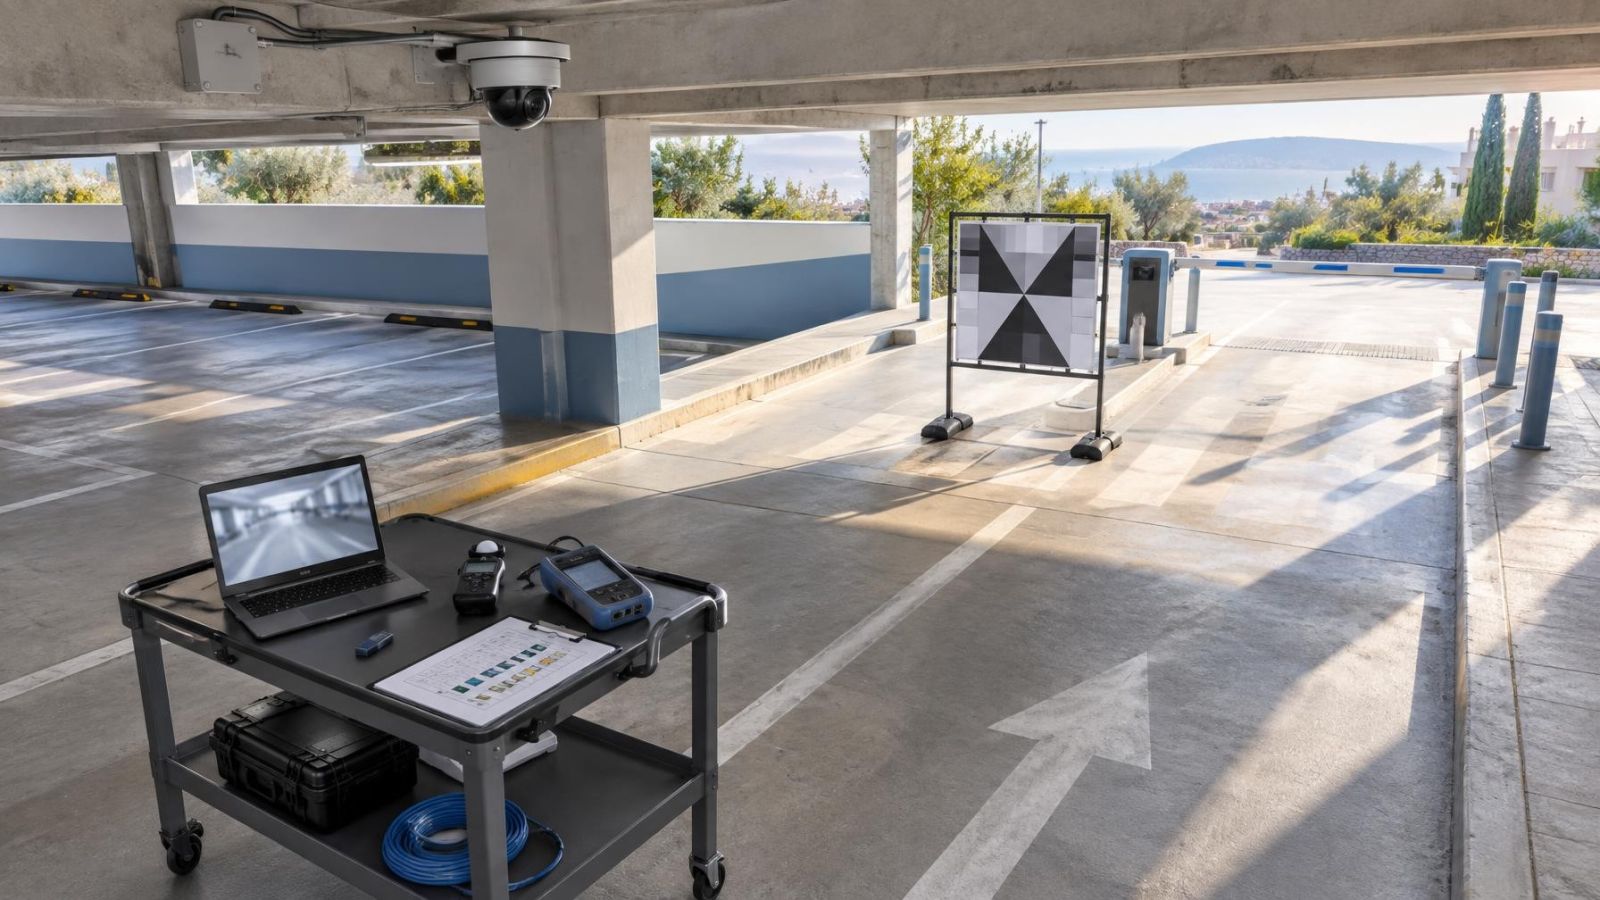
A floor plan describes geometry but not light, weather or construction. Photograph important views in bright and shaded conditions where practical. Strong Israeli sunlight can reduce useful detail when a camera sees a shaded entrance against a bright street or sky. WDR (wide dynamic range) may help in mixed lighting, but positioning and framing still matter.
Outdoor positions should be labelled with their exposure to rain, irrigation, dust and direct sun. Near the coast, humidity and salt-laden air also affect where connections and equipment should be placed. Do not simply write “outdoor camera”; describe whether the position is sheltered beneath an overhang or fully exposed on a façade.
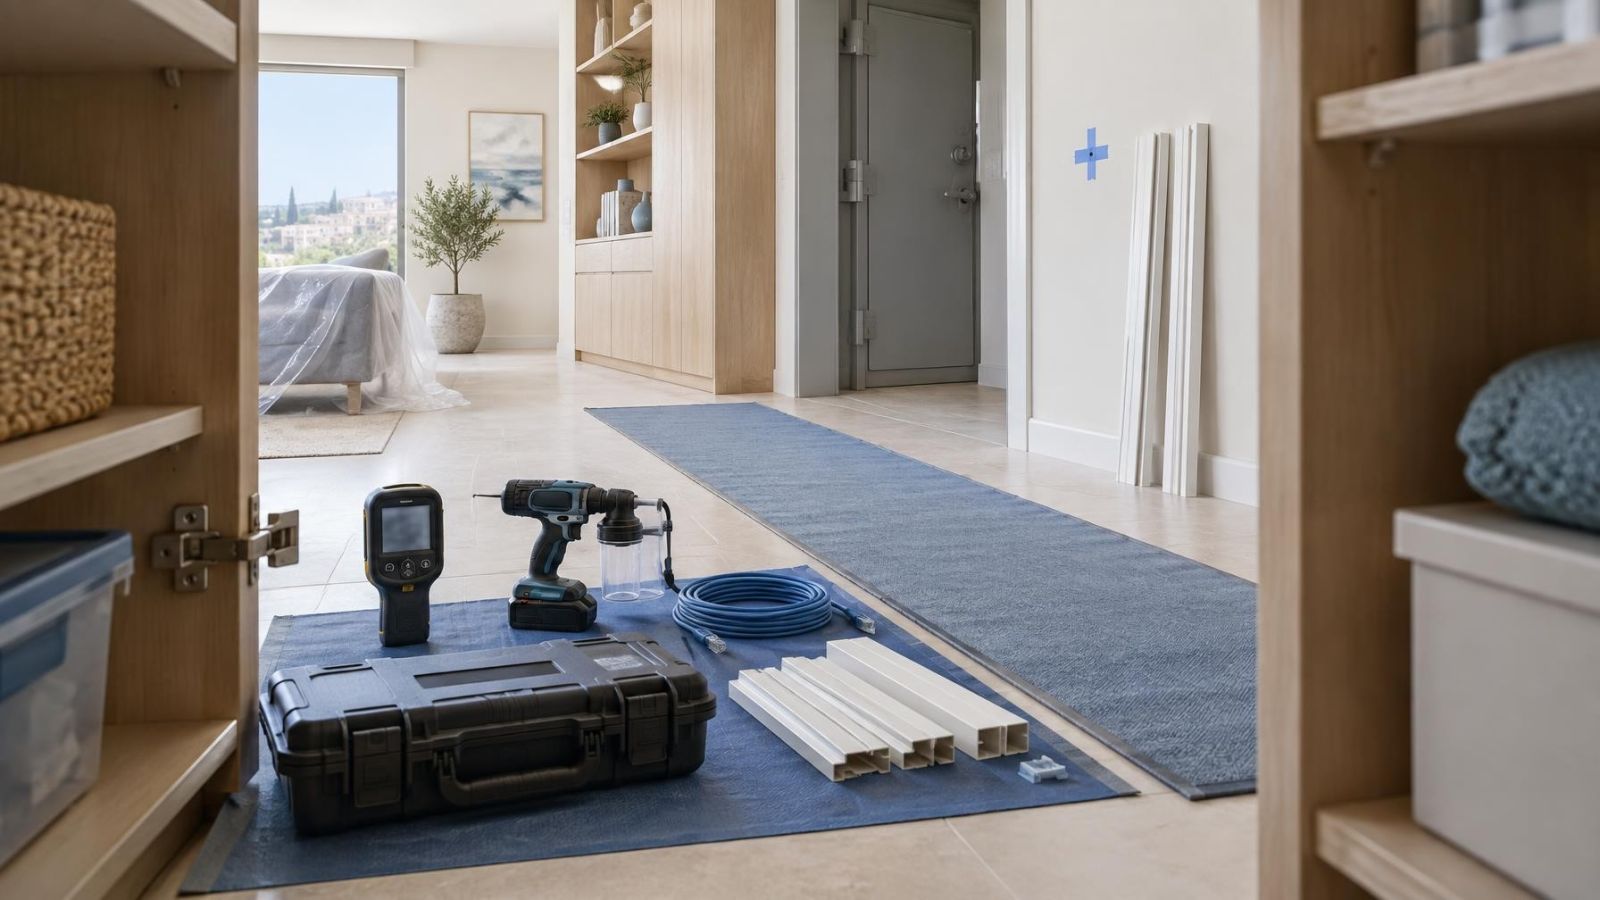
Record visible cable routes, conduits, ceiling voids, network points, equipment cabinets and available power locations. Note where concealed cabling is important and where a neat surface route would be acceptable. If drilling, decorative finishes or access above a ceiling may be difficult, say so before the site visit.
The network description should cover the location of the router and switches, wired connections, Wi-Fi coverage and any known weak areas. A mamad is a normal part of many Israeli floor plans, but its reinforced construction can affect wireless connectivity and cable routing. Mark it clearly rather than assuming that a signal will pass through it reliably.
A requirement that ignores light, cable access, network availability or power is not yet an installable design.
Specify Recording and Remote Access
Describe what should be recorded and when. Options may include continuous recording, event-based recording, scheduled recording or different behaviour by area. State which events need to be easy to find during playback. Motion detection can help organise events, but busy roads, moving trees, insects and changing light can produce unwanted activity unless the view and settings are carefully chosen.
Define recording retention as an operational need: how far back users may reasonably need to review footage. The installer can then design storage around camera count, recording mode, image settings and expected activity. Avoid selecting storage hardware before these factors are understood.
Local viewing requirements should identify where live video and playback will be used. A business may need a display near a manager’s desk without giving every employee access to recordings. A remote property owner may need reliable remote viewing while a local caretaker receives only selected alerts.
- List every remote user by role rather than sharing one general account.
- Specify who may view live video, review recordings, change settings or manage other users.
- Describe which alerts are useful, the areas they apply to and the periods when they matter.
- State whether remote access depends on the property’s normal internet connection and what behaviour is expected if that connection is unavailable.
More notifications do not necessarily provide more useful information. The brief should prioritise actionable events. A gate opening outside normal use, an alarm activation or loss of recorder connectivity may deserve attention; routine movement on a busy pavement may not.
How Should Power and Cabling Work?
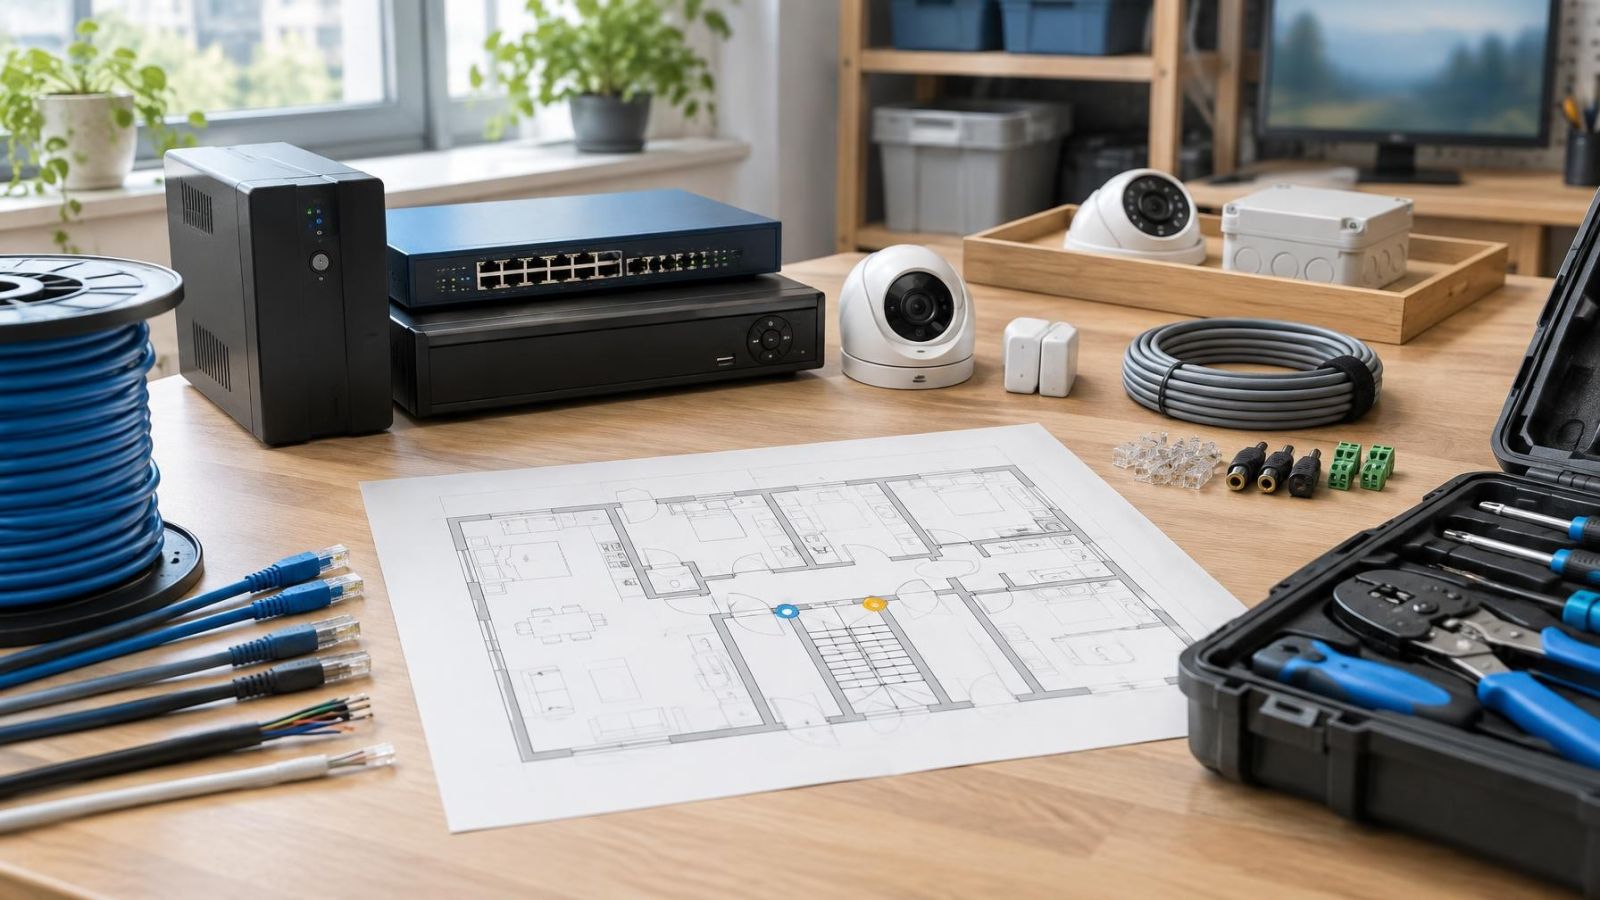
State whether wired installation is preferred, required in certain areas or difficult because of finishes and access. Wireless links can be useful where cabling is impractical, but they still need dependable power and connectivity. For fixed security cameras, structured cabling with PoE (power over Ethernet) often simplifies power and data distribution, provided the routes and network equipment support it.
Power planning should cover the recorder, network equipment, cameras, alarm control equipment, detectors and communication devices. The brief should identify which parts need backup power and what level of continued operation matters. It should also say whether local viewing equipment needs to remain available during a power interruption.
- Mark preferred concealed cable routes and acceptable visible alternatives.
- Identify equipment that should share backup power and equipment that may shut down without affecting core recording or alarm operation.
- Note locked cabinets, inaccessible ceilings, outdoor conduits and other installation constraints.
- Include spare routes or cable points for likely future cameras, detectors, gates or network equipment.
- Ask the installer to distinguish between reused infrastructure, new infrastructure and routes that still need investigation.
Make Security Quotes Easy to Compare
Send the same brief, marked plan and site photographs to every installer. If one receives a detailed scope and another receives only a short message, their proposals will answer different questions. The resulting totals, device counts and installation methods will not be directly comparable.
Describe equipment by role rather than requesting brands or models. Useful roles include an outdoor camera for a backlit entrance, a close-view camera at a gate, a recorder supporting the required retention, or an alarm detector suitable for a defined zone. The installer should explain how the proposed equipment fulfils each role.
Ask each proposal to separate the major parts of the security system scope:
- Equipment supply and the role of each item.
- Mounting, cable installation, containment and making good around the work area.
- Network configuration, recording configuration, alarm-zone setup and remote-user creation.
- Testing, user instruction, documentation and system handover.
- Excluded work, client-supplied infrastructure and assumptions that could change the design.
- Optional alternatives, with a clear explanation of the requirement or compromise each one addresses.
A longer equipment list is not automatically a more complete proposal. Look for traceability: each required view, alarm zone, user need and infrastructure constraint should have a visible response in the quote. Unanswered items should be raised before approval rather than left to interpretation during installation.
Prepare for the Site Visit
The site visit turns the written brief into a practical design. Have the annotated plan, property photographs, existing equipment notes and user list ready. If the owner is abroad, arrange for someone on site to provide access to cabinets, roof areas, gates and rooms that affect the proposed routes.
Separate decisions from questions. You may have decided that a front-door view is essential but need installer judgment on the mounting position. You may prefer concealed cabling but accept a surface route in a service area. Writing down these acceptable compromises keeps the discussion focused.
- Walk through each camera view and alarm zone in the order shown on the plan.
- Check lighting, mounting surfaces, cable routes, network access and power at each position.
- Inspect the recorder or equipment location for access, ventilation, connectivity and backup power planning.
- Confirm private and shared-building boundaries, including any work requiring coordination with building representatives.
- Record every changed assumption, alternative position and unresolved question.
- Issue a revised written brief after the visit and ask for the proposal to follow that version.
A site visit can reveal constraints that no drawing shows: a blocked cable route, an unsuitable mounting surface, reflected IR, unreliable wireless coverage or a view obstructed by an open gate. These findings are not failures in the original brief. They are the reason the brief should be validated before the final design is accepted.
The finished document should remain concise enough to use. A marked plan, a requirements list, site notes and a clear quote scope are usually more valuable than pages of product terminology. The test is simple: another installer should be able to read the brief and understand the same property, the same required behaviours and the same boundaries.
Key takeaways
- Required camera views and system behaviour should be defined before equipment is selected.
- A marked site plan is the central planning document for camera positions, alarm zones and infrastructure routes.
- Sunlight, weather exposure, network availability, power backup and mamad placement can change the practical design.
- Installation quotes become meaningfully comparable when every installer receives the same scope and site information.
- Installer recommendations should be checked against the brief and confirmed after an on-site assessment.