On this page
When security cameras, an alarm system, a video recorder, motion detectors, and door and window contacts have been left in place during work on a renovated home or business, a green status light is not enough. A proper security system inspection establishes whether every component is clean, correctly positioned, communicating, recording and responding after the builders or painters have finished.
Why Is a Security System Inspection Needed After Building Work?
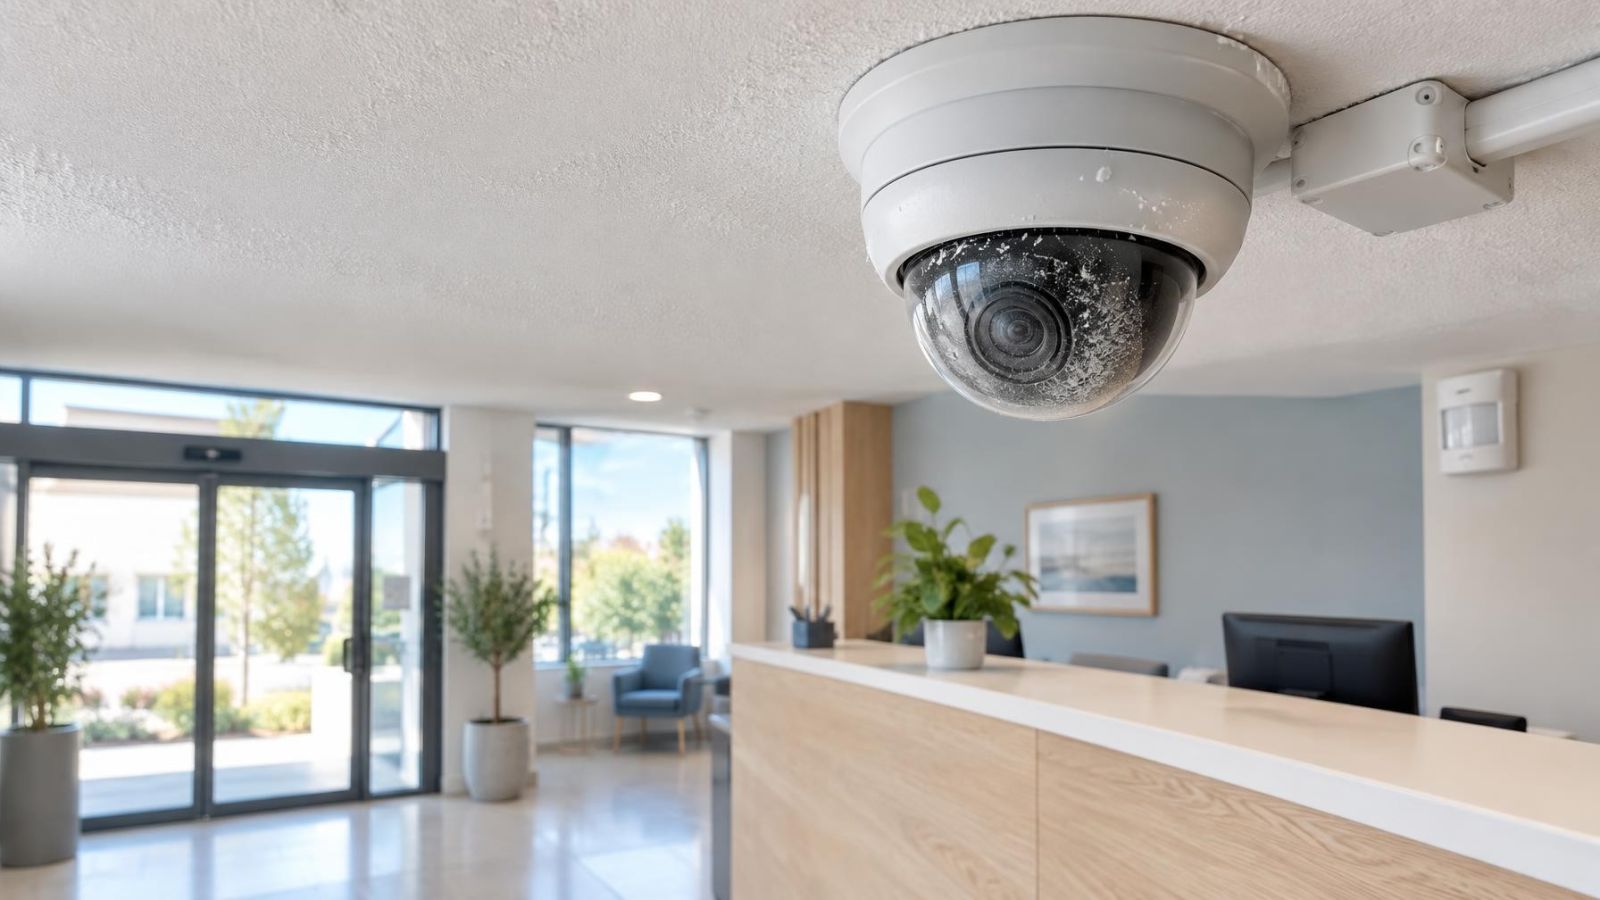
Renovation affects security equipment in several different ways. The obvious issue is surface contamination. Fine construction dust settles on camera lenses, infrared illuminators, detector windows and ventilation openings. Paint overspray or a careless brush can leave a thin film that is difficult to notice until the camera is viewed in strong sunlight or at night.
Physical movement is just as common. A camera may be nudged while a wall is prepared, removed and refitted at a slightly different angle, or left pointing at a new cabinet instead of the doorway. It can remain online throughout, yet record an unhelpful view. Motion detectors may also be turned, covered by masking material or obstructed by new furniture.
Less visible problems often appear around cables and connections. A cable may be pinched behind new joinery, caught by a fixing, pulled inside a ceiling or damaged where no mark is visible at the camera. Frames that were adjusted or repainted can alter the alignment of door and window contacts. Equipment disconnected for the work may have been reconnected to a different port or restarted with changed settings.
The correct response is not to assume that the whole system has failed. It is to check each path separately: camera image, stored footage, detector response, contact status, alert delivery, user access and siren operation. Testing an alarm after renovation should be planned rather than reduced to pressing one button at the keypad.
Start With a Visual Inspection
Inspect before cleaning or testing. Begin at one entrance and work through the property room by room. This makes it easier to identify what changed and prevents a small component from being overlooked. Do not pull cables, twist camera bodies or open housings simply to investigate. Photograph anything uncertain before touching it.
- Camera lenses and housings: Look for dust, fingerprints, paint, plaster residue, protective film, masking tape and signs that the camera body has moved on its bracket.
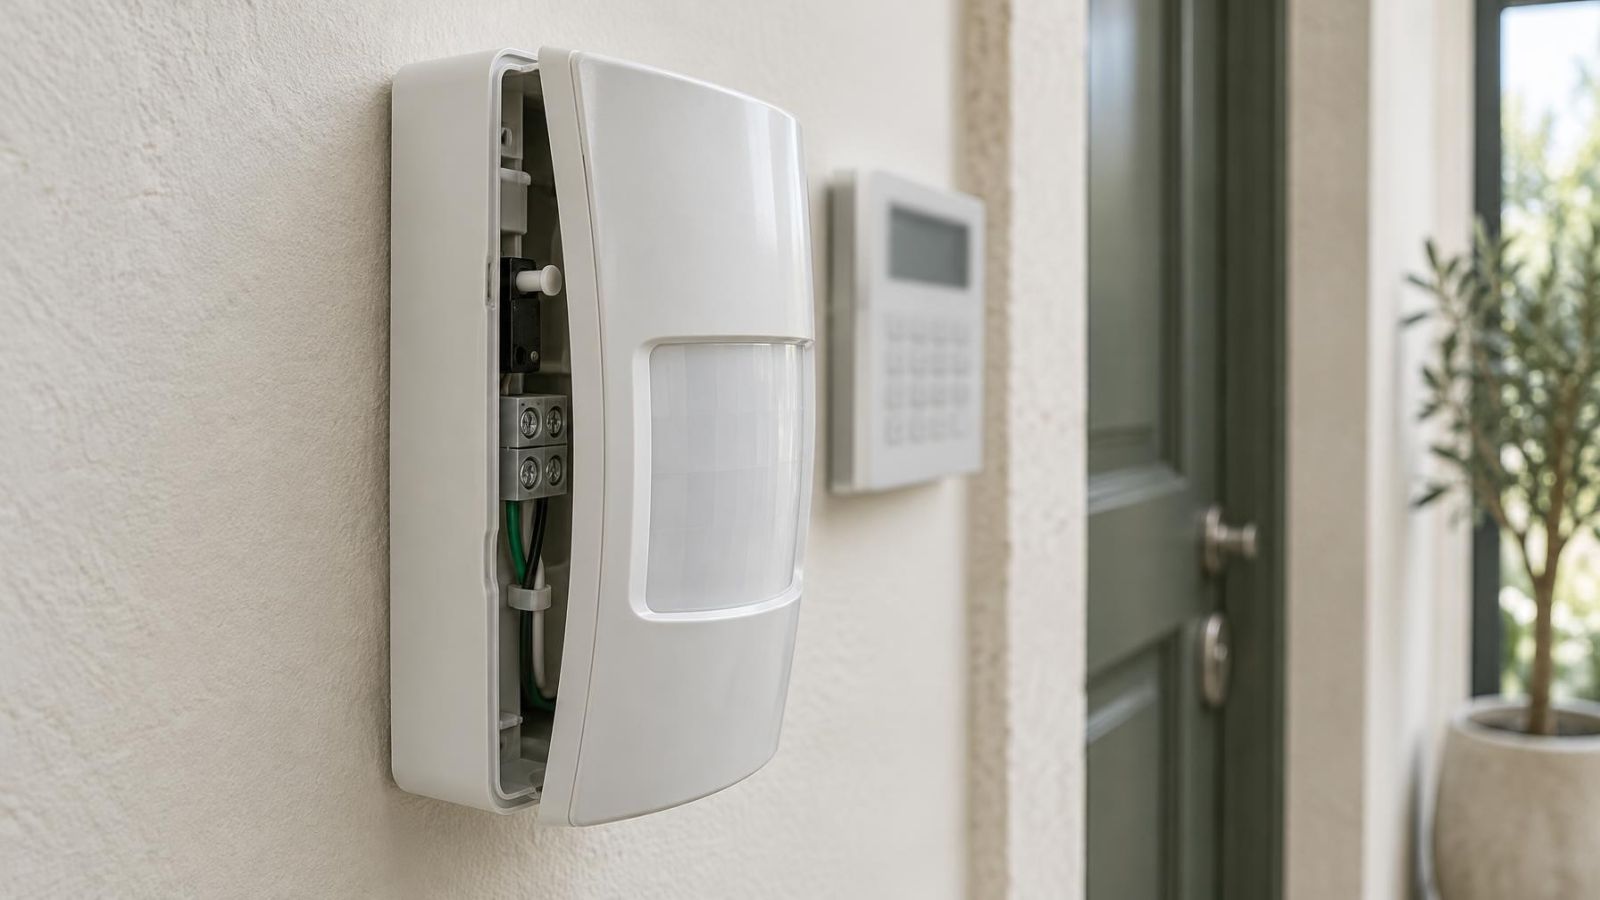
- Motion detectors: Check the detector window for paint, dust or tape. Confirm that curtains, cupboards, shelving, plants and light fittings do not block its intended field of view.
- Door and window contacts: Look for loose parts, uneven alignment, painted-over gaps and wiring disturbed where a frame was repaired or replaced.
- Cables: Note crushed sections, sharp bends, cuts, exposed conductors, loose plugs and cable runs trapped under panels or new furniture.
- Recorder and power connections: Confirm that the NVR (network video recorder) or DVR, network equipment and power supplies are connected as intended. Check that plugs are fully seated rather than merely resting in their sockets.
What Can Indicate a Damaged Camera Cable?
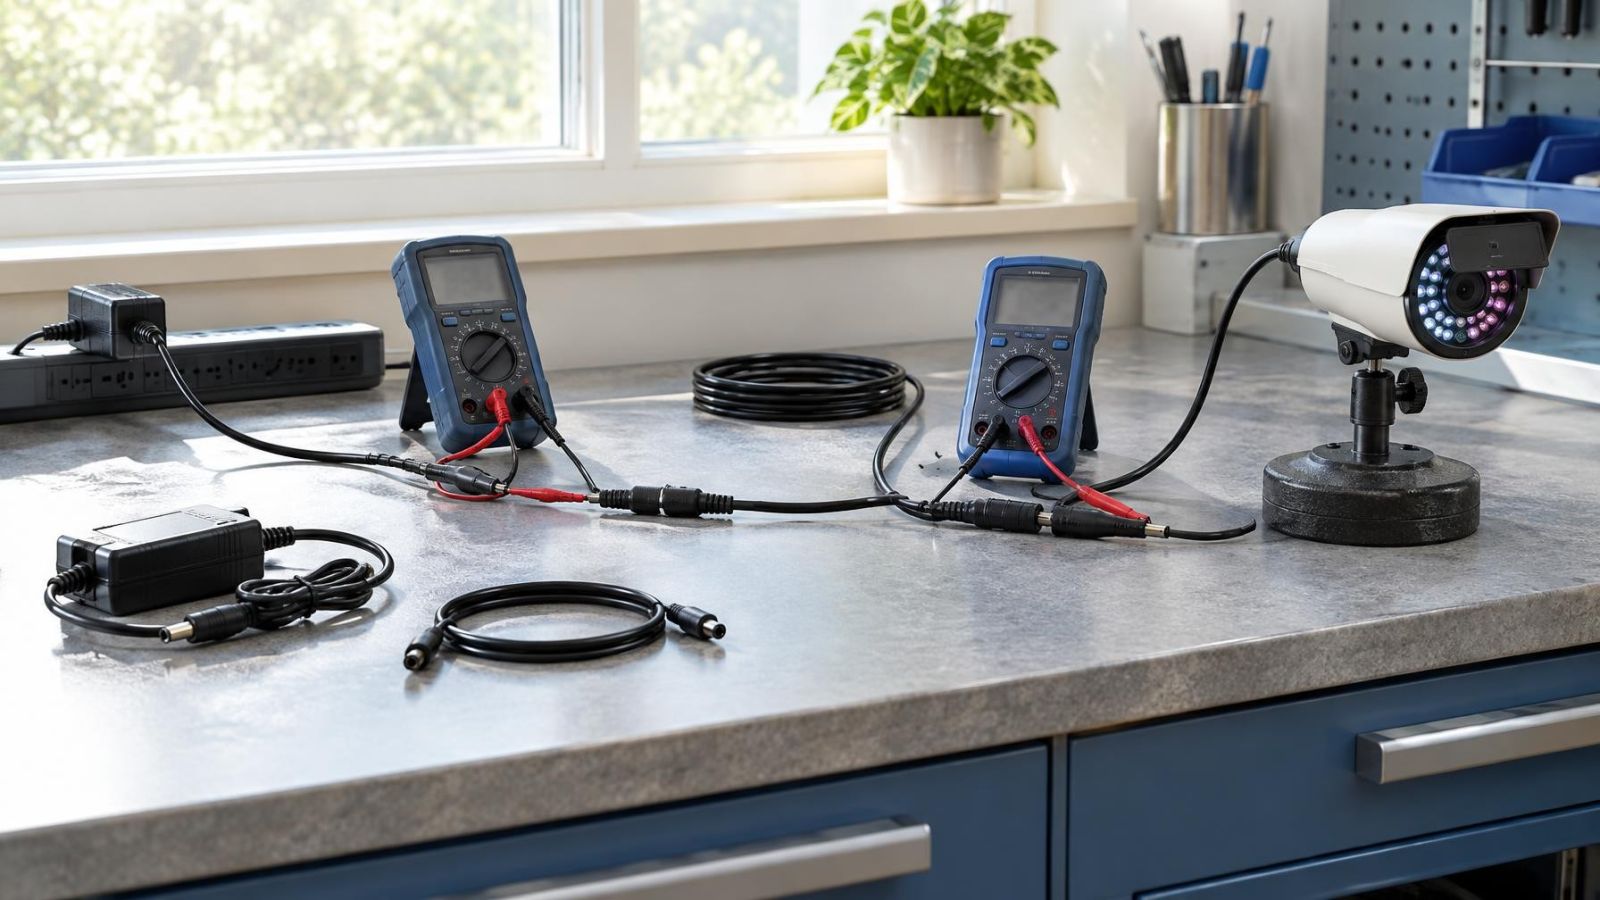
A damaged camera cable does not always produce a completely blank image. Possible signs include an intermittent connection, brief image loss, unstable power, reduced network speed, repeated reconnection or a camera that fails when the cable is touched near an exposed section. With PoE (power over Ethernet), the same cable carries network data and power, so a fault may affect either function.
Do not treat reconnecting after a restart as proof that the cable is sound. A concealed cable fault requires proper testing from end to end. If the suspected section runs behind new plaster, joinery or a ceiling, mark the location and leave invasive investigation to an installer.
Clean Without Causing Damage
Remove loose dust before wiping. Rubbing a dusty lens can drag abrasive particles across its surface. Use a clean air blower or a very soft brush intended for optical equipment, taking care not to force dust deeper into a housing. Compressed air used too close to seals, microphone openings or moving camera parts can create a new problem.
For the final lens clean, use a clean lens cloth and a lens-safe cleaning fluid where necessary. Apply fluid to the cloth rather than spraying it directly onto the camera. Avoid household solvents, paint removers and strong cleaning products on plastic housings, detector windows and cable insulation. They can cloud surfaces, weaken plastics or damage printed markings.
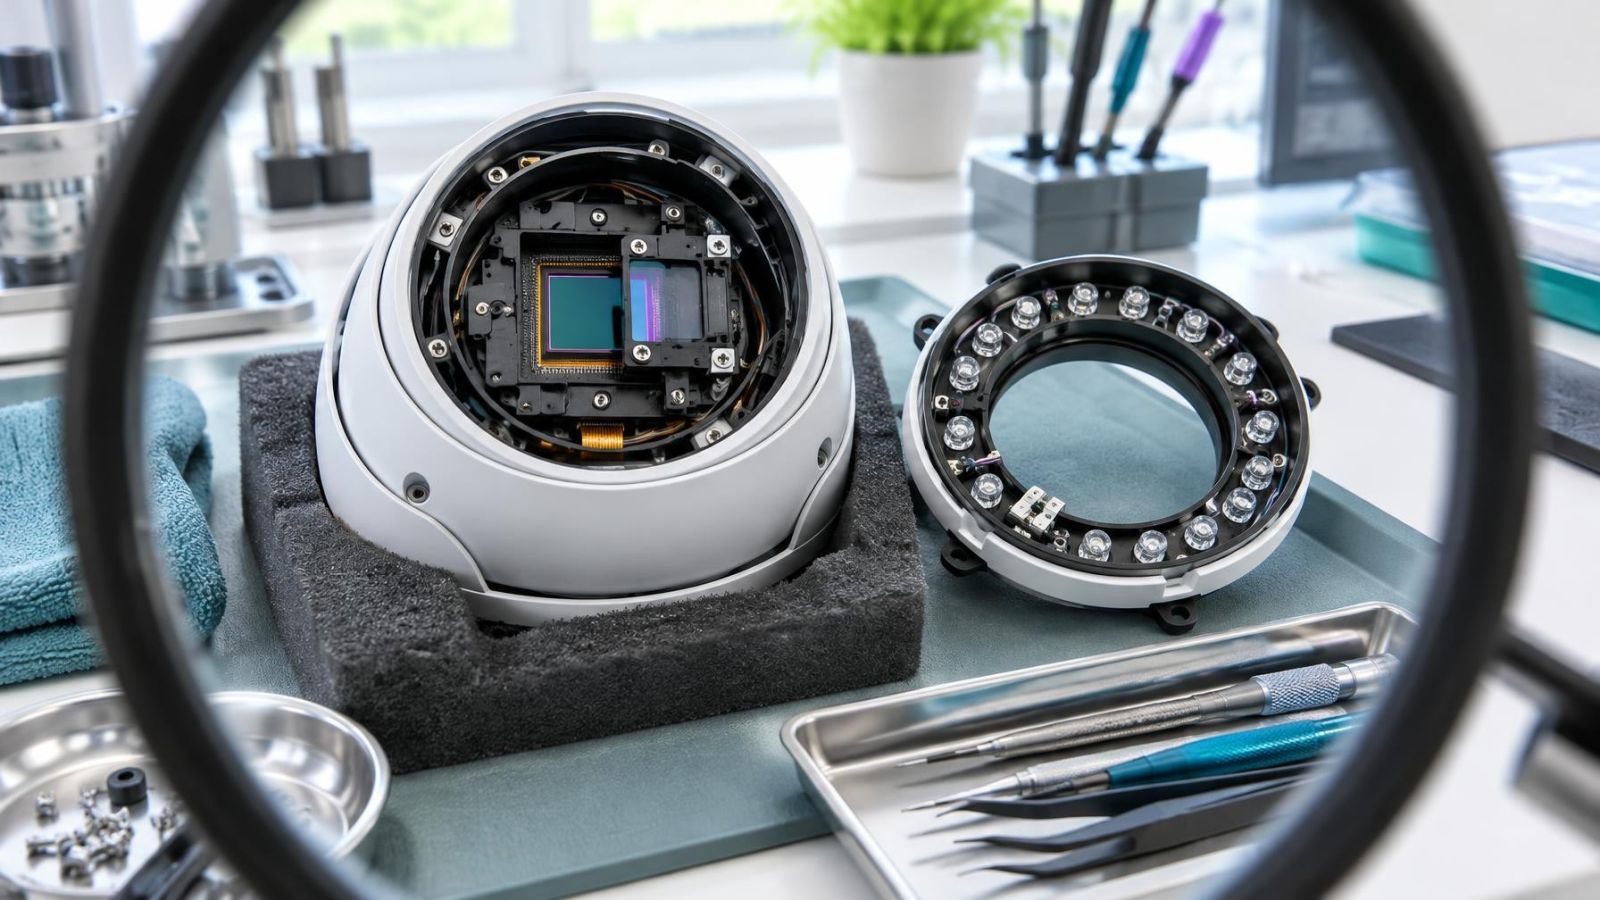
Wipe detector exteriors gently without pushing on the sensor window. Do not scrape dried paint from a lens or detector with a blade. Paint that has entered a seam, coating behind a cover or dust visible inside a sealed camera calls for installer attention. Opening the device without the correct procedure can disturb seals, focus, wiring or alignment.
Outdoor equipment in Israel may already carry ordinary dust, coastal residue or garden debris. The useful distinction is not whether the housing looks new. It is whether the optical surfaces, detector windows, connectors and ventilation paths are clear and intact.
Do Security Cameras Still Record Properly?
Check the live view from every camera, but do not stop there. First confirm that each camera appears under the expected name. Then compare its framing with the purpose of the view. An entrance camera should still show the entrance clearly; a garden camera should not be dominated by a new pergola post; and an indoor camera should not finish at the back of a newly installed cupboard.
How Should You Check CCTV After Renovation?
- Open the live view and verify that every listed security camera produces a stable image.
- Stand at the important points in the scene, such as the gate, entrance or service counter, and confirm that the framing captures useful detail.
- Review the image in bright daylight. Look for strong glare, deep shadow, reflections from new glass and loss of detail around entrances.
- Check again after dark. Watch for infrared reflection from fresh paint, protective film, nearby walls, soffits, foliage or a dirty dome cover.
- Create a short test event in front of each camera, note the approximate time and then retrieve the corresponding footage from the recorder.
- Review several parts of the stored clip to confirm that playback is continuous, correctly labelled and visually usable.
Strong Israeli sunlight can make layout changes particularly noticeable. A new pale wall may reflect more light into the lens, while an awning may place the subject in shade against a bright street. WDR (wide dynamic range) can help the camera manage contrast, but a setting cannot compensate for every poor angle. Repositioning may be the better correction.
Night vision needs its own test. Infrared light can reflect from paint overspray, dust, plastic film, new glass or a wall now sitting close to the camera. The result may be a pale haze or a bright foreground with little detail beyond it. Cleaning the cover and correcting the angle should come before changing image settings.
Live video confirms that a camera can be viewed now; recording playback confirms that its footage is actually being stored and retrieved.
Test Every Alarm Component
Test the alarm one device at a time and record the result. The keypad may show the system as ready even when one detector has been bypassed, renamed or left disconnected. Start by checking the displayed status of each zone, then create the real action that should change it.
- Motion detectors: Walk through the intended detection area and confirm the response at the keypad or app. Test from realistic directions rather than waving directly beneath the device.
- Door and window contacts: Open and close each protected opening separately. Confirm that the correct zone changes state and returns to normal when the opening is closed.
- Keypads and arming: Test the normal arming and disarming process used by occupants or staff. Check that renovated doors can close properly before the system is armed.
- Siren: Arrange the test so that occupants, staff and anyone receiving system notifications know it is intentional. Confirm both activation and stopping behaviour.
- Alerts and access: Verify that expected app alerts arrive and that authorised users can still sign in. Remove obsolete access only through the system's normal administration process.
If alerts are sent to several users, compare their results rather than assuming one successful notification proves the whole chain. Remote property owners should also confirm that device names make sense from a distance. Labels such as “Zone 4” are less useful than a clear room or entrance name when someone must assess an alert remotely.
A painted or covered motion detector may still show signs of power while responding poorly. Likewise, a contact attached to a repainted frame may appear intact but remain permanently open or closed. Functional testing is therefore essential even when every component looks clean.
Check Renovated Rooms in Context
Security equipment works within the finished room, not the old floor plan. New partitions can block a detector's view or divide one protected space into two. Tall furniture can create blind areas. Metal shelving, decorative metalwork and service cabinets can weaken or redirect wireless communication, particularly when they sit between a device and its control panel or network access point.
A mamad, the reinforced safe room found in many Israeli homes and workplaces, deserves separate attention. Its dense walls and heavy door can make wireless links less reliable than in neighbouring rooms. Test devices with the room in normal use and with the door in the positions occupants commonly leave it. A device that communicates while the installer is standing beside it may behave differently after the room is furnished.
In an apartment building, renovation inside the flat may also change the view towards a shared landing or entrance. Check the intended coverage and coordinate practical changes involving shared equipment with the va'ad bayit, the building committee. The important point is to distinguish equipment belonging to the apartment from equipment serving the common areas.
At a private home, check garden and gate views after landscaping, fencing, lighting or pergola work. Moving branches, a new gate motor or a light installed close to the lens can alter both motion detection and night images. Test with the gate open and closed because the scene and infrared reflection may differ.
For a street-front business, review cameras during the lighting conditions that matter to daily operation. New display lighting can reflect in front glazing. A pale counter, illuminated sign or polished surface can dominate exposure. Check the view from inside towards the street and from any exterior camera towards the entrance.
Record Faults and Arrange Corrections
Create a fault list by room and device. Avoid broad notes such as “camera problem”. Record the camera or zone name, its location, the observed behaviour and the condition under which it occurred. Useful descriptions include “live image present but no playback”, “contact remains open when window closes” or “night image reflects from new wall”.
Save reference images for camera views. A still from the corrected live view provides a baseline for future checks and helps remote owners confirm whether a camera has shifted. For alarms, retain a simple record showing which detectors, contacts, keypads, alerts and siren functions were tested.
Visible contamination and simple external obstructions may be corrected during the inspection. Damaged wiring, internal dust, unreliable wireless links and uncertain power connections need an installer review. Describe what changed during the renovation, including new walls, frames, metalwork, lighting and cable routes. That context often matters more than the fault message alone.
After corrections, repeat the complete test rather than checking only the repaired item. Cable work may require equipment to be disconnected. Re-aiming one camera can introduce glare at another time of day. Changing a detector position can affect coverage elsewhere in the room. The final baseline should therefore come from the finished, fully retested system.
Key takeaways
- A visual inspection should come before functional testing because dust, paint and physical damage may be visible before equipment is powered or moved.
- A live camera view does not prove that footage is being stored, so every camera requires a recording playback check.
- Every alarm device should be tested in its actual room because partitions, furniture, metalwork and dense walls can change its behaviour.
- Construction dust, paint overspray, damaged cables and shifted camera angles require separate checks rather than a single system status check.
- Documented faults should be corrected and followed by a complete retest of cameras, recording, detectors, alerts and siren behaviour.