On this page
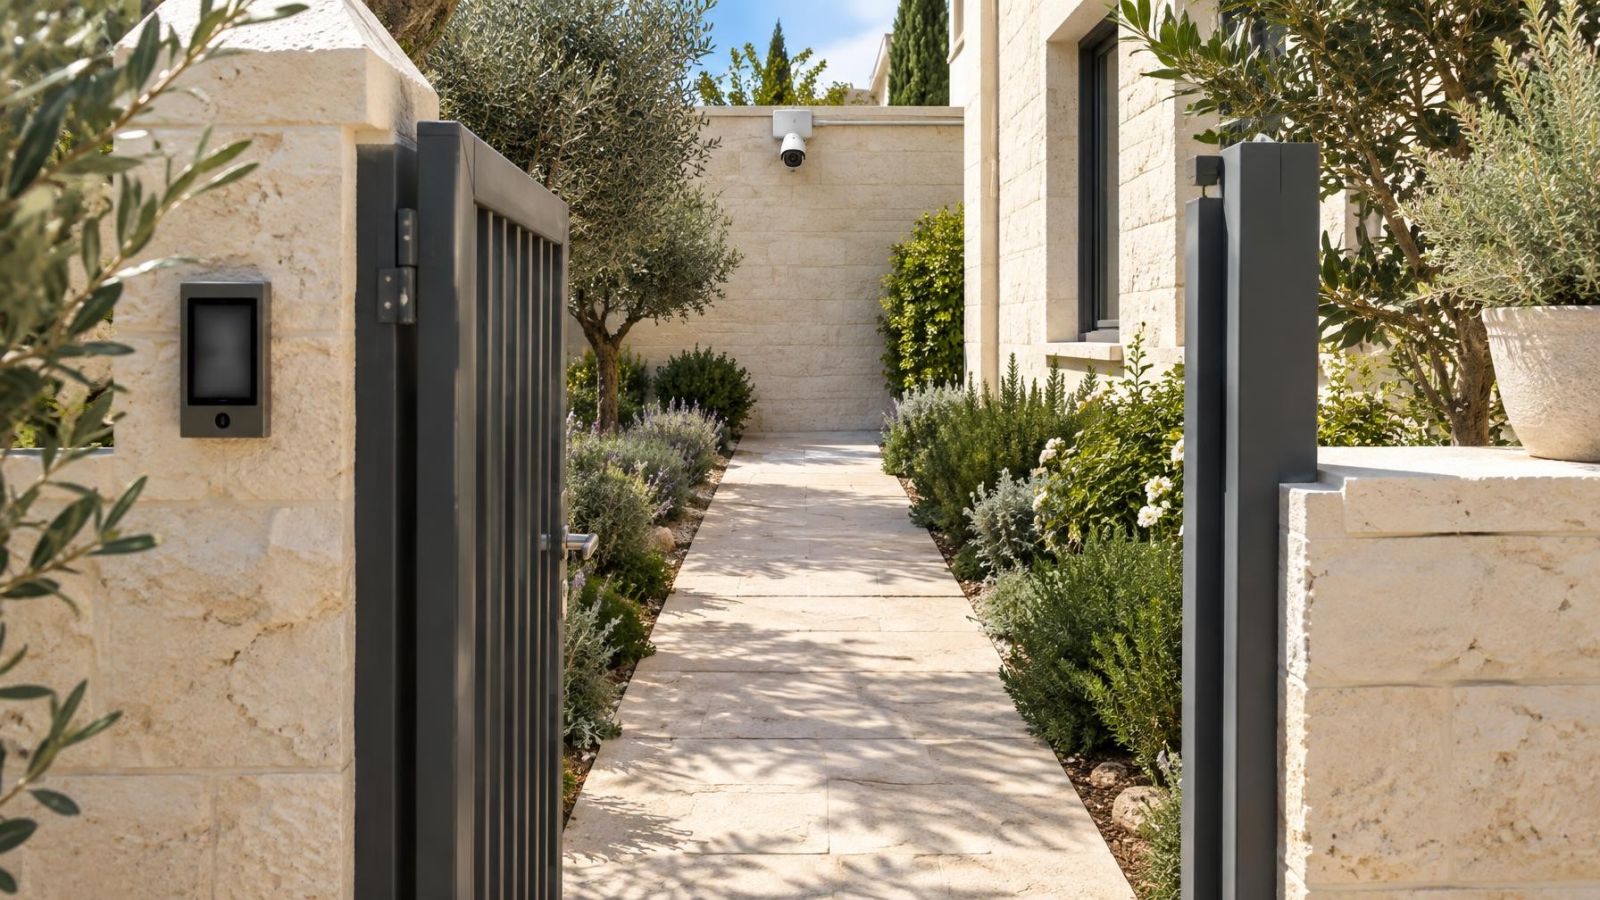
At an apartment entrance, garden gate or street-front business, a wide angle security camera can show the entire area while making a face or object near the boundary surprisingly difficult to assess. The camera lens projects that broad scene onto a limited image sensor. The practical question is whether the installation merely covers the area or retains useful detail where people actually move.
What does a wide angle security camera change?
What does a wide camera lens change?
A wide lens includes more of the scene in each frame. That is useful when the aim is general observation: seeing whether a gate is open, checking activity across a shop, or viewing both sides of an apartment lobby. The trade-off is that every person, package and vehicle occupies a smaller part of the image than it would in a narrower view from the same position.
The sensor does not gain more detail simply because the lens sees more. Its available pixels per frame are distributed across the broader scene. A subject that fills a substantial part of a narrow view may occupy only a small cluster of pixels in a wide one. Digital zoom can enlarge that cluster, but it cannot recover information that was never recorded.
This is the difference between coverage and usable detail. Coverage answers, “Can the camera see the area?” Usable detail asks, “Does the subject appear large and clear enough for the intended task?” A view can succeed at the first question and fail at the second.
Focal length influences the field of view, but it is only one part of the design. Sensor size, lens quality, camera distance, mounting angle, lighting and the route taken by the subject all matter. Lens choice should therefore follow the viewing purpose rather than lead it.
Why edge detail falls away
What causes edge image distortion?
Many lenses are sharpest around the optical centre and progressively softer toward the frame edges. Light reaching the peripheral parts of the sensor passes through the lens at more difficult angles. Fine texture, facial features and lettering may therefore lose definition near the boundary even when the centre looks crisp.
Barrel distortion adds a different problem. Straight lines bow outward, and shapes near the image boundary appear stretched or compressed. This form of camera lens distortion is easy to notice on door frames, tiled walls, shelving and railings. It also affects people: a face near the margin may look wider or oddly angled, making visual assessment less reliable.
Peripheral subjects are also viewed obliquely. A person walking across the far side of the frame may present only a partial or sharply angled face. The lens is not necessarily failing; the camera is simply observing the subject from an unhelpful direction. Optical softness, distortion and subject angle can combine in the same small area.
Some cameras or viewing systems apply digital correction. The image is remapped to make curved lines appear straighter. Correction can improve the appearance of the frame, but it does not create missing optical detail. The process may stretch some pixels and crop part of the original view, so the corrected image should be judged on actual subjects rather than architecture alone.
- Optical softness reduces fine detail toward the outer image area.
- Barrel distortion changes the apparent shape of lines and subjects.
- An oblique viewing angle reveals less useful facial or object detail.
- Digital correction can straighten the image while cropping or resampling its edges.
Coverage versus identification detail
How should you assess a security camera field view?
Start with the task. An overview camera answers broad questions about movement, occupancy and direction. An identification view gives a selected area enough image space to examine a face, item or transaction. Asking one camera to perform both jobs across a large, deep scene often creates a compromise.
Distance makes the compromise more obvious. A nearby person occupies more of the frame than someone standing near a distant gate or at the far end of a shop. Distance also interacts with lens width: a broad view makes every distant subject smaller. The meaningful limit is therefore the identification distance for the chosen scene, not the farthest point that remains visible.
Headline resolution describes the number of pixels recorded per frame. It does not describe how those pixels are distributed across the subject, whether the lens resolves fine detail at the edges, or whether glare has reduced contrast. A high-resolution frame can still provide weak peripheral detail if the subject is small, distorted or poorly lit.
| Viewing goal | Useful framing | Main limitation |
|---|---|---|
| General overview | Broad scene with routes and entrances visible | Individual subjects may remain small |
| Identification detail | Selected path or activity area fills more of the frame | Less surrounding context is visible |
| Combined compromise | Important zone placed centrally within a wider scene | Edge subjects may provide awareness rather than fine detail |
A camera can show where a person went without recording enough detail to assess who the person was.
Placement can worsen the edges
A good lens can still produce an unhelpful view when the camera is positioned around the building rather than around movement. A common example is a camera mounted in a convenient corner while people approach along the opposite frame boundary. They remain peripheral during the most useful part of their approach, then pass underneath the camera at a steep angle.
Strong Israeli sunlight makes orientation particularly important. A bright window, open doorway or sunlit pavement at one side of the image can reduce contrast through side glare. Wide dynamic range (WDR) can balance bright and dark regions, but it cannot always restore fine detail hidden by flare or reflected light. Daytime framing should be checked when the difficult light is actually present.
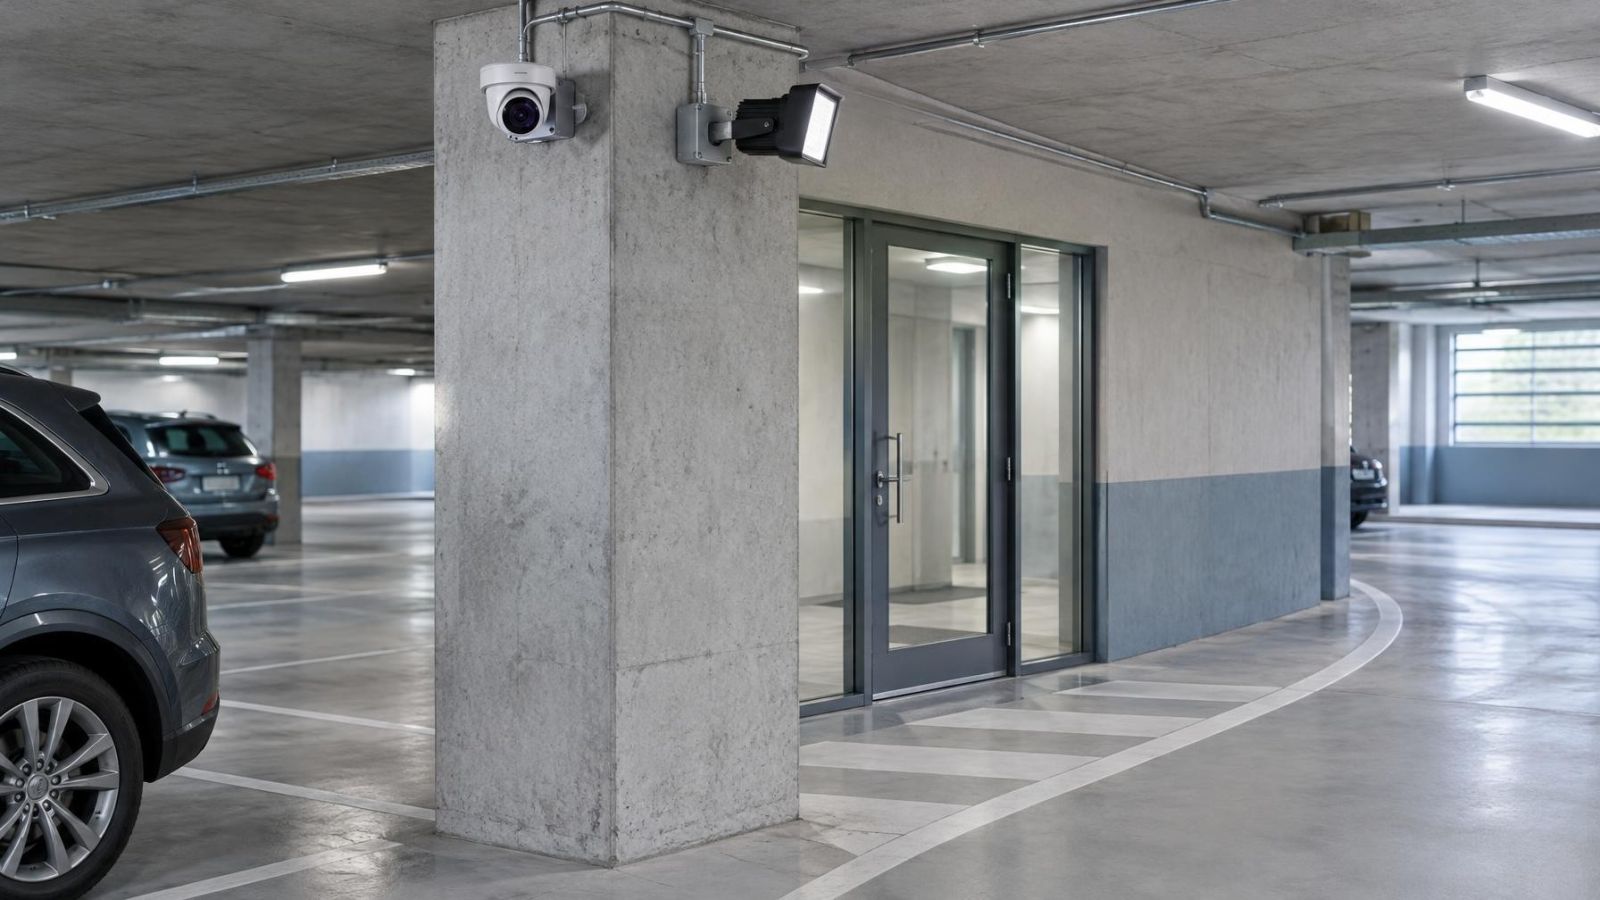
Nearby structures can consume more of a wide frame than expected. A wall beside the camera may occupy an entire edge. An eave can fill the upper part. At night, infrared light may reflect from these surfaces and create a bright haze while the useful scene remains darker. Moving the camera a short distance or changing its angle can be more effective than adjusting image settings.
Dust also reduces contrast, especially when it settles on an exposed cover or catches infrared light. Coastal humidity can leave residue, while garden irrigation may place droplets directly on the viewing surface. These effects are often most visible around bright points and at night. Lens access for cleaning is therefore part of placement, not an afterthought.
- Keep the expected face path away from the outer frame boundary.
- Avoid placing bright windows or reflective surfaces at the side of the intended detail zone.
- Check how much of the frame is occupied by walls, ceilings, eaves and signs.
- Avoid unnecessarily steep views when a lower or more direct position is practical.
- Provide safe, practical access to clean an exposed lens cover.
Where should important subjects appear?
Important subjects should normally pass through the central part of the image, not merely enter somewhere within it. At a private home, the gate latch or path from the garden gate can be centred. At an apartment entrance, the useful route may be from the shared door toward the lift or stairs. The final direction should reflect how residents and visitors actually move through the space.
For a street-front business, the widest possible view is not always the most useful one. A checkout, service counter or collection point should sit away from the margins. If the camera also needs to show the entrance and the rest of the floor, the central detail area must not become a small part of an otherwise impressive panorama.
An overview camera and a detail camera have different jobs. The overview records context and direction of travel. The detail view concentrates on a doorway, counter, gate or other controlled passage. Separating those jobs often produces a clearer design than forcing a single lens to cover every wall and preserve fine subject detail everywhere.
| Location | Place near the centre | Keep away from the margins |
|---|---|---|
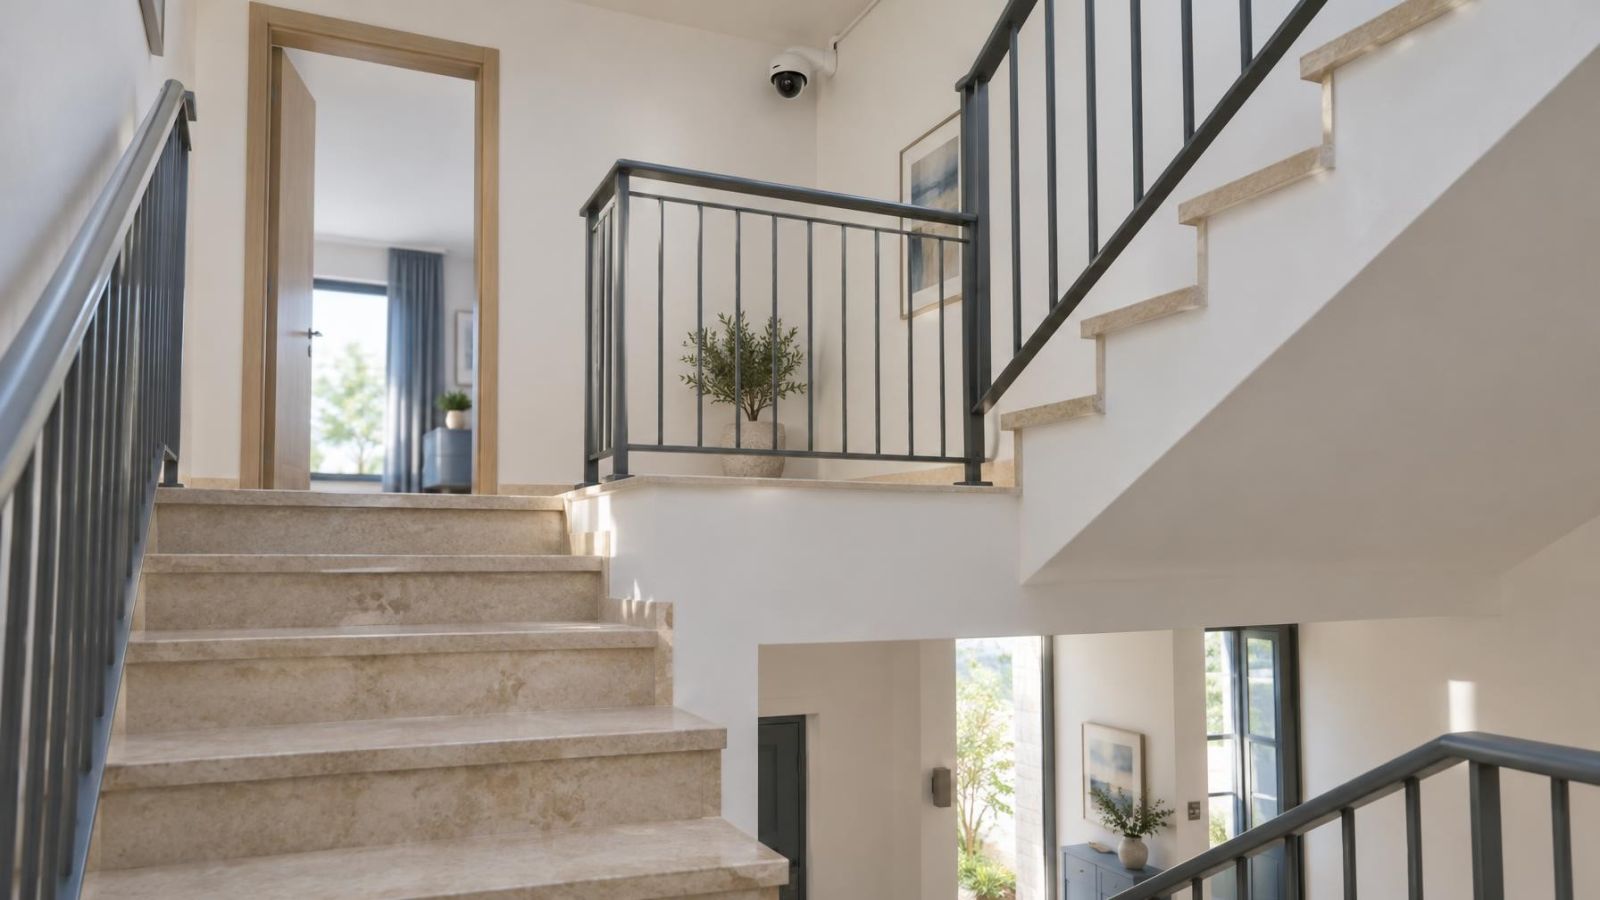
| Apartment entrance | Shared doorway and normal walking route | Incidental wall, notice board or unused corner |
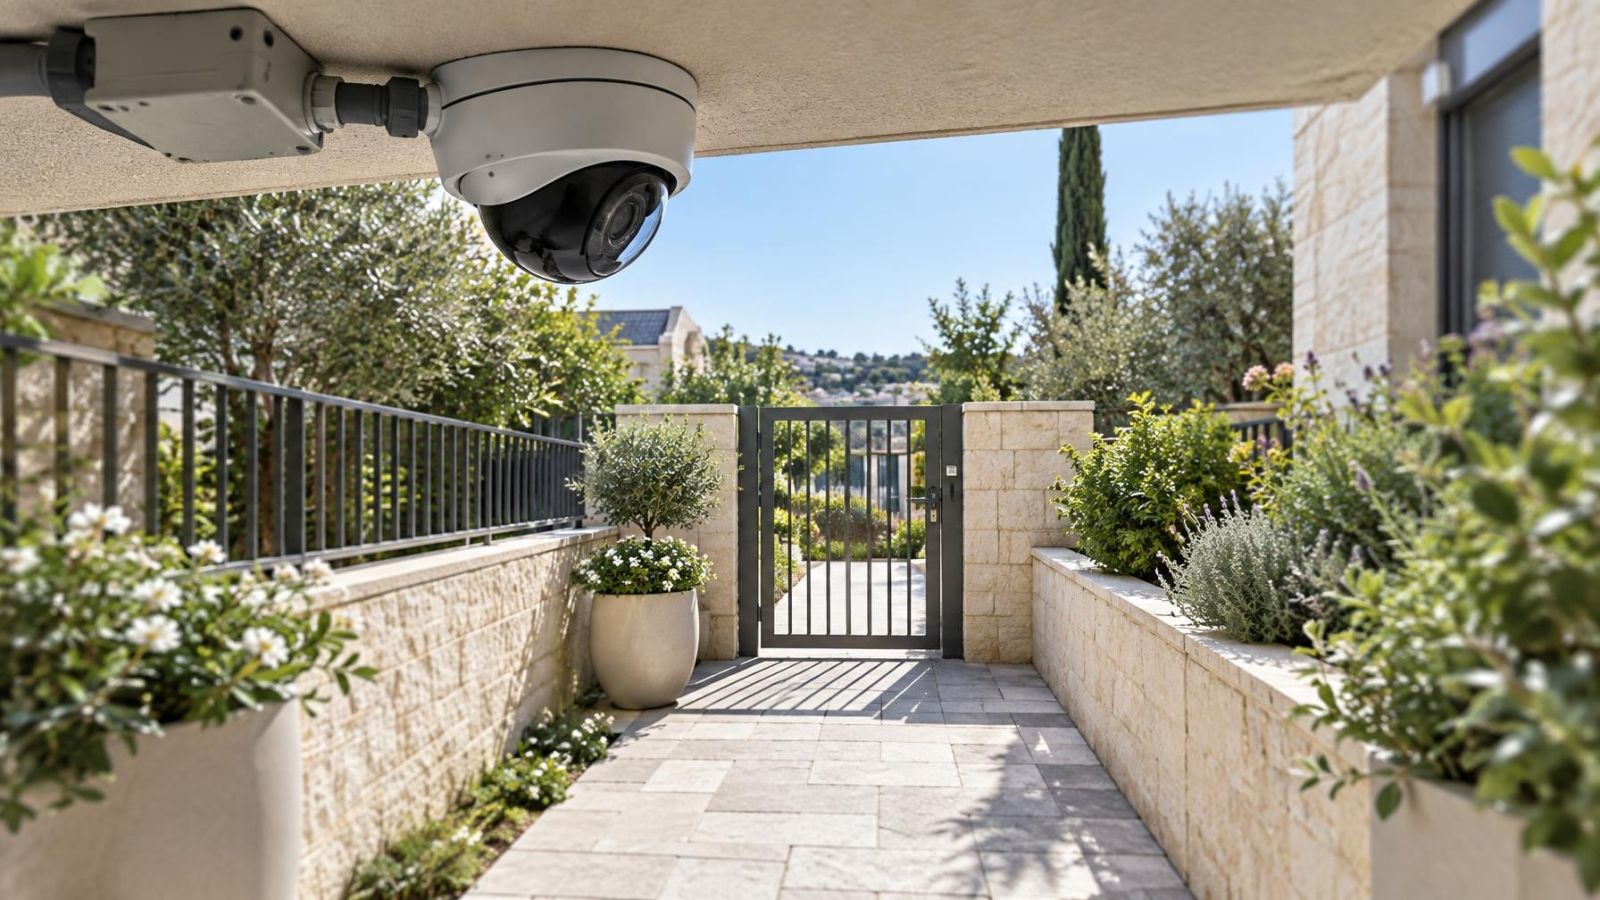
| Garden gate | Latch area and path into the property | Boundary wall and nearby vegetation |
| Street-front business | Entrance route, checkout or service counter | Display edges and bright side windows |
For a remote property owner, centre placement also makes review more dependable. Ask for full-frame stills or short original recordings from the actual NVR (network video recorder), not only screenshots from a mobile preview. App compression can conceal subtle differences between centre and edge detail.
Choose the view before installation
The useful view should be defined before cable routes and mounting holes make the position difficult to change. Begin with a plain statement of purpose. “See the whole garden” describes observation. “Assess a person using the gate” describes a detail requirement. Both can be valid, but they do not automatically lead to the same camera position or lens width.
- Mark the real routes used by people, deliveries and staff rather than aiming at the geometric centre of the space.
- Decide which areas need general awareness and which need identification detail.
- Set a temporary view from the proposed mounting position before fixing the camera permanently.
- Record representative daytime and night-time footage, including strong sunlight, indoor lighting and infrared operation where relevant.
- Inspect full-frame recordings and separate crops from the centre, sides and corners.
- Choose a narrower view, a different position or an additional camera if important subjects remain too small or distorted.
Testing should include movement, not just a person standing in the ideal spot. Watch a subject approach, pause, turn and leave by the routes people naturally use. Review both the full frame and enlarged crops. A scene may look excellent as a whole while revealing weak edge detail only when the relevant subject is examined.
Day and night tests answer different questions. Daylight can reveal side glare, deep shadow and reflections from shop glass. At night, built-in infrared may illuminate the centre differently from the edges, and nearby surfaces may reflect light into the lens. Focus and exposure settings that look acceptable in one condition may be less useful in the other.
If the wide view provides excellent context but inadequate detail at the critical point, keep it as the overview and add a tighter viewpoint for that point. If the outer scene adds little operational value, narrow the original view instead. The right choice is the one that records useful information where the task requires it, not the one that displays the largest possible area.
Key takeaways
- Wide coverage and fine identification detail are separate camera design goals.
- Important movement paths usually retain the most useful detail when they remain near the frame centre.
- Pixel resolution alone does not determine how clearly a camera renders subjects near the frame edges.
- Camera position can affect peripheral detail as much as the choice of lens.
- Overview and identification tasks often work better as separate views.