On this page
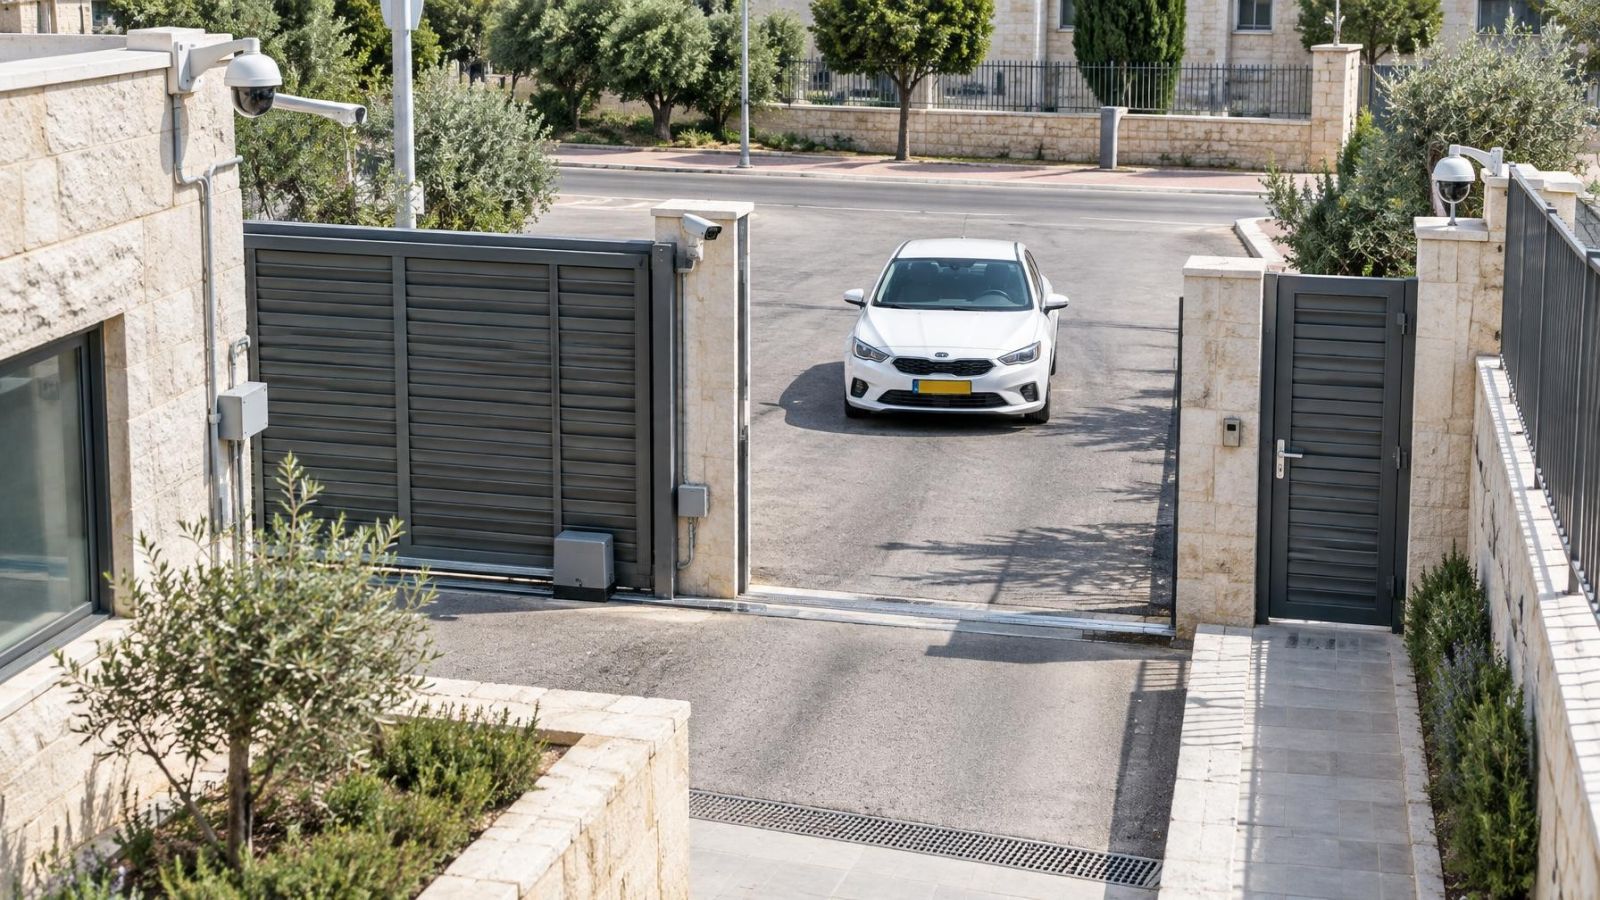
At a vehicle entrance with a pedestrian gate, a gate security camera may be expected to show the arriving car, a visitor’s face and a readable number plate, while sending footage to a video recorder and working with night illumination. Those are different visual tasks. The planning question is whether one view can perform them usefully, or whether the gate needs separate cameras with distinct roles.
The answer depends less on a headline specification and more on geometry. Where will the driver stop? Where will a pedestrian stand to use the intercom? Which direction will each person face? What will the sun, gate lights and headlights do to the scene? Equipment selection becomes much easier once those questions have precise answers.
Define the Detail Each Gate Security Camera View Needs
Start by naming the purpose of every proposed view. “Watch the entrance” is too vague. A useful plan states whether a view must provide general context, facial detail, vehicle description or number plate capture. It also states where the target should be when that detail is recorded.
An overview helps explain events. It can show that a vehicle approached, waited, passed through and departed. It can show where a pedestrian came from and which gate was used. Because the scene is wide, however, each face or plate occupies a smaller part of the recorded frame. A camera cannot provide unlimited scene width and tightly framed detail at the same time.
- For a face view, mark the likely standing position and the direction the visitor will look while using the intercom or waiting for access.
- For a vehicle view, decide whether colour, body type and direction of travel are enough, or whether the occupants also need to be visible.
- For a number-plate view, identify the part of the approach where the plate is exposed, sufficiently large and not yet hidden by an opening gate.
- For every role, decide whether daylight, darkness or both are operational priorities. A view that works in soft daylight may behave very differently with direct sun or headlights.
Keep the required result realistic. A camera can record the detail presented to it; it cannot create a frontal face when the person is looking away, or a clear plate when the plate is hidden behind a pillar. Planning should therefore shape the opportunity for a useful view rather than rely on later digital processing.
Map the Gate and Approach
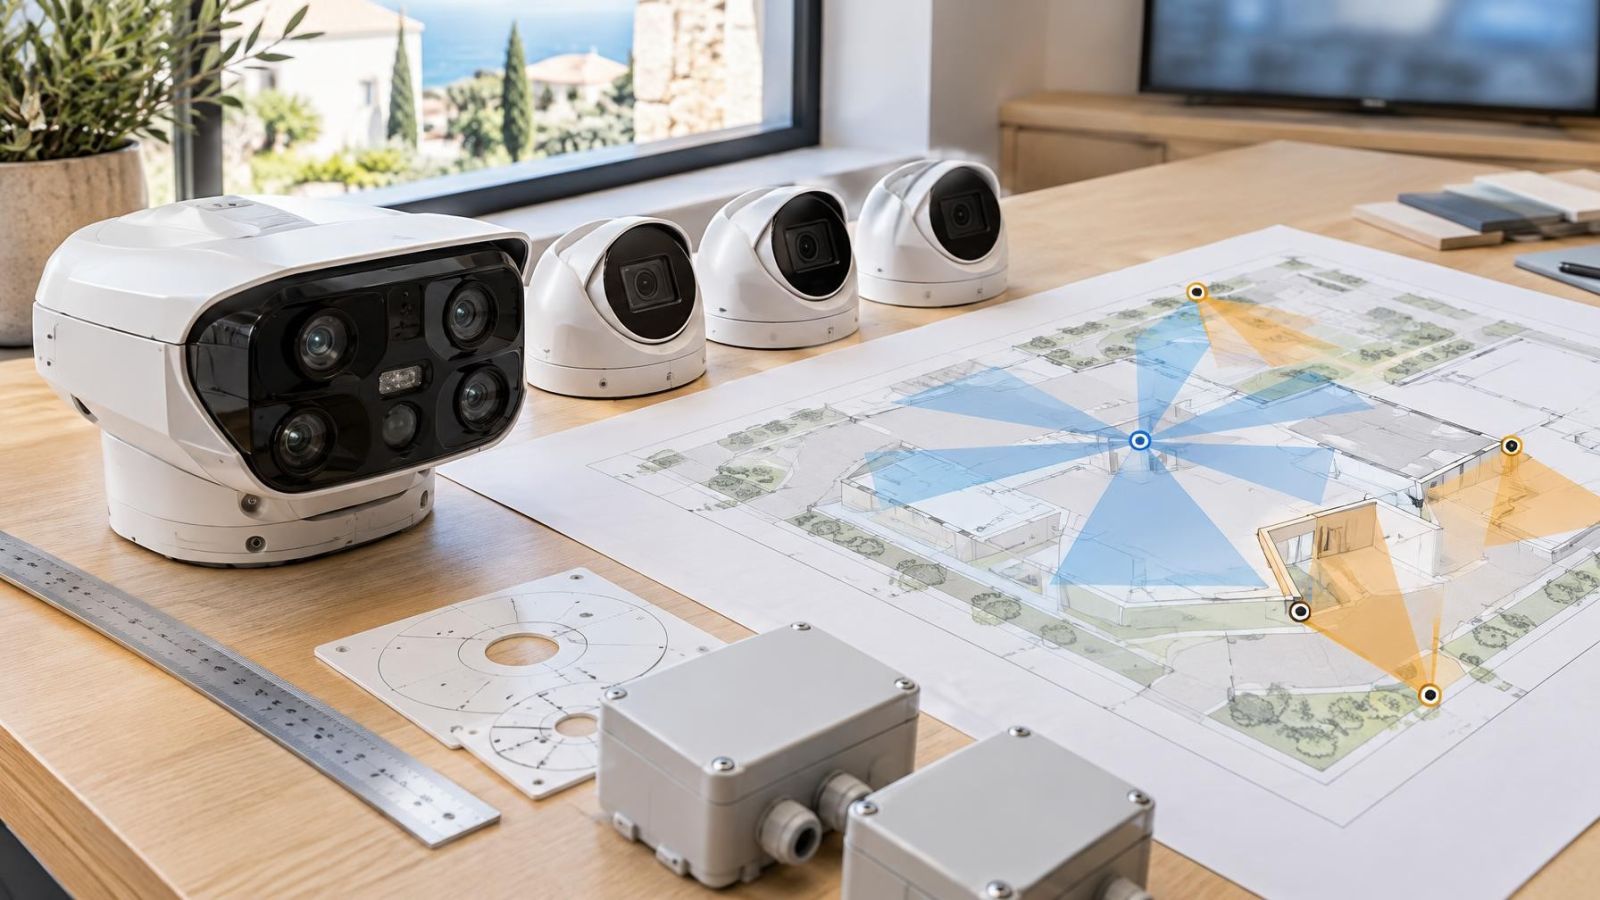
Draw the entrance before choosing mounting points. The drawing does not need to be architectural. It should show the street edge, driveway, pedestrian route, gate leaves or sliding panel, intercom, pillars, garden planting, lighting and the intended cable routes. Add arrows for movement and mark where people and vehicles normally pause.
What should camera placement at a driveway achieve?
Camera placement at a driveway should create a predictable point where the vehicle is visible from a useful angle. At some entrances, the natural point is where a driver waits for the gate. At others, the clearest view occurs earlier along the approach. A sloping driveway, a curved entrance or a vehicle turning in from a narrow street can change the angle quickly, so the planned frame should cover the right part of the path rather than merely the gate line.
Map the pedestrian route separately. A person may enter beside the driveway, approach from the opposite direction or stand very close to a wall-mounted intercom. The best vehicle gate camera position is therefore not automatically the best position for a face. A camera facing along the driveway may see the side of a visitor’s head, while a unit near the intercom can receive a more direct view.
- Check the full movement of swinging or sliding gate panels. A clear view with the gate closed may disappear as the gate opens.
- Account for fixed obstructions such as pillars, signs, letter boxes, walls and parked vehicles.
- Treat foliage as a changing obstruction. Leaves can enter the frame, reflect infrared and move repeatedly in wind.
- Define the intended scene at a public street edge or shared apartment-building entrance. Avoid spending recorded detail on areas unrelated to the entrance task.
- Find a stable mounting surface and a practical cable path. A convenient cable route should not dictate a poor camera angle, but an inaccessible route can make an otherwise good position difficult to maintain.
One Camera or Separate Views?
One camera can sometimes provide adequate context and useful target detail when the entrance is narrow, movement is controlled and people or vehicles reach a predictable position. It should not be assumed. Faces and number plates usually favour different heights, directions, framing and exposure settings.
| View role | Typical framing | Main planning priority |
|---|---|---|
| Overview | Wide gate and surrounding approach | Sequence, direction and context |
| Face view | Tight area around the visitor position | Near-frontal facial detail |
| Number-plate view | Narrow section of the vehicle path | Plate size, angle and controlled exposure |
The trade-off is straightforward. Widening a frame includes more of the entrance but makes each target smaller. Tightening it increases recorded detail on the chosen target but removes context. Separate cameras allow each view to be adjusted without sacrificing the others.
When is an entrance face camera useful?
An entrance face camera is useful when visitors reliably stand near an intercom, keypad or pedestrian gate. That predictable position allows tighter framing and a more direct camera angle. The camera should include normal differences in standing position without becoming so wide that the face is reduced to a small part of the frame. It should also account for people looking toward the gate rather than directly at the lens.
Do you need a dedicated license plate camera?
A dedicated number-plate view is appropriate when plate detail is an important requirement and the vehicle path can be framed tightly. It should record the plate before a gate panel, turning movement or close vehicle position hides it. The search term “license plate camera” is widely used in English, but Israeli vehicles display number plates; the planning task is the same: control angle, subject size, movement and light.
A wide view explains what happened; a target view preserves the detail needed to examine it.
Choose Angles for Faces and Plates
Useful detail falls away when a target is seen at a steep angle. A high camera looking sharply down can record the top of a head rather than the front of a face. A camera positioned far to one side turns a rectangular number plate into a narrow, distorted shape. Near-frontal views are generally the better starting point for both targets.
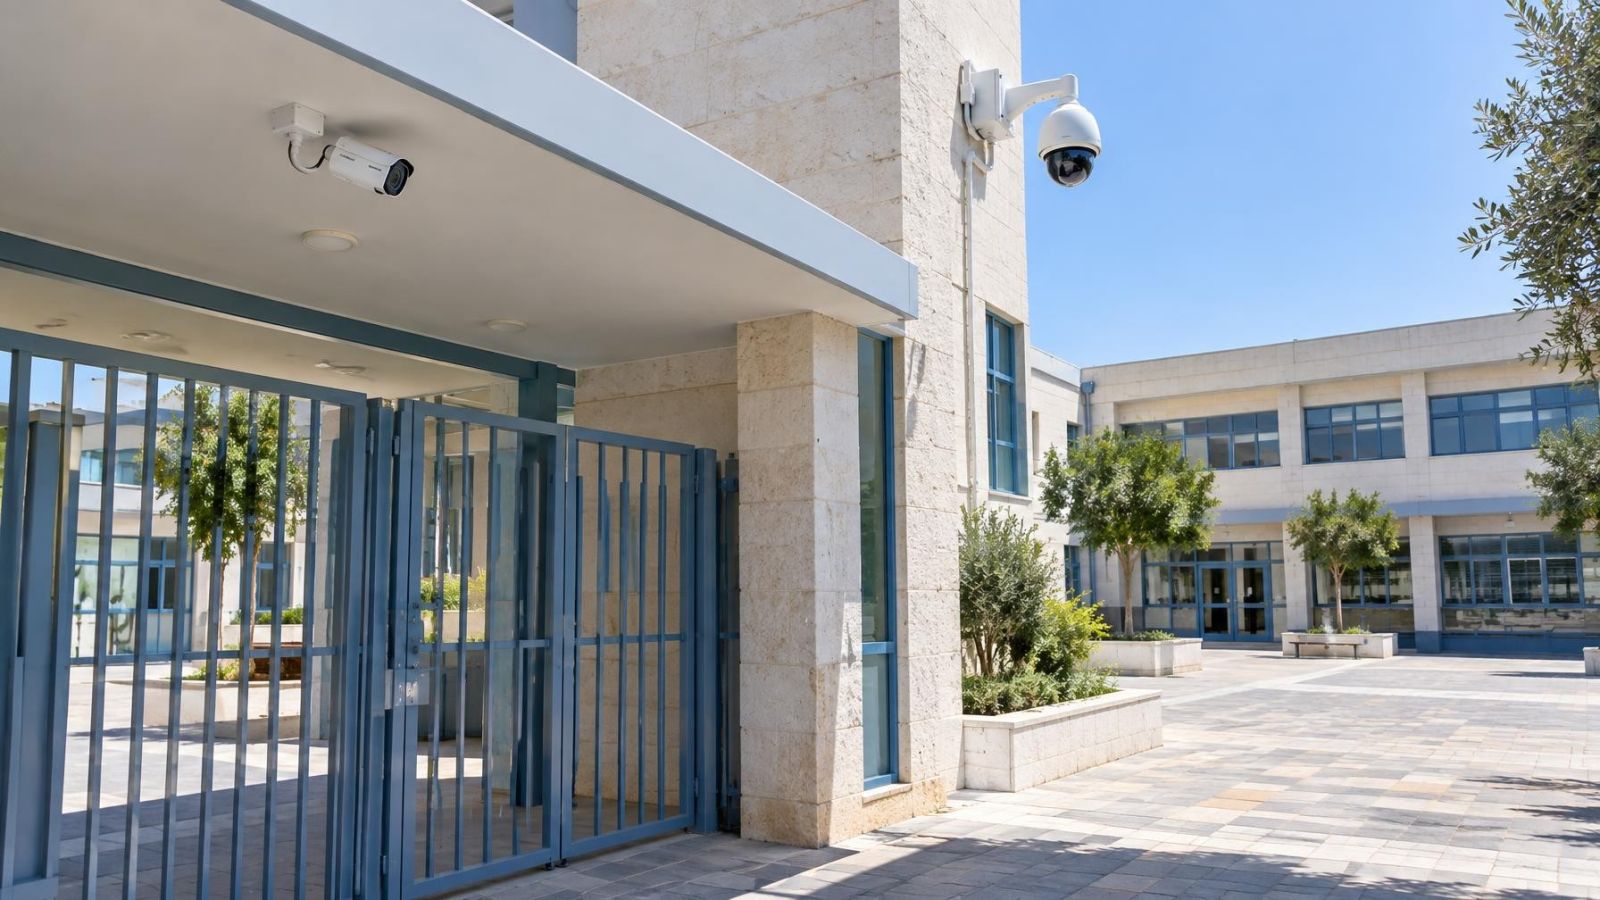
For pedestrians, mounting near eye level often improves facial geometry, but the camera still needs protection from casual contact and an unobstructed line of sight. A modestly higher position can work when it remains directed toward the visitor’s face rather than the ground. Check adults of different heights and consider whether caps, the intercom housing or an open pedestrian gate will block the view.
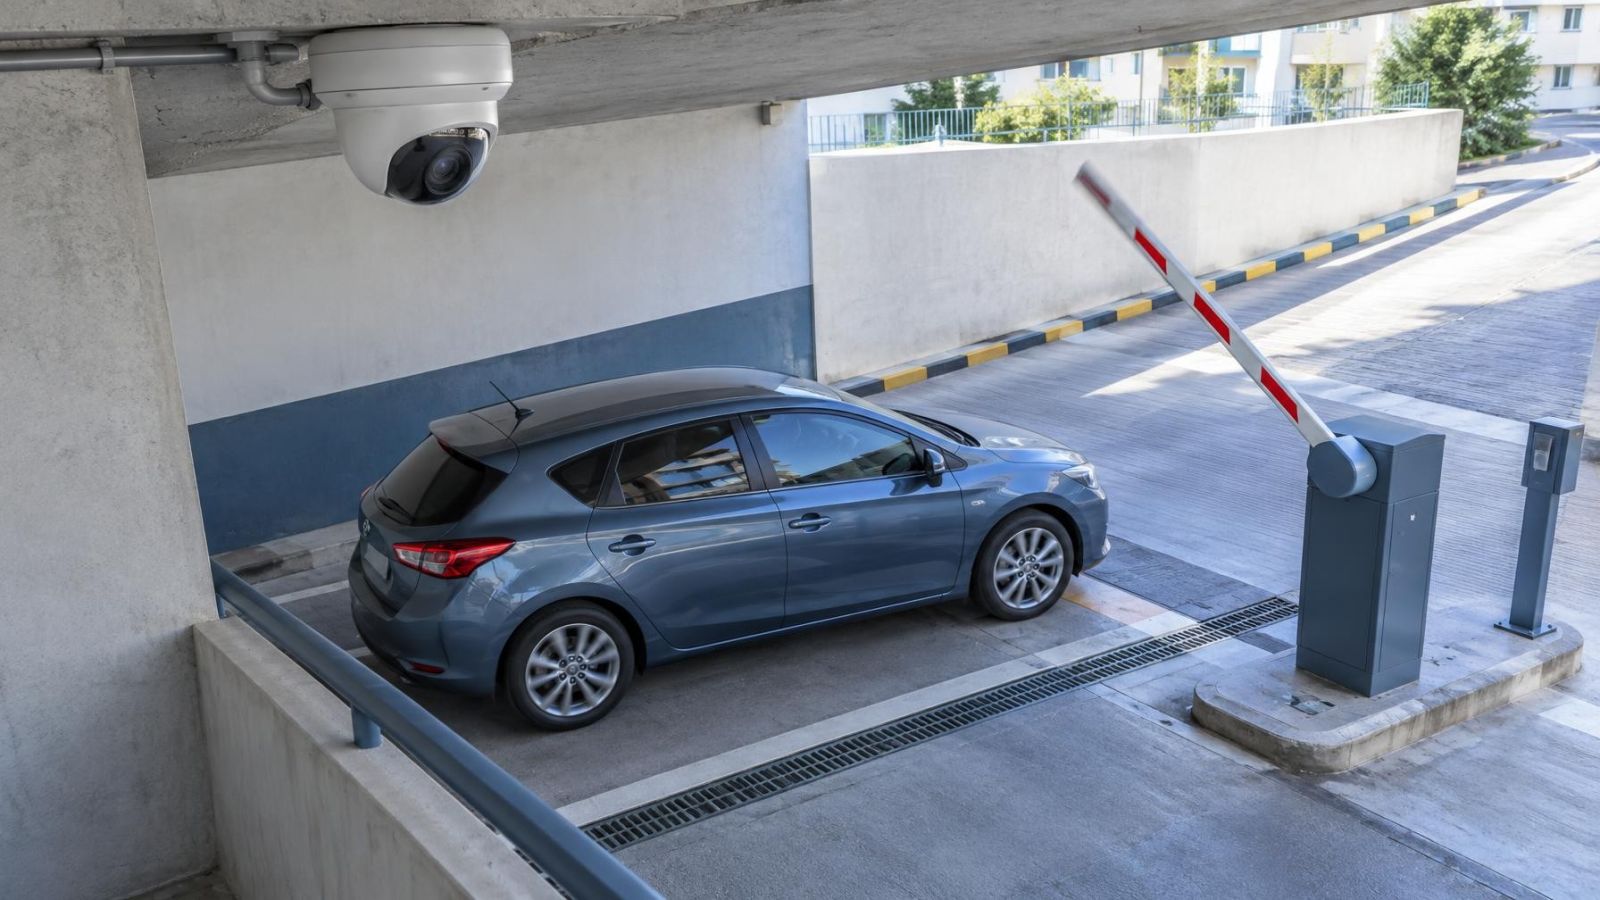
For vehicles, place the target zone before the gate opens whenever possible. The plate may become too close, move out of frame or be covered by a sliding panel after access begins. The useful point can be several moments before the vehicle reaches its final waiting position, particularly when the driveway bends.
- Keep pillars and wall edges out of the direct line between camera and target.
- Check whether gate bars or decorative metalwork cross faces and plates in the recorded frame.
- Trim or reposition foliage rather than accepting a partly obscured target view.
- Confirm that an opening gate does not push a large, bright surface into the frame and alter the camera’s exposure.
Match the Lens to the Target
Lens choice should follow the required frame. A distant plate or face normally needs narrower framing so the target occupies enough recorded pixels. A broad lens may make the entrance look impressive on a monitor while preserving too little detail for later examination.
A variable focal length is valuable during commissioning because the installer can adjust the frame at the site. The correct setting is not simply the tightest possible view. It needs enough margin for normal variation in where a car stops or where a visitor stands, without including large areas that do not support the camera’s role.
Judge subject size in recorded footage. A face that appears visible in a full-screen live view may occupy only a small area in the saved frame. The same applies to plates. Digital zoom enlarges the pixels already captured; it cannot restore letters, edges or facial features that were never recorded.
Panoramic coverage is useful for context around a broad gate, shared forecourt or small-business frontage. It shows movement across the wider scene. It should not be treated as automatic identification coverage at every point within that panorama. A panoramic view and a tightly framed target camera often solve different parts of the same entrance problem.
How Will the View Handle Light?
Israeli entrances frequently combine strong sun, deep shade and bright backgrounds. A camera under a covered gate may look outward toward a sunlit street, or it may face low sunlight at part of the day. The overall picture can appear bright while the person or vehicle in shade remains too dark. WDR (wide dynamic range) can help balance mixed brightness, but positioning still matters.
Change the angle if direct sun regularly enters the lens. A small shift, suitable hood or different mounting face can be more useful than expecting image processing to solve severe glare. Also check pale walls, polished stone and metal gates, which can occupy much of the frame and influence exposure.
Night brings a different exposure problem. Headlights are intense points of light, and reflective number plates return illumination strongly toward the camera. If the camera exposes for the headlights or reflection, the plate area can lose usable detail even while the rest of the vehicle remains visible.
- Test WDR with the target in shade and the background in strong light, not only with an empty entrance.
- Adjust shutter behaviour for the expected vehicle movement. A slow shutter can brighten a dark scene but can also blur a moving plate.
- Aim night illumination at the target zone rather than flooding the entire entrance indiscriminately.
- Position separate infrared illumination carefully when built-in IR reflects from a nearby wall, pillar, foliage or gate panel.
- Keep visible gate lighting outside the direct line of the lens where possible, and check how it interacts with vehicle headlights.
Night vision should be assessed as a complete arrangement of camera position, exposure, target movement and illumination. A bright monochrome picture is not necessarily a useful one. The important question is whether the required target remains sufficiently large, correctly exposed and acceptably sharp while moving through its real path.
Test Before Final Installation
Use recorded clips for the final decision. Live video can look clean on a small screen, especially when nothing is moving. Saved footage reveals compression, motion blur, target size and exposure behaviour under the same conditions that will matter during later review.
Temporary mounting is preferable when the entrance geometry is uncertain. Place each camera near its intended position, apply the proposed framing, and connect it to the NVR (network video recorder), DVR or VMS (video management software) that will store or manage the footage. Review exported or played-back recordings rather than relying only on the installation display.
- Record a pedestrian approaching, standing at the intercom, looking toward the gate and leaving by the normal route.
- Record vehicles approaching, waiting and departing. Include normal stopping differences rather than placing every vehicle in an ideal position.
- Check the driver and passenger positions if occupants are part of the required view. Windscreen reflections and vehicle height can change what is visible.
- Repeat the test in relevant daylight, darkness, gate lighting and headlight conditions.
- Review every camera according to its assigned role: overview, face, vehicle or number plate. Reposition, reframe or separate roles when the recording does not supply the intended detail.
Do not approve a position from a single ideal clip. The entrance should be used normally during the test. People stand slightly off-centre. Drivers stop early or late. Gates move through the frame. A practical design allows for those ordinary variations while keeping each target within its useful zone.
Once the recorded views are satisfactory, finalise the mounting, weather protection, cable support and recorder labels. Clear labels matter for remote property owners and businesses because they make later review easier: “gate overview”, “pedestrian face” and “vehicle plate” are more useful than generic channel numbers. The result is a system whose views have defined jobs and can be judged against them.
Key takeaways
- Overview, face and number-plate views usually work better when each camera has a clearly defined role.
- Camera positions should follow the expected locations and directions of people and vehicles before equipment is selected.
- Near-frontal camera angles preserve more useful facial and number-plate detail than steep or sharply sideways views.
- Gate lighting should be tested with sunlight, darkness, headlights and reflective number plates present.
- Recorded footage from realistic movements is the proper basis for approving final camera positions.