On this page
A security camera is showing a normal image, the video recorder is still recording, and a firmware notice appears while you are connected through the local network. Before accepting it, you need more than a configuration backup. A safe camera firmware update depends on confirming the exact hardware, preserving a way back into the system, choosing the correct order and proving that every important function still works afterwards.
Decide Whether an Update Is Needed
Do not update only because a newer firmware version is available. Start with a specific reason. The update may correct a fault you are experiencing, improve compatibility with the recorder, address a documented security issue or add a function you genuinely need. If the system is stable and the changes are irrelevant, leaving it unchanged can be the more controlled maintenance decision.
Record the current state before searching for a file or pressing an update button. Identify the device type, exact hardware variant, hardware revision and installed firmware version. Read the label on the physical unit where possible. Names displayed by an app or recorder may be user-defined, shortened or incomplete.
Next, check the relationship between camera and recorder. A camera can continue producing video after an update yet lose motion detection, audio, configuration controls or reliable recording through the recorder. The same issue can occur in reverse after recorder firmware changes. Compatibility must therefore cover the whole video path, not merely the ability to log in to one device.
Read the available release information. Look for supported hardware variants, required intermediate versions, recorder dependencies, changed default behaviour, known limitations and any settings that may be reset. If the information does not clearly identify your hardware, treat the firmware as unconfirmed rather than assuming that a similar name means a suitable file.
Preserve Access Before You Start
Export the device configuration if the interface provides that option. Save recorder settings separately from camera settings. A configuration backup is useful, but it is not a complete recovery plan. It may be readable only by certain firmware, and it does not tell you where the device is on the network or which credentials were in use.
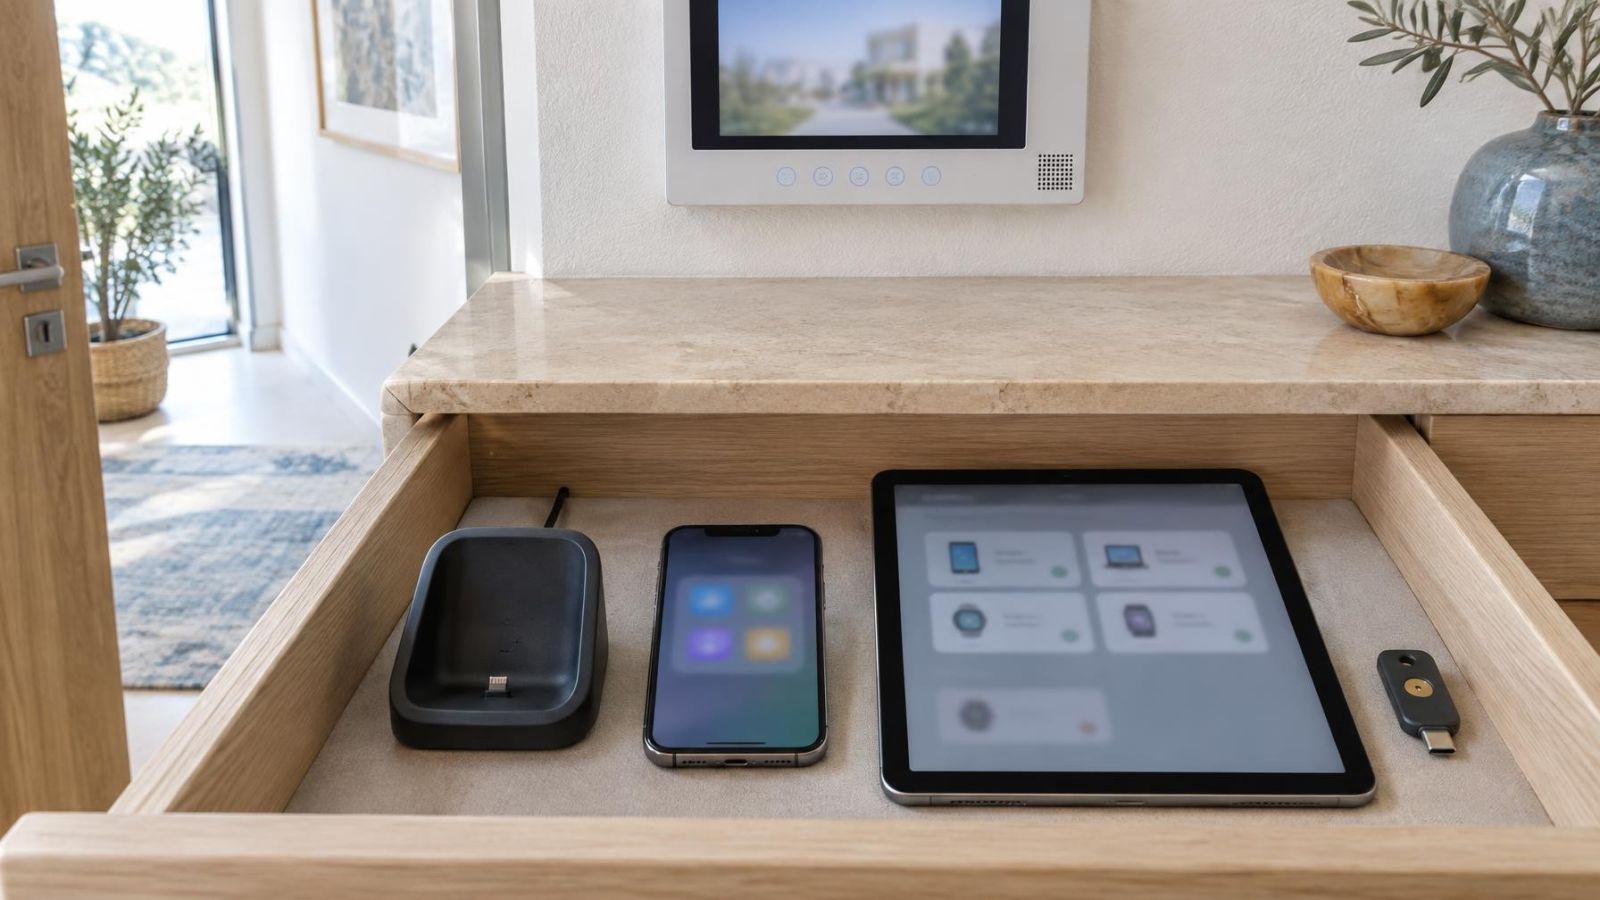
Create a concise access record for every device involved. Keep it somewhere secure and available during the maintenance window. It should include:
- The device name, physical location and exact hardware variant.
- The current firmware version and network address.
- Whether the address is fixed on the device or assigned by the network.
- The administrator username and a verified administrator password.
- The recorder channel used by the camera and any separate camera credentials stored in the recorder.
- The local login path, remote-access method and any VMS (video management software) connection details.
- The recording schedule, motion detection areas, image orientation, time settings and other settings that would be difficult to reconstruct.
Verify the administrator login rather than relying on a password saved in a browser or mobile app. Also capture a known working baseline: open the live image, play an existing recording, note the displayed time and confirm that remote viewing currently works. Without that baseline, an existing fault can easily be mistaken for an update failure.
Is the Firmware Truly Compatible?
How do you update camera firmware safely?
Use firmware intended for the exact hardware variant, obtained through a source you can verify. A matching product family or similar appearance is not enough. Internal components can differ between variants, and a file accepted by the upload screen is not necessarily the correct file.
Check whether the camera is managed independently or through an NVR (network video recorder). Some recorders pass firmware to connected cameras. Others merely provide a route to the camera interface. A recorder may also require a particular camera firmware range to support configuration, events or audio correctly.
Automatic and manual update paths solve different operational problems. Neither removes the need to confirm compatibility.
| Update path | Useful when | Main control point |
|---|---|---|
| Manual update | You have a verified file and direct local access to the device | You choose the file, device and maintenance window |
| Automatic update | The device identifies an approved package through its own management service | You still verify the hardware identity, release information and recovery access |
| Recorder-managed update | The recorder explicitly supports the attached camera variant | You verify both camera compatibility and recorder dependency before starting |
Do not rename an uncertain file, extract or recompress it unless the documented update process specifically requires that action. Do not substitute firmware from a visually similar device. If the source, variant or required update path remains unclear, stop and obtain a confirmed package before changing the equipment.
Choose a Controlled Update Window
Plan the work for a period when temporary loss of live viewing or recording is acceptable. Confirm that someone can reach the camera, recorder, network switch and power equipment if recovery requires physical access. Remote property owners should agree in advance who can attend the site and what that person may need to check.
Use stable power and, wherever possible, a wired local connection. A camera powered by a PoE (power over Ethernet) switch depends on that switch remaining powered and connected. Avoid changing routers, switches, VLAN settings, passwords or cabling during the same maintenance window. Combining unrelated changes makes diagnosis needlessly difficult.
Update one device at a time. Simultaneous updates make it harder to distinguish a device problem from a recorder, network or authentication problem. A single-camera trial also leaves the rest of the system available for comparison.
Can you update a security camera remotely?
A remote update is possible only when the equipment supports it, but remote access alone is a weak recovery plan. If the device restarts with a different network setting, rejects stored credentials or stops communicating with the recorder, the same remote connection used to begin the work may disappear.
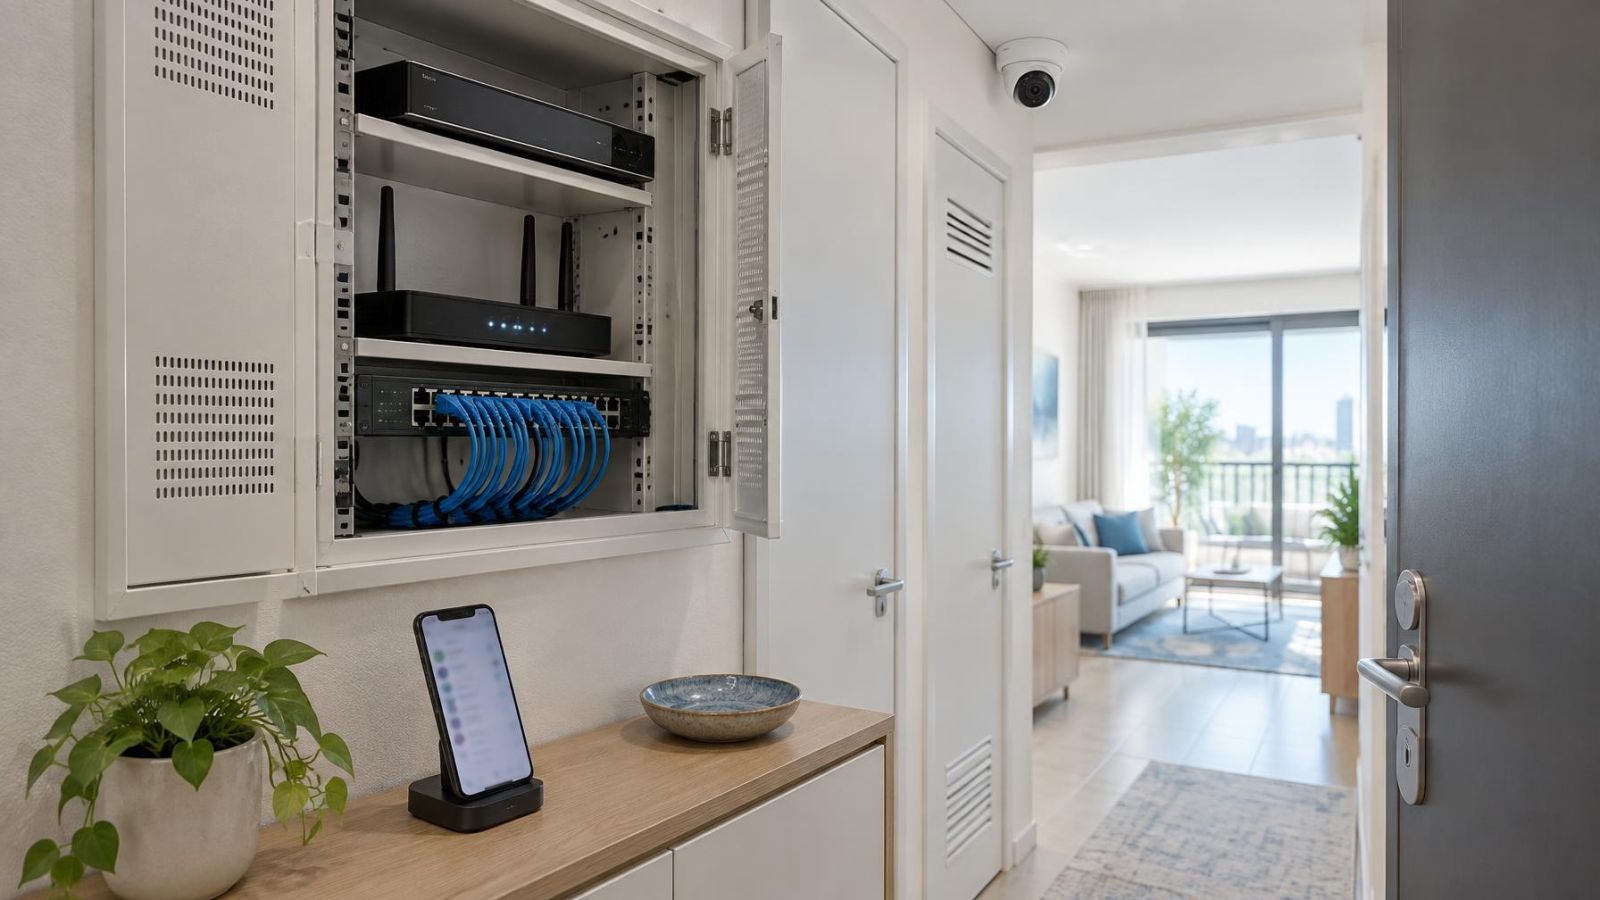
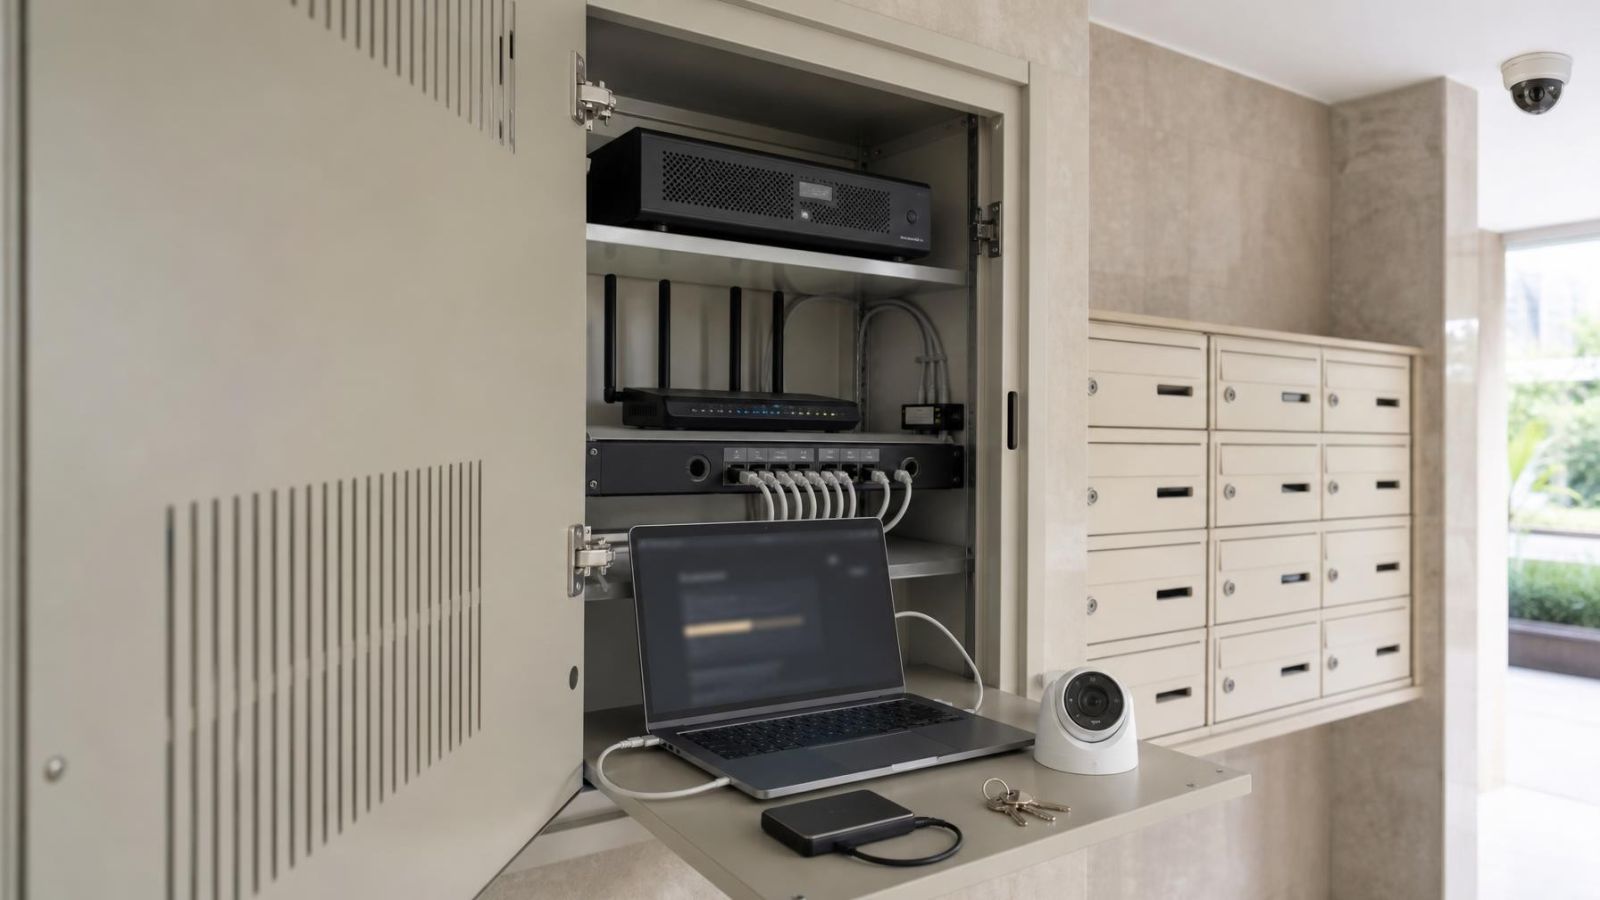
Establish local network access before starting remotely. Ideally, a trusted person or installer can reach the equipment and connect from inside the property. In an Israeli apartment building, shared-entrance equipment may also require coordination with the person who controls the common recorder or communications cabinet. At a private home, confirm access to locked gates, network cabinets and any equipment placed in or near the mamad, where reinforced construction can make wireless recovery less dependable.
Should Camera or Recorder Come First?
Should you update the camera or the NVR first?
There is no universal camera-first or recorder-first rule. The correct sequence comes from the stated dependency between the two devices. If the camera firmware requires recorder support that is not currently present, the NVR firmware update may need to come first. If the recorder update removes support for an older camera version, the instructions may specify a different sequence or an intermediate step.
Where no dependency is stated, choose a low-risk trial device. Select one camera that is accessible, clearly identified and not the only view of a critical area. Update it, reconnect it to the recorder if necessary and complete all verification before touching another camera.
Do not roll out the same file across every camera merely because the first unit accepted it. Confirm that the other units have the same hardware variant. Systems often contain equipment that looks identical from the outside but differs in revision or intended firmware path.
After a recorder update, inspect each connected camera rather than checking only the recorder dashboard. A channel marked online can still have incorrect time, missing events, disabled audio or changed image settings. After a camera update, confirm that the recorder can still configure and record it as expected.
Run the Camera Firmware Update Without Guesswork
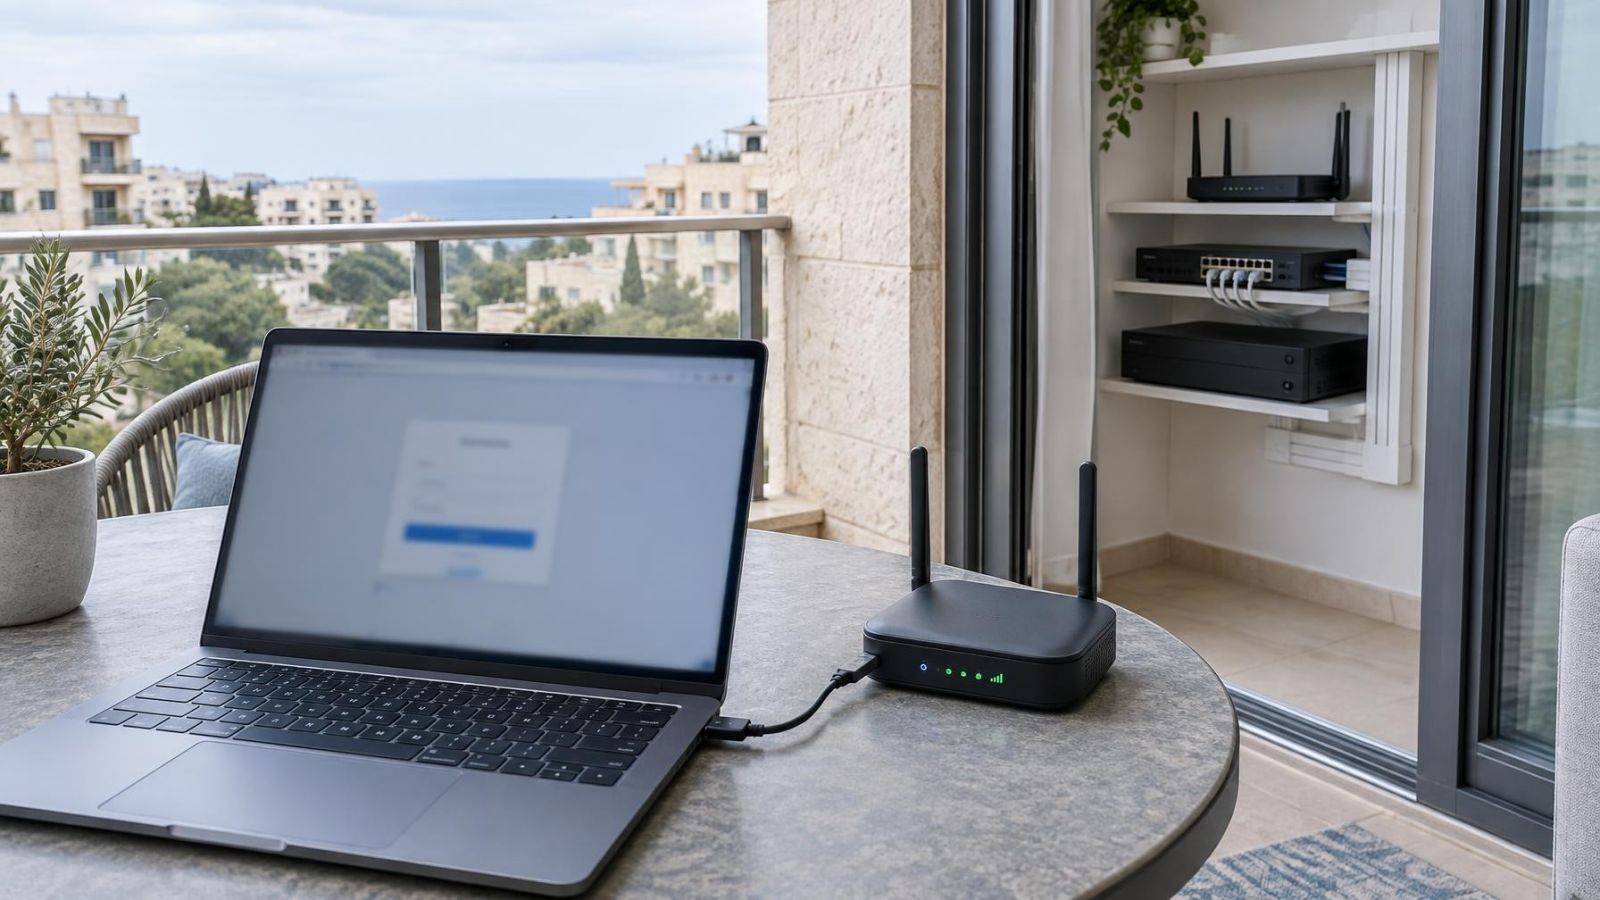
Use the local device interface or the explicitly supported recorder-managed path. Keep the verified firmware file, configuration export and access record available before starting. Close unnecessary management sessions so that another administrator does not restart the device or change its settings during installation.
- Log in locally with verified administrator access and confirm the device identity and current firmware version once more.
- Confirm that live viewing and recording are working immediately before the update.
- Select the correct update path and, for a manual update, choose only the verified file for that hardware variant.
- Start the upload and leave the browser, recorder and network connection undisturbed while the device validates and installs the package.
- Allow the device to restart fully. Observe status indicators, network activity and the management interface without repeatedly refreshing or issuing commands.
- Reconnect through the local network and confirm the reported firmware version before beginning functional tests.
Do not power-cycle the camera, recorder, PoE switch or router because the progress display appears stationary. Uploading, validating, writing and restarting are separate stages, and the interface may provide little visible feedback between them. A power or network interruption during installation can leave the equipment unavailable.
If the update interface reports a clear rejection before installation begins, record the message and recheck the file and hardware identity. Do not keep retrying different packages. If the device becomes unreachable during installation, wait for its normal restart process to finish before moving to recovery checks.
Verify Control Before Moving On
An update is not complete when the progress bar ends or the live image returns. Test locally first, then test the recording path, and only then test remote access. This order separates a device problem from an external connectivity problem.
- Log in directly and confirm the expected network address, administrator access and firmware version.
- Check the live image, focus or zoom controls where fitted, image orientation, day and night behaviour, audio and motion detection settings.
- Confirm that the recorder receives the stream and that the intended recording schedule is active.
- Create a short test event or note the current time, then locate and play the corresponding recording.
- Compare camera, recorder and playback timestamps so that exported footage can be interpreted correctly.
- Test VMS, browser or mobile remote access only after local operation and recording have been confirmed.
Review settings that firmware commonly affects indirectly, including stream selection, image quality, encoding, time source, event rules and stored credentials in the recorder. A configuration restore may be appropriate if documented settings were lost, but import only a backup known to belong to the same device and suitable firmware path.
What should you do if camera access is lost after an update?
Begin from the local network. Check whether the camera has returned at its recorded address, received a different address or appears in the recorder or router device list. Confirm PoE or power status and physical network links. Then try direct administrator access rather than relying only on the recorder channel or remote app.
If the camera answers locally but the recorder does not connect, verify the camera credentials stored in the recorder, the selected protocol, stream settings and channel assignment. If local login works but remote access does not, leave the device configuration stable and investigate the remote path separately.
Use a configuration restore or physical reset only after identifying what each action will erase and confirming that you have the required access records. A reset can remove network settings and credentials, making a remote-only problem harder to recover. If the device remains unavailable, preserve the firmware file, error messages, status observations and backup, then escalate to a qualified installer rather than attempting unrelated firmware packages.
Continue to the next device only after live view, camera control, recording, playback, timestamps and remote access have all passed. The point of a staged process is not simply to install firmware. It is to retain practical control of the complete video system after every change.
Key takeaways
- Firmware must match the exact camera or recorder hardware variant before installation begins.
- A configuration backup must be accompanied by verified administrator credentials and a record of network addresses.
- Local network access provides a safer recovery path than relying on remote access alone.
- Testing one device before a wider rollout limits uncertainty and preserves a working comparison point.
- Every update requires checks of live view, recording, playback, timestamps and remote access.