On this page
At a home entrance or street-front business, an image sensor may need to record a face moving between bright and dark areas. The security camera also depends on its lens aperture, exposure settings and infrared illumination. The practical question is not simply whether a larger sensor is better. It is how camera sensor size affects usable detail after dark, once the complete camera and its actual location are considered.
What Does Security Camera Sensor Size Actually Describe?
What does security camera sensor size mean?
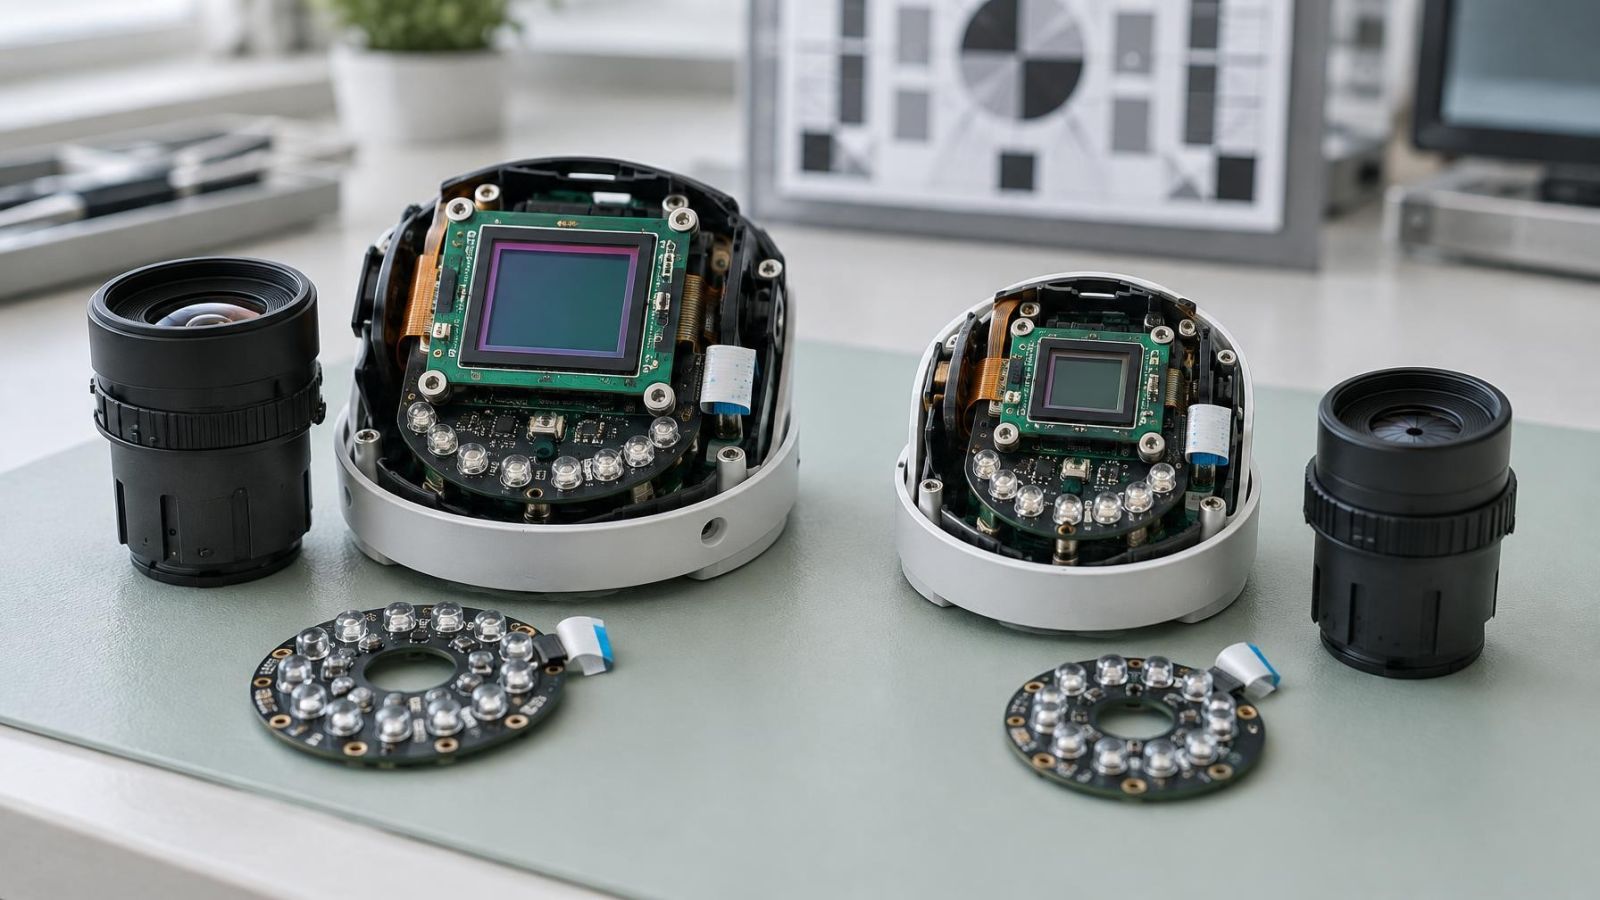
Sensor size refers to the physical light-sensitive area used to form the image. A larger area has the potential to collect more light when the lens, exposure and scene are comparable. That potential is useful in low light, but it is not a complete measure of camera performance.
The sensor format and the recorded resolution describe different things. Format concerns physical dimensions. Resolution concerns the number of pixels in each recorded frame. Two cameras can record frames with the same pixel count while using sensors of different sizes. They may therefore behave quite differently in weak light.
Pixel size is part of the connection. If two sensors have a similar pixel count, the larger sensor usually has more physical area available for each pixel. If additional pixels are packed into the same sensor area, individual pixels may be smaller and receive less light. The resulting image may need more electronic amplification or stronger processing.
Marketing labels can make comparison less direct than it appears. A sensor format label may identify a general size family rather than giving a simple measurement of the active imaging area. It also says nothing by itself about the lens, exposure behaviour, processing or infrared system. Where reliable dimensions and pixel information are available, treat them as comparison inputs rather than as a final verdict.
| Specification | What it describes | What it does not establish |
|---|---|---|
| Sensor format | The approximate physical class of the image sensor | Night detail from the complete camera |
| Resolution | The number of pixels recorded in each frame | How clean those pixels remain in weak light |
| Pixel size or density | How the sensor area is divided between pixels | Lens quality, exposure choices or processing |
| Lens aperture | How much light the lens can deliver to the sensor | Whether moving subjects remain sharp |
How Larger Sensors Handle Low Light
A larger sensor can collect more light under comparable conditions. More captured light gives the imaging system a better starting point. Shadow areas can retain cleaner tonal differences, and the camera may require less amplification to produce a visible image. Lower amplification generally means less obvious digital noise.
This does not mean every camera with a larger sensor produces better night video. A restrictive lens can reduce the light reaching it. Slow exposure can make a bright image while blurring movement. Aggressive noise reduction can smooth away the texture needed to distinguish a face, item of clothing or vehicle marking.
The main advantage is exposure flexibility. With more light available, the camera has more room to balance brightness, noise and shutter speed. That balance matters whenever the subject moves. A person walking through an entrance is a more demanding test than an empty lobby, parked vehicle or still garden.
A bright night image is not necessarily a detailed night image; useful detail must remain visible while the subject is moving.
Dynamic range also matters. An entrance can contain a bright outdoor background and a face standing under a shaded canopy. A sensor and processing system with effective WDR (wide dynamic range) can manage that contrast more usefully. Sensor area can help provide image information, but the camera still has to process the highlights and shadows without making either unusable.
Resolution Is Only Half the Comparison
A higher pixel count can be valuable when the scene is well lit and the lens delivers enough detail. It can also help when the recorded view must cover a wider area. In low light, however, megapixels cannot be considered separately from sensor area. Placing more pixels into a limited area can create a dense sensor with less light available to each pixel.
The camera may compensate by increasing amplification, extending exposure or applying stronger noise reduction. Each choice has a cost. Amplification can make grain and colour errors more visible. Longer exposure increases motion blur. Strong noise reduction can merge fine features and make moving subjects appear soft or waxy.
This is why a recorded frame that looks impressive when paused can be misleading. The frame may show a sharp wall, gate or counter because those objects did not move. The person crossing the same frame may have blurred hands, an indistinct face or lost clothing detail.
Why should recorded movement be the deciding test?
Security video records events over time. The useful question is whether important detail survives across consecutive frames while a subject approaches, turns or crosses the view. A demonstration based on a still photograph, a paused empty scene or a subject standing under ideal light does not answer that question.
- Check faces in motion: look for recognisable features rather than overall brightness.
- Check hands and carried objects: these often reveal blur before the rest of the body does.
- Check movement at the far edge: available detail normally falls as the subject occupies fewer pixels.
- Check the recording: live display quality and stored footage may differ because of compression and recording settings.
Lens, Exposure and Illumination Matter
The sensor can only work with the light delivered to it. A wide lens aperture allows more light to reach the image sensor. That can support cleaner video or a faster shutter speed. Aperture is not an isolated specification, however. The lens must also produce useful sharpness across the part of the frame that matters.
Exposure time determines how long the sensor collects light for each frame. A longer exposure brightens a dark scene but records more subject movement during that interval. For a quiet storage area, that trade-off may be acceptable. At a shop entrance, pedestrian gate or vehicle access point, motion detail usually deserves greater priority.
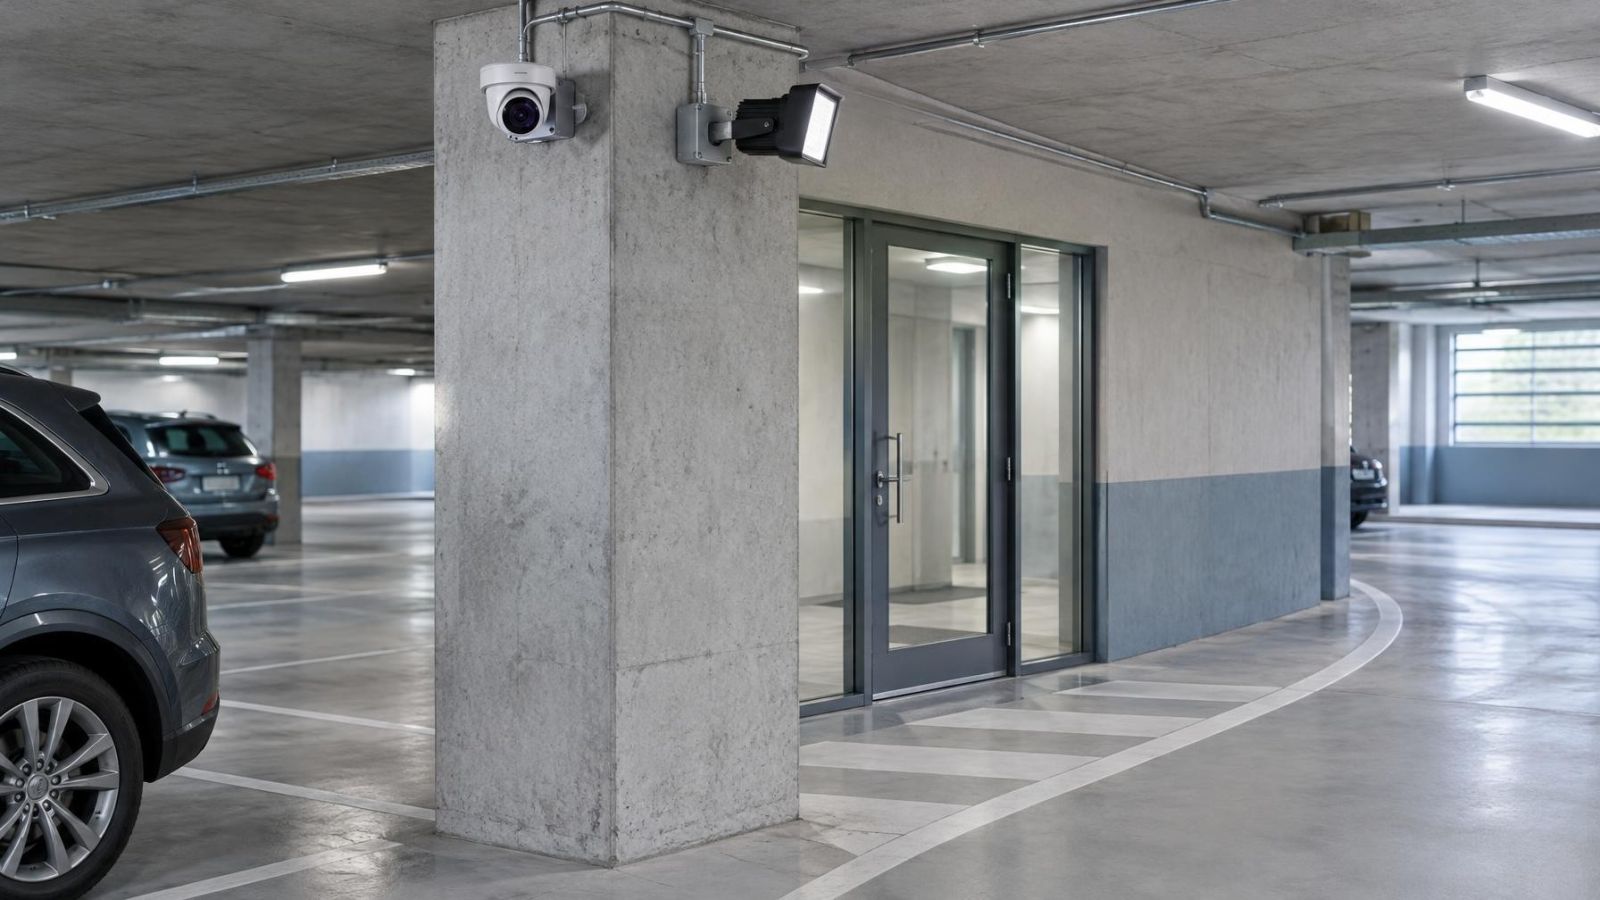
Infrared illumination provides light that the camera can use when visible ambient light is weak. It can reveal detail in darkness, but it does not remove the need for good placement. IR can reflect from glass, pale walls, low ceilings, spider webs, dust or a dirty camera cover. A nearby reflective surface may become very bright while the intended subject remains comparatively dark.
Ambient lighting can be more useful when it is even and directed into the scene rather than toward the camera. A small amount of steady light near the subject may support natural colour and clearer movement. A bright bare lamp inside the frame can instead create severe contrast, especially when the area behind it is dark.
Image processing then decides how the recorded picture is presented. Sharpening can emphasise edges but also strengthen noise. Noise reduction can clean the background but erase fine texture. WDR can balance bright and shaded regions but may introduce its own compromises around movement. The best setting is the one that preserves the detail required from that location, not the one that creates the brightest display.
Judge the Camera in Its Location
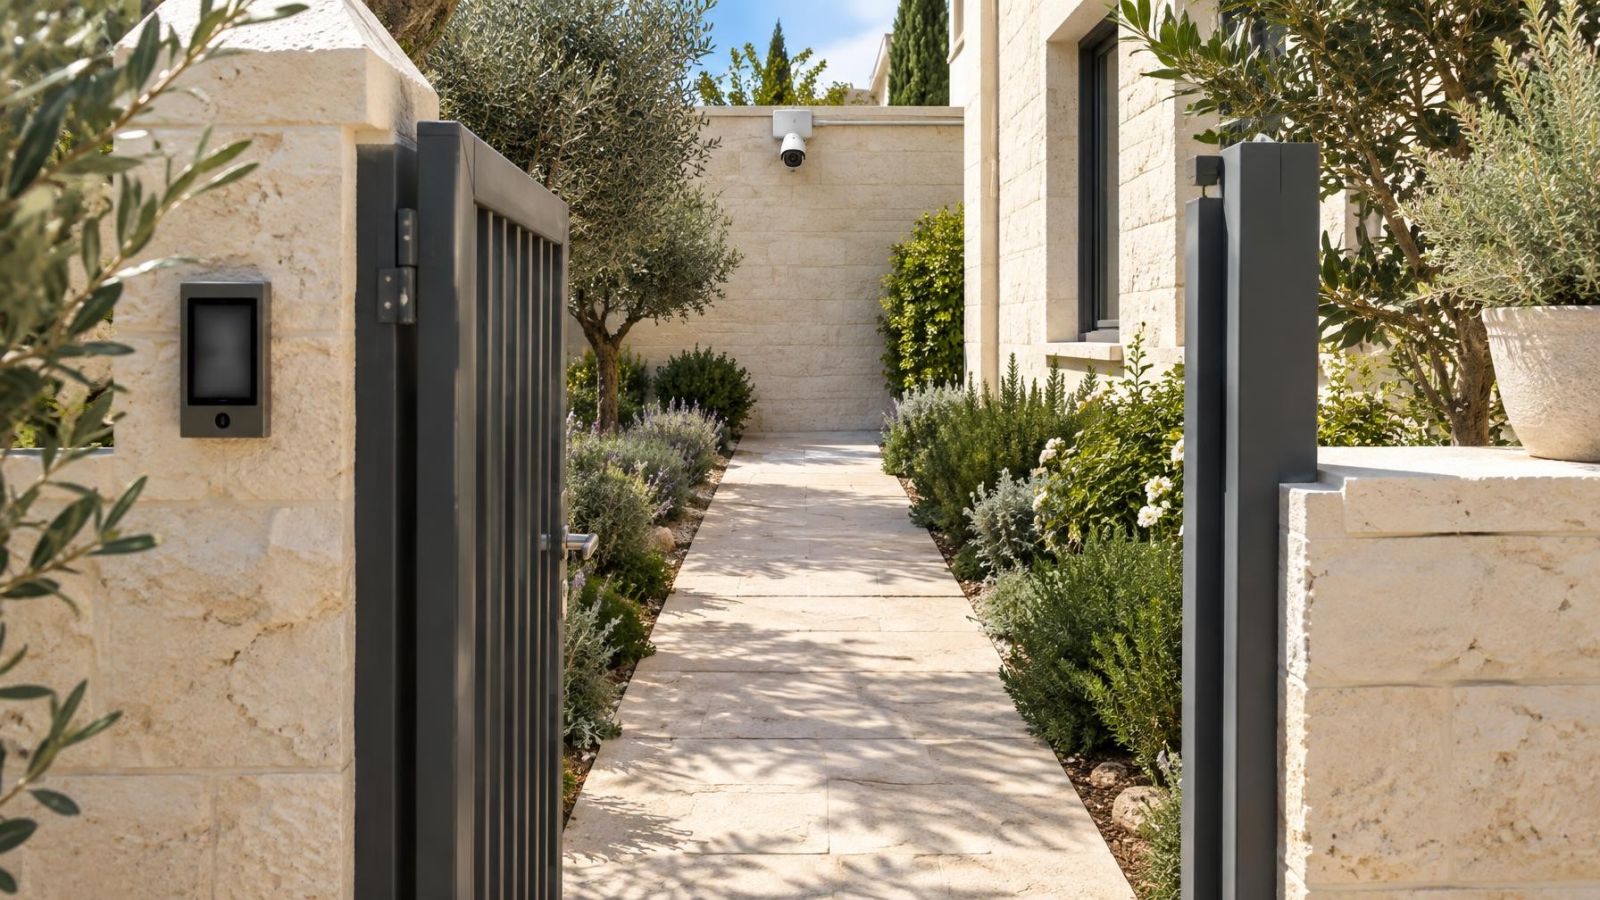
Installation conditions in Israel frequently combine intense outdoor light with shaded entrances. During the transition into evening, a home entrance may have a bright path beyond the doorway and a darker face under the building canopy. The relevant test includes both areas in the same frame. Looking only at the well-lit background says little about facial detail.
A street-front business presents another difficult combination. Display windows, interior lighting and passing headlights can create glare and reflections. If a camera looks through glass, infrared illumination from the camera can reflect directly back into the lens. In many cases, placing the camera on the same side of the glass as the viewed area produces a more useful result.
Private homes often need coverage across a garden or toward a gate. The near ground may be strongly illuminated while the gate remains in deep shadow, or vegetation may reflect IR close to the camera. Lens choice matters here because a very wide view can make a distant person occupy too little of the recorded frame, regardless of sensor quality.
Dust gradually reduces contrast and can scatter infrared light. Near the coast, humidity and residue on an exposed cover can make the effect more visible. Routine cleaning is therefore part of maintaining night performance. A sensor upgrade cannot compensate for light being scattered before it reaches the lens.
A mamad, the reinforced safe room commonly included in Israeli homes, also affects planning. Its position can restrict practical cable routes, wireless links and mounting angles. The camera should be located for the required view rather than placed where connectivity happens to be easiest. Where possible, plan the cable path before finishes, cabinetry or doors limit the available routes.
Which Low Light Camera Sensor Suits Your Scene?
How should you assess a low light camera sensor?
Start with the detail the recording needs to show. General activity at a close entrance requires a different view from facial detail at a distant gate. Define the subject distance, likely direction of travel and speed of movement before comparing sensor specifications.
- Define the task. Decide whether the recording must show presence, clothing, faces, carried objects, vehicle activity or another specific detail.
- Measure the viewing conditions. Note subject distance, width of the scene, existing light, bright backgrounds and reflective surfaces.
- Compare the complete optical system. Consider sensor area, pixel density, lens aperture, field of view and infrared coverage together.
- Review recorded night video. Use moving subjects at realistic distances rather than a still scene close to the camera.
- Test the intended placement. Check glare, shadows, IR reflections and recorded detail from the final mounting angle.
A larger sensor is a sensible priority for demanding low-light scenes, particularly where movement must remain clear and visible light is limited. It should still be paired with an appropriate lens and exposure strategy. A narrow entrance, wide garden and street-facing shop window may each call for a different balance.
Ask for comparable footage where possible. The same type of scene, similar subject distance and similar movement make the comparison useful. Daylight samples cannot establish night performance. Nor can two night clips recorded under very different illumination.
For remote property owners, recorded samples are especially valuable because they can be reviewed without relying on a live demonstration. Request footage from the proposed angle after dark, including a person walking through the important part of the frame. Confirm that the stored recording, not only the live view, preserves the required detail.
The final choice should follow the scene. Sensor size narrows the options, but installation design decides whether its potential is used. A well-matched sensor, lens, exposure and lighting arrangement records more useful information than an impressive specification placed in the wrong position.
Key takeaways
- Sensor area and resolution must be assessed together because a high pixel count can place smaller pixels into the available light-sensitive area.
- Low-light detail depends on the complete imaging system, including the sensor, lens, exposure settings, illumination and image processing.
- Moving subjects reveal motion blur and noise reduction effects that a static night image can conceal.
- The installation scene should determine the sensor choice because distance, contrast, reflections and available light vary between locations.