On this page
How Security Camera Mounting Height Changes the View
An outdoor security camera on a wall mount may be watching an apartment entrance, a private-home gate or a street-front business. An entrance camera at each of those locations has a different job. The practical question behind security camera mounting height is therefore not how high a camera can be installed, but how high it can be while still recording the detail needed at the place where people pass.
Higher mounting usually gives a broader overview. The camera can include more of a garden, pavement, doorway or sales floor, and it is less likely to be blocked by a person standing close to it. The trade-off is viewing geometry. As the camera moves upward, the distance to a face increases and the viewing angle becomes steeper. A face that looked clear from near eye level may become mostly forehead, hair and shoulders.
Tilting the camera farther down does not remove that trade-off. It changes where the frame lands, but the camera is still looking from above. A strong downward tilt can also create a blind spot immediately below the camera. The wall, doorway or gate may appear fully covered on a plan while the area close to the mounting surface remains outside the frame.
How do camera angle and height work together?
Camera angle and height should be planned as one decision. Height establishes the line of sight. Tilt places that line across the scene. The best combination keeps the important passage point inside the frame without forcing the camera to look almost vertically downward.
Viewing distance matters as well. A high camera does not merely look down; it also looks farther. That extra distance makes a person occupy less of the recorded image. For useful detail, plan around the exact point where a person is expected to be visible, such as the step before a door, the inside of a gate or the section of pavement leading towards a shop entrance.
What Height Captures Faces Clearly?
Faces are recorded most clearly when the camera sees people from near level or from a moderate downward angle as they move through a defined passage zone. There is no single height that works for every entrance. The useful position depends on the path, the lens, the width of the view and the distance between the camera and the person.
What camera height works for faces?
The right camera height for faces is the lowest practical position that remains stable, protected and able to cover the required passage point without an excessively steep angle. The camera does not need to be exactly at face level. It does need a line of sight that includes the front of the face for long enough to record useful detail.
Walking direction is often more important than a small adjustment in height. A camera directly above a door may see the top of the head as someone arrives and the back of the head as that person enters. A camera placed slightly to the side, looking along the final approach, may hold a frontal or three-quarter view for longer.
- At an apartment door, consider whether people approach from a lift, stairwell or corridor turn.
- At a private gate, follow the garden path or entrance walk rather than aiming straight down at the threshold.
- At a business entrance, account for people arriving from either direction along the street frontage.
- At every location, check where a visitor naturally pauses to open a gate, use an intercom or wait at a door.
A useful face view comes from the approach path, not simply from placing a camera above the entrance.
Match Height to the Camera’s Job
An overview camera and an entrance-detail camera solve different problems. The overview position shows movement across a wider area and preserves context. The entrance position concentrates on a smaller zone where people pass at a predictable distance. Trying to make one camera perform both roles often produces a compromise: the scene is neither broad enough for context nor close enough for useful detail.
| Camera role | Preferred view | Typical position | Main compromise |
|---|---|---|---|
| Overview | Wide scene and movement context | Higher or farther back | Less detail on each person |
| Entrance detail | Defined passage point | Lower or closer to the approach line | Less surrounding context |
| Indoor circulation | Doorway or corridor transition | Wall or ceiling near the route | Obstruction by fixtures or open doors |
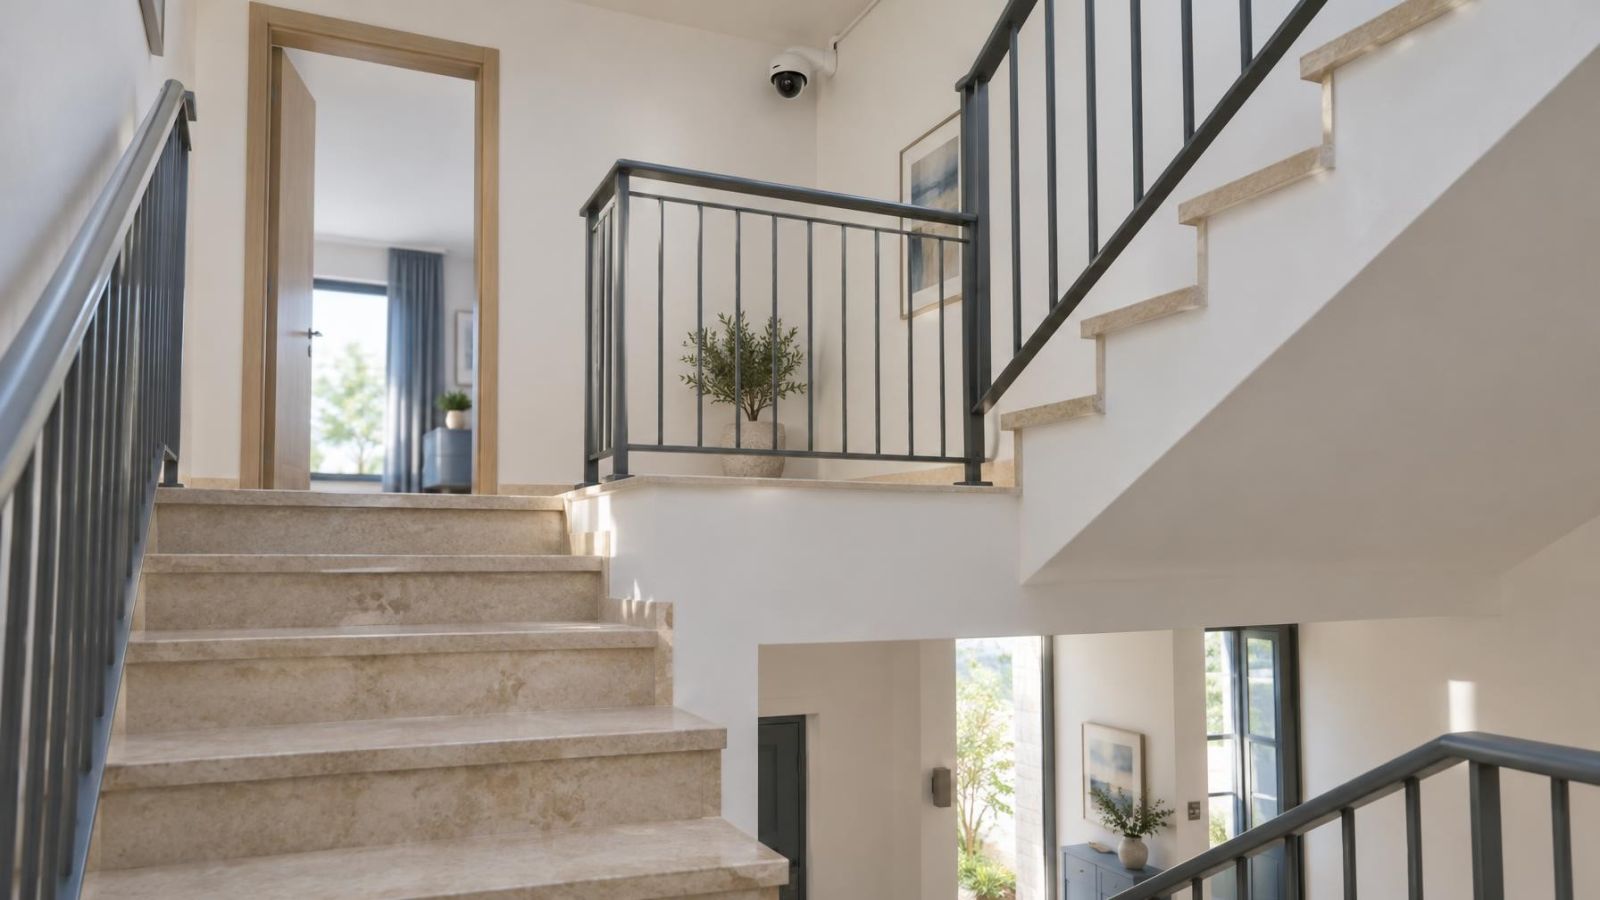
Wall mounting is often helpful when the camera should look along a corridor, path or gate approach. The wall provides lateral separation from the doorway, which can improve the facial angle. Ceiling mounting can give a clean overview and keep the camera away from shelves or furniture, but it naturally encourages a more downward view.
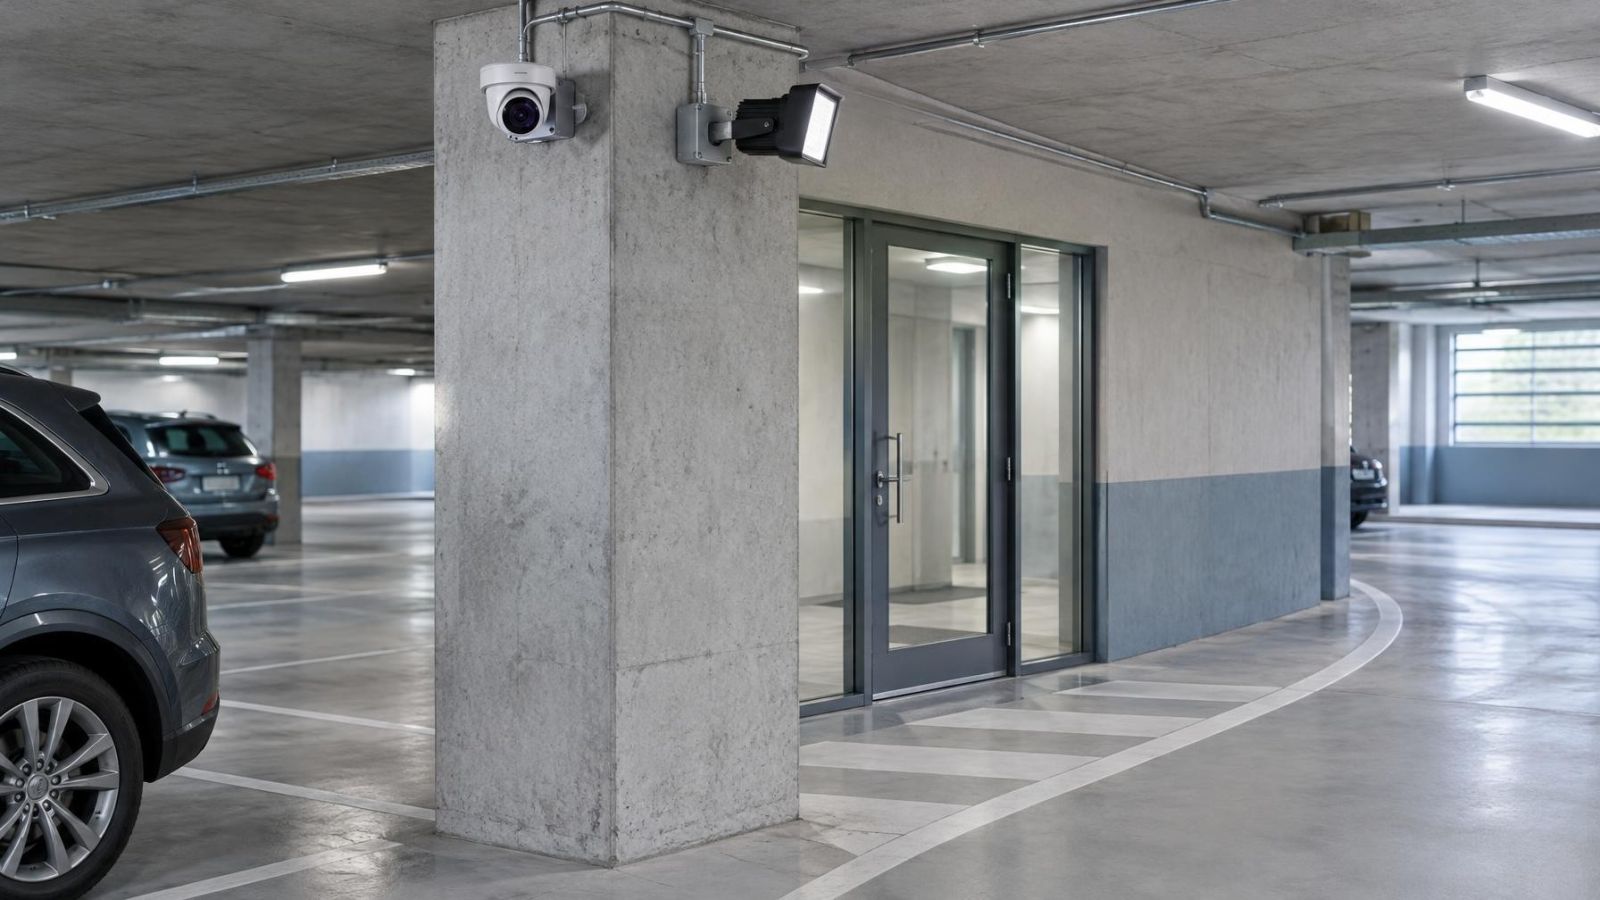
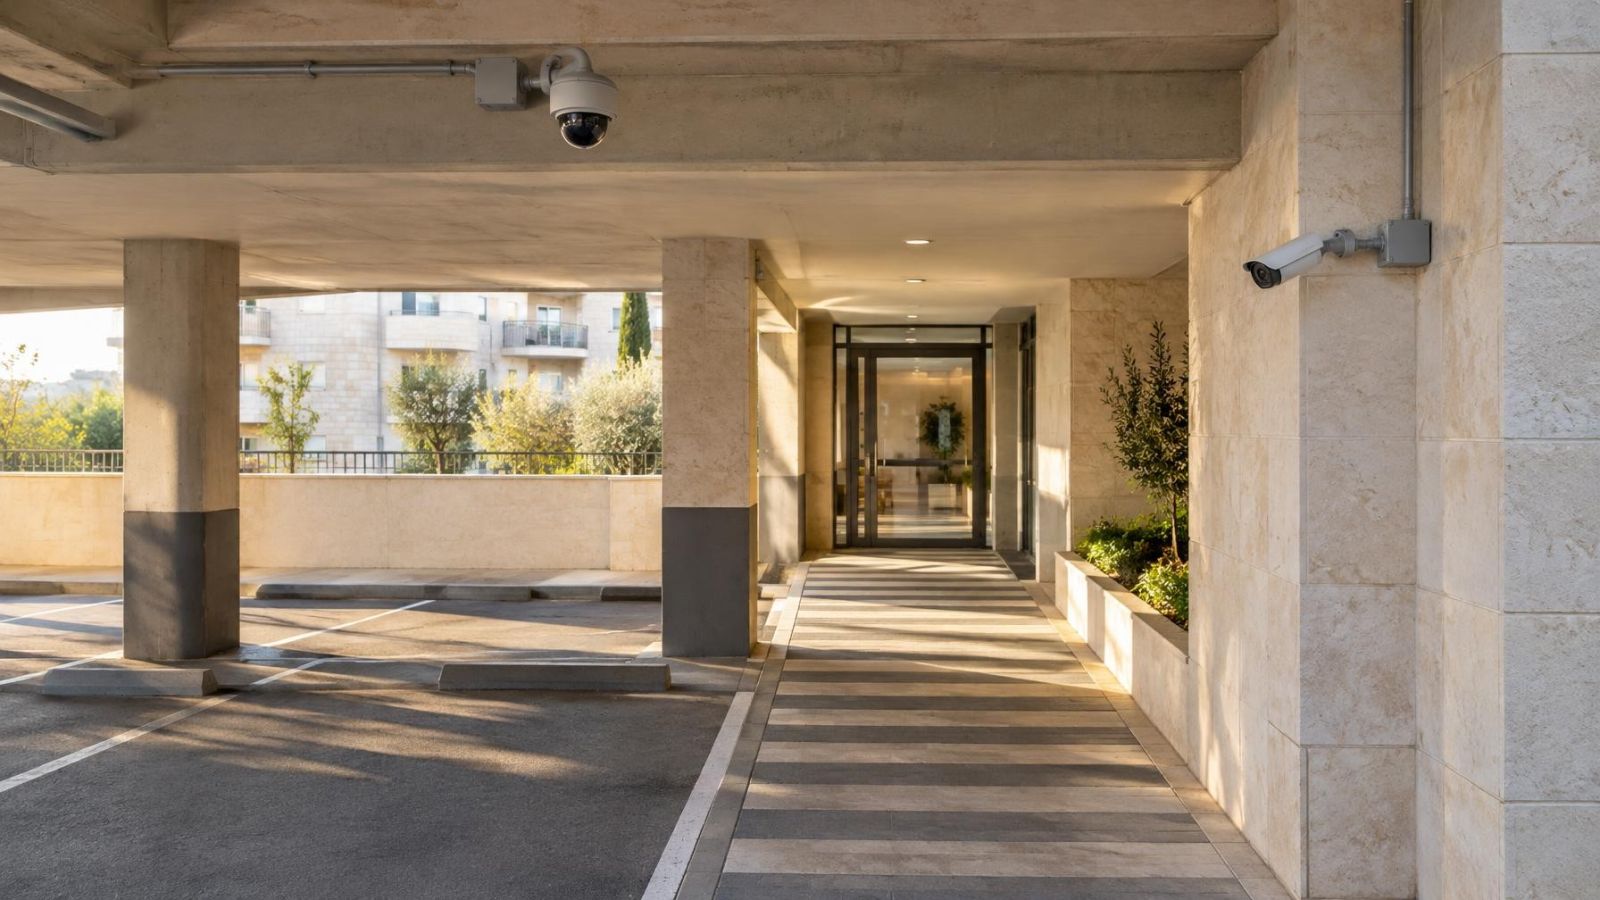
A ceiling position can still work for an entrance when the ceiling is not far above the passage zone and the camera can be placed ahead of the person rather than directly overhead. In a high lobby, covered parking area or tall shop entrance, a separate wall-mounted view may be more suitable for faces.
Choose the role before choosing the mounting point. If both context and facial detail matter, allocate separate positions. Each camera can then use an appropriate field of view, distance and tilt without being forced into an unsuitable compromise.
Account for Lens and Distance
Mounting height cannot be evaluated without the lens and the subject distance. A wide-angle lens includes more of the scene, but each person occupies a smaller part of the image. A narrower view places more recorded detail on a defined passage point, provided people actually move through that point.
How does the security camera viewing angle affect detail?
A wider security camera viewing angle records more surroundings and less subject detail. A narrower angle records less context but makes a person at the planned distance larger within the frame. The useful measure is not how impressive the whole image looks on a screen. It is how much of the image is occupied by the subject when the relevant event occurs.
A wide view is valuable when the task is to follow movement between a gate, parking space and entrance. It is less effective when a small face near the far edge of the frame is expected to supply fine detail. Narrower views suit controlled locations such as a pedestrian gate, a doorway or a corridor section where the route is predictable.
Digital zoom after recording only enlarges pixels already present in the saved image. It cannot recover facial detail that was never recorded because the person was too distant or too small in the frame. Check the recorded view at normal playback quality rather than relying only on a live full-screen display.
Control Glare and Obstructions
Good geometry can still produce a poor image when the background is much brighter than the face. Strong Israeli sunlight creates difficult contrast at gates, balconies and recessed entrances. A camera inside a shaded lobby may face a bright pavement outside. A camera under an awning may see a visitor in shade against a sunlit street.
WDR (wide dynamic range) can help balance bright and dark areas, but placement remains important. Avoid making the brightest part of the sky or a sunlit wall the dominant background behind the passage point. A modest sideways change in position can be more useful than increasing the downward tilt.
Shadows also move across the day. An entrance that looks evenly lit during one inspection may later have a bright background and a shaded face. Evening lighting can introduce different problems, including reflections from glass, glossy stone or pale walls. Infrared illumination may reflect from a nearby soffit, wall edge, drainpipe or foliage and reduce the clarity of the night vision image.
Outdoor camera placement must also account for physical obstructions. Awnings can cut through the upper frame. Growing foliage can cover a gate view or reflect IR back towards the lens. Parked vehicles can hide the lower part of a person approaching from the road. The correct test uses the real path and the normal objects in the scene, not an empty entrance.
Dust settles on exposed lenses and housings. Coastal humidity can leave deposits and make connectors or mounting surfaces harder to service if access is poor. A protected position is useful, but it should still allow the lens to be inspected and cleaned without dismantling surrounding finishes.
Indoor planning has another Israeli detail: the mamad, or safe room. Its reinforced walls can complicate wireless links between a camera and the home network. If a camera is near or inside that room, verify the connection from the final position. A wired Ethernet connection with PoE (power over Ethernet) removes reliance on that particular radio path, but the cable route and recorder location still need to be planned.
Where Should Entrance Cameras Be Positioned?
Entrance cameras should be positioned where they can see along the approach, record the intended passage zone and remain accessible for maintenance. The exact location changes with the property. A shared apartment corridor, a garden gate and a shop opening directly onto the pavement do not present the same routes or background light.
Apartment doors and shared approaches
At an apartment entrance, start with the direction from which visitors appear. In many buildings, the useful line is from the lift lobby or stairwell towards the door. A side wall can provide a better facial angle than the ceiling directly above the threshold. Check whether an open door, decorative light fitting or corridor corner blocks part of the frame.
Shared entrances require practical coordination with the va'ad bayit and other people using the space. Keep the frame limited to the area needed for the camera’s stated task. Agreeing the view and cable route before drilling also avoids a technically sound position becoming inconvenient for the building.
Private gates and garden paths
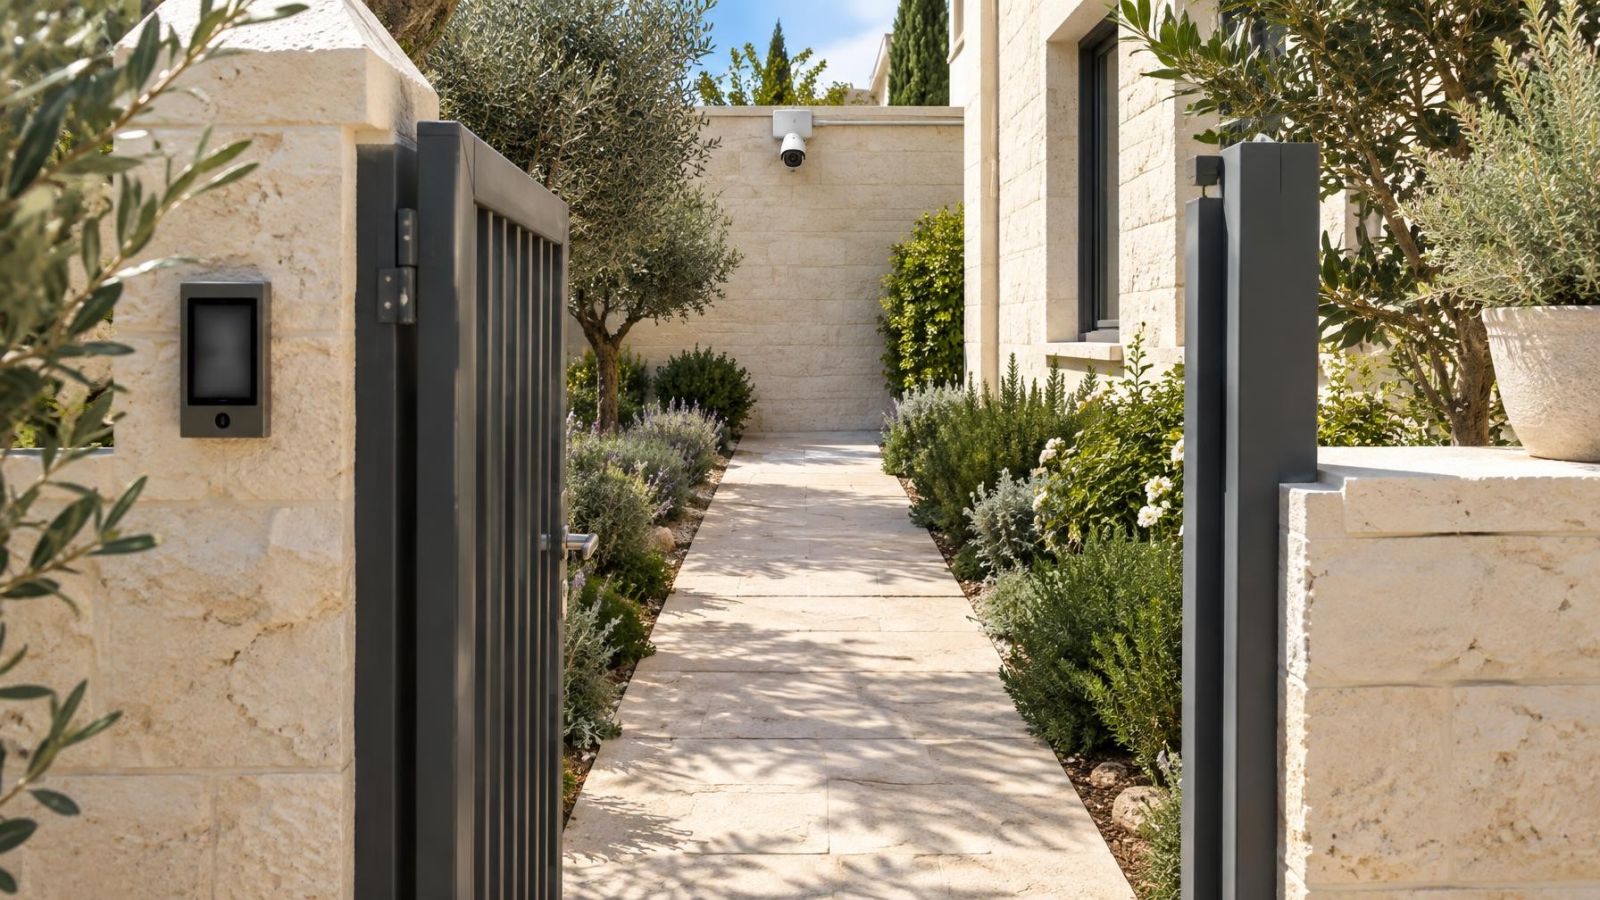
At a private-home gate, the strongest position often looks along the path between the street and the house. Consider both sides of the gate: a person may pause outside at an intercom and then turn while entering. A camera mounted very high on the house may give useful garden context but show only a small, steep view of the gate. Separate views are often more practical.
Street-front business entrances
A street-front business may have strong backlighting from the pavement, changing displays near the door and people approaching from both sides. Place the detail view where at least one natural route brings faces towards it. Keep an overview camera for the wider frontage if the entrance view must remain narrow.
Whatever the property type, prefer a mounting point protected from casual impact, direct runoff and unnecessary exposure. Protection should not make servicing difficult. A camera that can only be reached by removing an awning panel, sign or fixed joinery is unlikely to receive simple lens cleaning or angle corrections when needed.
Test the View Before Fixing It
Temporary testing is the most reliable way to confirm camera angle and height. Floor plans describe walls and distances, but they rarely show sun glare, moving foliage, open doors, parked vehicles or the exact way people turn at an entrance.
- Hold or temporarily secure the camera at the planned mounting height, using a stable support that cannot fall.
- Set the intended lens view and approximate tilt rather than testing with an unusually wide temporary frame.
- Walk the real routes towards and away from the entrance, including any point where a person pauses or turns.
- Review recorded images in daylight and evening conditions, including the transition to night vision where relevant.
- Check facial detail at the useful moment, the blind area below the mount and the visibility of the wider approach.
- Confirm access for cleaning, adjustment, cable inspection and eventual replacement before drilling the final holes.
Do not judge the position only while standing beneath the camera and looking at a live image. Record a short test and review it through the same NVR (network video recorder), DVR or VMS (video management software) that will be used normally. Playback reveals whether the subject remains large enough in the image and whether motion through the passage zone is recorded with the expected framing.
The final adjustment is usually small but important. A slight change in height may reduce the forehead-heavy angle. A small sideways move may remove a bright background. Less downward tilt may expose more of the approach and reduce the foreground blind spot. Once the view is correct, secure the mount, protect the cable entry and preserve enough access for future maintenance.
Key takeaways
- Camera height should be chosen according to the detail needed at the actual passage point.
- A camera aimed along an approach path records more useful facial detail than one looking steeply down at passing people.
- Overview and facial-detail views often work better from separate mounting positions.
- Glare, foliage, awnings and parked vehicles must be checked in the real setting rather than only on a floor plan.
- Temporary testing exposes blind spots and maintenance problems before a mounting position becomes permanent.