On this page
What Is Security Camera Depth of Field?
A security camera may use a fixed lens or a varifocal lens, but either type has to balance aperture, foreground detail and night illumination. Security camera depth of field is the part of that scene, from near to far, that appears acceptably sharp. The practical question is not whether everything can look equally crisp. It is which distances must contain useful recorded detail, and where the focus should be placed to achieve that.
Focus plane and acceptable sharpness
A lens focuses most precisely at one distance. That is the focus plane. Objects slightly in front of or behind it may still look sharp enough for their intended purpose. Together, those usable distances form the depth of field. Sharpness does not stop abruptly at either edge. It declines gradually, so the boundary is a practical judgement rather than a visible line.
This distinction matters when evaluating a camera image. A gate can be in precise focus while a path leading towards it remains acceptably clear. A wall close to the camera may look soft, yet be irrelevant. Conversely, a scene can look generally pleasing on a monitor while the specific doorway or counter that matters is outside the useful sharpness zone.
The same optical principle is sometimes described using the older phrase CCTV depth of field. It should not be confused with field of view. Field of view is the width and height of the scene included in the image. Depth of field concerns near-to-far sharpness within that image. A wide view can have a shallow or deep sharpness zone, and a narrow view can do the same.
What Changes the Sharpness Zone
What Determines a Security Camera Focus Range?
Focus distance, aperture and focal length are the main working variables. They interact, so changing one may require the others to be checked again. Lens design, image processing and camera settings can affect how sharpness appears, but they do not remove the underlying optical limits.
| Variable | Typical effect | Installation implication |
|---|---|---|
| Focus distance | Moves the point of most precise focus nearer or farther | Place precise focus at the scene's operational priority, not automatically at its centre |
| Aperture | A wider aperture generally makes the acceptable sharpness zone shallower | Low-light settings can change which distances remain clear |
| Focal length | A longer focal length generally reduces depth of field under comparable framing and subject conditions | Recheck near and far detail after changing optical zoom |
| Lens and camera settings | Can alter focus behaviour and the appearance of detail | Assess the recorded image rather than relying only on a setup preview |
Focus distance also changes the balance between foreground and background. Focusing on a very close object may leave a distant entrance too soft. Focusing at the far end of a garden may sacrifice detail close to the gate. The best setting is therefore tied to subject placement, not merely to the physical limits of the property.
Aperture controls how much light passes through the lens. A wider opening admits more light, which can be useful after dark, but generally reduces the depth of field. A narrower opening tends to increase the range that appears acceptably sharp, provided the camera still has enough light to form a useful image.
Optical zoom changes focal length and framing together. Zooming towards a gate or doorway makes it larger in the image, but can also narrow the useful depth range. On a varifocal lens, focus should always be completed after the final framing is chosen. Even where the lens is designed to maintain focus reasonably well through adjustment, the important distances still need direct verification.
Reading Near and Far Detail
How Does Camera Focus Change from Near to Far?
Camera focus changes gradually from near to far: detail improves as objects approach the focus plane, is strongest around that plane, and then declines beyond it. The useful zone may extend to both sides, but not necessarily by equal amounts. This is why focusing halfway between two important objects does not automatically make both equally clear.
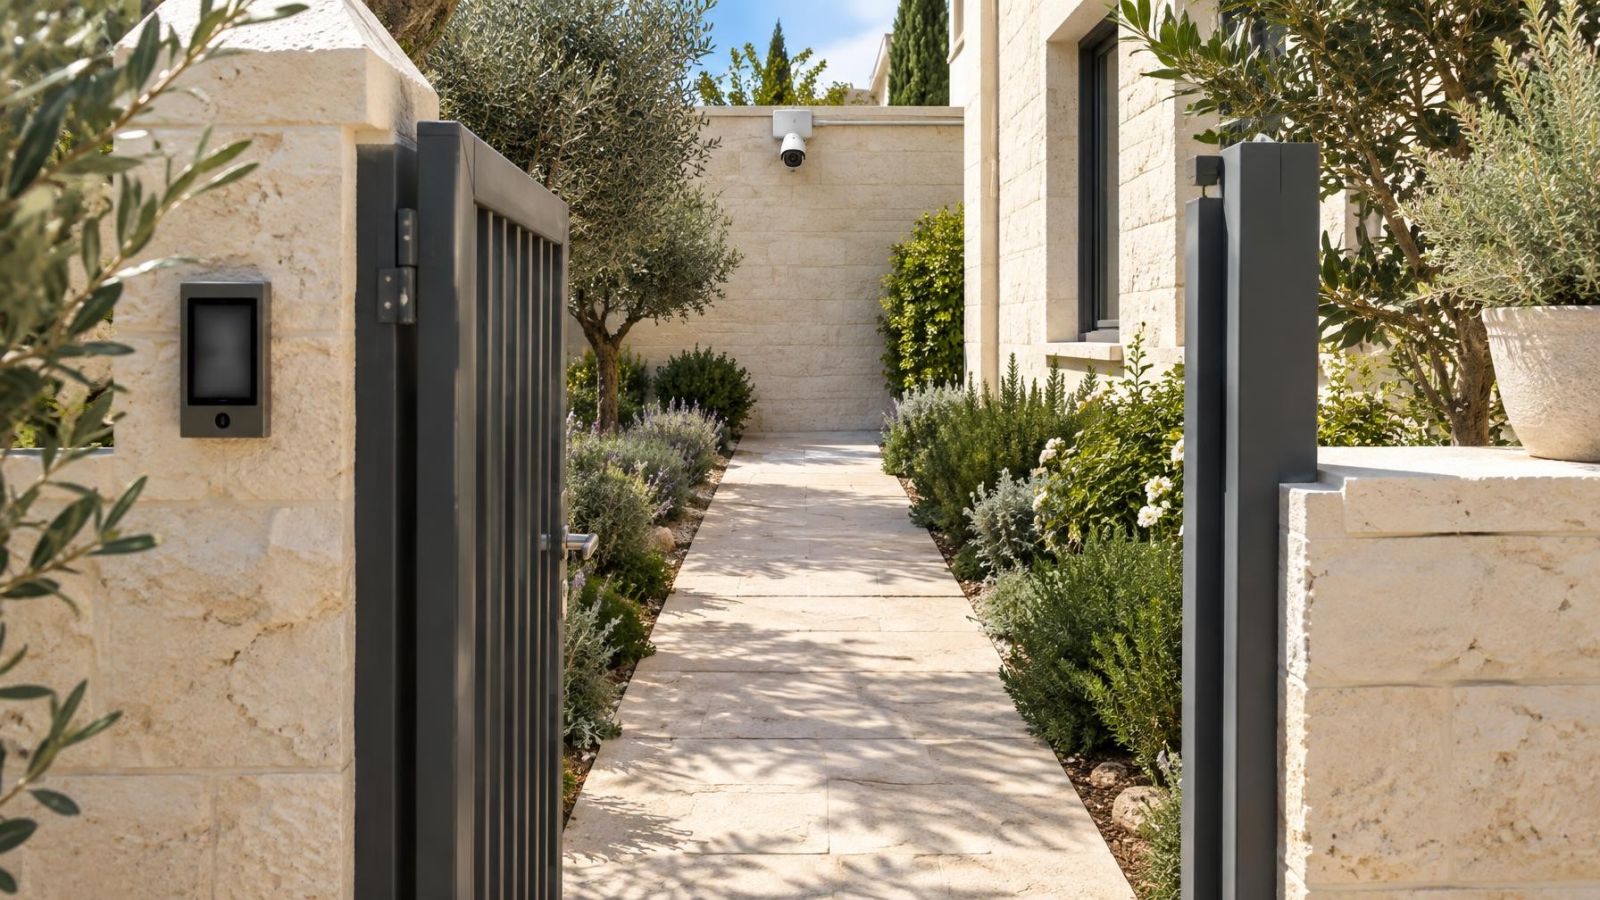
Consider a private-home entrance with a gate, a path and a doorway. The gate may be closest to the camera, the path occupies the middle distance, and the doorway sits farther back. If the purpose is to record people at the gate, that distance deserves priority. If the gate is only a boundary and the doorway is the meaningful activity point, focus should move deeper into the scene.
Foreground objects often receive more visual attention than they deserve. A wall edge, hedge, column or parked vehicle may fill a large part of the image while contributing little useful information. Focusing on that object can make the overall picture appear crisp during setup while leaving the operational area soft.
Street-front businesses create a different problem. The pavement and entrance may be bright, while the shop interior continues through several layers of depth. Trying to make the street, threshold, counter and rear wall equally sharp can weaken the result at the most important point. It is usually better to identify the transaction area, entrance line or another operational zone and judge focus there.
Gardens also contain layered distances: a nearby branch, a path, a gate and a building beyond. Leaves close to the lens can mask distant detail even when focus is technically correct. Their movement may also trigger motion detection repeatedly. Camera position and vegetation management can therefore matter as much as the focus adjustment itself.
Why Does Focus Change After Dark?
A camera scene that looks well focused in strong daylight may perform differently after dark. The camera may open the aperture, change exposure behaviour and rely on IR or other night illumination. The lens, sensor and illumination are then working under different conditions from the daytime setup.
The wider aperture commonly used in low light can reduce depth of field. Near and far points that looked acceptable during the day may become softer. Some lens and camera combinations also show a small focus shift between visible light and infrared illumination. Autofocus may respond differently when contrast is low, while a manually focused camera simply remains at its set position even if the apparent focus changes.
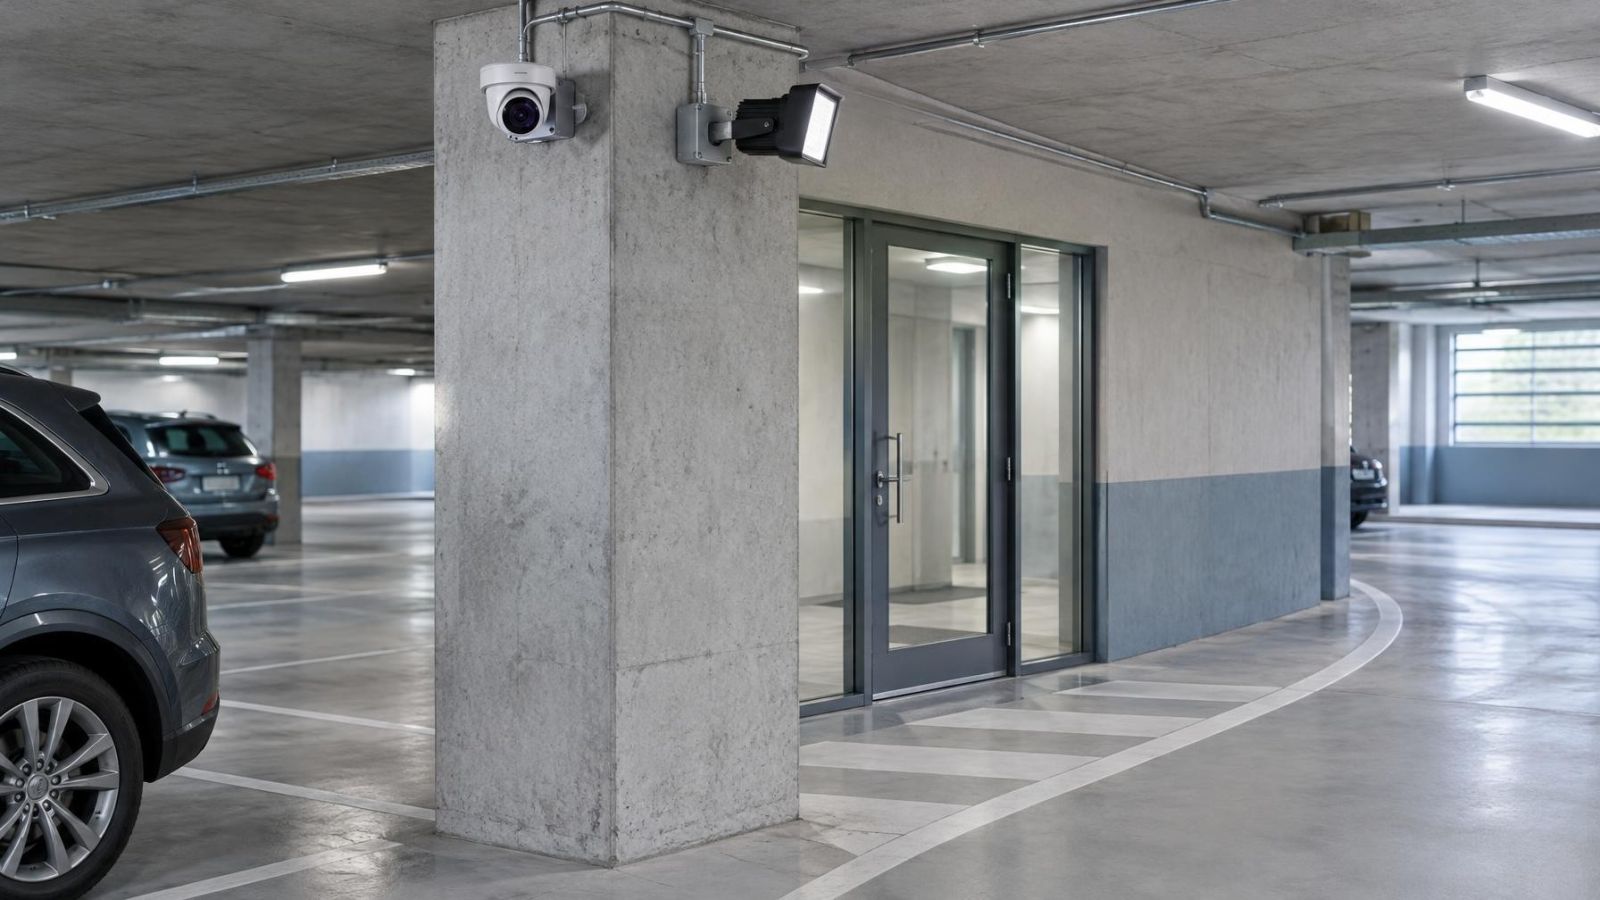
Night illumination is rarely distributed evenly across a real property. A close wall, pale paving stone, soffit or plant can reflect a large amount of light back towards the camera. The bright foreground may then dominate exposure, leaving a distant gate or doorway with less useful detail. This is an illumination and composition problem as much as a focus problem.
Glass adds another layer. A camera viewing through a window can pick up reflections from indoor lighting or from its own IR illuminator. Dust and marks on glass or a housing window scatter light and reduce contrast. The resulting softness can resemble poor focus, but turning the focus ring does not correct a dirty or reflective optical path.
WDR (wide dynamic range) can help the camera represent bright and dark regions in one scene, especially around entrances. It does not increase depth of field or correct an incorrectly focused lens. Exposure control, illumination placement and optical focus need to be assessed separately.
A sharp daytime preview is not proof of a sharp night recording; the camera must be checked under both lighting conditions.
Choosing and Setting Focus
A fixed lens gives a predetermined field of view. Installation is simpler because there is no optical zoom to set, but camera position becomes critical. If the framing is wrong, the usual correction is to reposition the camera or choose a different lens configuration rather than trying to recover the scene through focus.
A varifocal lens allows the installer to adjust framing optically. It is useful when a gate, doorway or work area needs to occupy a specific part of the image. The trade-off is that zoom and focus interact. Final focus should be set only after the required view has been established.
| Lens or focus type | Main advantage | Point to verify |
|---|---|---|
| Fixed lens | Consistent framing with fewer adjustments | Camera position must produce the required view and subject size |
| Varifocal lens | Optical framing can be adapted to the scene | Focus must be checked after every meaningful zoom change |
| Manual focus | The selected focus position remains stable | Day and night performance must both be tested before completion |
| Autofocus | Can assist during setup or respond to supported adjustments | The camera may choose a high-contrast object rather than the operational priority |
Autofocus is useful, but it does not understand why the camera is installed. It may lock onto a high-contrast wall edge, sign, railing or branch. The image can look technically focused while the required doorway remains outside the best zone. Manual refinement may be needed after autofocus has completed.
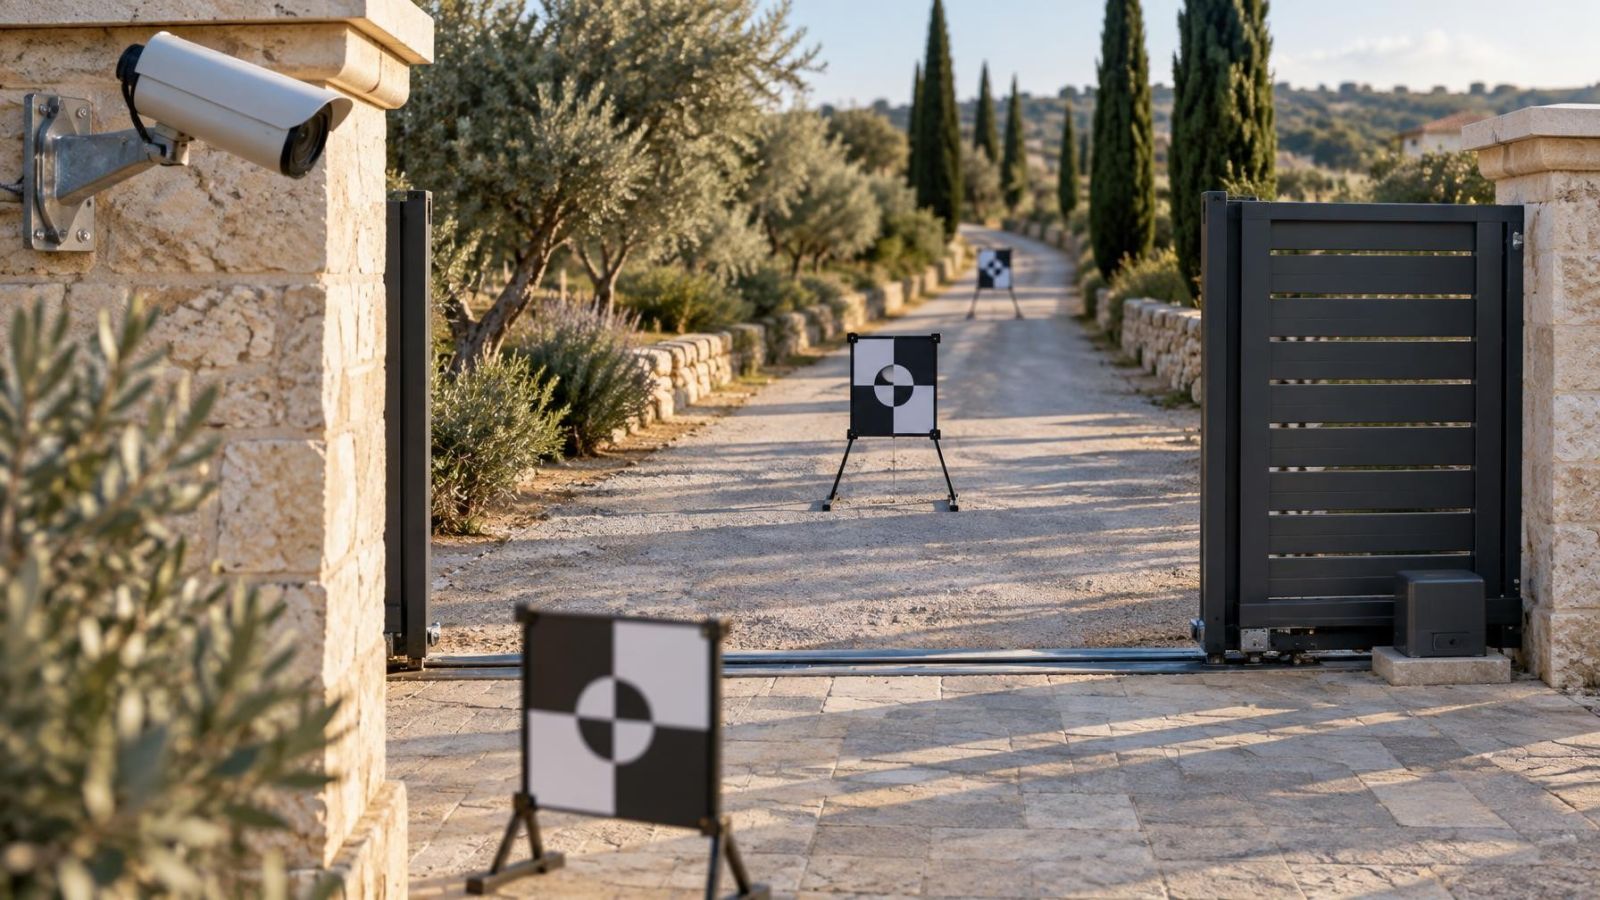
For manual focus, use a real subject or a temporary test target at the priority distance. Do not focus on an object beside the camera simply because it is easy to reach. Check the recorded or full-quality viewing stream where possible; a small preview can hide softness, and digital enlargement cannot restore optical detail that was never focused clearly.
- Choose the final camera position and remove avoidable foreground obstructions.
- Set the required optical zoom and framing before adjusting focus.
- Identify the distance where useful recorded detail matters most.
- Focus on a subject or test target at that distance.
- Check representative near, middle and far points without moving the zoom.
- Repeat the assessment under the expected night illumination.
Verify the Complete Camera Scene
Final verification should cover the complete scene rather than a single convenient object. Choose near, middle and far test points that correspond to real uses: a gate line, a path crossing and a doorway, for example. Review each point at normal viewing size and under enlargement, while remembering that enlargement only reveals the detail already present.
Israeli sunlight can create a hard divide between bright exterior areas and deep shade under balconies, canopies and building entrances. Check the scene when that contrast is present. A shaded doorway may need to remain the focus priority even when a sunlit wall appears much sharper and more prominent.
The night check should use the camera's normal operating conditions. Look for a bright nearby surface, IR reflection, glare from glass and weak contrast at the far point. If the foreground dominates the image, consider changing the camera angle, moving the illuminator, removing the reflective obstruction or revising which area the camera covers.
Dust is a routine environmental factor, and coastal humidity can make contamination on glass or a housing window more noticeable. Clean the lens area, housing window and any glass in front of the camera before changing focus. Otherwise, an installer may compensate for apparent softness that is not caused by focus at all.
- Confirm that the lens and protective window are clean.
- Check the priority point in strong daylight, shade and normal night operation.
- Compare near, middle and far subjects without changing framing.
- Look for foreground objects that block the view or reflect night illumination.
- Confirm that optical zoom has not been changed since the final focus adjustment.
- Record which part of the scene is intentionally sharpest for future maintenance.
The final decision is not simply whether the image looks sharp. It is whether the essential zone is sharp enough for the camera's purpose, with acceptable context around it. Once that zone is defined, lens choice, camera position, zoom, illumination and focus can all be judged against the same practical requirement.
Key takeaways
- Depth of field is a zone of acceptable sharpness in front of and behind the exact focus plane.
- Camera focus should prioritise the part of the scene where recorded detail has the greatest operational value.
- Aperture, focal length and focus distance work together to determine the useful sharpness zone.
- A camera scene needs separate focus checks in daylight and darkness because low-light operation changes the optical conditions.
- Field of view describes how much of the scene is visible, while depth of field describes how much of its depth appears sharp.