On this page
What Black-and-White Mode Means
A security camera stuck in black-and-white mode may still be producing a clear and usable picture. The issue is usually somewhere in the chain formed by the infrared illumination, infrared cut filter, light sensor, camera app and power supply. The first question is whether the camera is correctly responding to darkness or failing to return to daytime colour.
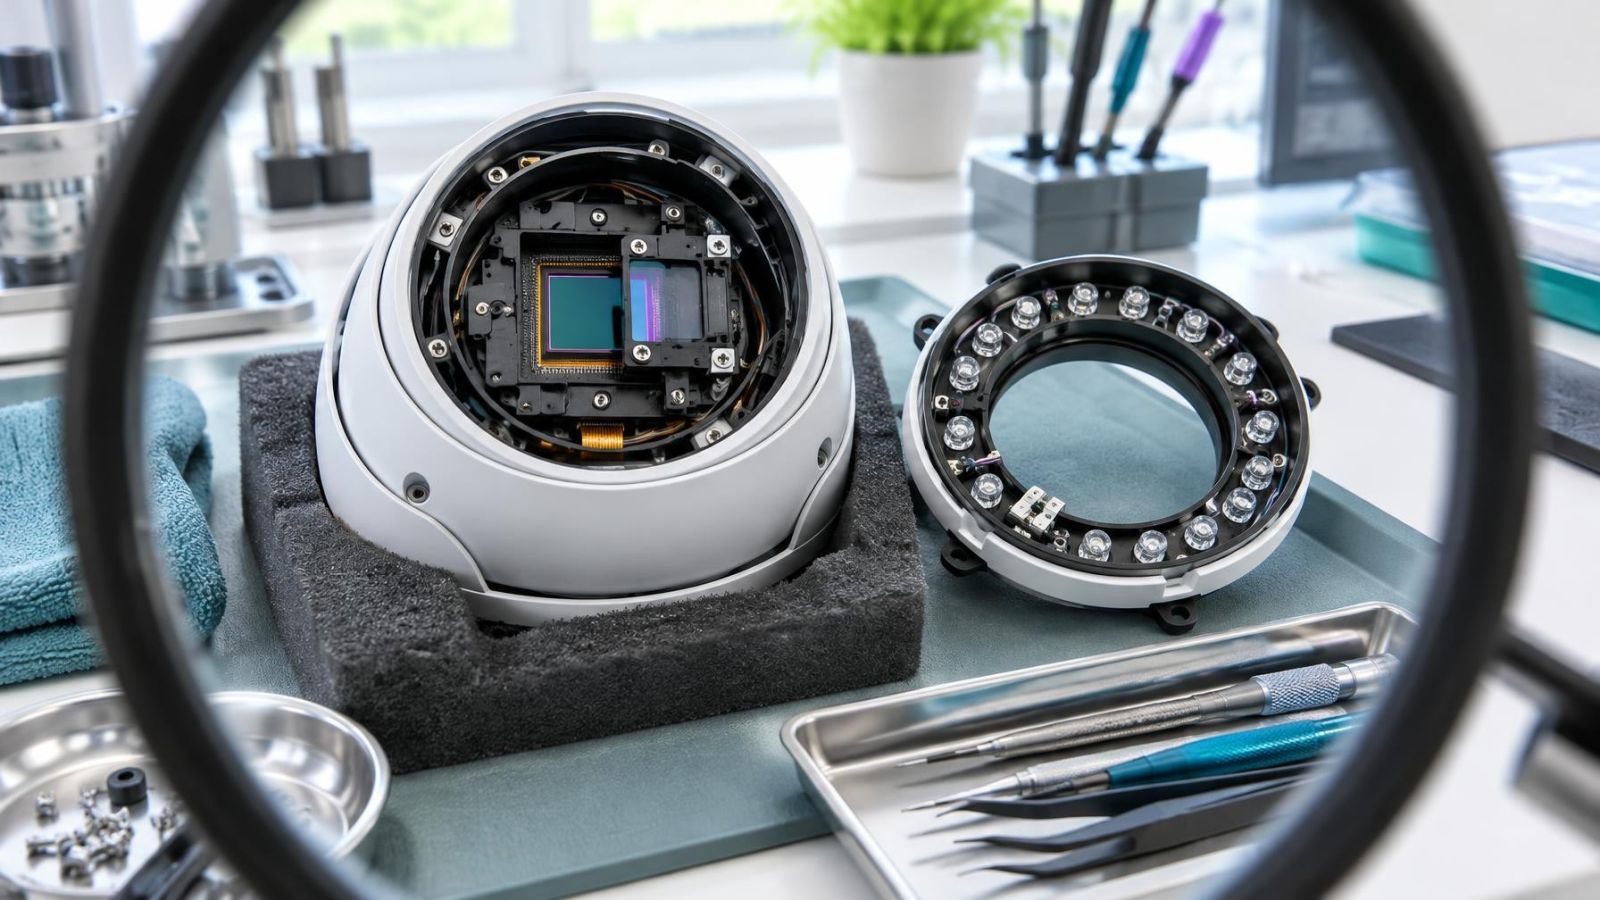
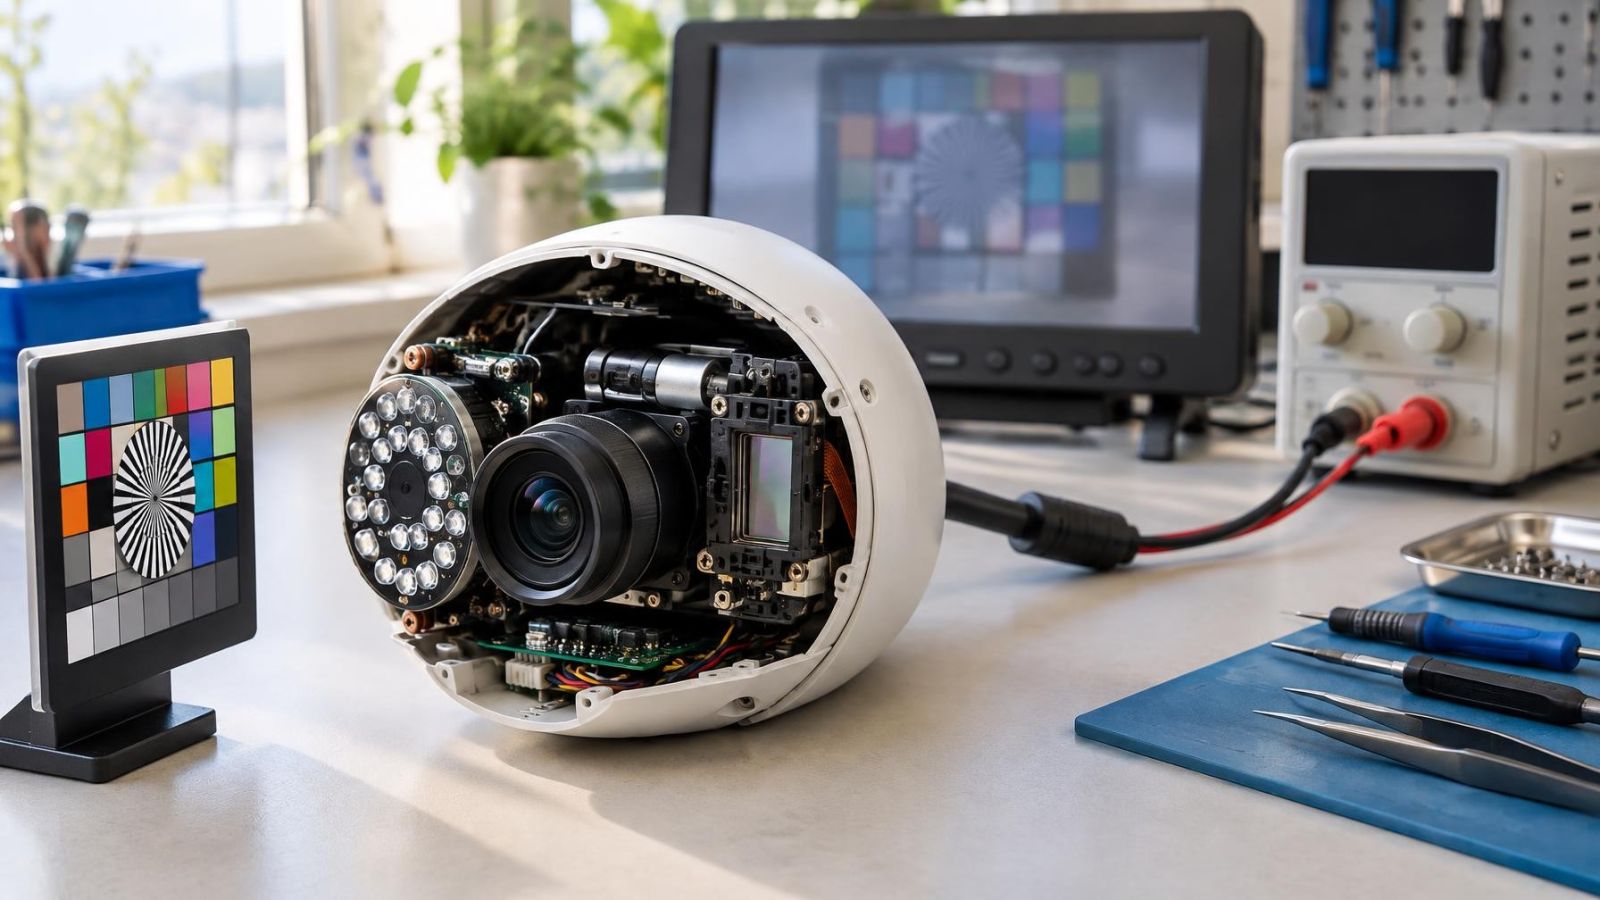
A day-night security camera is designed to change how it forms an image as the available light falls. In day mode, an infrared cut filter sits in the optical path and limits infrared light so that colours look natural. In night mode, the filter moves away. The camera can then use infrared illumination, whether from its own LEDs or a separate illuminator.
Infrared night vision is normally monochrome. Removing colour information helps the camera use the available infrared light more effectively. A black-and-white image after dark is therefore expected behaviour, not evidence that recording has failed.
The distinction is important. Colour loss is not the same as image failure. A camera can record a stable monochrome image with useful detail. A fault is more likely when it remains monochrome under clear daylight, switches repeatedly, restarts, loses illumination or produces no visible change when day-night settings are adjusted.
Why Is a Camera Stuck in Black-and-White Mode?
The most common explanation is simple: the camera believes the scene is still too dark. What matters is the visible light reaching the camera's sensing system, not the general brightness of the property. A bright Israeli morning in the garden does not help a camera mounted beneath a deep balcony, inside a shaded entrance or behind tinted shopfront glass.
- Insufficient visible light: the location remains below the camera's switching threshold even though brighter areas are visible in the frame.
- Day-night sensitivity: a conservative threshold or long switching delay keeps the camera in night mode until the light becomes stronger or remains stable.
- Obstructed light sensor: dust, paint, a mounting edge, protective film or part of the housing shades the sensor.
- Stuck infrared cut filter: the filter mechanism does not return to its daytime position.
- Unstable power: voltage loss, a poor connector or an overloaded power source disrupts filter movement, infrared illumination or camera operation.
A forced setting is another frequent cause. If the camera or recorder has been set to permanent night mode, the picture will remain monochrome regardless of daylight. Configuration can also be split between several places. The camera app may show one value while an NVR (network video recorder) or VMS (video management software) applies another.
Why Does a Security Camera Show No Colour?
If the image is sharp but monochrome, begin with day-night operation rather than colour controls. Saturation and similar picture adjustments cannot restore normal colour while the camera is physically in infrared mode. Confirm that the camera has entered day mode before changing image parameters.
Check Lighting and Reflections First
Test the camera in clear, even daylight. Do not judge it only from a scene containing a bright road, sunlit courtyard or white wall. Strong backlight can make the overall frame look bright while the camera body and the subject area remain in deep shade. If practical, direct diffuse visible light towards the camera's field of view and observe whether it changes mode.
Next, clean the lens cover and the area around the light sensor with a suitable soft cloth. Israeli dust can build up quickly on exposed housings. Near the coast, dust and moisture deposits may form a film rather than an obvious layer. Dirt around the infrared LEDs can also scatter their light back into the lens.
At night, inspect the camera through live view while temporarily removing nearby reflective objects where this can be done safely. A pale wall, soffit, metal gate, foliage or housing lip can return infrared light directly to the camera. The result may be a bright haze, a white arc or an overexposed foreground with a dark background.
Glass needs separate attention. A camera looking through a window or shopfront may see its own infrared illumination reflected from the glass. Indoor lights and strong exterior glare can add further reflections. Moving the camera closer to the glass rarely solves every angle; switching off its built-in IR and providing suitable illumination on the far side is often the cleaner arrangement.
Review Day-Night Settings
Open the camera's image or day-night menu and document the current values before changing anything. A screenshot is useful, especially for a remotely managed property. Look for automatic, day, night, scheduled or external-trigger modes. Automatic mode is normally the correct starting point. A forced night setting directly explains a monochrome daytime picture.
Sensitivity controls determine how readily the camera switches. Delay or hysteresis settings make it wait before changing mode, which reduces unnecessary switching when clouds, headlights or entrance lighting alter the scene briefly. An extreme setting can make the camera appear slow or unwilling to return to colour.
Check the infrared illumination control as well. It may be automatic, disabled or forced on. The illuminator and day-night filter are related, but they are not always controlled by the same menu item. Turning off IR does not necessarily force day mode, and forcing the illuminator on does not prove the filter has moved.
Can the Camera App and Recorder Conflict?
Yes. Settings may be stored in the camera, NVR, DVR or VMS, depending on the installation. A recorder can reapply a profile after the user changes a value in the camera app. Make one controlled change at a time, save it, leave the menu, and then confirm that the value remains in place.
After recording the original configuration, perform a normal restart from the interface if that function is available. A restart can clear a temporary control problem, but it should not become the routine fix for repeated day-night failures. If the same symptom returns, preserve the settings and investigate lighting, filter movement and power.
Does Clicking Indicate a Fault?
A single click around the transition between day and night is usually the infrared cut filter moving. The picture may briefly change exposure or colour at the same time. That mechanical sound alone does not indicate damage.
Why Is the Camera Clicking at Night?
Repeated clicking often means the camera is hovering around its switching threshold. It enters night mode, activates infrared illumination and then senses enough returned light to move towards day mode. Once IR turns off, the scene becomes dark again and the cycle repeats. Nearby lighting that switches or fluctuates can create a similar pattern.
Observe whether each click corresponds with a change in the image. Regular movement between colour and monochrome points towards threshold chatter. Adjusting switching sensitivity or delay may stabilise it, but first check for infrared reflection and intermittent visible lighting. A setting should not be used to hide an obvious installation problem.
Clicking without any image change deserves closer attention. The filter may be trying to move but remaining stuck. Repeated clicks accompanied by black frames, loss of IR, interface disconnections or a startup sequence can instead point towards unstable power.
One click at a light transition is normal; repeated clicking is useful diagnostic information.
Separate Camera and Power Problems
Start by comparing live view with recorded video. If recordings show the same persistent monochrome image, the behaviour is happening at the camera or in its configuration. If live view and playback differ, check whether the app is displaying another stream, applying its own image mode or showing an old segment.
Inspect accessible connectors and cable runs without dismantling sealed equipment. Look for a loose power plug, damaged Ethernet latch, sharply bent cable, corrosion, water staining or a connection exposed to movement. With PoE (power over Ethernet), both data and power use the same cable, so a marginal termination can produce several symptoms at once.
How Should Stable Power Be Tested?
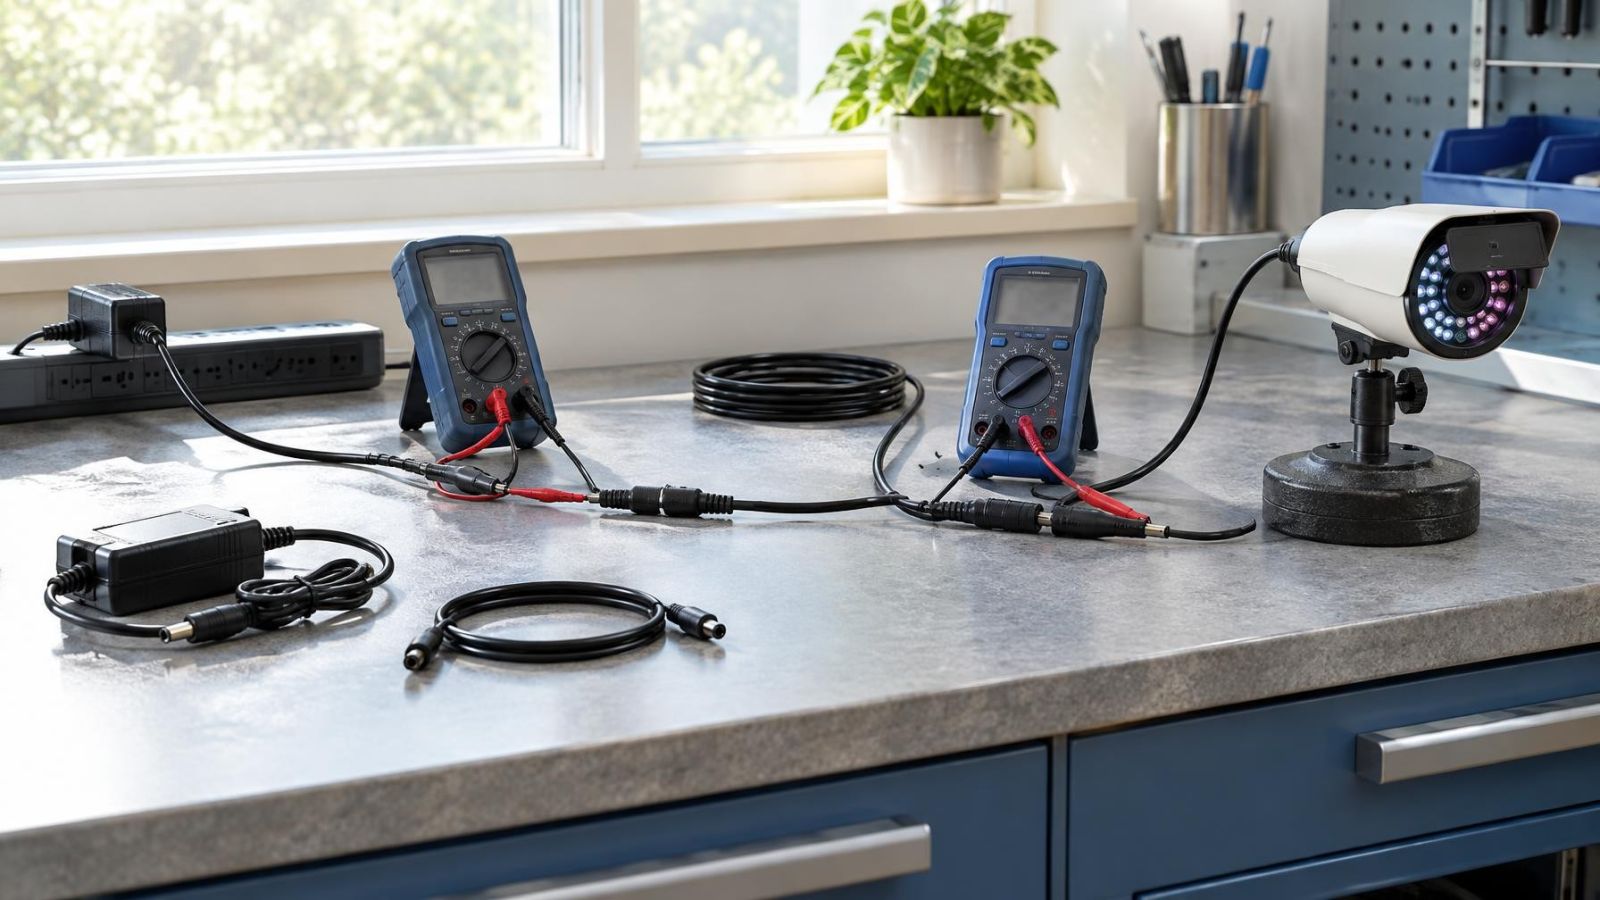
The useful test is comparison with a known-stable, correctly specified power source and a short, known-good cable. For PoE equipment, that may mean a suitable test injector or switch port. For separately powered cameras, it means a compatible test supply. Guessing from an indicator light is not enough; a camera may start normally and become unstable when its infrared illuminator draws power.
Heat can expose a marginal connection or power component. Dust can block ventilation, while coastal humidity can affect poorly protected connectors. Note whether the symptom changes after the equipment has been operating for some time or appears mainly when IR activates. These observations help separate an optical switching issue from a power-related restart.
Decide Whether Service Is Needed
Before requesting service, collect a short, precise record of the behaviour. Save one daylight example and one after-dark example. Note whether the image changes colour, whether IR activates, how often the camera clicks, and whether the timestamp or connection indicates a restart. For a remote property, these details are more useful than a general report that the camera looks wrong.
- Record the light conditions at the camera, not only the brightness elsewhere in the scene.
- List each setting changed and preserve the original values.
- Note whether clicking matches a visible switch between day and night modes.
- Check whether other cameras on the same power source restart or change mode at the same time.
- State whether cleaning, removing reflections or testing stable power changed the symptom.
Service is appropriate when the camera remains monochrome in clear daylight while automatic day-night operation is correctly configured, or when it clicks without moving the filter. It is also sensible when restarts, connector damage or suspected power instability cannot be tested safely with known-good equipment.
The eventual remedy depends on what the testing shows. A shaded entrance may need better visible lighting or a revised camera position. Infrared reflection may require moving the camera, changing the illumination arrangement or clearing a nearby surface from its field. A failed filter mechanism may justify repair or camera replacement. A power fault may be outside the camera altogether.
The aim is not to force a colour image under every condition. It is to confirm that the camera changes mode predictably, records a useful picture in the available light and does not rely on repeated restarts or unstable switching.
Key takeaways
- A monochrome image is normal when a day-night camera is using infrared illumination.
- Lighting, reflections and day-night settings should be checked before the camera hardware is blamed.
- Repeated clicking often means the camera is moving back and forth across its day-night switching threshold.
- A persistent infrared cut filter or power fault requires controlled testing with known-stable equipment.