On this page
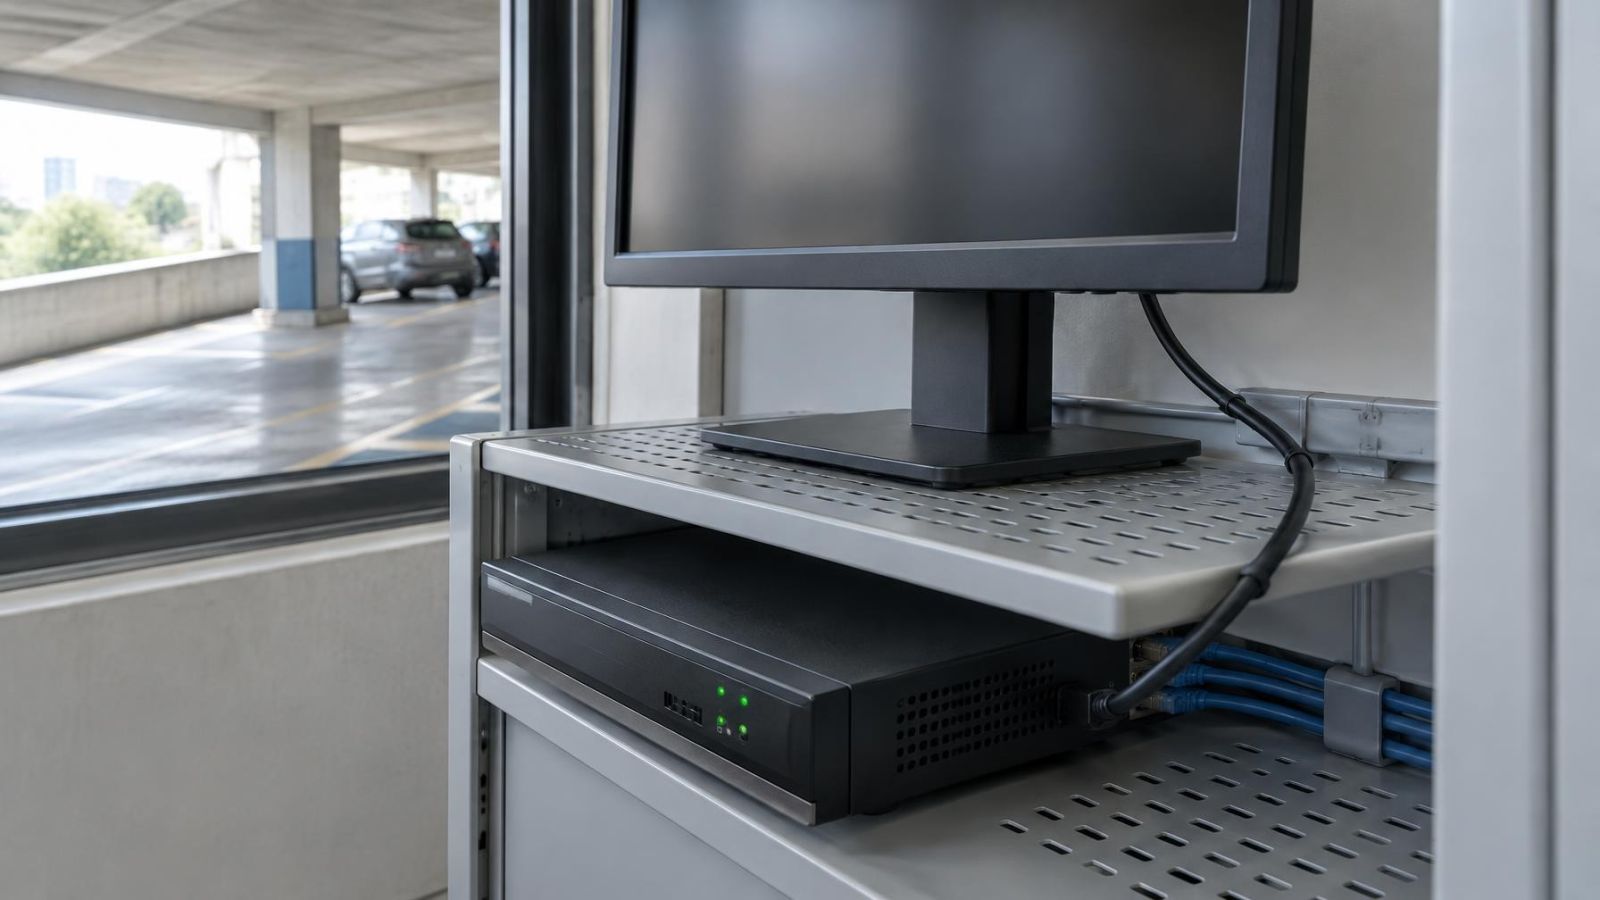
The CCTV recorder is running, the local monitor has gone blank, and recorded footage still appears through remote viewing. Between the recorder and screen is a display cable that may look perfectly secure. Technicians sometimes label this symptom “CCTV recording no display”, but the important question is more precise: is the recorder failing, or has only the path from the recorder to the monitor stopped working? The checks below separate those two possibilities without disturbing a working recording configuration.
CCTV recording no display: confirm recording is continuing
Do not rely only on a recording symbol or flashing drive indicator. The useful test is playback from the recorder archive. Choose a recent period, open footage from more than one security camera, and confirm that the timestamps move forward normally. Check cameras covering different areas rather than assuming that one working channel represents the whole system.
Remote viewing is valuable supporting evidence. If a remote application or browser shows live video, the recorder, network connection and at least some camera paths are operating. Live remote video alone does not prove that footage is being stored, however. Use remote playback if it is available, or check the archive once a temporary local screen has been connected.
Recording status and live view are separate functions. A recorder can accept camera streams, save them to storage and serve them remotely while producing no usable picture on its local video output. This distinction is especially useful for a remotely managed home or a small business where the recorder sits in a locked cabinet and the owner normally checks it from elsewhere.
- Confirm that recent recorded footage opens rather than merely appearing on a timeline.
- Check that the footage has current timestamps and covers the expected cameras.
- Compare remote live view with remote playback where both are available.
- Record which channels work, which are missing and whether the local screen shows recorder menus.
Read what the monitor is showing
The exact appearance of the screen determines the first check. A no-signal message is normally generated by the monitor. It means the selected monitor input is not receiving a display signal it can use. That points towards the cable, an adapter, the recorder output, the selected input or an incompatible display mode.
A black image is different. If recorder menus, a mouse pointer, channel labels or status overlays remain visible, the monitor is receiving the recorder output. The fault is then more likely to involve a camera channel, camera power, network connection, live-view layout or decoding process. If the monitor's own menu appears but nothing from the recorder does, you have confirmed only that the screen itself has power.
Camera monitor no picture: one channel or the whole display?
One missing camera tile is not the same as a missing recorder display. When the recorder interface and other camera tiles remain visible, the local output path is working. Concentrate on the affected camera and its connection. When every tile, menu and recorder overlay disappears together, start with the monitor and video output path instead.
Also check whether the monitor is asleep rather than disconnected. A power light can indicate standby, active operation or an error state depending on the screen. Press the monitor's menu button. A visible on-screen menu confirms that the panel has power, but it does not confirm that the correct input is selected.
CCTV monitor no signal?
Begin at the monitor. Use its input control to select the physical socket connected to the recorder. Do not assume that the monitor will switch automatically. A power interruption, monitor restart or use of another device can leave it listening to a different input.
- Identify the cable leaving the recorder's video output and follow it to the monitor where practical.
- Confirm that the monitor is set to the corresponding input.
- Reseat the display cable at both ends, supporting the connector rather than pulling on the cable.
- Bypass adapters, wall plates, splitters, extenders and switches with a short direct cable if the equipment layout permits.
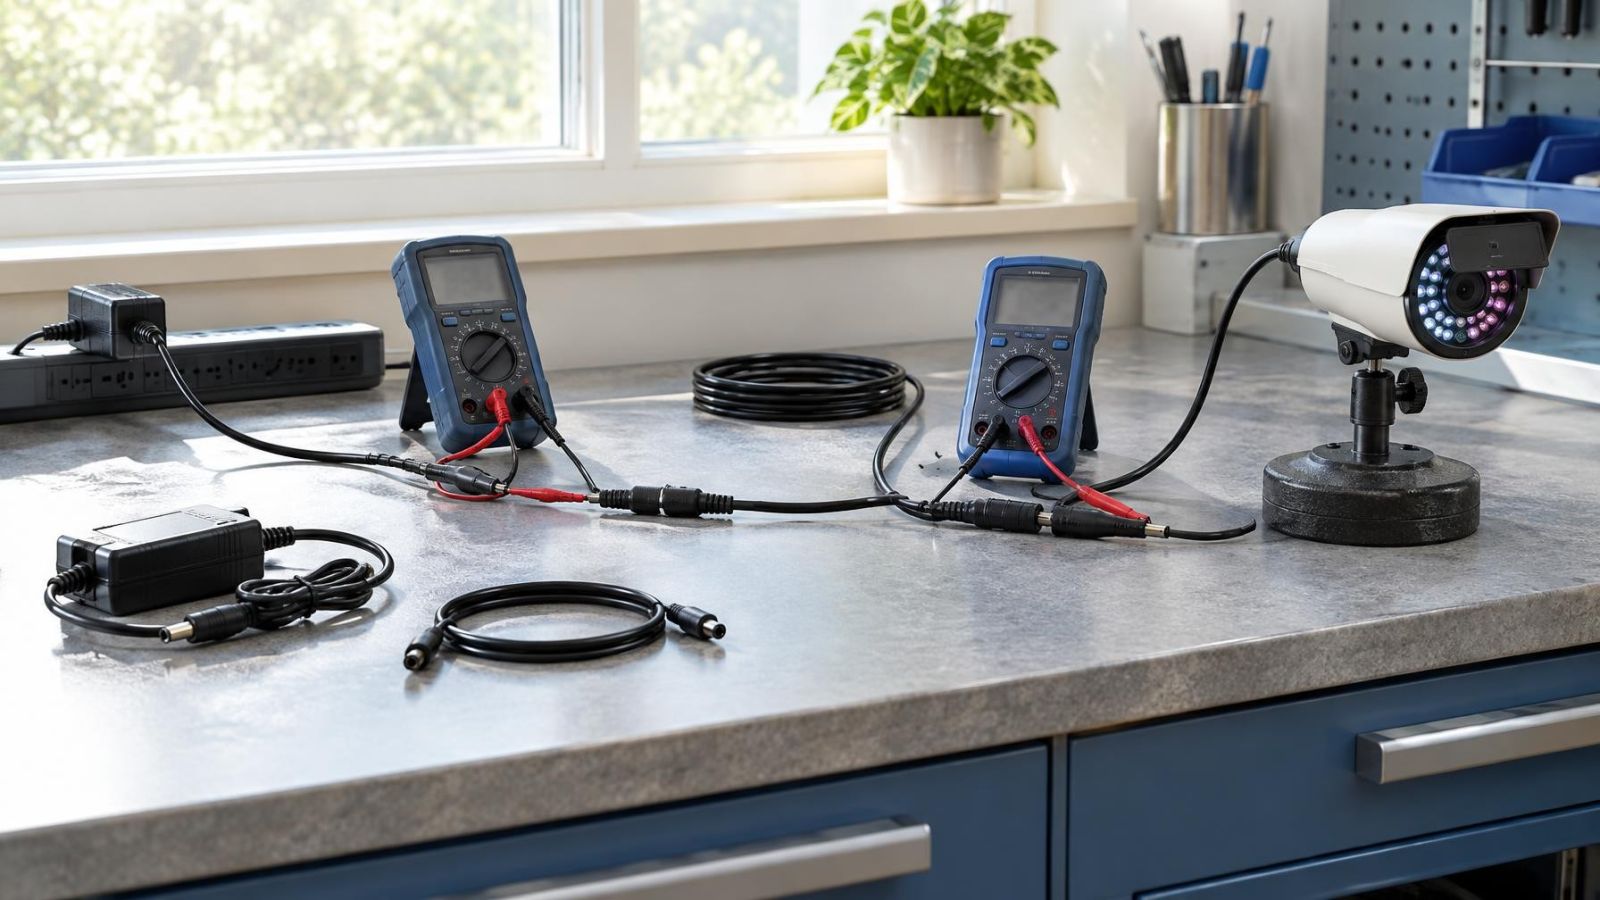
- Test with a known-working display cable, then with a known-working monitor or screen.
- If the recorder has another suitable video output, test it without changing camera or recording settings.
Change one item at a time. If the picture returns after the monitor, cable and adapter are all replaced together, you know the general area of the fault but not the failed component. A controlled test leaves you with a clear repair decision.
In apartment buildings, the recorder may be near a shared entrance cabinet while the local screen is inside an office or guard position. In private homes, the display cable may pass through concealed routes between floors. These longer paths often include connection points that are easy to overlook. A direct temporary test separates the recorder from the building cabling without requiring immediate changes to the installation.
Could the display settings be incompatible?
A functioning recorder can be invisible to a monitor when its local output is set to an unsupported display mode. The relevant settings belong to the recorder's video output, not to the recording resolution of the security cameras. Changing camera quality will not normally correct an incompatible monitor signal.
NVR display not working after a screen change?
An NVR (network video recorder) may retain the display mode chosen for a previous screen. A replacement monitor, older spare screen or display extender may not accept that mode. The recorder can still record and provide remote access because those functions do not depend on the local monitor accepting its output.
Test the recorder with a screen already known to support the current output. If remote administration is available, inspect the local display settings and choose a mode supported by the intended monitor. Make only the display change, apply it carefully, and allow time for the monitor to resynchronise. Keep remote access open until the local picture has returned.
Some systems briefly test a new display mode and then revert if it is not confirmed. Others retain the change. Read the prompts rather than clicking through them. If you cannot see the prompts locally, remote access or an alternate compatible screen is safer than guessing.
- Check the recorder's local output resolution and display mode.
- Confirm that the monitor and any extender accept the selected mode.
- Use an alternate compatible screen to recover visible menus.
- Avoid changing stream, recording, camera or network settings while diagnosing a local display problem.
Separate display faults from recorder faults
The aim is not to name a failed part immediately. It is to determine which side of the system still behaves normally. Remote live view, archive playback and visible recorder menus provide three different pieces of evidence.
| What still works | What is absent | Most likely area to test next |
|---|---|---|
| Remote live view and remote playback | All local menus and video | Monitor input, display cable, adapter, recorder output or display mode |
| Local recorder menus and some camera tiles | One camera image | Affected camera power, network path, channel configuration or camera connection |
| Local menus and archive playback | Current live view from several cameras | Camera connectivity or live-view processing rather than the monitor |
| Monitor menu only | Recorder menus and camera video | Selected input and the complete recorder-to-monitor signal path |
| Nothing locally or remotely | Live view, playback and recorder administration | Recorder power, startup state, network connection or a wider recorder fault |
Working remote access strongly supports a local display-path diagnosis, but it is not absolute proof that every recorder function is healthy. Test remote playback as well as live view. Conversely, failed remote access does not automatically mean the recorder has stopped recording; the internet connection, router or remote-access service may be the separate fault.
Treat the camera path, recording path, remote path and local display path as separate systems that happen to meet inside one recorder.
Restart without losing the configuration
Restarting can clear a temporary display handshake or a stalled interface, but it should follow the cable and input checks rather than replace them. Begin with the monitor. Switch it off fully, wait for it to power down, then start it again with the correct input selected. Watch for a no-signal message, a brief recorder startup screen or any change in the backlight.
If the recorder needs restarting, use its orderly restart command through the local interface or remote administration where possible. This allows active processes and storage operations to close normally. Observe the monitor during startup. A startup logo followed by a black screen is different evidence from no signal at every stage.
Do not choose factory reset. A factory reset is not a stronger restart. It can remove camera assignments, recording schedules, network details, remote-access settings, user accounts and display configuration without establishing whether the monitor or cable is faulty. It can also make a remotely managed property harder to reach.
If the monitor is blank and remote administration is also unavailable, avoid repeated forced power cycles. Confirm the recorder's power state, network connection and indicator behaviour, then arrange a controlled local check. Repeatedly disconnecting power can add a new storage or startup problem to the original display fault.
Decide what needs repair
Once the fault has been isolated, the repair should match the evidence. A known-working monitor on a short direct cable is the cleanest reference test. If that combination works, reconnect the original components one by one until the failure returns.
| Finding | Likely repair area | Useful confirmation |
|---|---|---|
| Original monitor fails but another screen works on the same cable | Monitor or its input | Test another input on the original monitor |
| Short cable works but installed cable does not | Display cable, wall connection or hidden joint | Bypass each adapter and extension point |
| Direct cable works until an extender is reconnected | Extender, adapter or its power supply | Test the extension equipment separately |
| No tested screen receives output from the recorder | Recorder video output or local display configuration | Check through remote access or an alternate output |
| Picture fails only after extended operation | Heat, dust, connector movement or an aging component | Inspect ventilation and test connections without moving unrelated equipment |
Environmental problems often appear intermittently. Israeli equipment cabinets can collect dust and become warm, especially when installed in a closed cupboard near networking and power equipment. Coastal humidity can also be hard on exposed connection points. Keep ventilation openings clear, avoid tightly coiling cables against hot equipment, and replace connectors or cables that work only when held in a particular position.
Give the installer evidence rather than only saying that the screen is broken. Note the exact message, whether the monitor menu appears, whether remote live view and playback work, which cables or screens were tested, and what appeared during recorder startup. For a remote property, clear photographs of the recorder outputs, monitor inputs and any adapters can save unnecessary changes. Do not include passwords in photographs or messages.
The safest diagnosis preserves what is already working. If recent archive footage is available, leave camera and recording settings alone while you test the local display path. The objective is a specific repair—a monitor, cable, adapter, output or configuration change—not a broad reset that creates additional uncertainty.
Key takeaways
- Recording and local display are separate recorder functions, so one can continue when the other fails.
- A no-signal message and a black image indicate different fault paths and should not be diagnosed in the same way.
- Working remote viewing usually narrows the problem to the local monitor, cable, video output or display configuration.
- The monitor input, cable, recorder output and display settings should be checked before any reset is attempted.
- A configuration backup protects camera, network, recording and user settings during further diagnosis.