On this page
A security camera connected to an NVR (network video recorder) may need to cover a narrow entrance, an apartment building hallway or the approach to a stairwell. In these spaces, a conventional wide image often records more wall than passage. Corridor view, sometimes called corridor mode, changes that geometry. The practical question is whether a portrait-shaped image will show more of the route people actually use, and how the camera must be positioned, rotated and tested to make that view useful.
What Does Corridor View Change?
What is security camera corridor mode?
Corridor mode is a combination of physical camera orientation and software image rotation. The camera is mounted with its sensor turned by a quarter-turn. Its image is then rotated in the camera settings so that doors, walls and people appear upright. The resulting frame is tall rather than wide.
That shape suits a scene whose important dimension is depth. Instead of spending much of the frame on close walls and ceiling, the camera can show more of the route from the entrance towards the far end. This vertical camera view is useful only when the passage itself has the same basic shape. It does not make the lens see around corners, through open doors or beyond other physical obstructions.
Software rotation by itself does not create additional scene detail. If a normally mounted camera merely rotates a landscape picture inside a portrait window, part of the original image may be cropped or displayed inefficiently. The sensor orientation, lens direction and rotation setting need to work together.
Corridor mode changes how the frame is used; camera placement determines what useful detail enters that frame.
Where Corridor View Works Best
The mode is most useful where the scene is clearly longer than it is wide and where activity approaches or recedes along a predictable line. Common Israeli settings include shared apartment entrances, internal hallways, stairwell approaches, shop entrances, stockroom passages, pedestrian gates and narrow paths beside private homes.
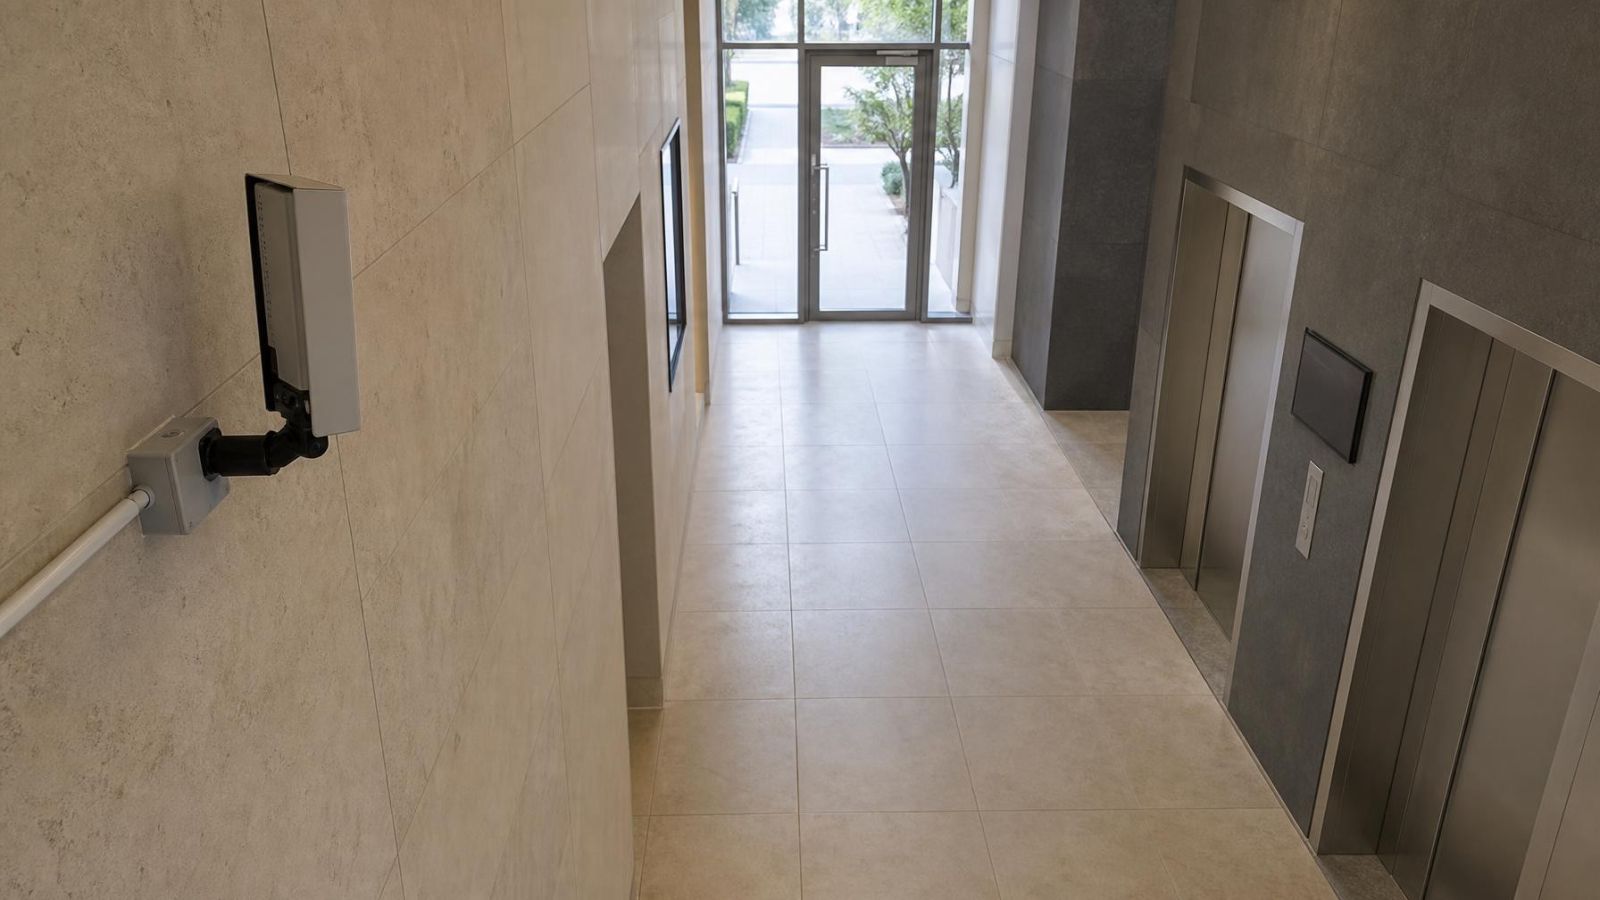
- Apartment building entrances: A portrait frame can follow the route from the exterior door towards the lobby or lift area without devoting most of the image to side walls.
- Long internal hallways: The camera can be aimed along the walking line, provided door leaves, cupboards and wall projections do not interrupt the view.
- Shop and stockroom passages: Corridor orientation can suit a narrow route between an entrance, counter, shelving or rear work area.
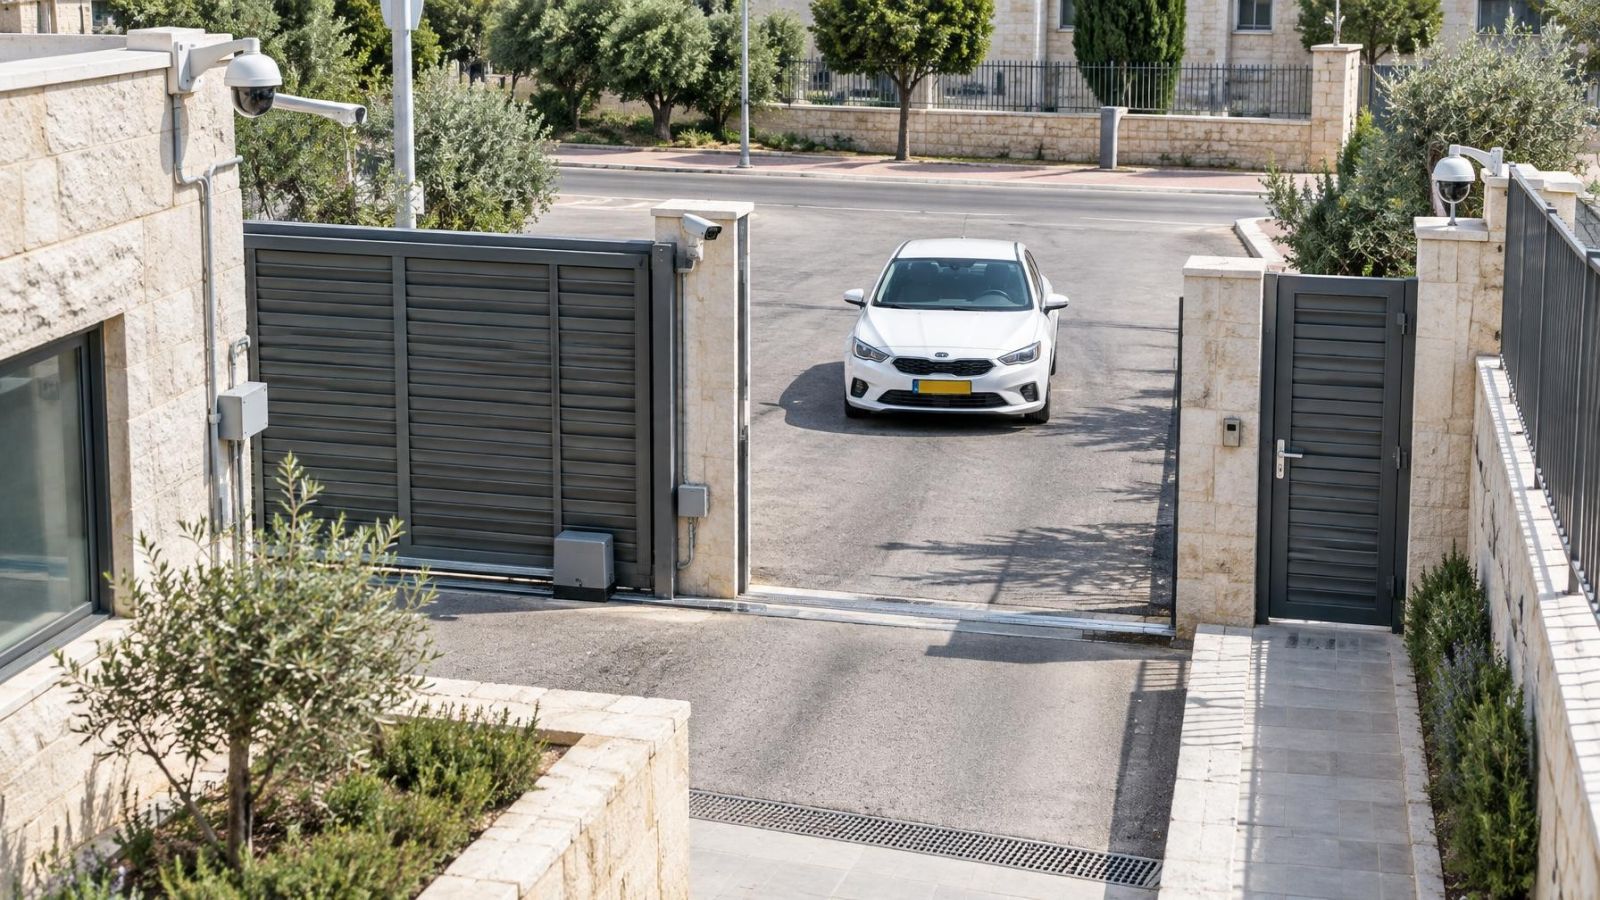
- Gates and garden paths: It can follow a confined path, but plants, moving gates, strong sunlight, dust and nearby walls need to be considered.
- Stairwell landings: The mode can cover the approach to a flight or landing. Separate directions may require separate views because a camera cannot see around the turn.
What makes a useful stairwell camera view?
A useful stairwell camera view concentrates on the landing and the direction from which people approach. Mounting directly over a flight can produce mostly the tops of heads. A position looking across the landing towards the approach usually gives better facial angles. Check railings, low beams and open doors in the frame. Bright windows on intermediate landings can also dominate exposure.
Choose the Camera and Lens
Begin by confirming that the security camera supports the required rotation and that the NVR, VMS (video management software) or viewing application handles it correctly. Some systems rotate the video in the camera. Others depend on display instructions interpreted by the recorder or client. A view that appears correct in one application may still be sideways in playback or export, so support must be checked end to end.
Which camera for a narrow hallway?
Choose a camera whose lens angle matches the passage width and required distance. An extremely wide-angle lens can appear attractive because it includes both walls, but those nearby surfaces may consume a large part of the image. People at the far end then occupy less of the frame. In a straight hallway, a more controlled field of view often provides a better balance between entrance coverage and distant detail.
- The housing and bracket should allow a proper quarter-turn without forcing the cable entry into an exposed or sharply bent position.
- The lens should cover the passage edges without filling the frame with close wall surfaces.
- The mounting design should allow small horizontal and vertical adjustments after the initial rotation.
- The camera body should fit the location without preventing access for cleaning, focusing or later alignment.
- Corridor-mode support should be confirmed for live view, recording, playback and exported footage, not only on the camera setup page.
Compact size is useful in a narrow entrance, but it should not take priority over positioning. A small camera fixed too tightly against a ceiling or corner may be difficult to aim away from a reflective wall. The bracket, cable route and adjustment range are part of the camera choice.
Where Should the Camera Go?
Start with the direction people normally approach, not with the most convenient cable route. A camera placed at the end of the passage can look along its full length, but the exact side and height determine whether it records faces, profiles or mainly the tops of heads. Corridor mode cannot correct an unhelpful viewing angle.
An offset position near the entrance is often better than the exact centre of a doorway. It can keep the opening in view while avoiding direct alignment with bright exterior sky. The camera should look past door frames, signs, lighting fittings and wall projections. In an apartment lobby, check the door through its complete movement: an open door can block a view that looked clear when the door was closed.
- Aim towards the natural approach so faces are directed towards the camera for part of the route.
- Keep bright sky and sunlit pavement to the smallest useful part of the frame.
- Allow space around close walls, columns and door frames, especially if infrared will be used after dark.
- Place the camera beyond easy casual contact where practical, while retaining access for maintenance.
- Check whether a gate, security grille, awning or plant enters the image as it moves.
Mounting height is a compromise. A very high camera is less exposed to contact but produces a steeper downward angle. A lower camera may show faces more directly but can be obstructed or touched. The correct point depends on the entrance geometry, not on a universal mounting rule.
For remote property owners, request sample recordings from the final position rather than relying on a photograph of the installed camera. The photograph can show neat workmanship. Only the recorded view shows the actual angle, exposure and facial detail at near and far points.
Control Light and Reflections
Israeli entrances often combine a shaded interior with strong exterior sunlight. A street-facing door may contain a bright outdoor scene and a dim lobby in the same frame. Without careful aiming and exposure, the exterior can influence the image so strongly that interior detail becomes difficult to read.
WDR (wide dynamic range) can help manage backlighting, but it is not a substitute for composition. Reduce unnecessary sky, avoid pointing straight through a glass door when an angled position is available, and test when the contrast is naturally strong. A useful daytime setup must still be checked after dark.
Night vision brings a different problem. Infrared (IR) light emitted by the camera can strike a close wall, glossy sign, pale door frame or glass panel and return directly to the lens. That nearby reflection may appear bright while the passage beyond becomes less visible. Dust, insects or a dirty cover can make the effect worse.
- Keep close walls and ceiling edges away from the strongest part of the IR beam.
- Do not place the lens directly behind ordinary entrance glass if the camera uses its own IR illuminator.
- Check glass doors from both sides; interior lighting and street lighting can produce different reflections after dark.
- Where lighting changes along the passage, test people moving through both the bright and shaded sections.
- Clean the camera cover and nearby reflective surfaces before judging night footage.
Configure and Test the Image
Set the physical orientation first. Rotate the camera body or internal camera module in the direction permitted by its mounting design, then apply the corresponding rotation setting. Check that upright objects remain upright and that text is not mirrored. If the system offers both rotation and mirror controls, they should not be treated as interchangeable.
- Set the lens direction and physical sensor orientation while viewing the complete passage.
- Apply the matching rotation in the camera configuration.
- Open the live view through the same NVR or VMS normally used at the property.
- Record movement towards and away from the camera at near, middle and far points.
- Play back the recording and inspect the same points under daytime and night-time lighting.
- Export a short sample and open it independently to confirm that the orientation remains correct.
Tests should include real walking height and direction, not only an empty hallway. Pause the recording where a face is directed towards the camera. Inspect whether the angle and available detail are useful at both ends of the required area. If the far point matters most, the lens may need to be narrowed or the camera moved. If the doorway matters most, avoid sacrificing that point merely to show more passage.
Configure motion detection after the final orientation is set. Shape detection zones around the floor area and approach route rather than close walls, windows or moving plants. If the system uses directional lines or entry zones, confirm how those tools behave after rotation. Their on-screen position should match their effect in recorded events.
Review the main viewing screen as well. A portrait stream may be shown with empty space beside it when placed in a landscape grid. That is normal, but operators should still be able to enlarge the view without stretching people or cropping the top and bottom.
Make the Final Installation Decision
Corridor orientation is not automatically better in every narrow location. The decision depends on which parts of the scene matter. A shop entrance may need the door and counter across the width. A garden path may need the gate and a side approach. A shared lobby may be narrow but still require coverage of lift doors positioned beside the camera.
| Decision factor | Portrait corridor view | Conventional landscape view |
|---|---|---|
| Frame emphasis | Length of a narrow route | Width across doors, counters or side approaches |
| Nearby walls | Less frame area when aimed correctly | May occupy a large part of the image |
| Side activity | More limited | Better where movement crosses the passage |
| Display layout | May leave empty space in a landscape viewing grid | Fits common multi-camera grids naturally |
| Best fit | Straight entrances, paths and passages | Wide lobbies, junctions and spaces with several directions |
Set priorities at both ends before choosing. Decide whether the main requirement is the exterior threshold, people approaching through the passage, a door at the far end or movement across the entrance. A single camera can record several of these areas, but it cannot give equal emphasis to every distance and direction.
In a shared apartment building entrance, coordinate the intended position and visible coverage with the va'ad bayit, the building committee that manages shared matters. This is a practical installation step for international residents who may not be familiar with the term. It helps settle cable routing, access for maintenance and the effect on shared finishes before holes are drilled.
Finally, confirm compatibility across the full viewing chain: camera, recorder, local monitor, mobile or desktop client, playback and export. If any part displays the stream sideways, cropped or stretched, resolve it before treating the installation as complete.
The final position is the one supported by recorded footage, not the one that looks neatest from the floor.
A well-planned installation ends with saved test clips from daylight and darkness. Review the near point, the far point, door movement, reflections and the direction of approach. If conventional landscape framing shows the required areas more clearly, use it. Corridor mode is a geometry tool, not a goal in itself.
Key takeaways
- Portrait-shaped coverage uses more of the recorded image for the length of a narrow passage and less for nearby walls or ceilings.
- Camera position and lens choice affect facial detail more than image rotation alone.
- Daylight, night vision and reflections should be tested under the actual lighting conditions at the entrance.
- The camera, recorder and viewing software must all display the rotated image correctly.
- Recorded and exported footage provide the final test of camera position, orientation and useful detail.