On this page
At an apartment entrance, private-home gate or street-front business, the choice between a dome camera, a turret camera and a bullet camera is not mainly about appearance. This guide settles how to choose dome, turret or bullet cameras for each position, based on the mounting surface, field of view, light, exposure and future maintenance.
What the Housing Shape Changes
The housing changes how a security camera mounts, aims and handles its surroundings. It does not determine image quality by itself. Cameras in different housings can have very different imaging sensors, lenses, night vision, resolution and WDR (wide dynamic range). A well-specified camera in the wrong position can still produce an unhelpful view.
A dome camera places the lens behind a clear curved cover. The enclosed form is neat and makes the exact viewing direction less obvious from a distance. It also keeps the adjustment mechanism behind the cover. That cover becomes part of the optical path, however, so scratches, dust, salt residue and fingerprints can affect the image.
A turret camera holds the camera face in an adjustable ball-and-socket body. The lens and infrared illuminator usually look directly through the front face rather than through a large curved cover. This makes the lens area easy to reach for aiming and cleaning. It also leaves that face more directly exposed to dust and accidental contact.
A bullet camera has an elongated body that points visibly towards the scene. Its direction is easy to understand from the ground, which can be useful at a gate, loading area or exterior approach. The projecting body needs enough physical clearance and a firm base. On a low wall, it can also be easier to knock out of alignment than a compact ceiling-mounted housing.
Mounting details are part of the housing decision. A flat ceiling, vertical wall, stone surface, metal panel and lightweight soffit do not offer the same fixing options. The cable must also enter without remaining exposed or being sharply bent. A suitable mounting base or junction space often matters more than a minor difference in the camera body.
How Dome, Turret or Bullet Cameras Compare
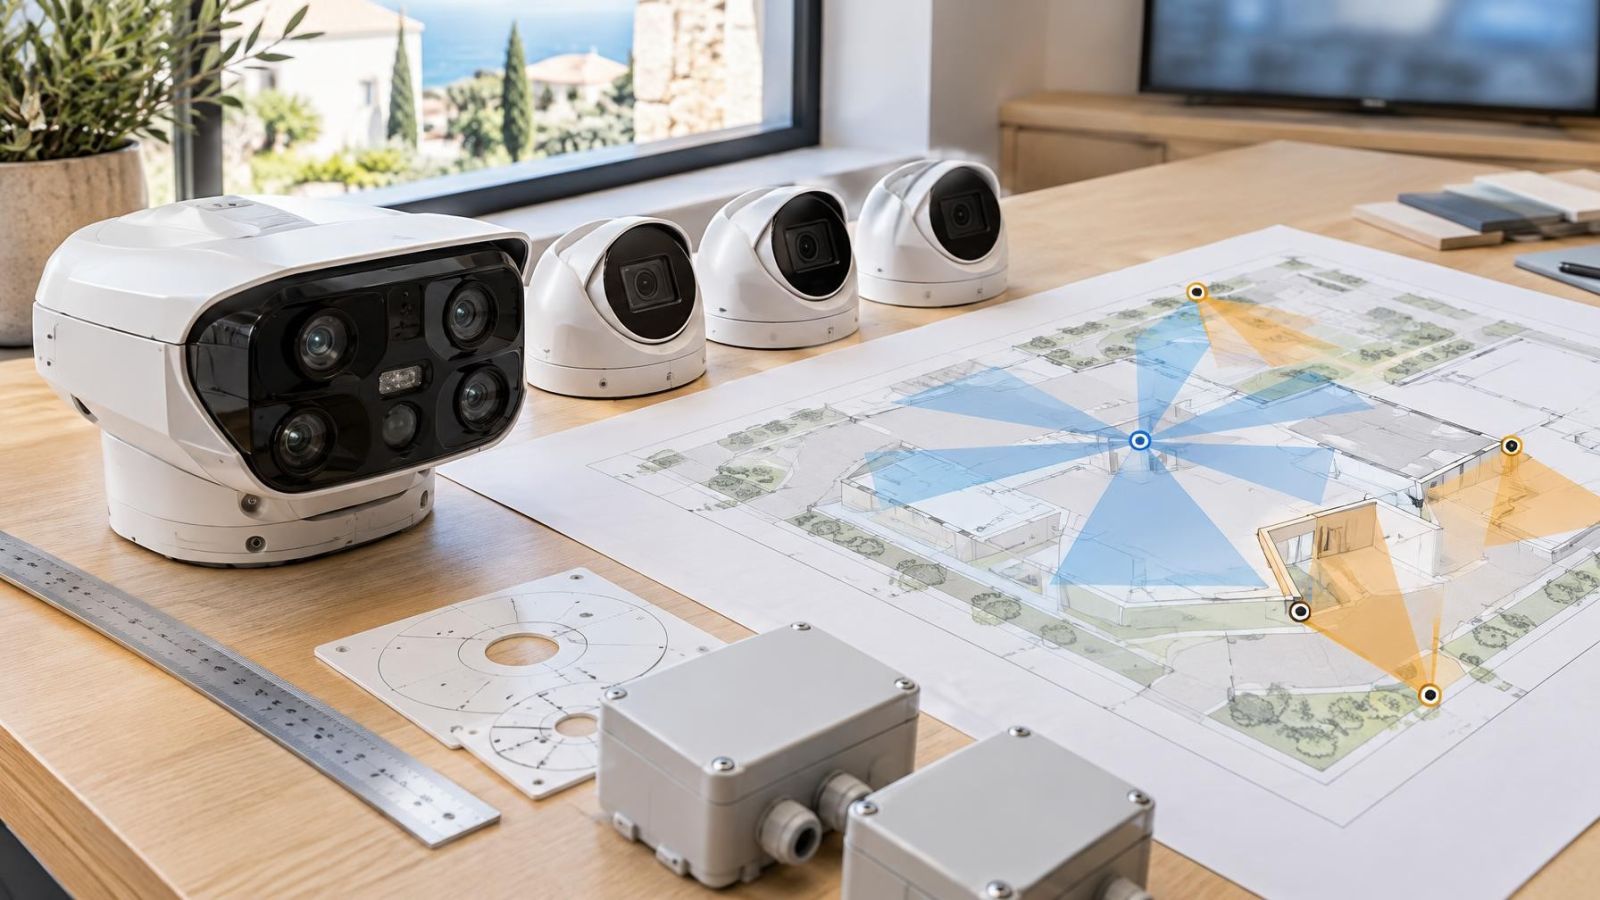
The useful comparison is not which shape is best in general. It is which one creates the cleanest installation at a particular point. The main security camera housing types have distinct practical strengths, but none removes the need to check light, viewing angle and maintenance access.
| Housing | Appearance and direction | Aiming and cleaning | Typical mounting fit | Points to watch |
|---|---|---|---|---|
| Dome | Compact; direction less obvious | Cover removal may be needed | Indoor ceilings and sheltered surfaces | Cover scratches, dirt and infrared reflection |
| Turret | Compact; direction visible at close range | Direct and straightforward access | Ceilings, soffits and walls | Exposed front face and reachable adjustment |
| Bullet | Prominent; direction immediately clear | Accessible body and external aiming joint | Exterior walls and posts | Projection, leverage, dust and clearance |
Dome vs turret camera: which is easier to maintain?
A turret is generally easier to inspect, aim and clean because its front face is directly accessible. A dome may require the cover to be opened or removed before the lens area can be reached. After reassembly, the dome cover must be clean and correctly seated. Marks that are barely visible during the day may become obvious when infrared switches on.
The dome has an advantage where the adjustment should be enclosed. On an accessible indoor ceiling, its smooth outer shape gives fewer obvious parts to turn. A turret offers faster adjustment, but a low, reachable turret should not be placed where routine movement of stock, ladders or cleaning equipment can shift it.
Bullet vs dome camera: which fits an exterior wall?
A bullet often sits naturally on an exterior wall because its body projects towards the required scene and its direction is visually clear. A dome can create a more compact wall installation, but the curved cover may collect dust and catch reflections depending on its angle. Either shape needs a stable base, a protected cable entry and enough room for adjustment.
A housing that looks tidy in a product photograph may be awkward once it meets a wall, gutter, door swing and real sunlight.
Which Camera Suits Each Location?
Start with the view, not the catalogue category. Mark what the camera needs to record, where it can physically sit and how someone will reach it later. An Israeli property may reasonably use all three housing shapes: one at the shared entrance, another under a private-home eave and a third facing a garden gate.
Is a turret security camera a good choice under eaves?
A turret is often a practical choice under eaves and at sheltered entrances. The structure above reduces direct exposure, while the adjustable ball makes it easier to frame a doorway or path. The front face remains accessible for cleaning. Check that the roof edge or soffit does not enter the picture or reflect infrared light back towards the lens.
A turret can also work on a wall when the base and cable route suit the surface. Before selecting it, confirm that the ball can rotate to the required angle without forcing the image to be electronically corrected or leaving the horizon badly tilted.
Where does an indoor dome work well?
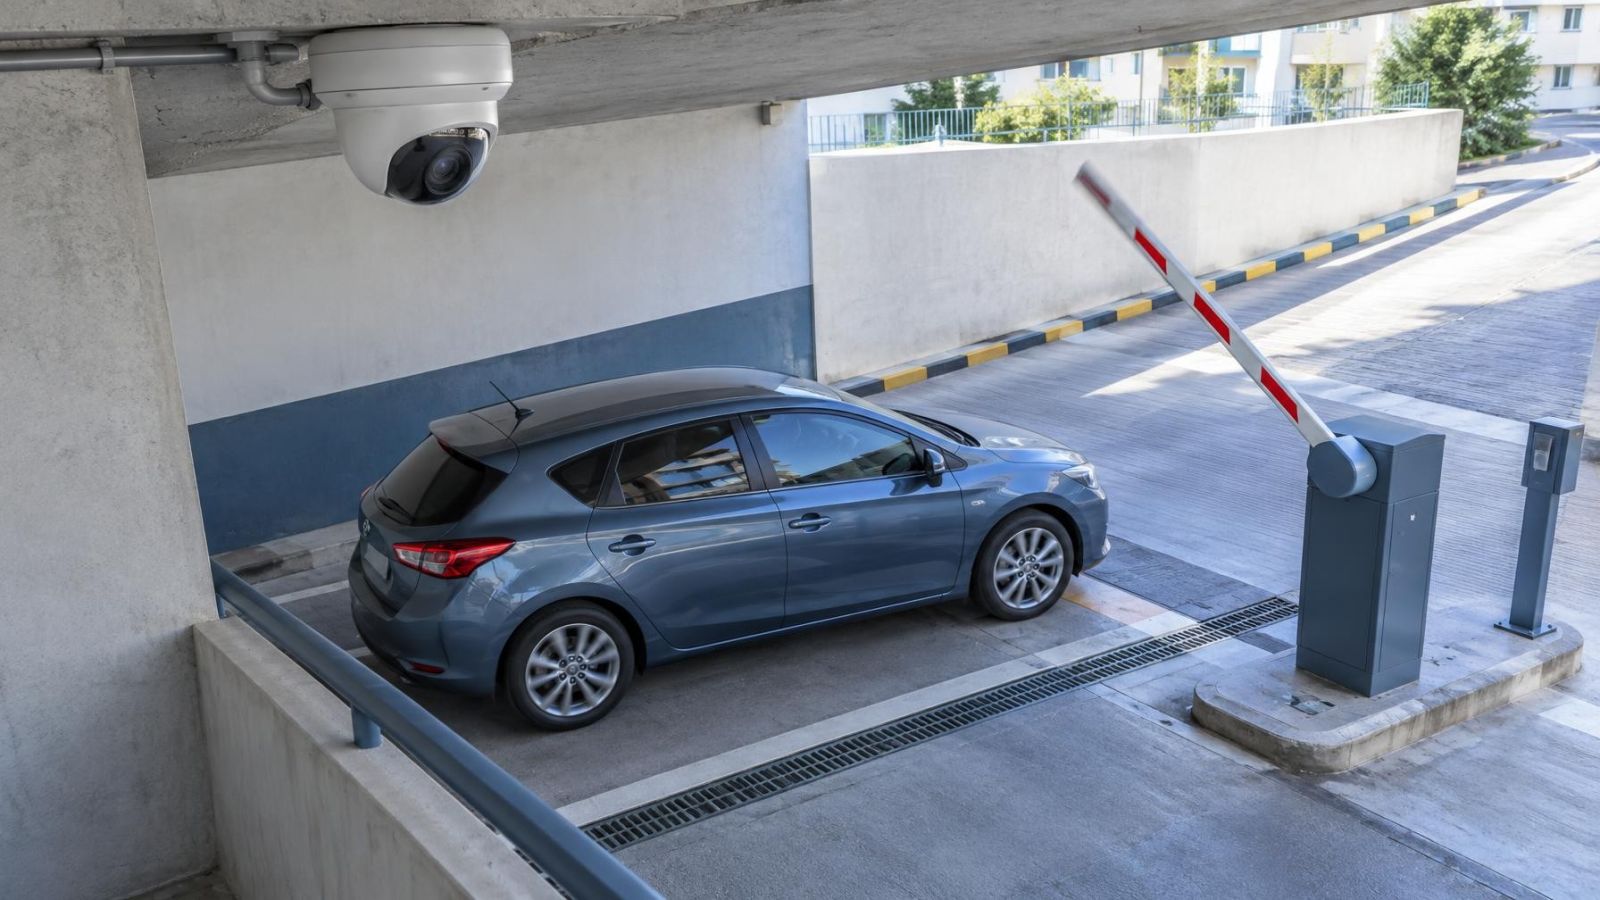
Domes suit indoor ceilings where a compact, enclosed finish matters. Typical positions include an apartment-building lobby, an office entrance and a small-business interior. In a narrow apartment corridor, the housing should remain close to the ceiling and outside the path of tall furniture or maintenance equipment.
At a shared entrance, the camera position should also fit the building rather than dominate it. Residents and the va’ad bayit may need to coordinate the drilling location, cable path, recorded view and future access. That practical discussion is easier before holes are made.
When does a bullet camera suit an exterior wall?
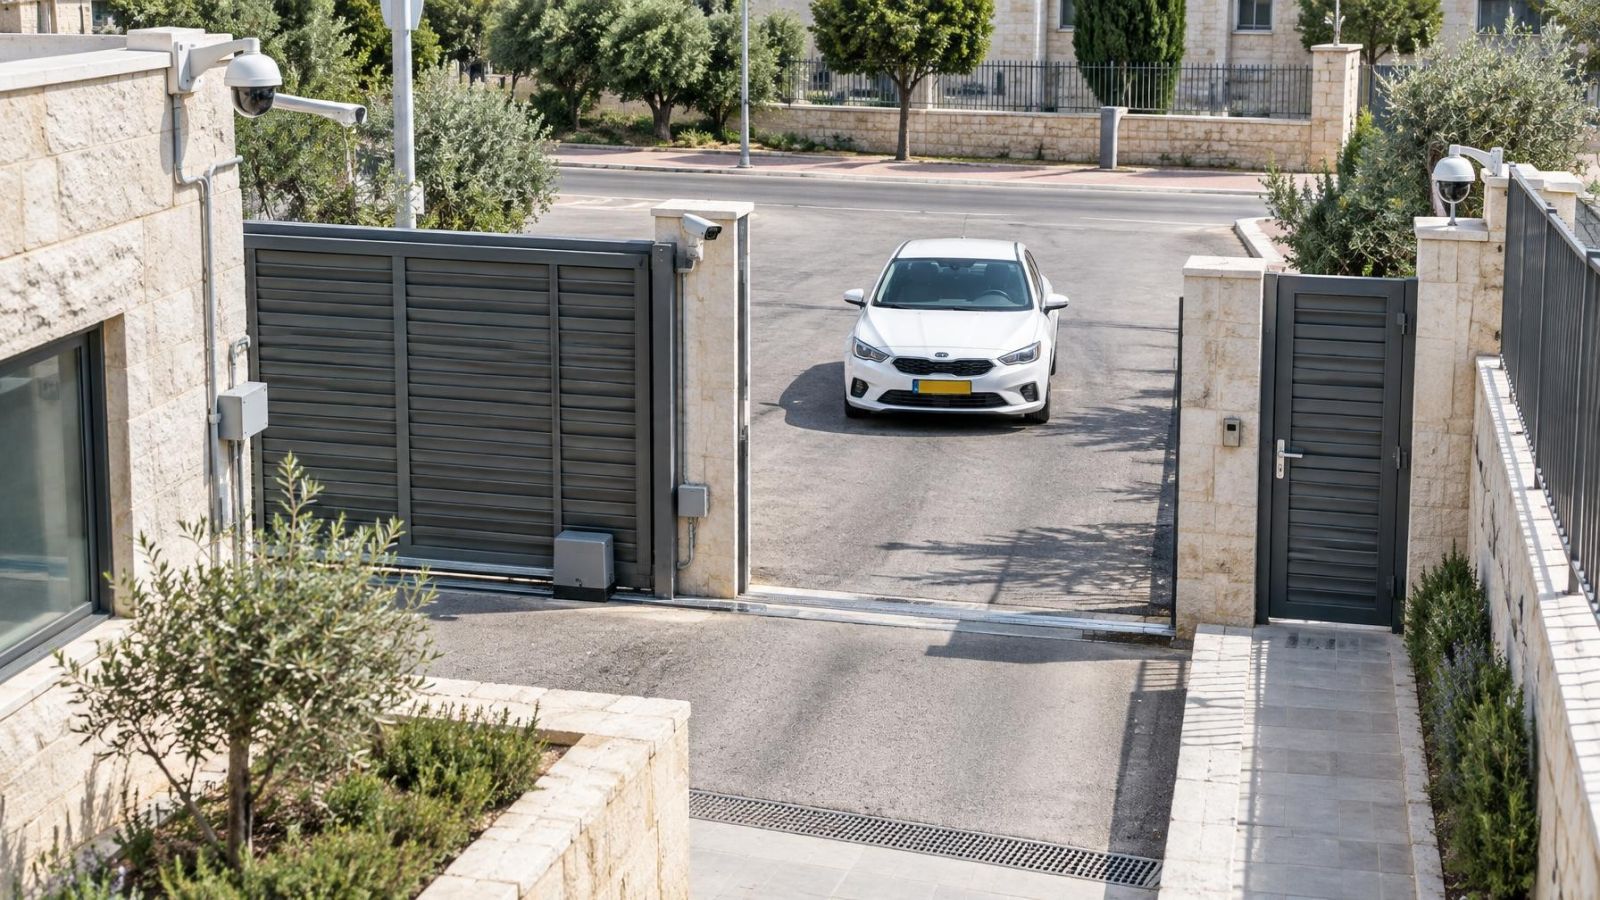
A bullet camera suits an exterior wall when the required direction is clear and there is room for the projecting body. It can point along a driveway, towards a private-home gate or across a defined service area. Avoid positions where an opening door, folding awning, branch or gutter can strike the camera or repeatedly block its view.
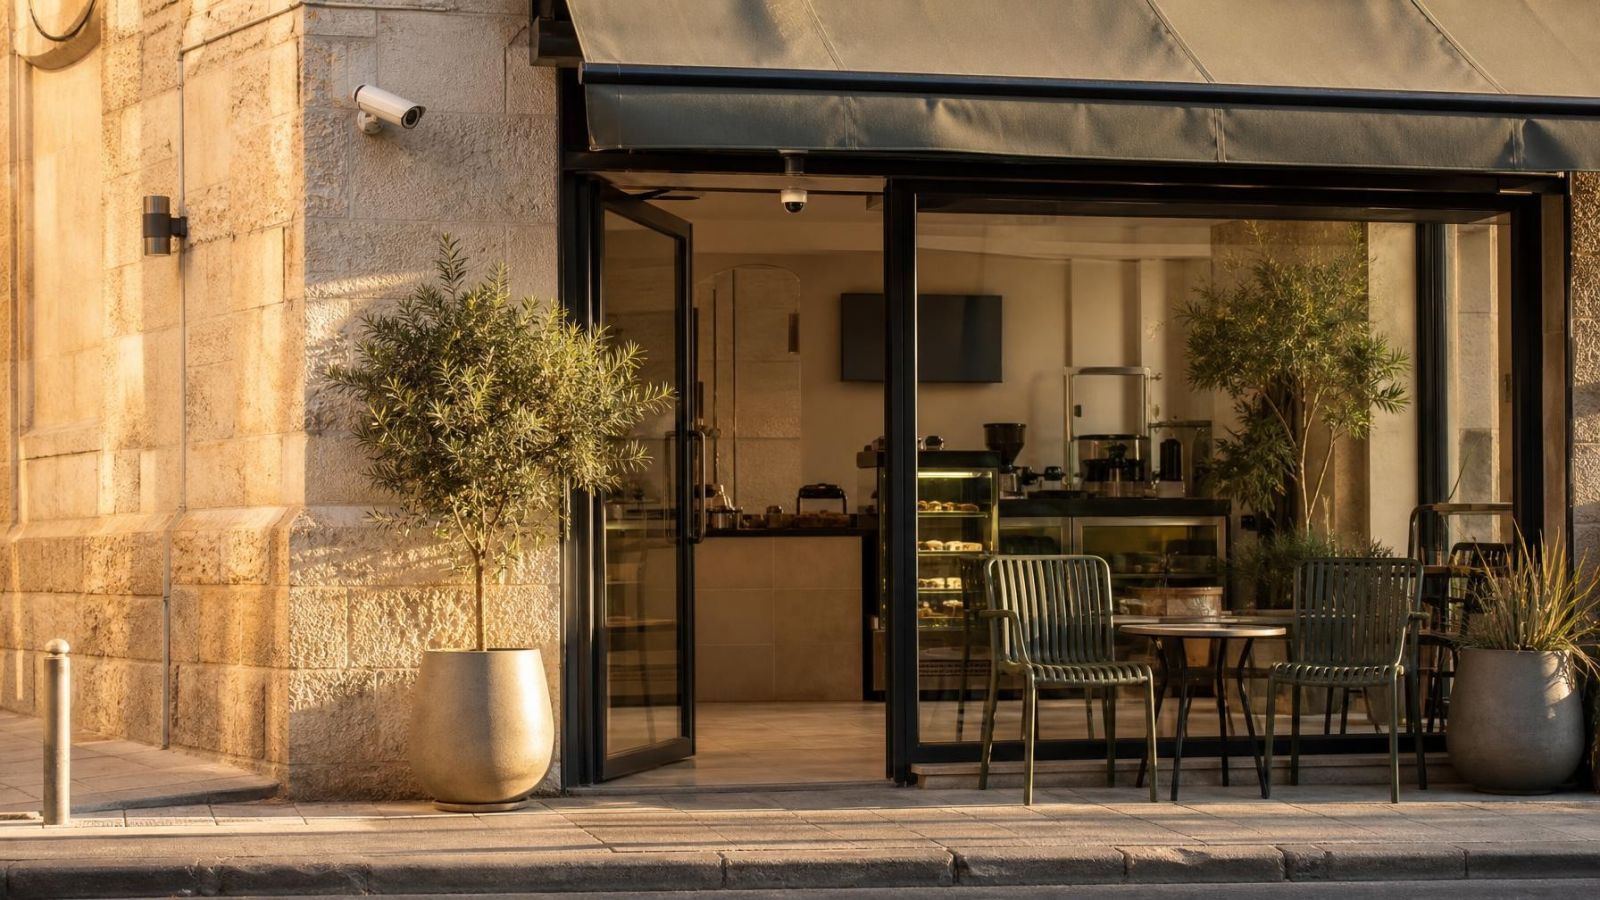
At gates and street-front businesses, framing deserves particular care. A very wide view may show the whole frontage but leave the useful subject too small. A tighter view may give better detail but miss the approach. The camera position, lens choice and viewing angle must therefore be planned together.
How Will Light Affect the Image?
Strong Israeli sunlight changes direction through the day. A camera that looks into bright sky can lose detail in a shaded entrance below it. WDR can help the camera balance bright and dark parts of a scene, but it cannot make careless framing irrelevant. Tilting the view down slightly or changing the mounting side may reduce the amount of sky without losing the required approach.
Sun glare is not limited to a camera facing directly towards the sun. Light can reflect from pale stone, glass shopfronts, parked vehicles and polished metal. The effect also changes as the sun crosses the scene. A daylight check should therefore consider more than the conditions visible during the installation visit.
Night vision introduces a different problem. Infrared light is emitted near the lens and can bounce from nearby surfaces. A wall, soffit, drainpipe, sign or deep housing edge may become intensely bright while the intended subject remains dark. Moving the camera a short distance or adjusting its angle can be more effective than increasing infrared output.
Dome cameras require particular attention because infrared can reflect inside a dirty, scratched or incorrectly seated cover. The resulting haze, rings or bright patches may not appear in daytime footage. A clear dome should be handled carefully and cleaned without leaving fingerprints.
Turret and bullet cameras avoid a large curved cover, but their optical surfaces still collect dirt. Dust is common across Israel, while coastal locations may develop a film of salt residue. Spider webs and fine debris near the infrared illuminator can also appear much brighter at night than they do during the day.
Installation Details That Matter Later
The camera base must remain firm enough to hold its aim. Stone cladding, plaster, sheet material and soffits each need an appropriate fixing method. The cable entry should be protected and arranged so water does not follow the cable towards the connection. Exposed connectors and loose cable loops make future faults harder to diagnose.
Leave a realistic route for cleaning. A camera over a stair void or behind a fixed sign may be reachable during installation but impractical during routine maintenance. Remote access through an NVR (network video recorder) or VMS (video management software) can show that the image is dirty; it cannot clean the optical surface.
Final aiming should be checked in daylight and after dark. During the night check, look for infrared reflection, bright exterior lamps, vehicle lights and deep shadows. Confirm that motion detection responds within the useful part of the scene rather than spending its attention on moving branches, road traffic or reflections outside the intended area.
Physical clearance should be reviewed with the property in normal use. Gutters overflow, doors open, shutters move and shop signs may be raised or lowered. A bullet body needs space around it. A turret needs room to rotate. A dome needs enough access for its cover to be removed and refitted without damaging it.
In an apartment building, coordinate work around the shared entrance before installation. Agree where the base and cable will be visible, who can provide access to shared areas and how the camera will be reached for maintenance. Clear operational decisions reduce the chance that a technically suitable position becomes inconvenient for the building.
Choose by Location, Not Appearance
Using one housing throughout a property may look consistent, but consistency is not the main objective. Mounting position and lighting usually have more influence on the recorded view than matching every camera body. Make the choice position by position.
- List the required views. Define the doorway, gate, path, counter or exterior area each camera needs to record.
- Choose the mounting surface. Decide whether a wall, ceiling, soffit or post gives the useful angle and a protected cable path.
- Check light by day and night. Note bright sky, direct sun, exterior lamps, infrared reflections and nearby pale surfaces.
- Review reachability. Allow for aiming, lens cleaning, dome-cover removal and work around doors, gutters and signs.
- Select the housing for that position. Use a dome for an enclosed compact finish, a turret for direct adjustment and cleaning, or a bullet where wall mounting and visible direction suit the view.
The final selection should combine housing shape with the camera’s actual imaging features. Lens choice, sensor performance, WDR, infrared behaviour, recording configuration and network design remain separate decisions. The housing makes those capabilities easier or harder to use in a particular place; it does not replace them.
Key takeaways
- Camera housing shape should be selected for each mounting position rather than standardised across the property.
- Turret cameras provide straightforward access for aiming and cleaning, especially in sheltered outdoor positions.
- Dome cameras suit locations where a compact, enclosed appearance and protected adjustment matter.
- Bullet cameras suit exterior walls where the visible direction of the camera supports the intended view.
- Daylight, night lighting and maintenance access should be checked before the final housing is selected.