On this page
A security camera mounted above an entrance door may show the whole approach while missing what happens immediately below it. The camera lens may be unable to focus that closely, or the area may sit outside the field of view as a geometric blind zone. A varifocal lens can change the result, but the recording on an NVR (network video recorder) only preserves what the camera actually captures. The practical question is where minimum focus distance and mounting geometry place the nearest boundary of usable coverage.
Two Different Near-Camera Problems
Close-range coverage can fail in two distinct ways. In the first, the nearby subject is visible but blurred. Its shape and movement appear in the image, yet details such as a face, a hand or the label on a parcel are not clear. This is an optical focus problem.
In the second, the subject does not appear at all because it is beneath or behind the camera’s visible boundary. The lens may be focused perfectly, but no focus adjustment can recover a point that is outside the image. This is a coverage geometry problem.
| What you see | Likely cause | What usually needs changing |
|---|---|---|
| Subject is present but consistently soft | Near focus limit | Lens setting, focal length or camera-to-subject distance |
| Subject disappears below the image | Geometric blind zone | Mounting position, camera angle or an additional viewpoint |
| Subject is soft and partly cut off | Both problems overlap | Lens and mounting geometry together |
| Subject is sharp sometimes but unusable in difficult light | Lighting or reflection issue | Illumination, angle, exposure behaviour or scene conditions |
Where is the camera’s near blind spot?
The near blind spot begins where the camera’s field-of-view boundary meets the floor, path, counter or wall below it. The exact shape depends on the mounting surface and camera angle. A wall-mounted camera tilted towards a gate may leave a wedge-shaped area underneath. A camera above a counter can include the customer’s upper body while excluding hands placed close to the counter edge.
Optical blur can overlap this missing area. A person may first enter the bottom of the frame while still too close for sharp focus. Farther away, the same person becomes both fully visible and clear. It is useful to mark these as separate boundaries: the nearest visible point and the nearest point with the detail you need.
What Sets the Minimum Focus Distance?
What does a camera’s minimum focus distance mean?
It is the nearest distance at which the lens can produce a focused image under its current setup. Anything closer may still appear in the frame, but image sharpness falls because the lens cannot bring that subject onto the image sensor in focus. The distance is measured from the camera’s optical position, not from an arbitrary point on the wall or floor.
Lens design is one part of the answer. The current focus setting is another. A fixed lens normally has a stable field of view, although its focus may be fixed at manufacture or adjustable during installation. A varifocal lens allows the installer to change the focal length and framing. That flexibility is useful, but changing the zoom setting can alter near-focus behaviour and requires a fresh focus check.
What affects security camera close focus?
Depth of field determines how much of the scene appears acceptably sharp in front of and behind the chosen focus point. It is not a hard wall where perfect sharpness suddenly becomes blur. Instead, detail becomes progressively less useful. Available light, lens aperture, focal length, sensor behaviour and the chosen focus point all influence the practical result.
- A wider scene may provide generous depth of field, but it does not guarantee useful detail on a very close object.
- A tighter varifocal setting can change both framing and the camera focus range, so the near area must be checked again.
- Focusing only on a distant gate or road can leave the entrance foreground softer than expected.
- Automatic focus can settle on a strong edge or high-contrast object that is not the actual target area.
- A clear live preview on a small screen can conceal softness that becomes obvious when the recording is reviewed larger.
Why the Blind Zone Appears
A camera sees only within the boundaries of its field of view. Raising the mounting height generally changes where the lower edge of that view reaches the ground. Tilting the camera farther down can bring the near ground into view, but it also moves the upper and distant parts of the scene. The result is a framing trade-off, not simply a better or worse angle.
The housing also matters. A wall, ceiling edge, sunshade or part of the camera body can obstruct the direction closest to the mounting surface. With some mounting positions, the camera cannot be aimed steeply enough without placing part of the wall in the image. A wide lens cannot see through the housing or around the corner of a wall.
Target height changes the geometry. The feet of a person standing close to a wall may be outside the frame while the person’s face remains visible. A parcel on the floor beside an apartment door can disappear although a standing visitor is easy to see. At a gate, the face may be covered while a hand reaching towards the latch enters a different part of the frame.
For this reason, “the entrance is visible” is not a precise coverage requirement. The useful question is which part of which subject must remain visible, and at what position. Floor-level objects, faces and hands each create a different near boundary.
Where Close Coverage Matters
Close detail matters where people or objects interact with the property. At an entrance door, a camera may need to show a face during the approach, not only when the person is already directly below the housing. The natural path matters: people may approach from a stairwell, lift lobby, garden path or shared corridor rather than from the centre of the image.
- At a private-home gate, useful detail may be needed where a hand reaches the latch, keypad or intercom.
- At a small-business counter, hands, exchanged items and the counter surface may matter more than the full width of the room.
- Beside an apartment door, a parcel placed close to the wall can fall beneath a high-mounted camera even when the corridor is well covered.
- At a street-front business, the threshold can combine deep interior shade with strong Israeli sunlight outside.
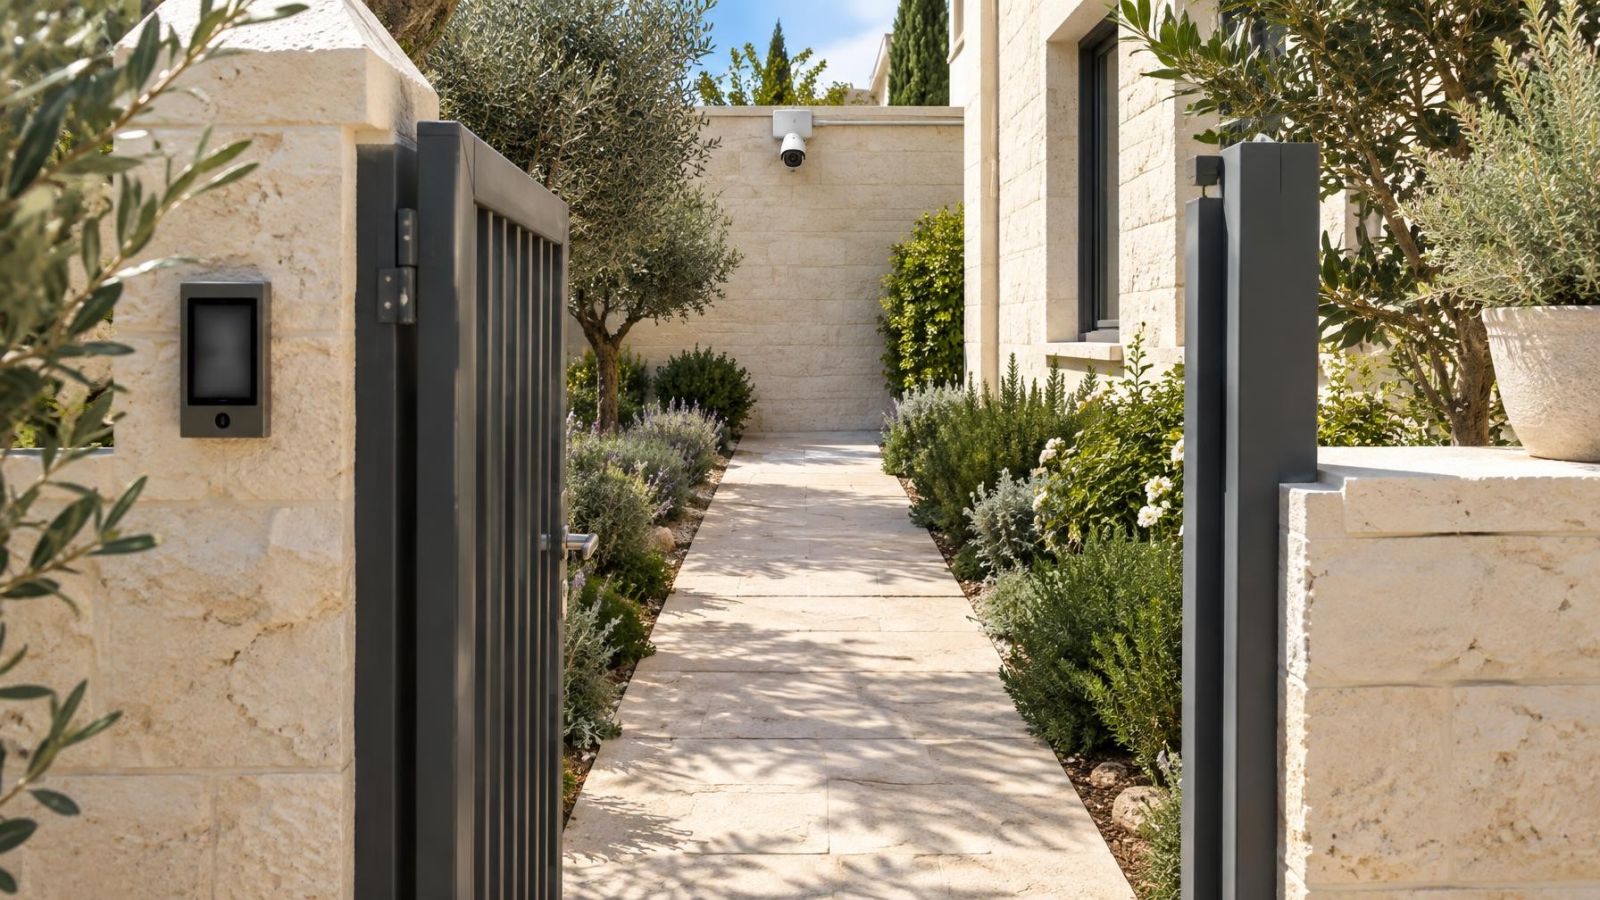
- Along a garden path, a wall-mounted overview camera may lose the path immediately below the wall before picking it up farther away.
Apartment buildings add shared spaces to the planning. A camera serving one door may also include part of a common corridor or entrance, while a building camera may be aimed primarily at the wider lobby. The positions should be considered together with the va’ad bayit and other relevant decision-makers, because a shared overview does not automatically supply close detail at an individual doorway.
Remote property owners should ask for recorded samples from these exact interaction points, rather than relying only on a wide screenshot. A still overview can make the scene look complete while saying little about nearby faces, hands or objects moving through the lower edge of the frame.
Can One Camera Cover Everything?
One camera can sometimes provide both overview and nearby detail, but the scene must allow a workable balance. A wide field of view includes more area, yet each subject occupies a smaller part of the image. It can also include a nearby object without rendering that object sharply. Coverage, focus and useful detail are related, but they are not interchangeable.
A camera aimed down to include the floor below may lose part of the distant approach. Moving it lower can improve the near angle while making it easier for nearby objects, plants, signs or people to obstruct the view. Choosing a tighter view can improve the size of a target in the image while excluding surrounding context.
A complete-looking frame is not the same as complete usable coverage.
Where the requirements conflict, complementary viewpoints are usually clearer than forcing one camera to perform two different jobs. An overview camera can record the route and general activity. A second viewpoint can cover the doorway, gate mechanism, counter surface or parcel area from an angle that supports close detail.
The two views do not have to be identical. Their value comes from overlap around the important boundary. If a person leaves one camera’s useful near area, the other view should already show the relevant action. In a shared apartment entrance, this may involve coordinating a building-level overview with a more local entrance view rather than assuming either one is sufficient alone.
Test the Real Scene
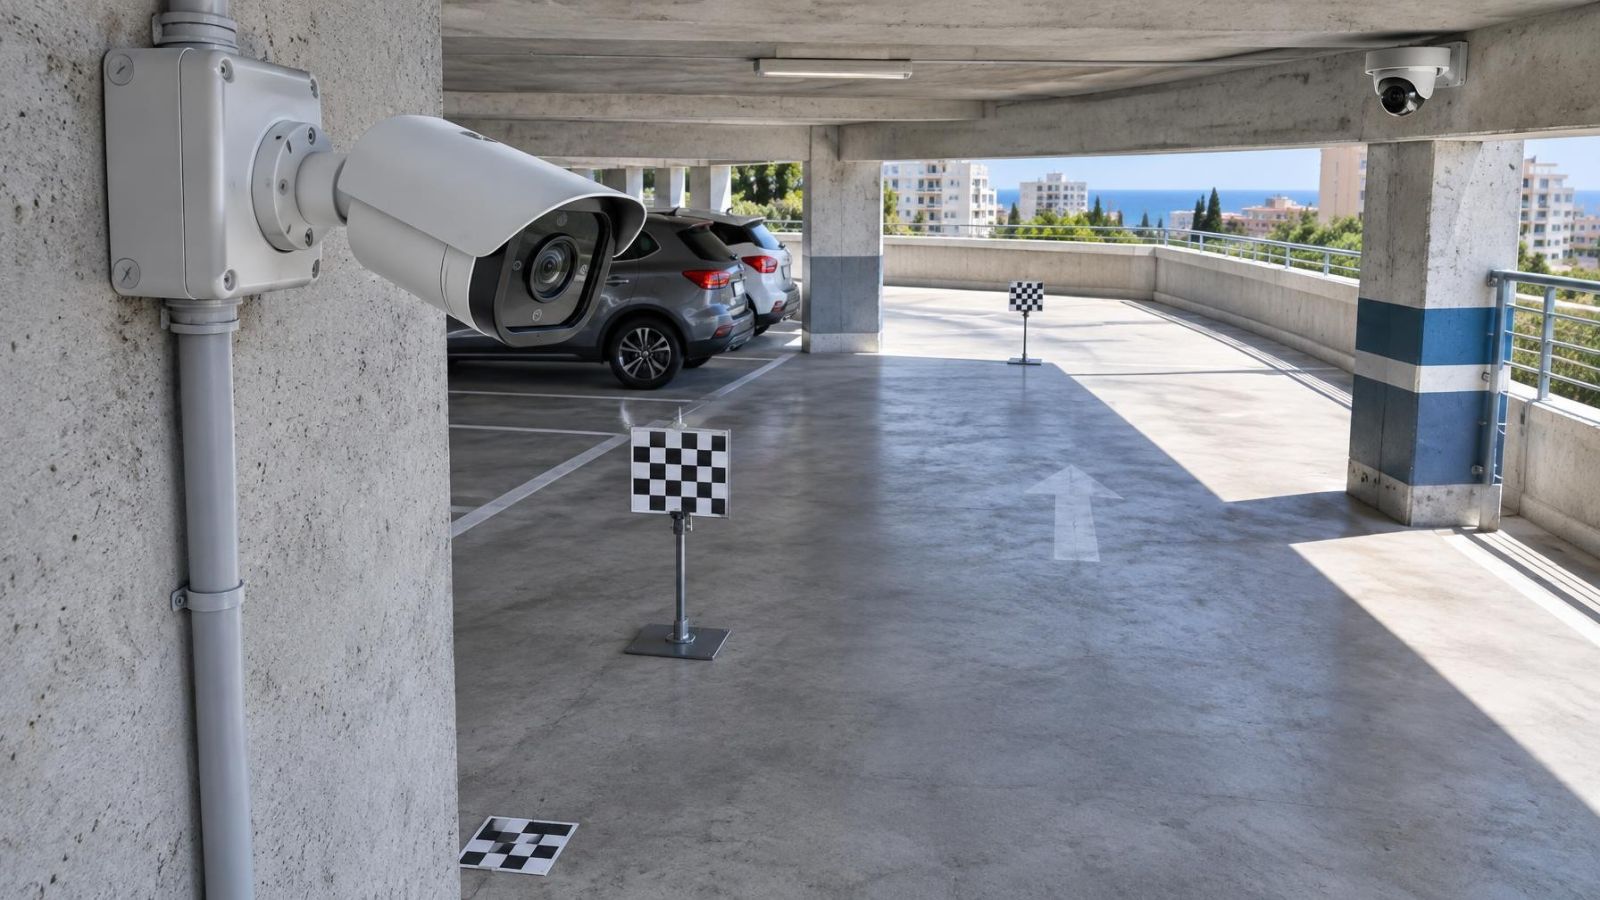
Specifications and planning drawings cannot establish the final near boundary by themselves. The installed camera must be tested with a person or representative object moving through the intended area. The test should follow the real route and include the actual tasks: approaching the door, standing at the intercom, reaching towards the gate, placing an item by the wall or using the counter.
- Mark the nearest point where usable detail is required and the area where overview-only coverage is acceptable.
- Move a person or representative object from beneath the camera towards the main scene, noting where it first becomes visible.
- Continue moving until the required detail becomes acceptably sharp, rather than stopping when the subject merely appears.
- Repeat the movement across the edges of the route, because the near boundary may not be uniform across the frame.
- Review the recording at a useful display size on the NVR or VMS (video management software), not only in a small live-view window.
- Repeat the check under the daytime and night conditions that materially change the scene.
Strong sunlight can create glare at Israeli entrances, particularly where a shaded lobby, shop or covered porch looks towards a bright exterior. WDR (wide dynamic range) can help the camera manage bright and dark areas in one frame, but the recorded result still needs inspection. Correct focus does not make an overexposed face or deeply shadowed hand useful.
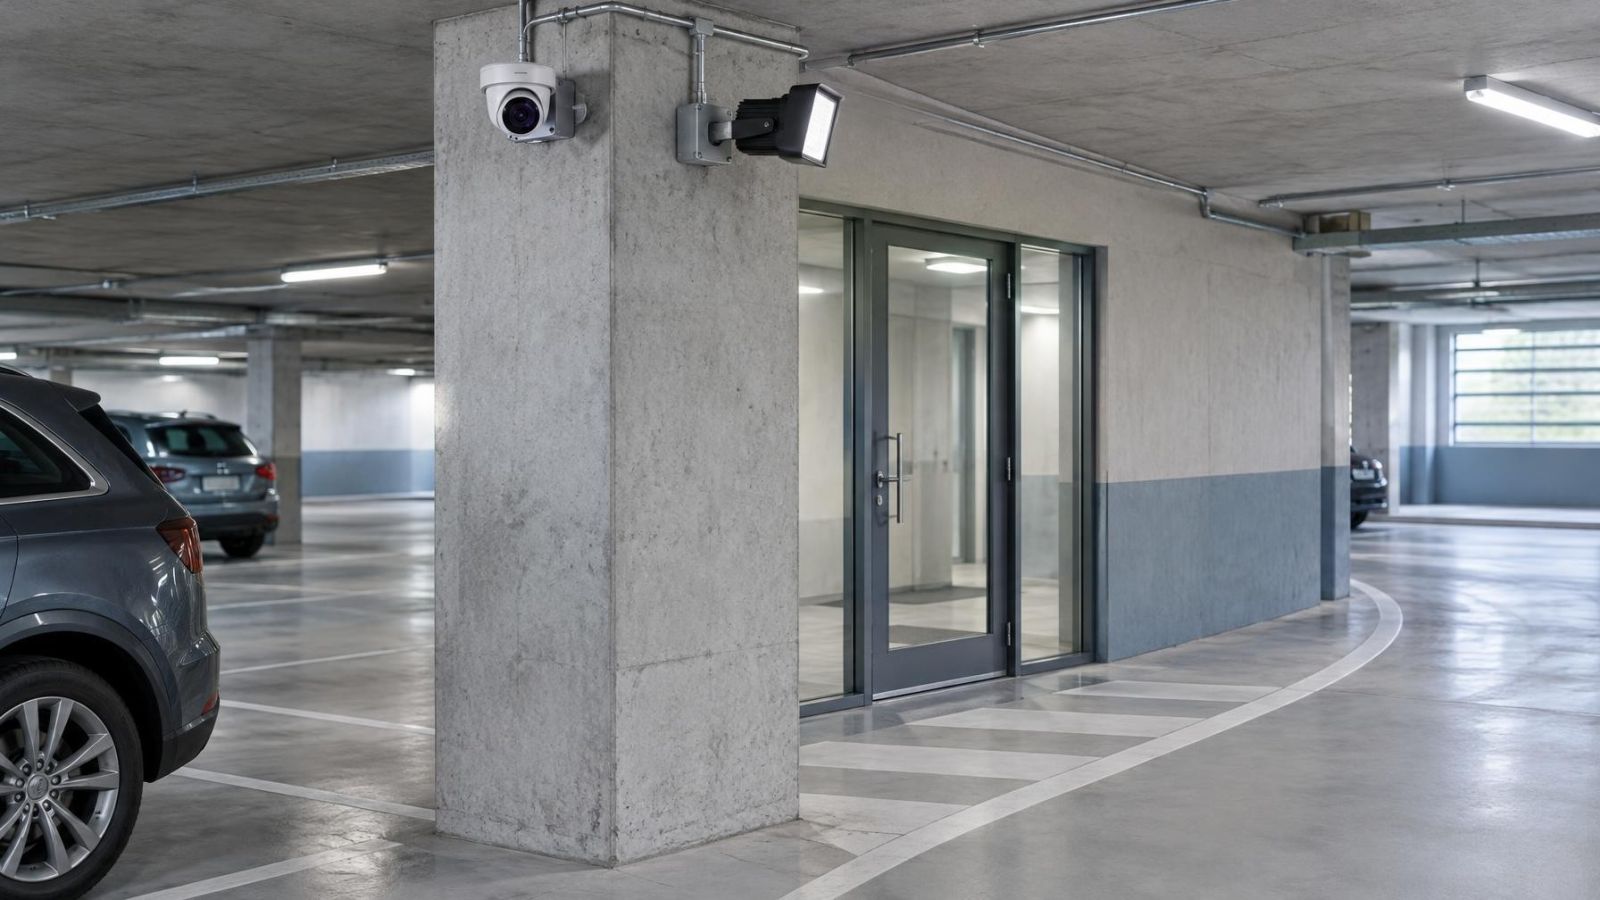
At night, IR illumination can reflect from a nearby wall, soffit, glass panel, pale surface or part of the housing. A close subject may also receive much more illumination than the background. Night vision can therefore look clear in the empty scene yet lose detail when a person stands close to the camera.
Test with the door, gate and nearby lights in their normal states. Opening a door can change reflections or block part of the frame. Garden lighting, a shop window and vehicle lights can also alter exposure. Review motion, not only paused images, because a stationary test target does not reveal motion blur or changing exposure as a person crosses the near zone.
Decide the Required Near Boundary
Start by defining the nearest point that needs usable detail. This should be a physical location linked to a task: the outside edge of a doorstep, the gate latch, the customer side of a counter or the place where parcels are normally set down. “Close to the camera” is too vague to guide lens choice or mounting.
Next, decide what can remain overview-only. The strip directly against a wall may not need detailed coverage if no relevant interaction occurs there. In another scene, that same strip may contain the door handle or parcel position and therefore be essential. The requirement comes from how the space is used, not from a desire to make every part of the frame equally sharp.
Lens and mounting position should then be considered as one design decision. Moving the camera changes geometry, perspective and potential obstructions. Changing focal length alters framing and may change near-focus behaviour. Tilting the camera changes the visible boundary but can sacrifice another part of the scene. Each adjustment should be evaluated against both the near target and the overview requirement.
Before final fixing, hold or temporarily mount the camera at the intended position and run the real-scene test. Confirm the framing after doors, shutters or gates move. Check the recording rather than only the installation monitor. If the near requirement and overview cannot coexist cleanly, choose a complementary viewpoint instead of accepting an undefined gap.
The finished plan should identify three things: where visibility begins, where useful sharpness begins and where difficult light reduces practical detail. Once those boundaries are understood, the system can be judged against a clear requirement rather than the impression of a wide, complete-looking picture.
Key takeaways
- Close-range blur and a geometric blind zone are separate problems that require different corrections.
- Mounting position and lens choice must be planned together when nearby detail matters.
- A wide field of view can include a nearby subject without showing it sharply.
- Testing the real scene reveals where useful close-range coverage actually begins.
- A complementary camera position can cover nearby detail that an overview camera cannot capture clearly.