On this page
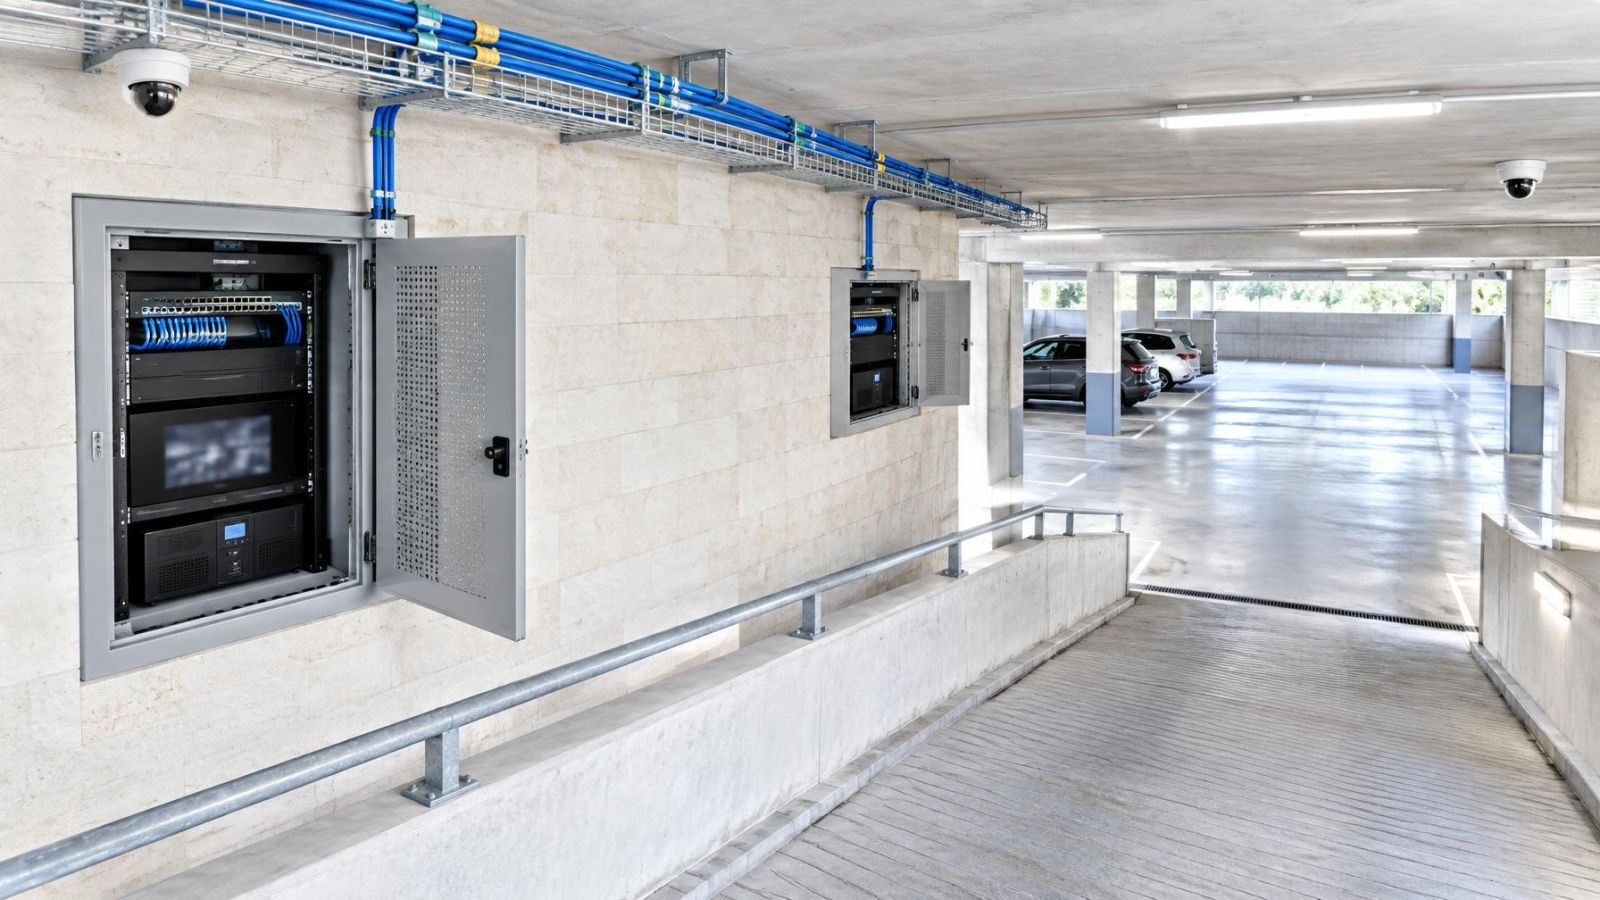
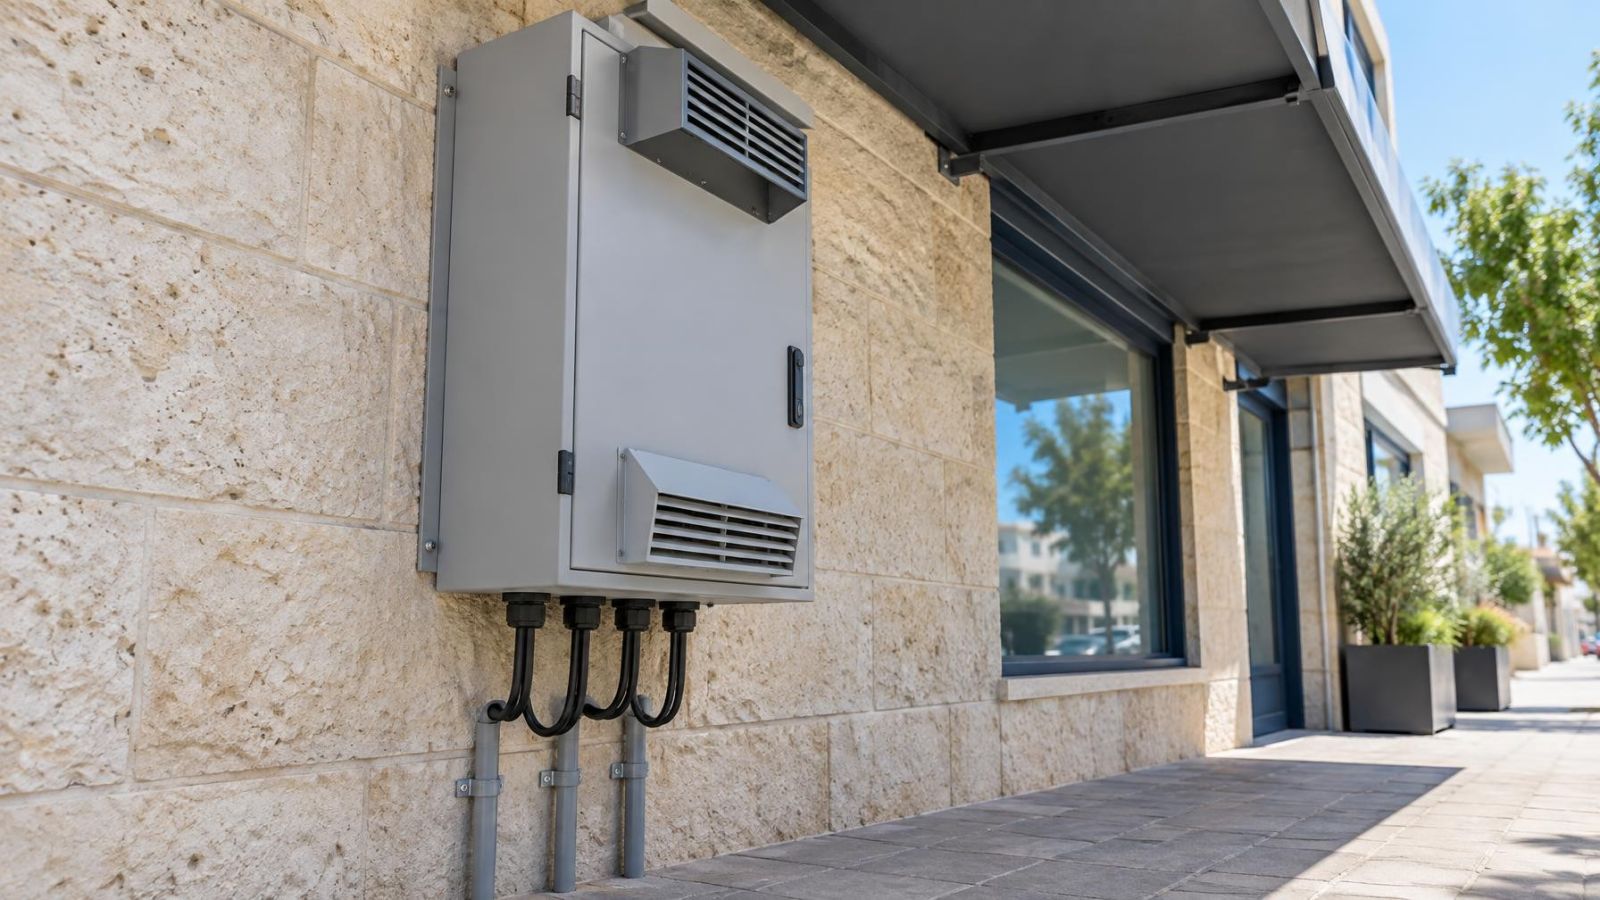
At an Israeli private home or street-front business, an outdoor network cabinet may hold a PoE switch, connections for security cameras, power supplies and backup equipment. Cable glands and ventilation filters then become part of the system, not minor accessories. The practical question is how to place, cool, seal and maintain that cabinet so its equipment can operate in local heat, dust and humidity.
The answer is not simply to buy the most heavily sealed box available. A sealed enclosure restricts heat release. An open or heavily ventilated enclosure admits more of the surrounding air. Good planning balances those two facts, then makes maintenance possible without dismantling the installation.
What an Outdoor Network Cabinet Must Handle
The cabinet has two heat sources. The first is outside it: direct sunlight warms the enclosure, with dark metal surfaces becoming particularly exposed to solar gain. The second is inside it: the network switch, PoE equipment, power supplies and backup devices all release heat while operating. Internal temperature therefore depends on more than the weather forecast.
Israeli sites also vary sharply at a local level. A cabinet beside an unpaved access road may receive persistent dust. One near the coast may encounter humid, salt-bearing air. A garden wall may be reached by sprinklers even though the wall itself is sheltered from rain. On a street frontage, wind can drive water and grit towards door seams and ventilation openings.
Rain rarely approaches only from above. It can run down the wall behind a cabinet, travel along a cable, collect on a ledge or rebound from paving. Each door edge, mounting hole, vent and cable entry must be considered as a possible path rather than assessed in isolation.
- Trace where direct sun falls during the hotter part of the day, including sun that reaches beneath a small canopy.
- List every powered device intended for the enclosure, not only the PoE switch.
- Look for irrigation spray, roof drainage, wall runoff and water that can collect below the cabinet.
- Assess nearby soil, traffic, construction dust and coastal exposure instead of assuming conditions from the city alone.
- Check whether wind can drive rain directly towards the door, vents or cable-entry plate.
Where Should the Cabinet Go?
Where Should an Outdoor PoE Switch Cabinet Be Installed?
Choose a position with permanent shade, protection from direct spray and enough surrounding air for heat to disperse. Shade from a roof, deep recess or properly spaced canopy is more dependable than shade from a tree or an object that may move. A canopy should not sit tightly against the cabinet and form another hot enclosure around it.
Shelter is useful, but a closed storage cupboard can trap equipment heat. The cabinet needs free space around any ventilation path and enough clearance for its door to open fully. An installer should be able to see labels, test equipment, remove a filter and replace a component without leaning over a gate, standing in planting or obstructing a public walkway.
Keep the position away from irrigation heads, hose points, roof outlets and low areas where runoff gathers. Mounting higher can reduce splash and accidental contact, but excessive height makes routine inspection difficult. A location that requires special access equipment for every filter check is unlikely to receive consistent maintenance.
In an apartment building, entrances, external walls, service areas and roof spaces are often shared. Coordinate the physical location, cable route, power source, keys and future access with the va’ad bayit and anyone responsible for the shared space. This is practical coordination: it avoids a cabinet being blocked by later storage, locked behind an unavailable key or disconnected during unrelated work.
Sealed or Ventilated?
Does a Weatherproof Network Cabinet Need Ventilation?
It may need ventilation or another form of heat management, depending on the equipment inside. A weatherproof description addresses external exposure; it does not remove heat produced by a loaded PoE switch and power supplies. Tight sealing reduces air exchange, but that same restriction can retain equipment heat.
The opposite choice also has a cost. Open vents allow passive airflow but provide a route for dust and humid air. Filtered fans move more air, yet their performance changes as filters collect residue. Conditioned cooling can serve a high internal heat load in a tightly managed enclosure, but it adds equipment, power use, drainage considerations and maintenance.
How Should Switch Cabinet Ventilation Be Planned?
Start with the internal heat load and the conditions immediately around the cabinet. Do not choose ventilation only because a fan fits the door. Air needs a defined route through the enclosure, with an inlet, an outlet and clear space between them. If both openings sit close together, air may bypass the warm equipment.
| Approach | Heat release | Exposure trade-off | Maintenance need |
|---|---|---|---|
| Sealed enclosure | Limited passive heat release | Reduces direct air exchange but can retain heat and humidity already inside | Inspect seals, entries and internal moisture |
| Passive vents | Uses natural air movement | Admits surrounding air unless openings are carefully protected | Clean openings and inspect for dust deposits |
| Filtered fans | Provides controlled forced airflow | Filters reduce dust entry but do not eliminate humidity | Replace or clean filters and verify fan operation |
| Conditioned cooling | Manages heavier or less variable heat loads | Can support a more closed enclosure but introduces cooling and drainage components | Service cooling, seals, drainage and internal airflow |
Passive airflow has practical limits, especially in still, hot air or when the cabinet itself is sun-heated. Filtered ventilation is often a sensible middle ground where dust can be serviced regularly. Near the coast, however, moving more outside air through the cabinet may also increase humid and corrosive exposure. The selection must reflect the site rather than a generic climate label.
Plan the Internal Heat Load
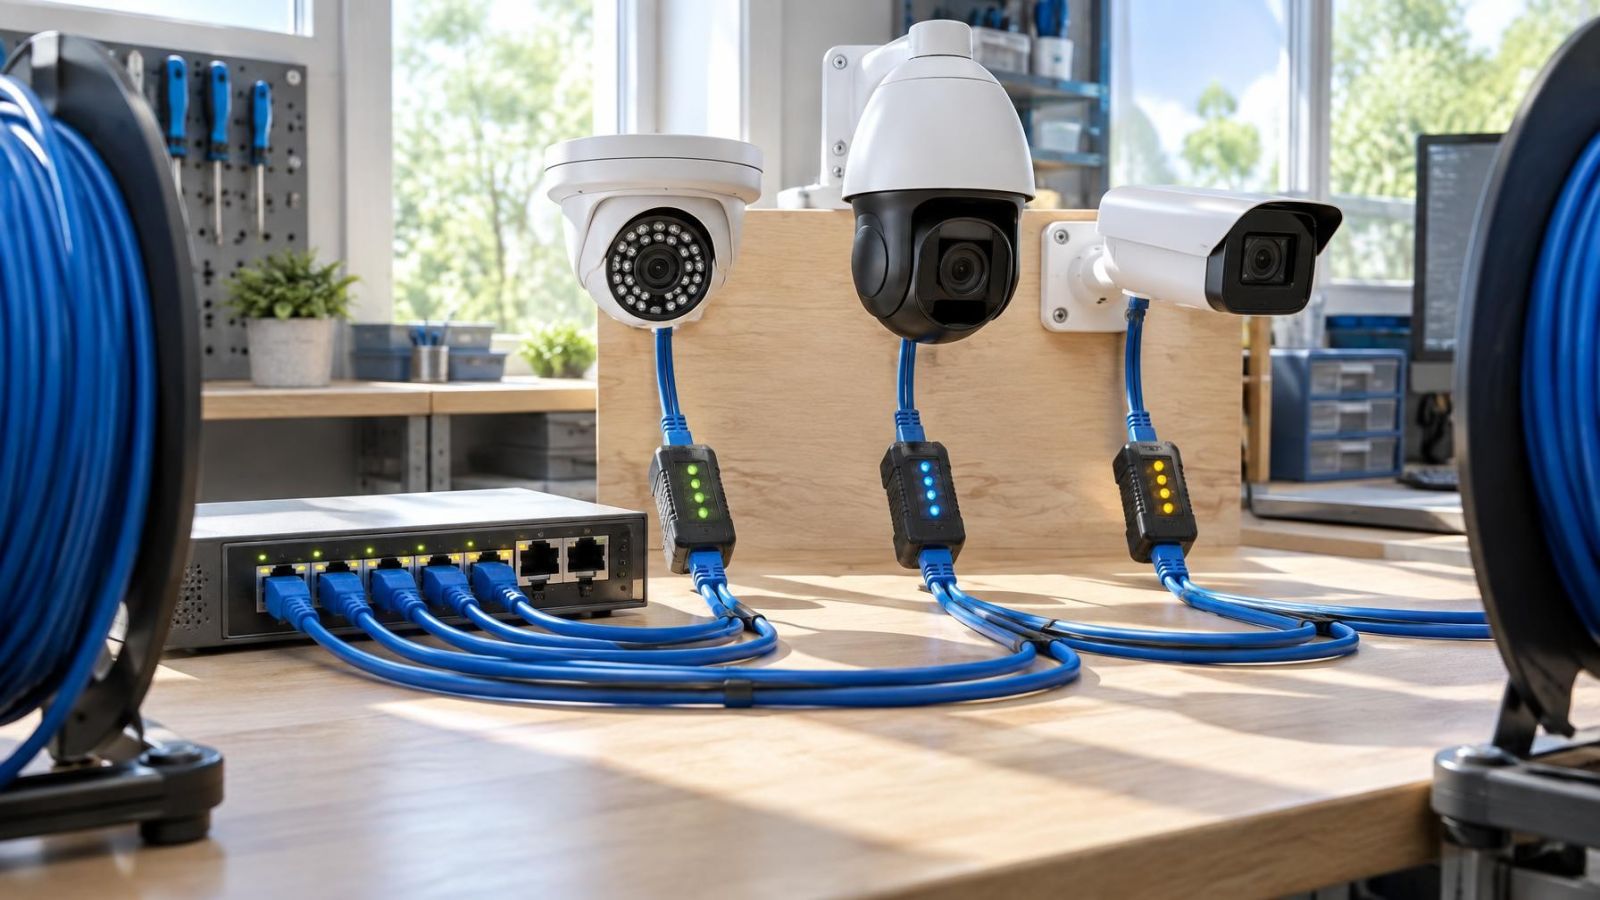
A PoE (power over Ethernet) switch does more than pass network traffic. It also supplies connected devices, so its heat output changes with the number and type of powered endpoints. Security cameras, wireless links and other PoE devices contribute indirectly by increasing the load handled inside the cabinet.
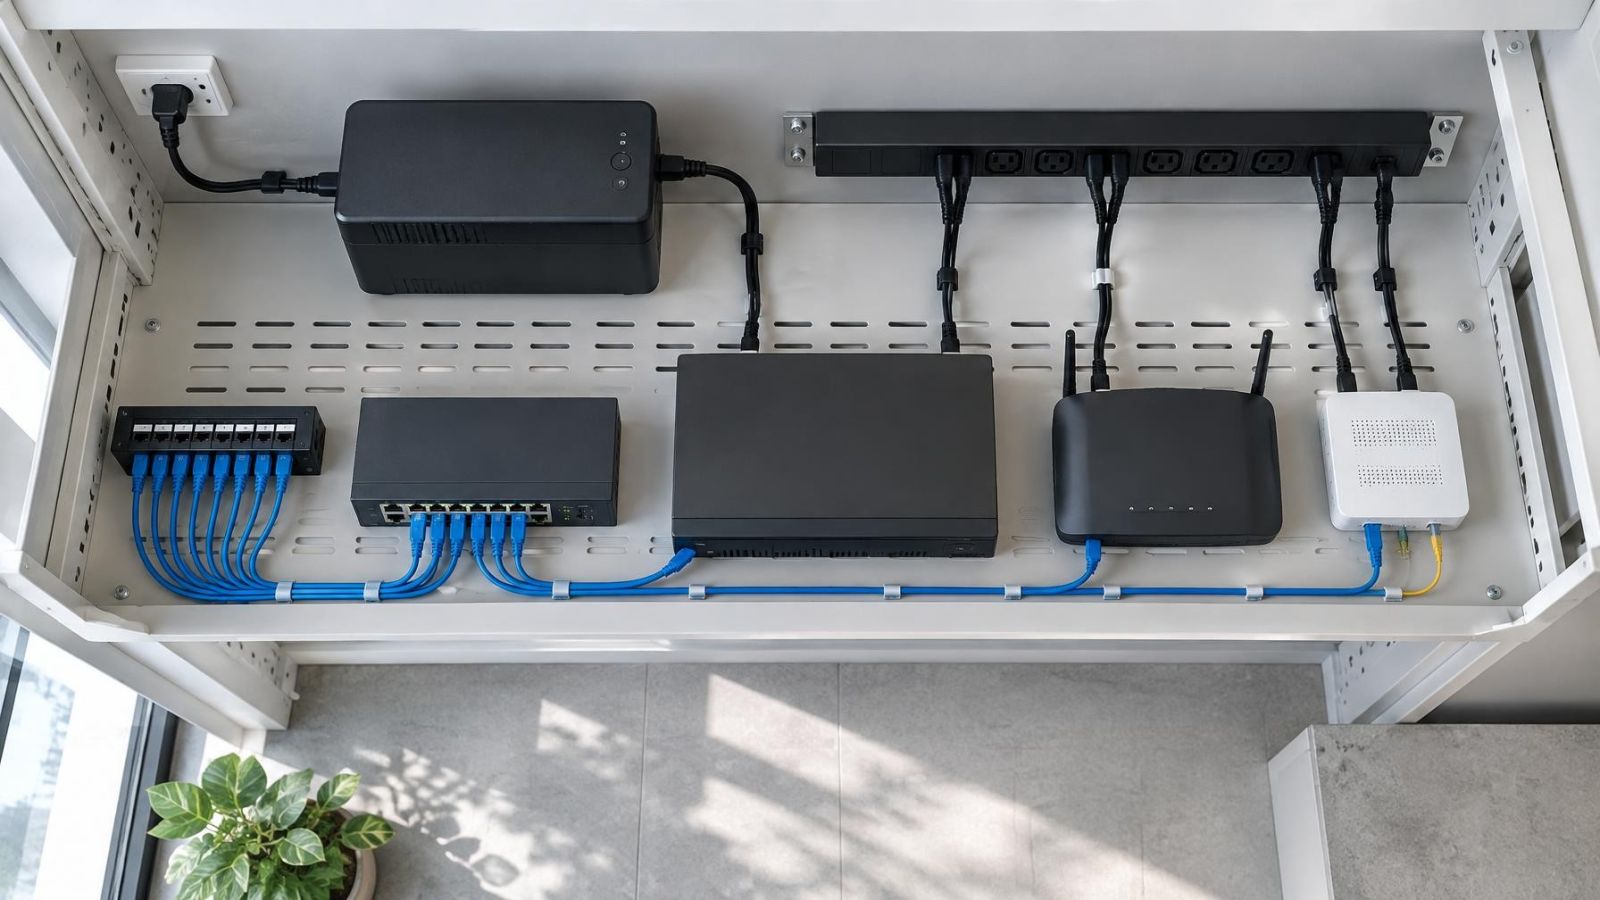
Power supplies, converters and backup equipment add their own heat. Placing several warm devices tightly together creates local hot areas even when the cabinet has nominal ventilation. Equipment layout should leave room around ventilation slots and keep the intended air path clear from inlet to outlet.
- Allow space for cable bends without pressing cable bundles against equipment vents.
- Keep warm power components from being buried behind patch leads and spare cable.
- Place equipment so rising warm air or fan-driven air can leave the cabinet rather than circulate around one shelf.
- Reserve realistic capacity for likely expansion, including its heat and cabling, rather than only empty mounting positions.
- Confirm that replacement parts can be removed without first stripping out unrelated equipment.
Expansion space is often misunderstood. Empty rail space does not automatically mean useful spare capacity. Additional devices need power, PoE capacity, cable management and heat dissipation. If future expansion is plausible, include it in the thermal plan at the start. Otherwise, a cabinet can become crowded long before it appears physically full.
A cabinet layout is successful when air, cables and hands can all reach the equipment without competing for the same space.
Control Dust and Humidity
Dust control is not achieved by fitting a filter and forgetting it. A loaded filter restricts airflow, which can turn a previously adequate fan into a poor cooling path. Filters should be reachable from the cabinet door and available as replaceable service parts. If changing one requires removing the switch or disturbing live cabling, maintenance becomes unnecessarily difficult.
Humidity needs a different approach. Humid air can enter through ventilation, an opened door, damaged seals or poorly fitted glands. Condensation can form when that air meets cooler cabinet surfaces or equipment. This may happen during temperature changes even when no rain has entered the enclosure.
Internal brackets, fasteners, mounting rails and cable-management parts should be selected with corrosion resistance in mind. Inspection remains important because corrosion often begins around edges, fixings and residue rather than across a large, obvious area.
Any drainage arrangement must let collected moisture leave without becoming an open entry path for insects, dust or driven water. Random holes drilled in the cabinet floor are not a complete drainage plan. They alter the enclosure and can sit directly above splash, damp ground or rising dust.
- Inspect filter surfaces for dust loading and oily residue.
- Look along the bottom, door edges and mounting points for moisture marks.
- Check metal fittings and cable shields for early corrosion or deposits.
- Confirm that door seals remain seated, clean and flexible.
- Investigate the source of water rather than treating repeated moisture as normal.
Route and Seal Every Cable
Cable entries are among the most common weak points in an otherwise suitable enclosure. Bottom-facing entries reduce direct exposure to falling and driven water. Each cable should pass through a correctly sized gland that grips and seals around its outer jacket. A gland cannot seal reliably around an irregular bundle of separate cables unless it is designed for that arrangement.
Create a drip loop before the cable enters the cabinet. The cable should descend below the entry and then rise towards it, encouraging water travelling along the jacket to fall away before reaching the gland. The loop must remain visible and free rather than being tied flat against a route that guides water back to the enclosure.
Whether a supplier calls the product a network cabinet or a CCTV network enclosure, inspect the entry plate and gland arrangement as carefully as the door. Unused entry holes should remain closed with properly fitted blanks. Tape, foam and loose sealant are poor substitutes for a serviceable closure.
Plan separate routes for data cabling and power cabling inside the cabinet. Separation improves organisation and reduces the chance of maintenance on one path disturbing the other. It also makes labels easier to follow. Crossings may be unavoidable, but long mixed bundles should not become the default layout.
- Bring the external cable down towards the cabinet rather than allowing it to slope directly into the entry.
- Form and secure a drip loop without crushing the cable or tightening its bend.
- Pass one cable through the correctly matched gland or approved entry insert.
- Tighten the gland around the cable jacket and check that the cable cannot pull the seal out of position.
- Close every spare entry and leave enough internal bend space for termination and later testing.
Choose for Maintenance, Not Appearance
A neat cabinet matters, but appearance should follow serviceability. The door must clear walls, pipes, gates and planting. Filters and fans should be removable from a safe working position. Labels need to remain visible after all patch leads are installed, and cable bundles should have enough slack for a component to be tested or replaced.
Maintenance planning also affects equipment selection. A very compact cabinet may look discreet but leave no hand space around terminals. An unusual filter shape may be difficult to source consistently. A fan hidden behind fixed equipment may never be cleaned. These are installation issues that a product description rarely shows.
Ask the installer to review the cabinet, equipment list, proposed location and cable-entry plan together before equipment is selected. The enclosure cannot be assessed separately from the PoE load, power supplies, airflow route and expected expansion. Photographs can help remote property owners understand access, but they do not replace checking sun, runoff, irrigation and working clearance at the site.
Set a recurring maintenance routine based on actual exposure. A sheltered cabinet may collect residue slowly, while a roadside or garden cabinet may need attention after dusty conditions, landscaping or building work. Coastal humidity can justify closer inspection of fittings and cable ends. There is no useful universal interval without considering the site.
- Open and inspect the cabinet when conditions are dry enough to see moisture marks clearly.
- Clean or replace ventilation filters before airflow becomes visibly restricted.
- Verify that fans operate smoothly and that no cable bundle blocks the airflow path.
- Clean door seals and check that they make even contact when closed.
- Examine glands, blanking plugs and drip loops for movement, cracking or residue.
- Update labels and the equipment record whenever a cable or powered device changes.
The best installation is not the enclosure with the most impressive specification in isolation. It is the one whose location, heat load, sealing, airflow and maintenance plan work together. Shade removes an avoidable source of heat. Controlled cable entries limit direct exposure. Accessible filters, fans and seals make the design sustainable after the installer has packed away the tools.
Key takeaways
- Permanent shade is the first layer of heat control because direct sun adds heat before the equipment is even powered.
- Cabinet cooling should be selected from the equipment heat load, enclosure sealing and local exposure rather than from cabinet size alone.
- Bottom-facing cable entries, correctly sized glands and external drip loops reduce direct paths for water and dust.
- Maintenance access should be planned before installation because filters, fans, seals and cable entries need physical inspection.
- Exposure can differ significantly between a sheltered Jerusalem wall, a dusty garden boundary and a humid coastal frontage.