On this page
At small-business premises or a home, adding cameras to an existing recorder may involve an NVR (network video recorder), an IP camera, an analogue camera, a network switch and existing Ethernet cabling. A spare channel can make the job look simple. It is not the whole answer. The question settled here is whether the recorder, wiring, power and storage can support the new view reliably before anything is permanently mounted.
This matters especially when the property is being managed remotely. A camera that appears in a live grid but does not record correctly can remain unnoticed until someone tries to retrieve footage. The right approach is to audit first, test second and install only after the full recording path has been verified.
Audit the Existing Recorder First
Begin with the recorder itself. Identify whether it is an NVR for network cameras, a DVR for analogue cameras, or a hybrid unit designed for more than one camera technology. Do not rely on the shape of the sockets. Similar-looking connections can carry different signal types, and a network port does not mean that every network camera can be decoded.
Count the configured channels as well as the visibly occupied sockets. Some NVRs receive cameras through a separate network switch, so the rear panel may look empty even when all available camera channels are assigned. Conversely, an unused channel only confirms that a logical position is free. It says nothing about protocol support, processing capacity or storage.
What should the recorder audit include?
- Recorder type: NVR, DVR or hybrid, together with the camera technologies already in use.
- Channel status: active, disabled and unused camera channels, including cameras connected through external switches.
- Supported input: camera protocols, signal formats, pixel counts per frame, frame rates and audio capabilities.
- Processing limits: total incoming bandwidth and the number of streams the recorder can display or play back together.
- Configuration: recording schedules, motion detection, stream settings, time settings and network details.
- Access: working administrator credentials for the recorder and valid credentials for network cameras.
- Recovery material: a current configuration backup and a clear record of the settings that should not be lost.
Check the recorder firmware and configuration before making changes, but do not update equipment merely because an update is available. First preserve the existing configuration and confirm that administrator access works. A recorder that cannot be administered safely is a poor starting point for expansion, even if its live display appears normal.
Will the New Camera Work?
Camera recorder compatibility has several layers. The camera technology must match the recorder input. The recorder must understand the camera protocol and stream. The camera must accept compatible network and security settings. Finally, the recorder must support the functions you expect to use. Passing one layer does not imply that the others will pass.
| Check | Network camera | Analogue camera |
|---|---|---|
| Physical path | Ethernet through NVR or network switch | Coaxial cable to compatible recorder input |
| Communication | Supported camera protocol and valid credentials | Supported analogue signal format |
| Power | PoE or separate local supply | Separate supply or supported cable arrangement |
| Common hidden limit | Decoding, bandwidth or authentication | Signal format, power or cable condition |
| Feature support | Dependent on recorder integration | Dependent on recorder and signal format |
How do you add cameras to an NVR?
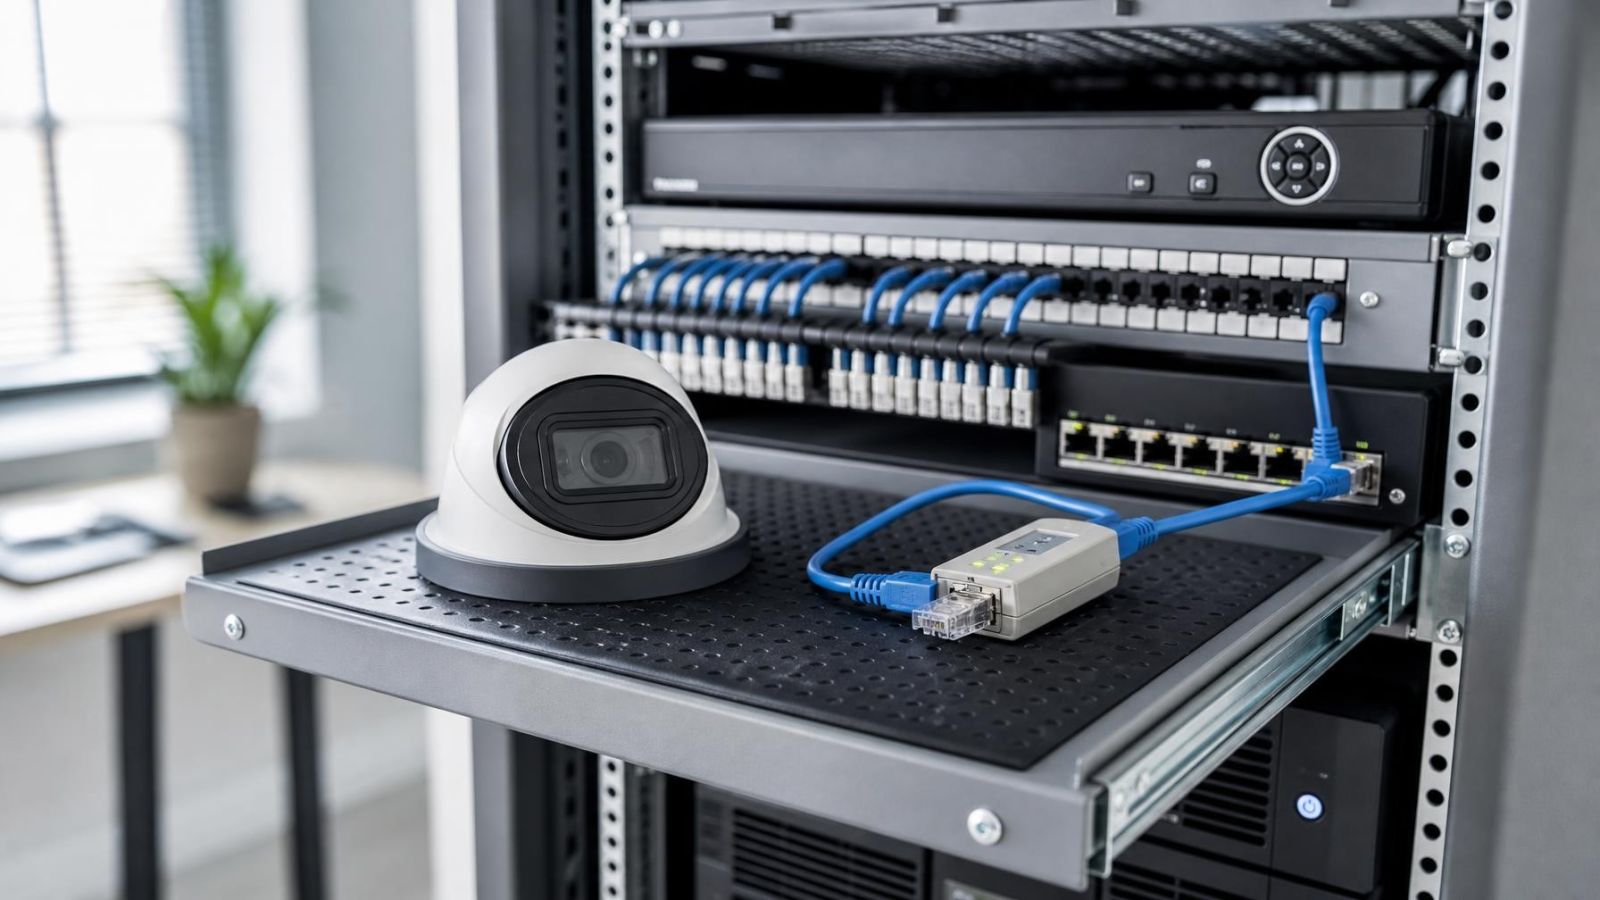
To add cameras to an NVR, connect each camera to a compatible PoE (power over Ethernet) port or to a network switch that the recorder can reach. Give the camera valid network settings, confirm its protocol, and enter the camera credentials in the recorder. Automatic discovery is useful for finding devices, but discovery alone does not establish a working recording configuration.
Many IP cameras provide a main stream and a secondary stream. The main stream is normally used for recording and detailed playback. The secondary stream is lighter and may be used for multi-camera display or remote viewing. Both streams need settings that the recorder can decode. A camera may show a low-demand secondary stream while failing to record its main stream.
How do you confirm camera recorder compatibility?
Confirm compatibility by testing the exact functions required, not by accepting a general compatibility label. Check stable live video, continuous or scheduled recording, motion detection, playback, event search and remote viewing. If audio, WDR (wide dynamic range), camera-side detection or other controls matter, test those separately. A recorder may display video while offering limited control of camera-specific features.
Check Power, Cabling and Network
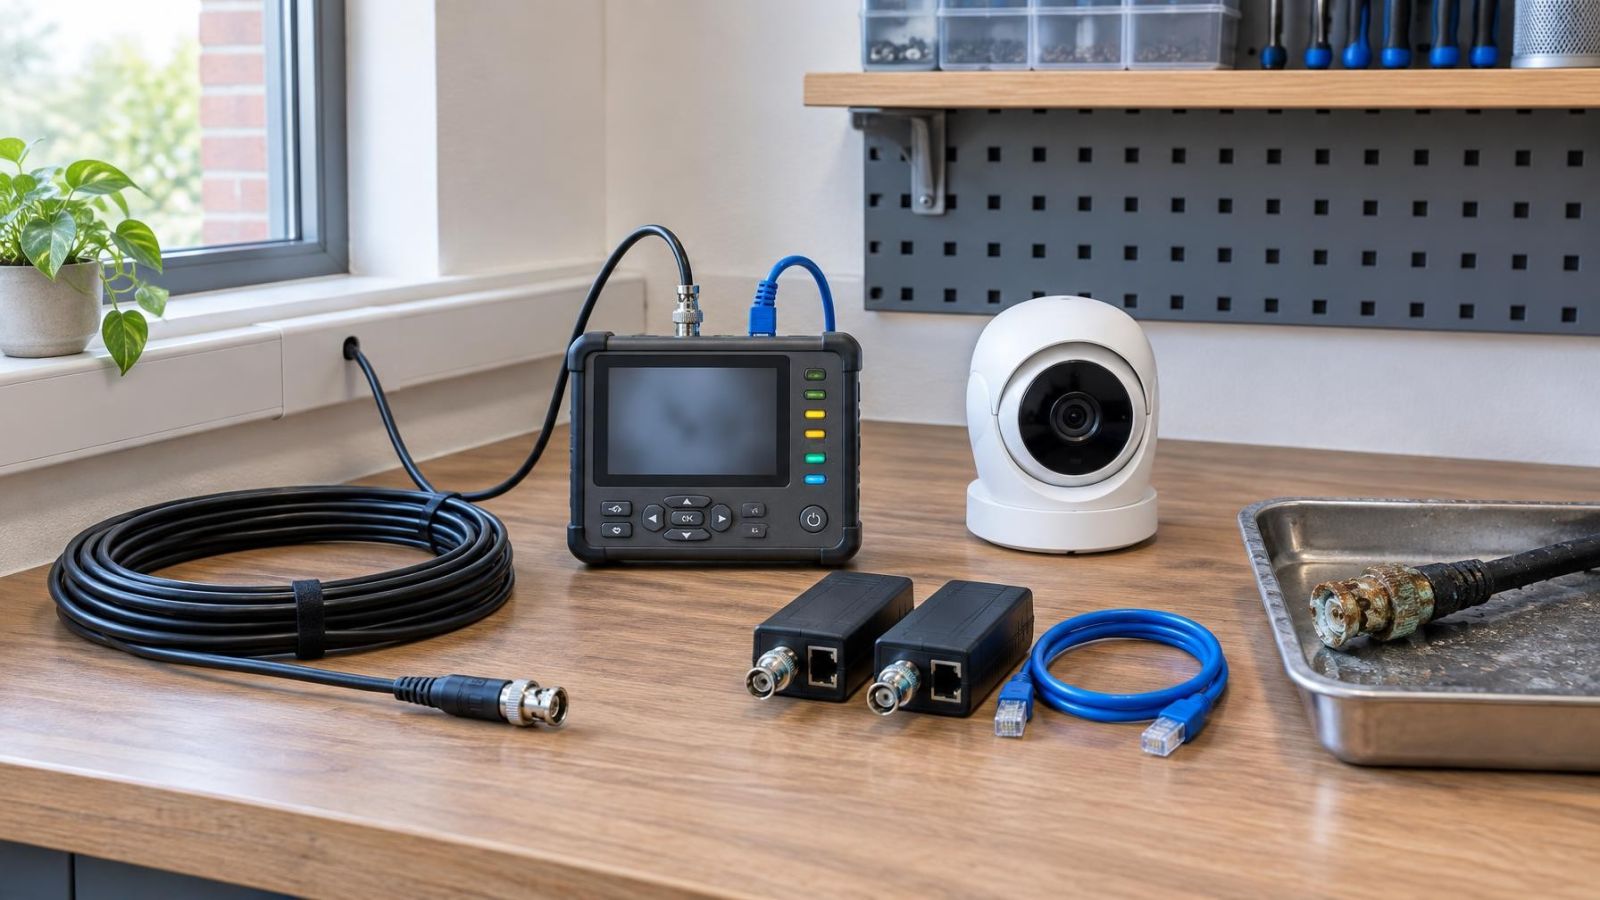
A supported camera can still be a poor expansion if the power or cable path is weak. For a network camera, inspect the full Ethernet route, including patch leads, wall sockets, joints and switch ports. For an analogue camera, inspect the coaxial cable, connectors and separate power path. Existing cable should be tested rather than accepted because it once carried another camera.
What can limit the power and cable path?
- PoE capacity: a switch may have an open data port without enough remaining power capacity for another camera.
- Recorder power: built-in PoE ports share a power supply whose total capacity matters as much as the number of ports.
- External supplies: ageing adapters, exposed connections and overloaded distribution boxes can cause intermittent faults.
- Network switching: port availability, link stability and total traffic should be checked before adding another stream.
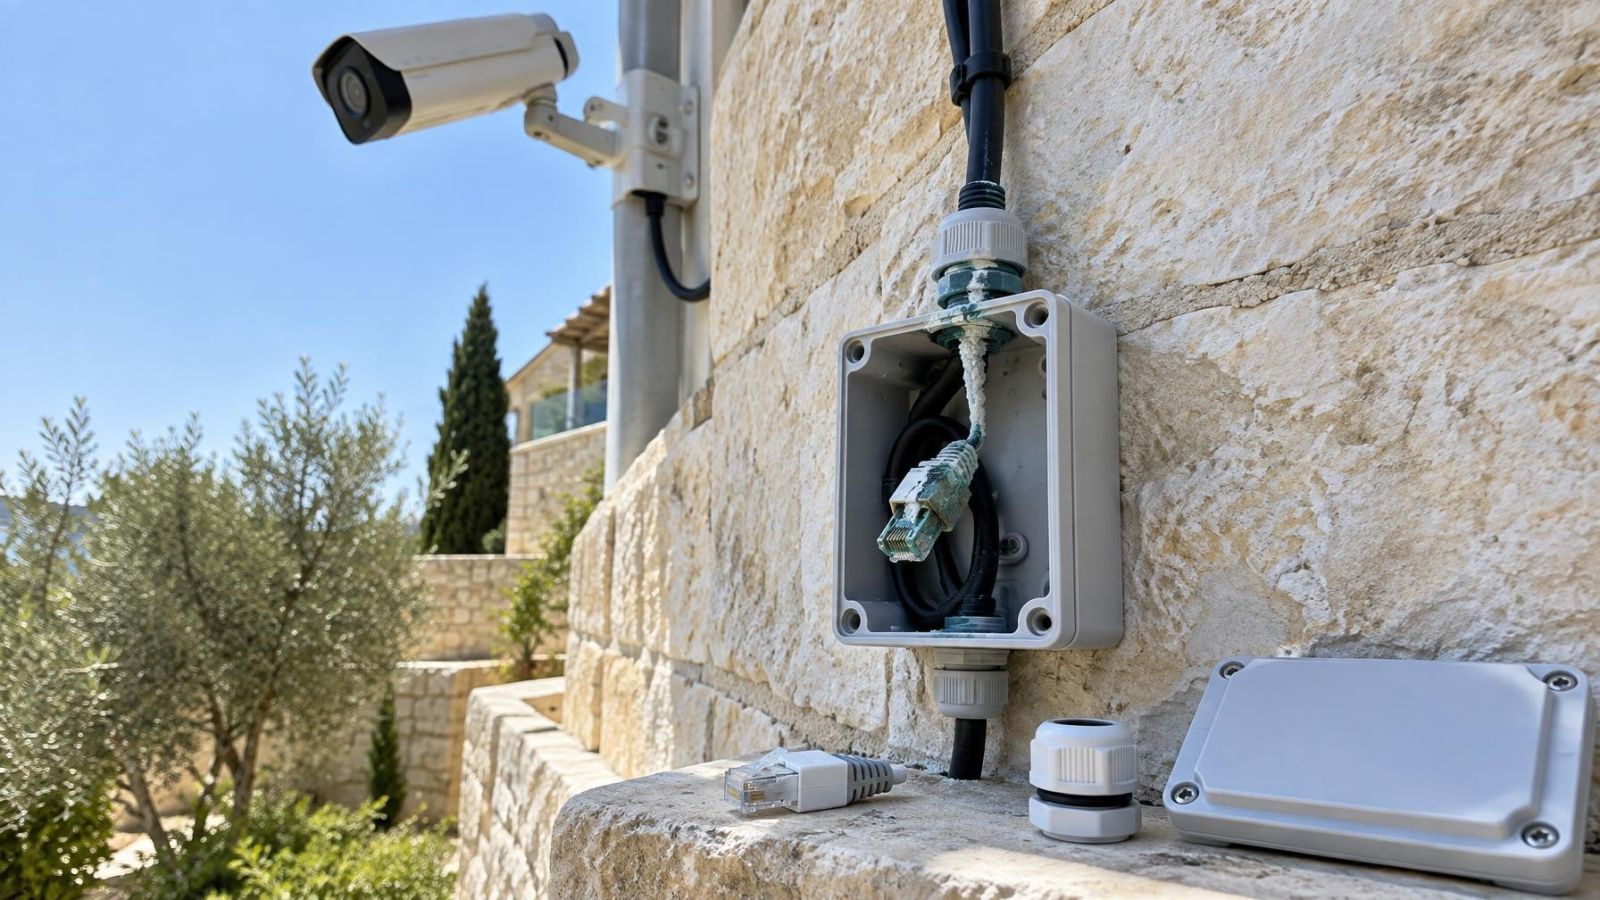
- Environmental exposure: Israeli heat, dust and coastal humidity can affect connectors, enclosures and power equipment.
- Protected-room routes: a mamad is a reinforced safe room, and its walls can make an apparently direct cable route impractical.
Plan mamad routing before choosing the final camera position. An installer may prefer an existing conduit, an alternative wall or a route around the room rather than treating the reinforced wall like an ordinary partition. The shortest line on a floor plan is not always the most sensible cable path.
Can the Recorder Handle the Load?
Each added camera increases demand in several places. The recorder receives another video stream, processes it, writes it to storage, displays it locally and may send it to remote users. Available camera channels are only one capacity measure. Incoming bandwidth, simultaneous decoding and storage capacity can become limiting factors first.
| Resource | What increases demand | Possible symptom |
|---|---|---|
| Incoming bandwidth | More cameras, higher frame rates, more pixels per frame | Rejected stream or unstable recording |
| Decoding | Multi-camera live grids and simultaneous playback | Reduced display quality or fewer visible streams |
| Storage | Longer retention and more recorded detail | Earlier overwriting of older footage |
| Remote access | Several users or main-stream viewing | Slow loading or interrupted viewing |
Which recording settings change the load?
Recording resolution controls the pixel count stored in each frame. Frame rate controls how many frames are stored over time. Compression, scene movement and the recording schedule also affect bandwidth and storage use. Higher recording quality consumes more of both, so the correct setting is the one that preserves useful detail for the scene without creating unnecessary load.
Storage planning should start with the required retention period and the importance of each view. A gate or payment area may need different settings from a low-activity service corridor. Motion detection can reduce routine recording in some scenes, but trees, shadows, insects and busy street frontage can generate frequent events. Storage estimates should therefore be checked against actual recording behaviour.
Remote viewing adds another path to test. The recorder may record correctly while the app or VMS (video management software) struggles with a demanding main stream. Configure an appropriate secondary stream, then test from outside the premises network. For a remote property owner, successful local viewing is not an adequate substitute for this check.
Plan Placement Before Connection
Expansion should begin with the missing view, not with the spare channel. Define what the camera needs to show and what detail must be useful in playback. A broad garden view, a gate approach and a small-business entrance are different tasks. One camera placed between them may technically cover all three while showing none of them well.
What makes an added camera view useful?
- Appropriate distance and angle: the important area should occupy enough of the frame to remain clear in playback.
- Backlight control: strong Israeli sunlight beyond a shaded entrance can turn a person near the doorway into a dark outline.
- WDR performance: WDR can balance bright and shaded areas, but physical placement still matters.
- Night illumination: infrared should reach the target without reflecting from glass, pale walls, roof edges or nearby objects.
- Stable foreground: plants, flags and moving signs can obscure the subject and create unnecessary motion detection events.
- Maintainable access: the lens and enclosure should be reachable for cleaning where dust or salt residue accumulates.
At an apartment building, a shared entrance also requires practical coordination. Agree with the va'ad bayit where the camera will sit, which common area the cable will cross, where equipment will receive power and who can arrange future access. For international residents, the va'ad bayit is the residents' committee that handles shared-building decisions and maintenance.
At street-front business premises, test the entrance at the brightest and darkest normal conditions you can observe. Shop windows, polished floors and glass doors can reflect both sunlight and infrared. At a private home, check whether a garden light, gate motor or growing foliage will affect the intended view.
Test Before Choosing Expansion
A temporary connection test can reveal compatibility problems before permanent mounting. Use the proposed camera, recorder settings and power method. If the permanent cable already exists, include it in the test. The purpose is to verify the complete path rather than prove that the camera can produce an image under ideal bench conditions.
- Back up the recorder configuration and document the settings of the channel being prepared.
- Connect the camera temporarily using the intended power and network or coaxial path.
- Confirm stable live view on the recorder for both full-screen and multi-camera display.
- Create a recording, allow the recorder to index it, and retrieve it through normal playback and event search.
- Check motion detection, audio and other required features rather than assuming that visible video means full support.
- Confirm visibility through the remote app or VMS from outside the local network.
- Restore power to the camera, switch and recorder, then verify that recording resumes without manual intervention.
- Review the results and decide whether the existing system should be expanded, adapted or replaced.
Should you expand the camera system, adapt it or replace it?
| Decision | Best fit | Main caution |
|---|---|---|
| Expand | Compatible camera, spare capacity and sound infrastructure | Confirm storage retention after the addition |
| Adapt | Usable recorder with a solvable power, network or signal mismatch | Avoid adding complexity that is difficult to support |
| Replace | Unsupported technology, inaccessible administration or inadequate core capacity | Preserve required footage and configuration information |
Expansion is usually the cleanest choice when the recorder has genuine spare capacity and the camera works through the complete test. Adaptation can be reasonable when a switch, power arrangement or carefully selected interface resolves a specific limitation. Replacement becomes the practical option when several core constraints overlap, such as unsupported streams, inadequate decoding, limited storage and unreliable administration.
The final decision should leave the system understandable. Record the camera address, channel assignment, credentials location, cable route, power source and recording settings. Clear documentation matters when the owner is abroad, when staff change, or when another installer must diagnose the system later.
Key takeaways
- Recorder capacity includes recording channels, incoming bandwidth, simultaneous decoding and available storage.
- Camera compatibility depends on technology, communication protocol, configuration and credentials rather than connectors alone.
- Power capacity and cable condition should be checked before a camera is mounted permanently.
- A well-positioned camera that captures useful detail contributes more than an additional poorly planned view.
- A temporary connection test provides practical evidence for deciding whether to expand, adapt or replace a recorder.