On this page
Start With a Security Planning Renovation Drawing
Security cameras, alarm sensors, a video intercom and the network cabinet all compete for positions, pathways and power. The architect may see a clean ceiling; the security installer sees sightlines, cable access and future maintenance. A security planning renovation discussion brings those views together before finishes restrict the options. It settles what each system should do, where it should operate and what infrastructure must be built around it.
Begin with the property rather than an equipment list. Mark entrances, gates, garden boundaries, balconies, service doors, stock areas and rooms containing equipment or other important assets. Then trace normal movement: where residents enter with shopping, how staff open a storefront, where deliveries wait, and which route leads from a shared building entrance to an apartment door.
Give each system a defined role. A security camera records a useful view. An alarm detector responds to a selected condition at an opening or within a protected area. A video intercom supports communication and controlled entry. These functions can complement one another, but one should not be treated as a substitute for another.
| Property type | Planning emphasis | Common coordination point |
|---|---|---|
| Apartment | Entrance door, balcony openings, internal movement and the route from the lift or stairs | Shared entrance arrangements and decisions involving the va'ad bayit |
| Private home | Gate, paths, garden boundaries, exterior doors and service areas | Outdoor lighting, irrigation, landscaping, walls and gate equipment |
| Street-front business | Customer entrance, counter, stock access, shutters and delivery route | Shopfront lighting, signage, joinery and opening procedures |
For a new build security system, allow for future changes without filling every possible position with equipment. A well-placed conduit or accessible cable route can preserve an option. It is often more useful than installing a device before its purpose is clear.
Which alarm planning decisions belong in a renovation?
Alarm planning begins with openings, room use and ordinary movement. Door contacts, window contacts and interior detectors need positions that match how the property will actually operate. Sliding doors, shutters, pets, ceiling fans, air-conditioning airflow and furniture layouts can all affect the choice. The plan should also show control equipment, keypads, warning devices and cable routes rather than marking detectors alone.
Where Should Cameras and Sensors Go?
How should renovation camera planning begin?
Start by defining the view required at each approach route. At an entrance, decide whether the priority is a face, the activity around the door, or a wider view of the path. One position may not do all three well. A camera mounted high and centred for visual symmetry can produce a neat elevation drawing while showing mostly the top of a visitor's head.
- Choose positions where people naturally approach the camera rather than pass at a difficult angle.
- Check whether an open door, gate, shutter or parked vehicle will block the intended view.
- Keep nearby walls, soffits and foliage out of the edge of the frame where they can reflect infrared light.
- Consider maintenance access so the lens can be cleaned and the mounting point inspected.
- Use overlapping views only when each camera has a defined purpose; duplication without purpose adds footage, not necessarily useful detail.
Lighting must be reviewed at the same time. Strong Israeli sunlight behind a subject can reduce visible detail. A bright shopfront, garden fitting or vehicle headlight can create a similar contrast after dark. WDR (wide dynamic range) can help a camera handle bright and dark parts of one scene, but it does not make poor placement irrelevant. Change the angle, lighting position or background where possible.
Door and window sensors belong at the openings they are intended to monitor. Interior detectors need a field of operation that respects normal circulation, room layout and likely furniture positions. On a marked plan, include the direction of coverage. A dot identifying the device location is not enough.
In an apartment building, a private system may interact with a shared entrance, lobby or car park. Identify early which surfaces, network connections and intercom components are shared. Coordination with the va'ad bayit is practical even when the camera itself is planned inside the apartment, because building access and common equipment can affect installation.
Plan Cabling Before Surfaces Close
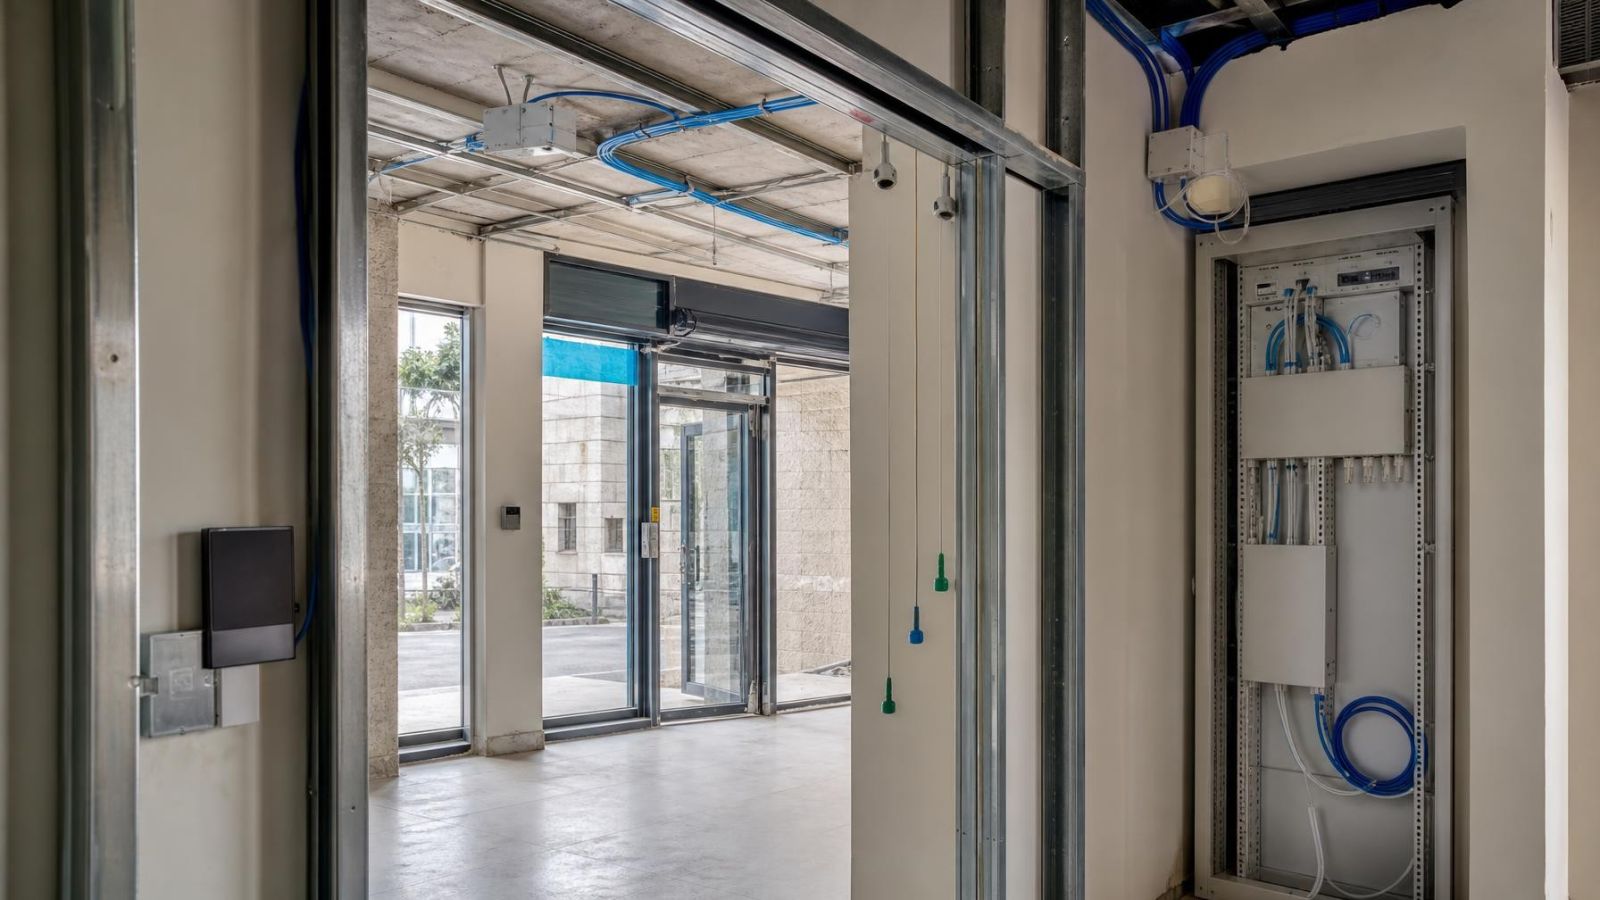
Security cabling should have deliberate routes, not leftover space beside whatever another trade installed first. Mark pathways from every camera, detector, keypad, intercom point and warning device to its termination location. Where routes pass through concrete, finished joinery, tiled walls or exterior insulation, plan conduit before those areas become difficult to reopen.
What should a security system prewire include?
A prewire plan should identify the cable type required by each function, the origin and destination of every run, the conduit route, the termination point and the label used at both ends. It should also distinguish installed devices from spare positions. A loose cable above a ceiling is not a useful spare if nobody can find or identify it later.
- Use dedicated, accessible routes for security and network cabling where the building layout allows.
- Maintain sensible separation from mains power, motors, lift equipment and other potential interference sources.
- Provide suitable draw points where conduit length or changes of direction would make later cable replacement difficult.
- Protect exterior transitions from direct sun, dust, moisture and physical damage.
- Seal and support cable entries appropriately rather than relying on the camera base to cover an unfinished hole.
- Leave spare pathways to likely future locations such as a gate, roof access point, garden structure or additional work area.
Outdoor routes deserve particular attention in Israel. A cable may leave an air-conditioned interior and enter a hot, dusty service area before reaching an exposed wall. Near the coast, humid and salty air adds another reason to keep transitions protected and accessible. The route, enclosure and mounting detail should be treated as part of the installation, not hidden behind the equipment specification.
What Should the Equipment Area Include?
The equipment area may contain the NVR (network video recorder), network switches, alarm control equipment, intercom connections, power supplies and cable terminations. A system using other camera technology may use a DVR instead. Larger or multi-site arrangements may also use VMS (video management software). The cabinet must be sized for the actual equipment, cable bend space and service work, not only for the visible front panels.
- A stable power arrangement for the recorder, network equipment and alarm components.
- Network connections, including the incoming link and any required internal distribution.
- PoE (power over Ethernet) switching where network cameras or other compatible devices receive data and power through one cable.
- Organised cable termination with labels that match the floor plan and schedule.
- Ventilation around heat-producing equipment, with openings that will not be blocked by stored items.
- Enough working space to inspect connections, replace equipment and trace a cable without dismantling unrelated joinery.
Choose a secure, dry location outside routine living and customer space, but do not make it inaccessible. A sealed cupboard with no airflow is not improved by being discreet. Nor is a recorder above a fixed ceiling useful when routine testing requires ladders, ceiling removal and disruption to the room below.
The mamad, or safe room, is a normal part of many Israeli floor plans and can influence cable routing. Its walls and openings are not ordinary lightweight partitions. Do not assume a route can be added later. The architect, relevant building trades and security installer should agree how cables pass around or reach this area before structural and finish details are settled.
Remote property owners should also decide how authorised service access will work. Remote viewing does not replace physical access to power, terminations, storage equipment and network hardware. The cabinet location should support controlled access without requiring a technician to move through private bedrooms or disrupt business operations unnecessarily.
Coordinate Security With Other Trades
Most installation conflicts are visible on drawings before they become visible on site. The architect controls layout and finish intent. The electrician plans power and containment. The network installer handles data infrastructure. The alarm installer defines detector and control requirements. Those plans should be compared rather than produced as separate layers that happen to occupy the same walls and ceilings.
Lighting is a frequent point of interaction. A wall light directly beside a camera can attract insects, wash one part of the scene with light or create reflections from nearby glass. A recessed fitting, hanging sign or illuminated shopfront may enter the frame after the camera position has already been wired. Review camera arrows and lighting symbols together.
- Coordinate gates with the video intercom, camera view, release mechanism, power and data route.
- Check that shutters and open doors do not cover detectors, intercom stations or cameras.
- Review joinery drawings for cabinet ventilation, cable entry and removable service panels.
- Keep ceiling access available where cable joints, power equipment or network components require inspection.
- Agree waterproofing penetrations before exterior cables or mounting hardware are installed.
- Allow for landscaping growth and irrigation around low walls, gates and outdoor camera routes.
Interior design decisions also change sensor performance. A tall cupboard can block a detector. A movable partition can divide its intended area. Reflective glazing can affect an infrared detector or create camera reflections after dark. The security plan should therefore be reviewed when the furniture, joinery and ceiling plans are developed, not only at the start of construction.
A clean installation is usually the result of coordination before the cable is pulled, not cosmetic work after the finishes are complete.
Approve the Plan Before Installation
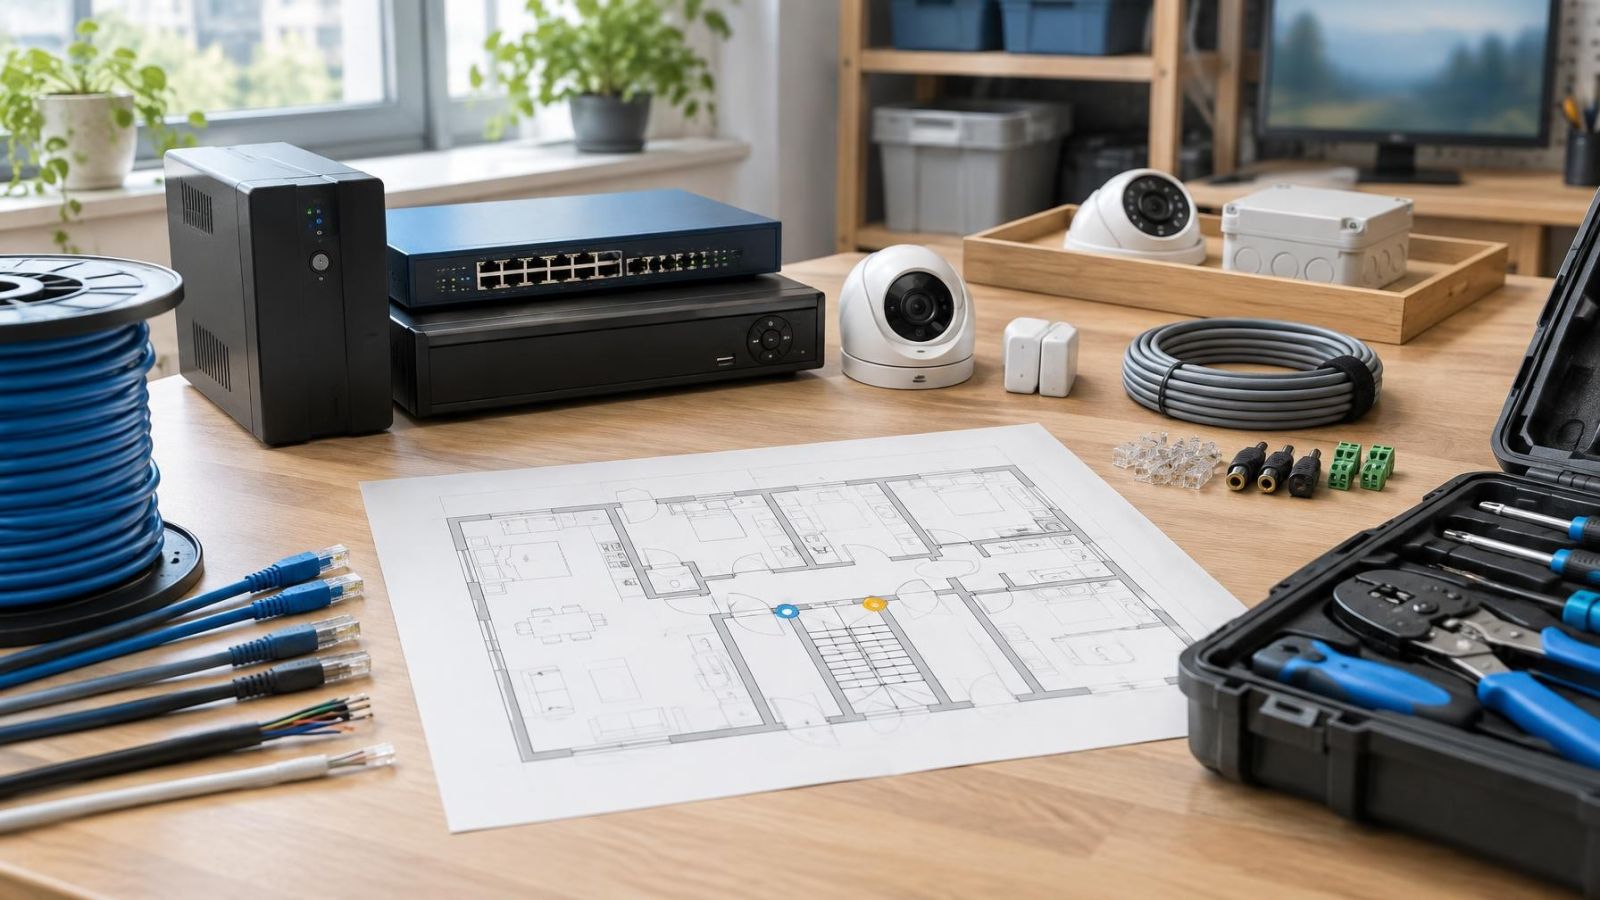
The approved plan should be specific enough that the installer, electrician, network contractor and site manager are discussing the same locations. Use a marked floor plan and, where height or alignment matters, relevant wall elevations. Every camera should have an intended viewing direction. Every detector, keypad, intercom point and equipment cabinet should have a clear position.
Camera approval should address both the useful scene and its boundaries. Decide which entrances, paths, work areas or garden zones belong in the frame. In apartments and street-facing businesses, check how the proposed angle relates to shared and neighbouring areas. Framing can often be improved by changing the location or narrowing the intended view before mounting.
- Review the marked floor plan with device locations, viewing directions and equipment areas.
- Confirm cable routes, conduit sizes, outdoor transitions and access points with the relevant trades.
- Approve a cable schedule showing labels, destinations, terminations and spare routes.
- Check lighting, gates, doors, shutters, ceilings, waterproofing and joinery against the security layer.
- Walk through the property before walls, ceilings and exterior finishes close, comparing the drawing with what has actually been built.
- Record agreed changes on the plan rather than relying on site conversations or unmarked photographs.
The final walkthrough is also the time to confirm access for commissioning and later maintenance. Test points must remain reachable. Cabinet doors must open fully. Outdoor equipment must be accessible for cleaning and inspection. A pathway intended for future cable changes needs usable draw access at both ends.
After finishes close, installation can still proceed, but the choices become narrower and more disruptive. Planning early does not mean selecting every final device immediately. It means preserving the correct views, routes, power, network connections and service space so the equipment can be installed and maintained properly.
Key takeaways
- Security decisions belong in the building plan before walls, ceilings and exterior finishes restrict access.
- Useful camera views depend on approach routes, subject direction, lighting and glare rather than visual symmetry.
- Accessible conduit and clearly labelled cabling make later repairs and changes less disruptive.
- Recording, network and power equipment need suitable space, ventilation and service access.
- The marked security plan should be reviewed with the relevant trades before surfaces close.